%20(1).webp)

Ever blown up a photo for a print or posted it online, only to realize it turned soft, grainy, or full of weird artifacts? It’s frustrating how an image that looks sharp on your screen can fall apart the moment it’s enlarged.
That’s where upscaling comes in—giving you a cleaner, more detailed version of the photo without the blur or blocky edges. Lightroom offers several tools that help with this. Super Resolution increases the pixel count so you can print larger without losing clarity.
Enhance Details cleans up issues that come straight from the camera sensor, especially in RAW files. Quick actions in Lightroom Mobile handle quick improvements on mobile edits. With the right approach, you can create files ready for large prints, high-res social posts, or professional client work without sacrificing quality.
In this guide, you’ll find five practical techniques you can use on desktop or mobile. Whether you’re preparing a batch of images for a gallery wall or just want your Instagram posts to look crisp, you’ll learn how to upscale your photos in Lightroom professionally while keeping every bit of detail you worked so hard to capture.
Understanding image upscaling in Lightroom
Anyone who works with photos has run into the same problem: you open a file that looked fine on your camera, try to crop it or print it larger, and suddenly you’re out of resolution. Upscaling helps you push past those limits by adding real, usable detail instead of simply stretching the existing pixels until they turn soft.
There are plenty of reasons to upscale the image. Big prints often require the kind of resolution you don’t always capture in-camera. Social media still rewards crisp vertical frames. Old scans, phone shots, and heavily cropped images can all benefit from a cleaner, denser file.
Lightroom’s tools do this far better than the old bicubic method in Photoshop; instead of guessing, they analyze patterns in the image to rebuild missing detail and reduce noise. A 12-megapixel file can come out looking like it was shot on a much higher-resolution camera.
Upscaling tools used by Lightroom software
1. Super resolution
This feature doubles both the width and height of your image, giving you four times the total pixels. Adobe’s Sensei technology powers it and works especially well on wildlife photos, scanned film, and anything that needs more breathing room after a heavy crop.
The result gives you a new DNG file that keeps all your existing edits. It runs quickly on modern GPUs, though you’ll need to trigger it one image at a time unless you allow batch trigger through a right-click and then click on enhance applied to multiple selected images.
2. Enhance Details (RAW files only)
This option improves the way Lightroom interprets the raw sensor data. It pulls out finer detail, cleans up moiré, and handles tricky patterns from X-Trans and Bayer sensors.
Think of it as sharpening the foundation before you enlarge the house—useful on noisy high-ISO shots and essential if you shoot Fuji RAW. The enhanced version becomes a new DNG with noticeably crisper micro-detail.
3. Denoise
The denoise feature is available in Lightroom 2025. This feature removes noise from high ISO raw images while preserving the sharpness, texture, edges, and color details. You can access the feature by clicking on "enhance" or the detail panel's denoise button; it auto-applies Raw Details, with adjustable strength.
How to upscale an image in Lightroom (Top 5 methods)
Upscaling images in Lightroom lets you preserve detail and clarity while enlarging files for prints, social media, or client work. Discover the top five methods to get sharp, high-resolution results.
Method 1: Super resolution (Desktop Classic/CC)
Lightroom Classic’s Super Resolution is one of those features you don’t appreciate until you try it on a tiny crop and watch it open up into a huge, usable file. A small 12-megapixel frame can turn into a detailed 48-megapixel image without the usual mushy edges you get from basic resizing.
To use it, you have to right-click on a photo, choose Enhance, and select Super Resolution. Lightroom handles the work quietly in the background and gives you a new DNG, and all the existing edits get copied so that you can work afterwards. Because the process uses your graphics card, it can run quickly on supported machines, especially for small batches.
However, Super Resolution still processes each photo individually, so working through hundreds or thousands of images can take noticeable time rather than feeling instant. It’s especially handy for distant wildlife shots, portraits that need more room for large prints, or anything destined for a wall display.
The preview window shows a clear before-and-after so you can judge the improvement yourself: finer textures, cleaner edges, less noise, and none of the artificial crispness that used to come with aggressive sharpening. And since the result is a DNG, you can keep editing as much as you want after the upscale.
Steps to know:
- Start the method by importing raw images, JPEG, TIFF, or others.
- Select the photo, then right-click and click the enhancement.
- In enhanced dialog, choose Super Resolution and then click on Enhance.
- Processing creates a new DNG file (optionally stacked with the original). Super Resolution and Enhanced Details (Raw Details) are separate tools—you must manually select Enhance Details first if you want both; it doesn't auto-apply.
- Lastly, you can switch modules via the top tabs; compare in Develop; export normally.
Method 2: Enhance details (RAW Detail Recovery)
RAW files always lose a bit of clarity during demosaicing, and that softening becomes obvious once you start pushing an image larger. Lightroom’s Enhance option helps recover what gets lost in that first step.
You can run it from either Library or Develop: right-click the photo, choose Enhance, and Lightroom creates a new DNG built from a cleaner, more accurate interpretation of the sensor data.
It does a great job with tricky patterns, removing moiré and fixing those odd color speckles that sometimes show up in fine detail. Fuji shooters especially benefit because the X-Trans layout can otherwise smear texture, but Canon and Nikon files see visible improvements as well.
The resulting DNG is about twice the size of the original and carries noticeably better fine detail. If you’re planning to use Super Resolution, Enhance first—you’ll get a sharper base file and a better final upscale.
Steps to know:
- Import your DSLR raw images to Lightroom Classic.
- Click on the Library tab (top right) and then select your RAW photo.
- Select right click on the photo, then hover Enhance and click Raw Details.
- Before-and-after and after comparison of the image.
- After applying basic edits in the Library, switch to the Develop module by clicking its tab (no dragging needed). The sharper details from Enhance Details/Super Resolution are already preserved in the new DNG file—Develop lets you refine them further.
- Once you’ve created the enhanced DNG, you can run Super Resolution on it to generate a 4x megapixel upscale.
Method 3: Denoise effect
Lightroom’s denoise tool cleans up the grains you get from shooting high ISO photos, especially in low-light situations. It works on RAW and DNG files, but not on JPEG or TIFF. Since Lightroom 14.4, you can adjust how strong the effect is with a slider in the Detail panel.
The AI Denoise process includes advanced demosaicing similar to Raw Details. The process uses your GPU, can be run on multiple images at once, and generally keeps fine textures intact, unlike the older Luminance noise-reduction option.
Steps to know:
- Add the high ISO photo in Lightroom.
- Click the Denoise button in the Detail panel to open the Enhance dialog. In that dialog, adjust the Denoise slider; the small preview inside the dialog updates automatically as you change the setting, not the main Develop view.
- Click and drag on the image inside the Enhance dialog to pan around and inspect details. To compare results, use the Before/After toggle button in the dialog—there’s no split-screen view; it switches the preview between original and enhanced.
- Click Done; then noise gone, details sharp.
- Now, click on Ctrl+click multiple RAWs, then repeat for all.
Method 4: Export settings for Social media
You don’t always need heavy upscaling to get clean results. Simple resizing paired with Lightroom’s output sharpening can produce crisp files for any social platform.
In the Export window, you can set the exact proportions you need—4:5 for Instagram, 1.91:1 (horizontal, desktop and mobile), 1:1 (square, desktop and mobile), 1:1.91 (vertical, mobile only), LinkedIn, or the standard landscape format used on Twitter.
Once the size is set, the Output Sharpening section takes care of the small details that usually turn soft during compression. Lightroom adjusts the sharpening based on your chosen size, so the final image keeps its bite even after being resized.
Steps to know:
- Go to the Library module and then Ctrl+click on the photo that you want to export.
- Choose an export folder (e.g., Desktop → ‘Instagram’) because Lightroom does not display social apps.
- Now resize the image; check "Resize to Fit," then click on Long Edge and add the pixels.
- Keep the sharpness by making it high and select the right colors by selecting sRGB from the dropdown.
- Save the photo by clicking add (left side) and give a name (like "Instagram pic").
- Lastly, click export and upload to Instagram.
How to upscale an image in Lightroom (Most Searched Queries)
You've asked the exact questions everyone Googles—Lightroom upscaling confuses beginners, but these four highest-search-volume queries have crystal-clear answers. Whether you're on mobile, fighting Instagram limitations, or need Classic's Super Resolution power, you and I will solve each workflow with precise steps. From quality preservation to social media perfection, these techniques deliver professional results every time.
1. How to upscale an image in the Lightroom mobile app?
Lightroom Mobile doesn’t have the desktop Super Resolution feature, but you can still boost detail using its built-in tools like Quick actions, Texture/Clarity/Sharpening sliders, and presets/recommended edits—solid options for quick enhancements without true upscaling. It quietly adjusts things like sharpening and clarity while you’re editing or exporting.
RAW files come out noticeably smoother and more detailed, while JPEGs get a sharper, more polished look. If you need bigger enlargements later, you can always sync the image back to your desktop version and upscale the image there. Modern phones handle the processing quickly, so the workflow stays fast and effortless.
Steps to know:
- Tap photo, then Edit, then adjust Exposure/Clarity/Texture.
- You can't upscale images using presets like Travel or Vintage—they only adjust styling (tones, colors, contrast). The Amofine-tuner controls preset intensity, not resolution or size. For actual upscaling, use Super Resolution or external AI tools instead.
- To fine-tune the image, adjust the subject (right = emphasize, left = reduce).
- Tap on share export as a 2048px long edge, and your image is ready.
2. How to upscale an image in Lightroom Classic?
Lightroom Classic’s Super Resolution is an easy way to turn a small file into something you can actually print. It doubles both the width and height of your photo, which gives you four times the total pixels. A tight 12-megapixel crop can suddenly become a detailed 48-megapixel image that holds up on large paper.
You can use it right from the Library module: right-click a photo, choose Enhance → Super Resolution, and it generates a new DNG file. Note that this creates a fresh, enhanced file—any existing edits on the original won't automatically carry over; you'll need to sync or copy them manually to the new DNG.
It runs quickly on modern graphics cards, so even big batches move along without slowing you down. The preview window shows a clear before-and-after so you can judge the improvement for yourself.
It works with RAW, JPEG, and TIFF files, though RAW delivers the best results. For heavy crops, old scans, or anything destined for a large print, it’s one of the most reliable tools in Lightroom.
Steps to know:
- Select RAW/JPEG/TIFF photo.
- Right-click on the Photo and then Enhance.
- Hold the preview to compare the original vs the AI-enhanced.
- To enhance the image, click the button, and the GPU processes it (5-60 seconds/image).
3. How to upscale an image in Lightroom without losing quality?
For the best results when upscaling a photo without losing quality, the order of operations matters. Start with a clean RAW file, reduce noise first, then move on to the enlargement step, and finish with gentle sharpening.
Beginning with at least a 12-megapixel source gives you enough information to work with. One upscale pass is all you need—stacking enlargements only softens the image. Before you enlarge, keep Clarity and Texture modest; somewhere in the 0–20 range avoids harsh edges later on.
After the upscale, use Output Sharpening set to “Screen – High” if the file is heading online. Steer clear of heavy JPEG compression since it creates artifacts that become obvious when the photo is enlarged. Working in DNG throughout the process gives you room to adjust anything afterward without degrading the file.
Steps to know:
- Drag any image (RAW/JPEG/TIFF) to Lightroom Classic Library.
- Right-click on the photo and select Enhance from the menu.
- Enhance Dialog by checking the Super Resolution box.
- Preview the result by clicking and dragging on the preview to compare before/after quality.
- Export by clicking on file, and then click on export, and then click on print/web settings.
4. How to upscale an image in Lightroom for Instagram?
Instagram works best with images at a (1:1 ratio) in sRGB and with clear, sharp details. Lightroom’s Export presets make this easy, automatically resizing and sharpening your photos for social media.
If you’ve cropped heavily, run Super Resolution first to preserve detail. After that, use Output Sharpening set to Screen—High for crisp edges. For maximum quality, export at 2160 pixels wide—Instagram will resize it automatically. Keep image quality between 90 and 100% to avoid compression artifacts while maintaining sharpness and color fidelity.
Steps to know:
- Go to the Library module and then Ctrl+click on the photo that you want to export.
- To export a location, choose Desktop, then put in a Subfolder, and then click on the social media app you want to export the photo to, like Instagram.
- Now resize the image; check "Resize to Fit," then click on Long Edge and add the pixels.
- Keep the sharpness by making it high and select the right colors by selecting sRGB from the dropdown.
- Click Add to save your export settings as a preset. This does not export the photo.
- Lastly, click export and upload to Instagram.
Best alternatives to upscale an image in Lightroom
Looking to enhance your images beyond Lightroom’s built-in tools? This guide explores the best alternatives for upscaling, helping you achieve sharper, high-resolution photos for prints, social media, and professional projects.
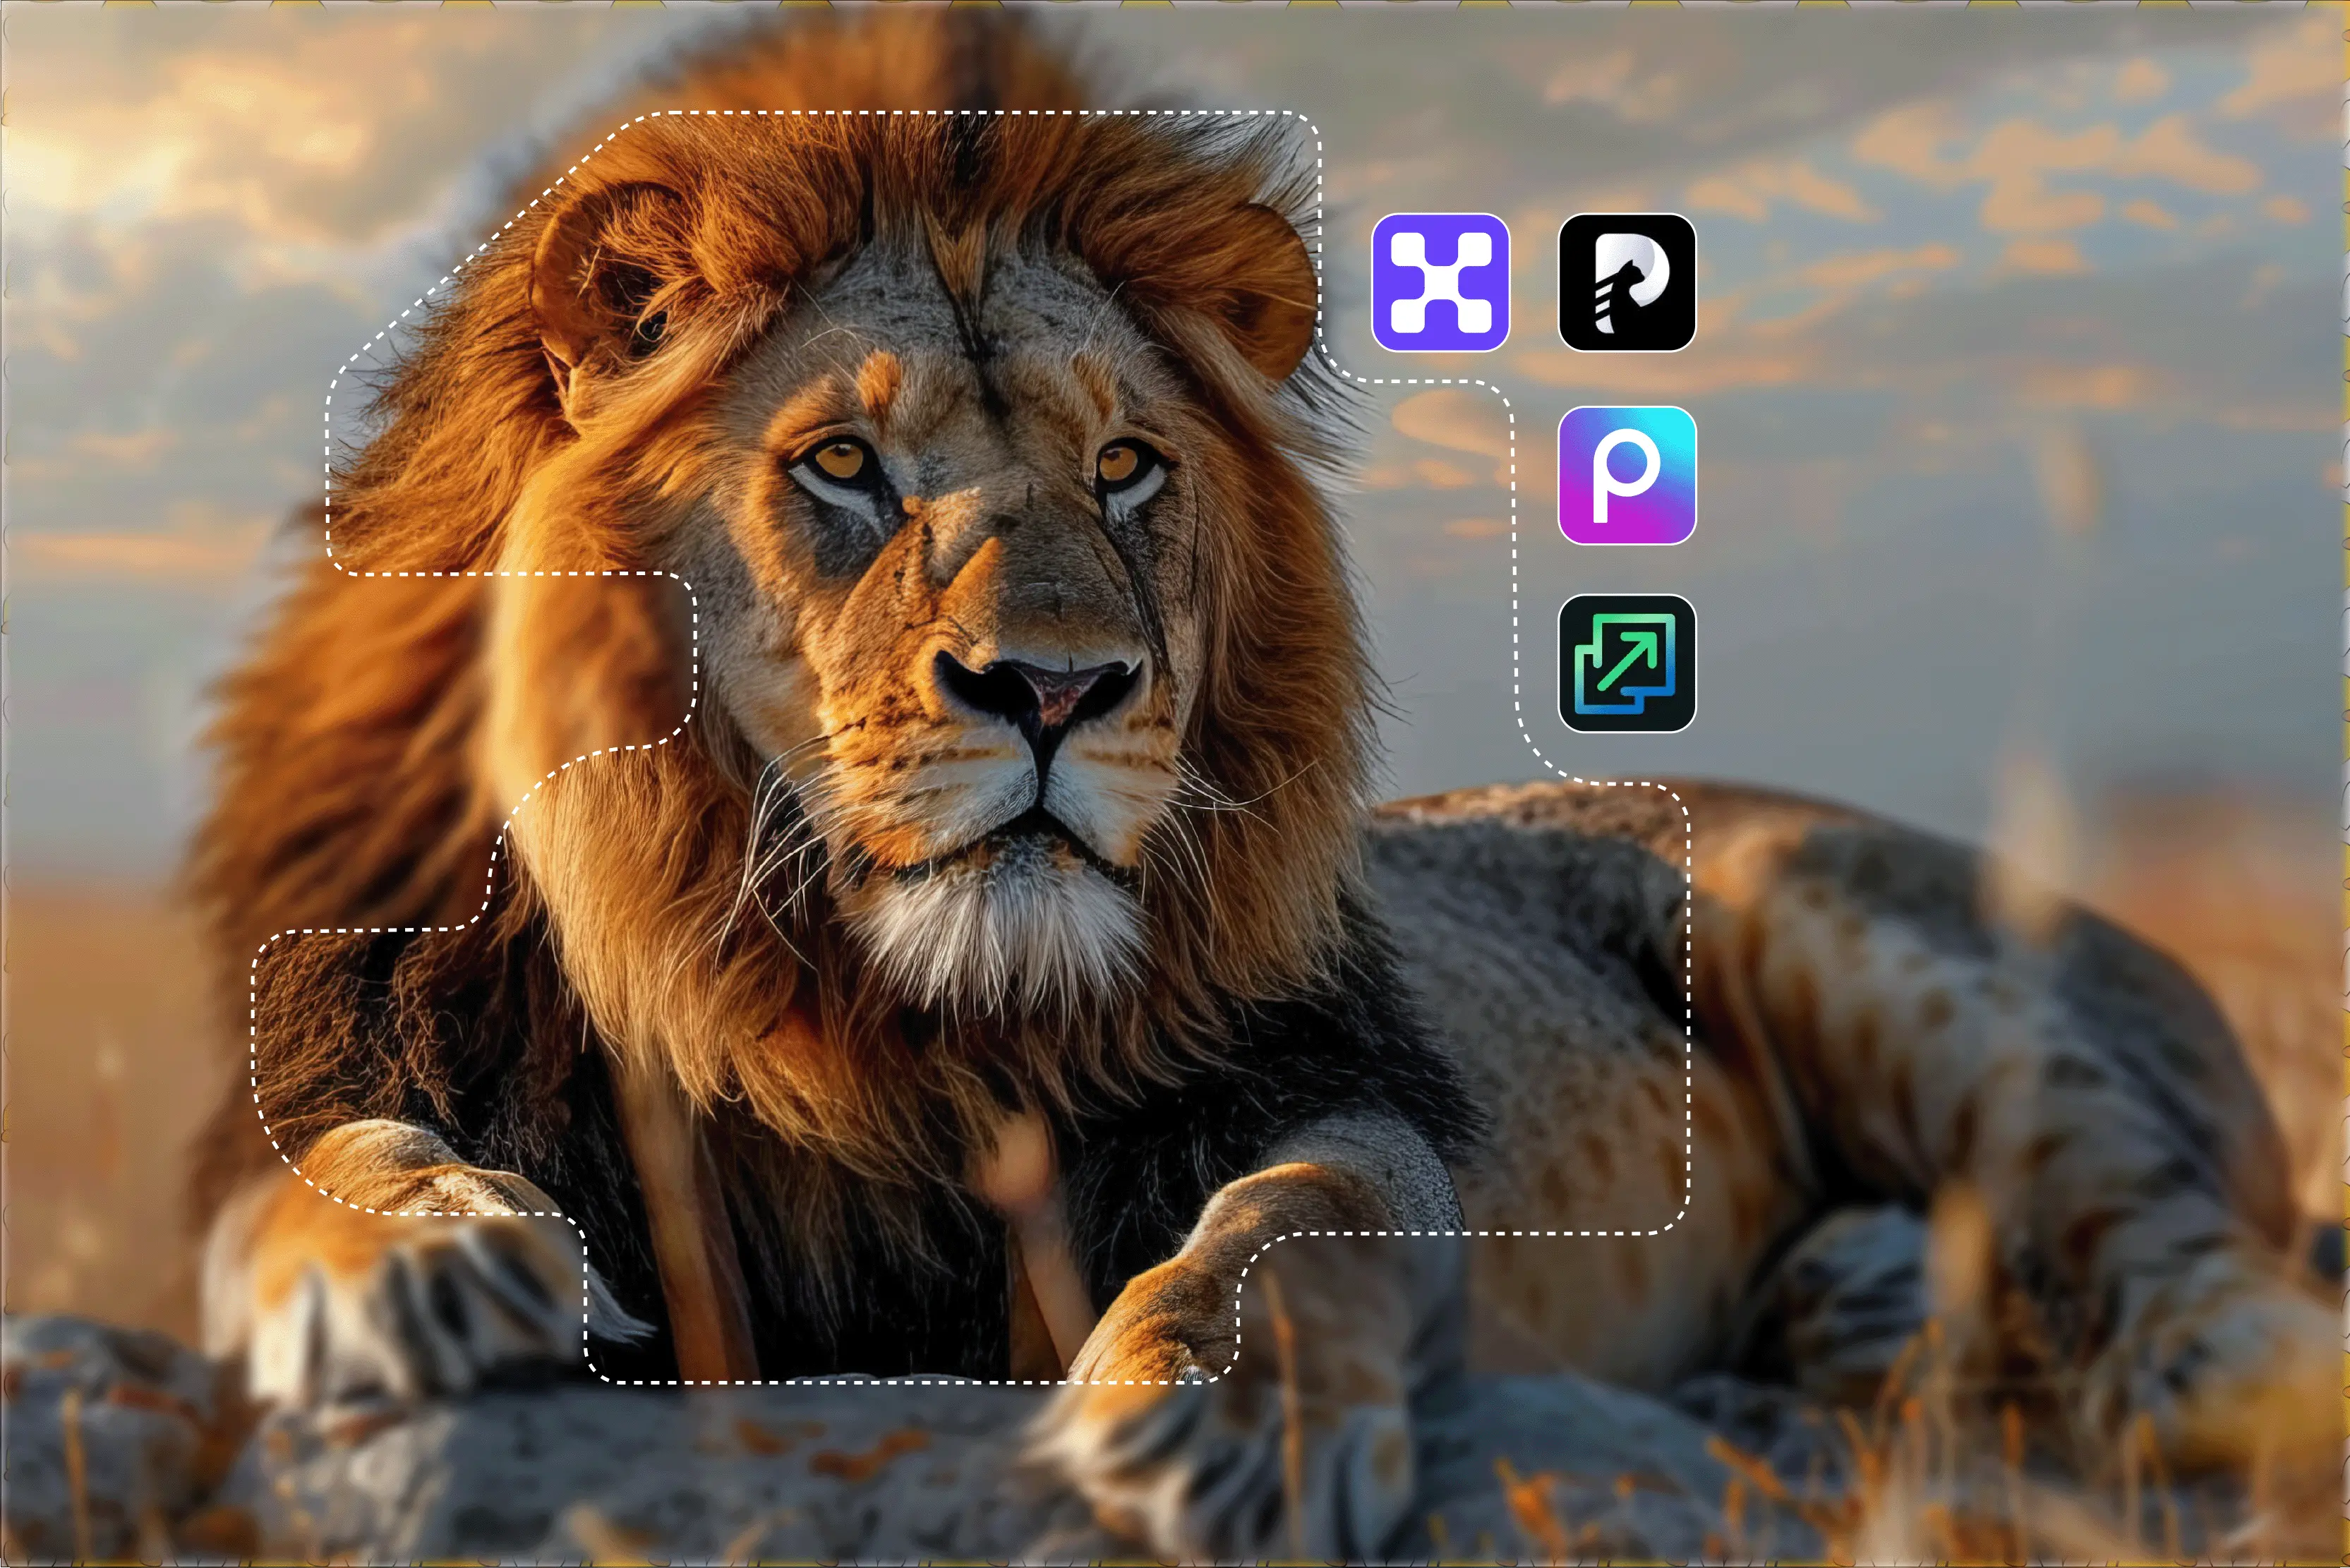
1. Pixelbin

When I was trying out different tools to find the best way to upscale an image, Pixelbin turned out to be one of the simplest and most efficient platforms for upscaling an image. I tried it with a low-resolution image, which looked faded as it had been clicked long ago.
Using the 4x upscale, the improvement was clear. Details became sharper, blurry areas were cleaner, and the background looked smoother. The image grew larger without looking artificial or overprocessed. Pixelbin also lets you scale images up to 8× with sign-up credits, which is useful if you start with a bigger file.
- Free 4x and 8x upscaling credits upon signing up with your details
- Quick processing speed, results delivered in a few seconds.
- Maintains a clear and sharp image, texture preserving image details.
- Clean and easy to understand interface, just upload the algorithms and upscale it automatically.
- Ideal for website images, product photos, and social media graphics.
Steps to upscale the image in Pixelbin
Step 1: Head over to Pixelbin AI image upscaler
Step 2: Upload your image by selecting it from your device or simply pasting the image URL. As batch processing is a feature, you can add up to 10 images in one go.
Step 3: Choose your image upscale size—2x, 4x, or 8x.
Step 4: Preview the image and select 'Download' to save it in SD or HD resolution.
2. Upscale.media
If you're looking for a simple and fast AI tool as one of the best ways to upscale an image, Upscale.media is worth trying. I tested it using a low-resolution image of a small size.
After running it through Upscale.media, I was awestruck. The clarity improved, and the noise reduction kicked in well. Edges looked cleaner, details sharper, and that washed-out blur was mostly gone. You can upscale images by 2x, 4x, or 8x, with three free credits every day. What I liked about the tool;
- You don’t need to sign up or install anything—just drag and drop the image.
- It’s quick; my result came through in seconds.
- AI noise reduction works automatically, which cleans up the grains.
- The interface is clean and beginner-friendly
Steps to upscale the image in Upscale.media
Step 1: Go to upscale.media
Step 2: Upload your image in PNG, JPG, or JPEG format.
Step 3: The AI algorithms automatically upscale the image, and then you have to select the scale size according to your need: 2x, 4x, or 8x.
Step 4: Download your upscaled image instantly.
Final thoughts
Lightroom Classic is a software that can really save a photo—you can take a small, cropped shot and bump it up enough for a clean wall print without it turning mushy. The phone version can’t do that. Scene Enhance on mobile just gives landscapes a little boost; it doesn’t actually make the picture bigger.
Use the desktop app when you need something printed and the phone app when you just want a quick, sharp edit for Instagram. Start with a solid original photo, only upscale once, and export in a format meant for screens so you don’t end up with giant files.
If you’re dealing with a bunch of images and want to get faster results, Pixelbin is straightforward—open it in your browser, drop in a smaller photo, and it spits out a bigger, sharper one. That’s it. No long process or confusing steps.
FAQs
Yes—RAW, JPEG, TIFF, PNG all supported. RAW delivers superior results due to sensor data; JPEGs upscale well but inherit compression artifacts. DNG output preserves quality.
Super Resolution gives a clean 4× boost, turning a 12MP file into roughly 48MP—good enough for a sharp 16×24" print. Adobe rates it for professional use. Work on Super Resolution only once to avoid artifacts, and start with a decent 12MP+ original.
Super Resolution makes the photo 4x bigger (2x width/height, file quadruples)—12MP to 48MP prints. Enhance Details sharpens RAW photos (no size change, fixes sensor blur). Details first sharpen the RAW image, Super Resolution, and then enlarge.
Set your JPEGs to 100% quality in sRGB, with the long edge at 2048px. Use High screen sharpening. Instagram shrinks the quality of everything to 1080px anyway, so this gives Lightroom room to sharpen before it gets crushed. Crop to 4:5 for feed posts, save it as a preset, and you’re done.
Lightroom Mobile simply doesn’t have Super Resolution to upscale an image; all you can do is sharpen in the Detail panel and export around 2048px for a cleaner look. If you need real upscaling, sync the photo to Lightroom Classic on your computer and run Super Resolution there. Mobile is only for quick social edits.
If you know the steps of Lightroom, then it is great and smoothens the image in 4x scale size, supports RAW, and has full workflow integration. Pixelbin is fast, browser-based, and handles 2x to 8x enlargements easily, perfect for quick web, social, or e-commerce jobs without installing anything. You can also bulk trigger many images at once if you have the premium plan of Pixelbin.

.webp)