

Image Upscaling has turned out to be a necessity for professionals in fields like design, marketing, photography, or more. From ad campaigns to social media posts, the visual quality of images plays a major role in shaping the brand perception.
However, when it comes to enlarging an image traditional tools like early versions of Photoshop and GIMP primarily used interpolation of pixels which often rested on blurry edges. While now AI-powered upscalers offer better results, depending on the workflows. These traditional methods come with several disadvantages:
- Pixelation occurs due to enlarging the image and doesn't remove existing noise.
- Lacks the ability to preserve the original details of the image.
- Slows down the process due to manual editing.
On the other hand, image upscaling through tools analyzes image patterns, textures, and details using deep learning algorithms to upscale images smartly, preserving clarity, and adjusting filters in some cases.
Upscale image tools for professionals like Pixelbin, Upscale.media, and more consist of AI image upscaling, cloud integration, and high-end output quality, making image enhancement easier than ever for professionals.
Why do professionals need high-quality image upscaling?
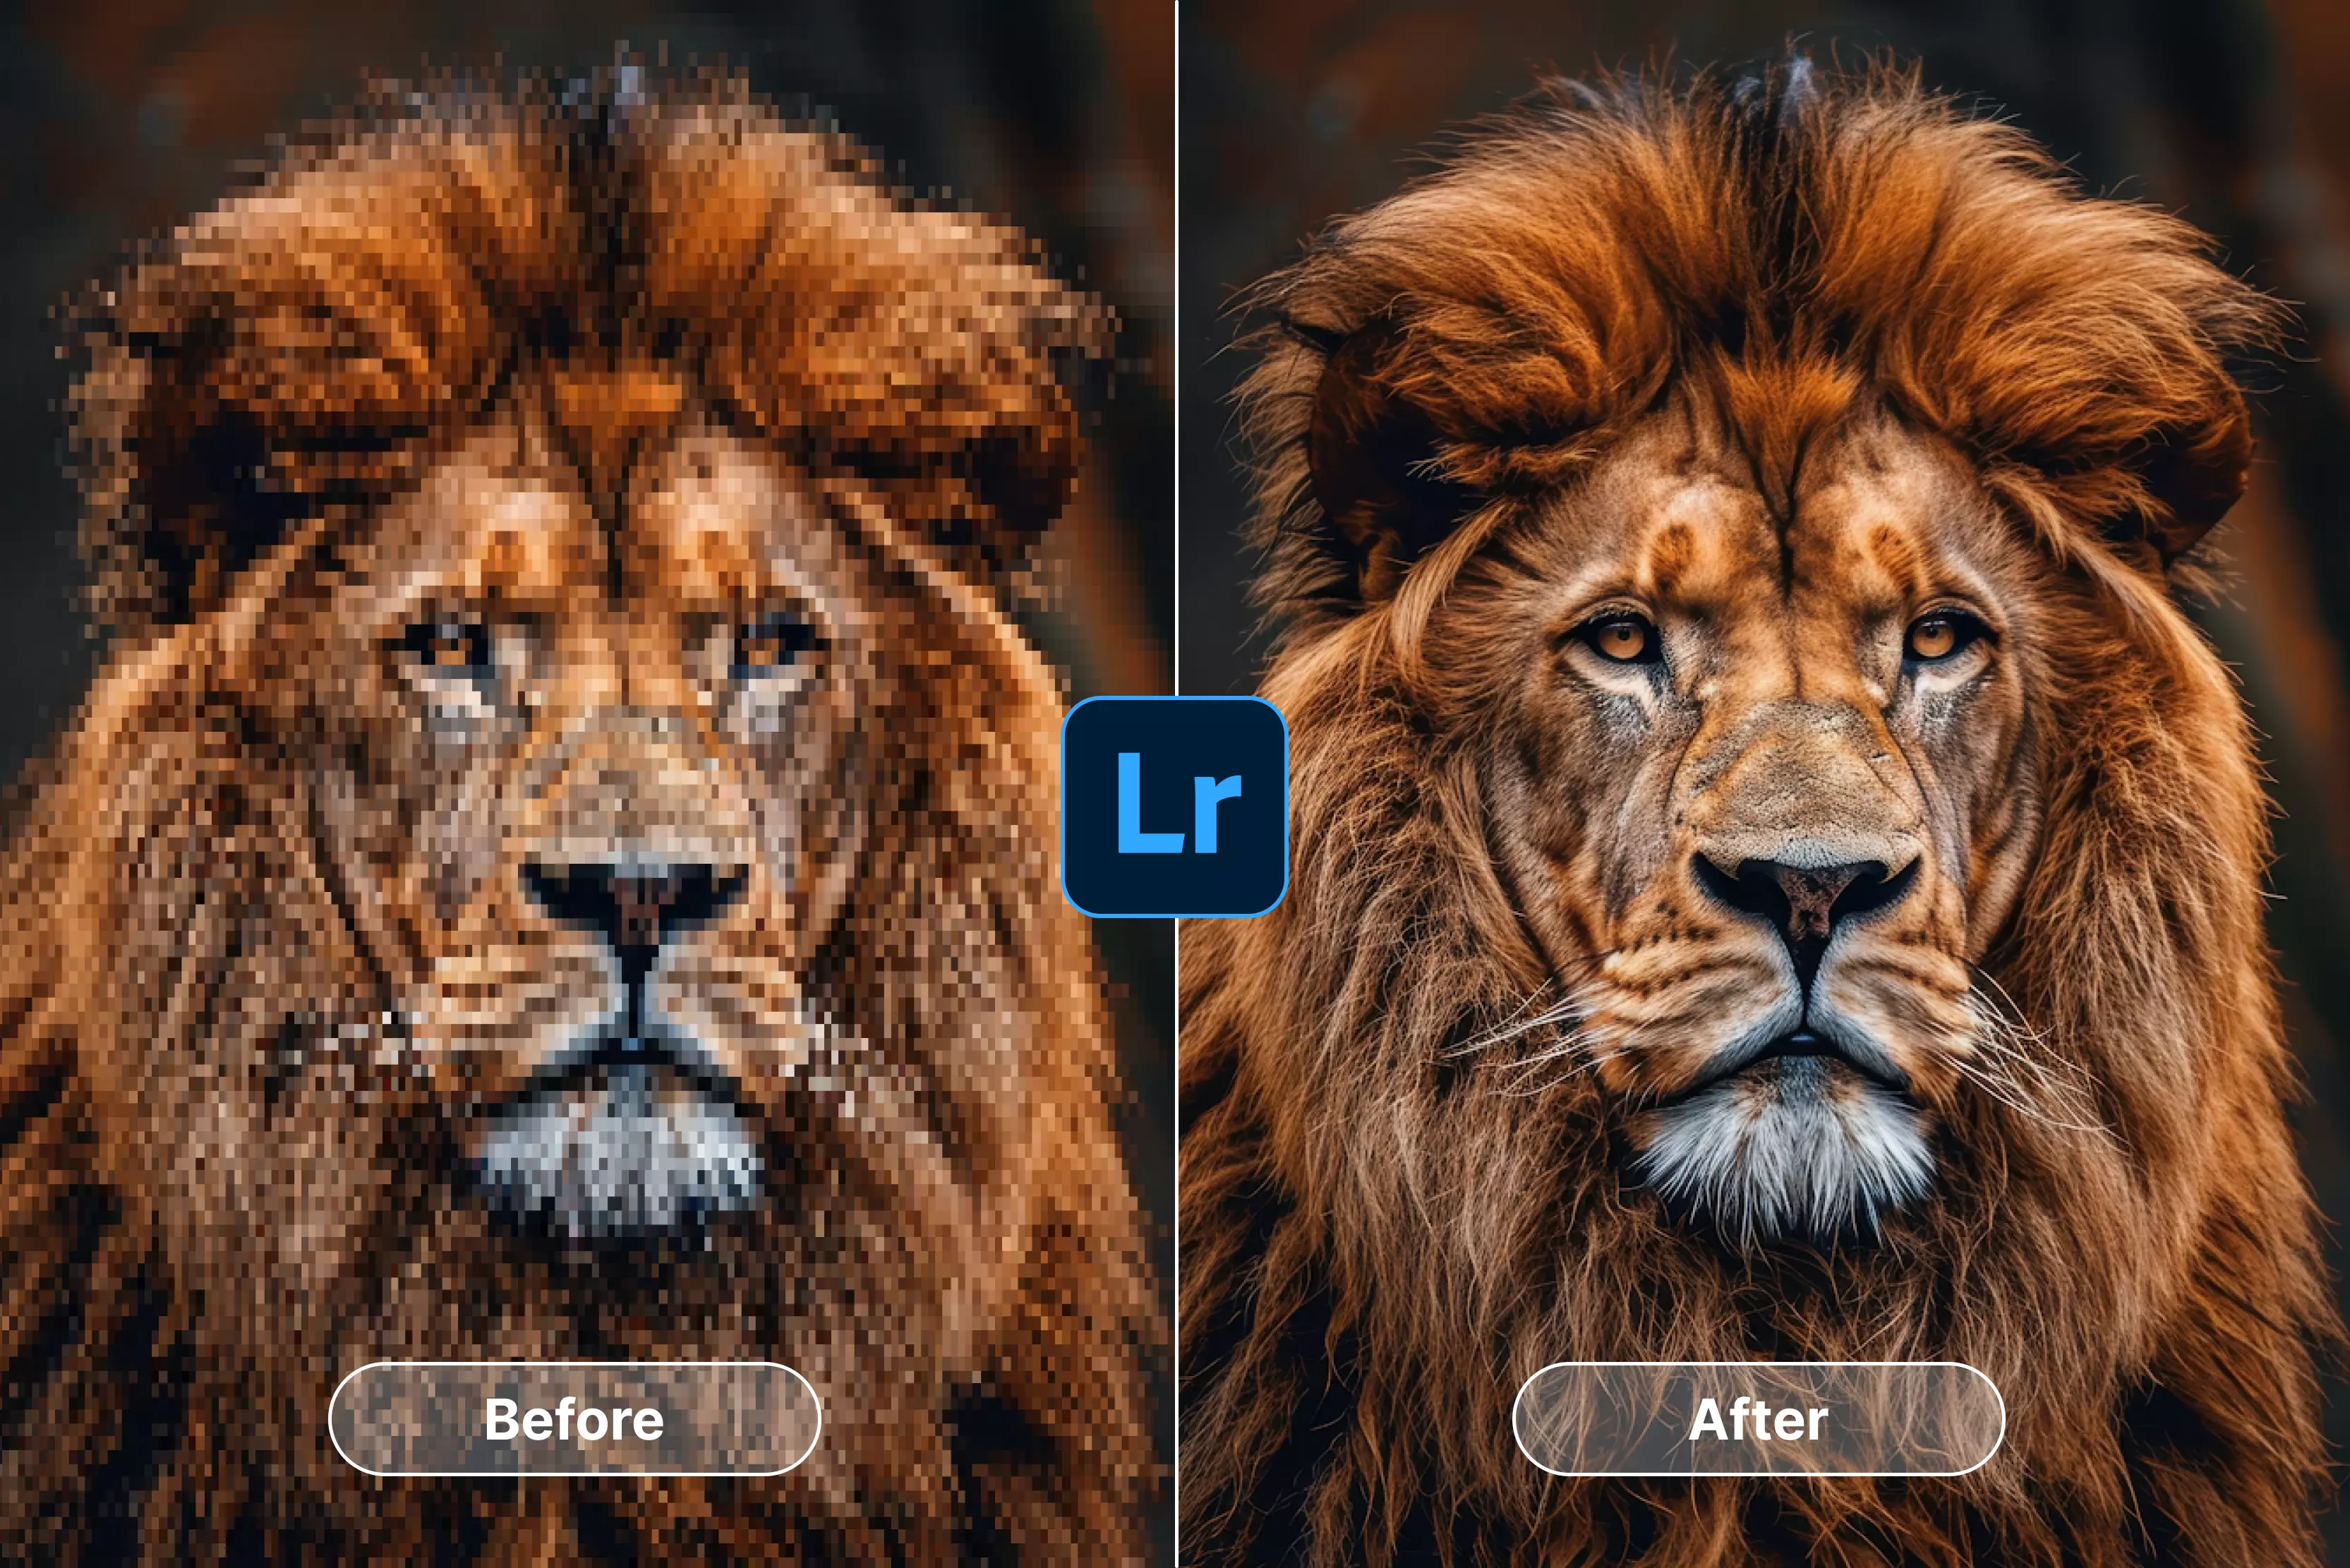
Image upscaling is the process of increasing the resolution of an image while enhancing its visual quality. AI-based upscaling uses learned patterns trained on millions of images to add realistic textures, sharpen edges, and preserve details.
Professionals need high-quality image upscaling to maintain clarity and details in the image. The below mentioned criteria offer the right ways to upscale an image to save time, improve user experience, and ensure a polished image upscale without using costly tools.
Must-know criteria for professionals to upscale the image
- Downloaded image quality: The upscaled image should be of 4K, 8K, or higher quality.
- Different image format support: The image upscale tool should support various image formats, including RAW, PNG, JPEG, PSD, and others.
- Batch processing for heavy work: Ideal for developers and graphic designers who handle a large number of images daily.
- Processing speed and cloud compatibility: Tools should integrate with existing workflows and offer fast processing.
Comparison table of the top upscale image tools for professionals
Top upscale image tools for professionals
Let’s break down the top 7 tools, what features make each of them the best, and how you can use them to get professional-level results:
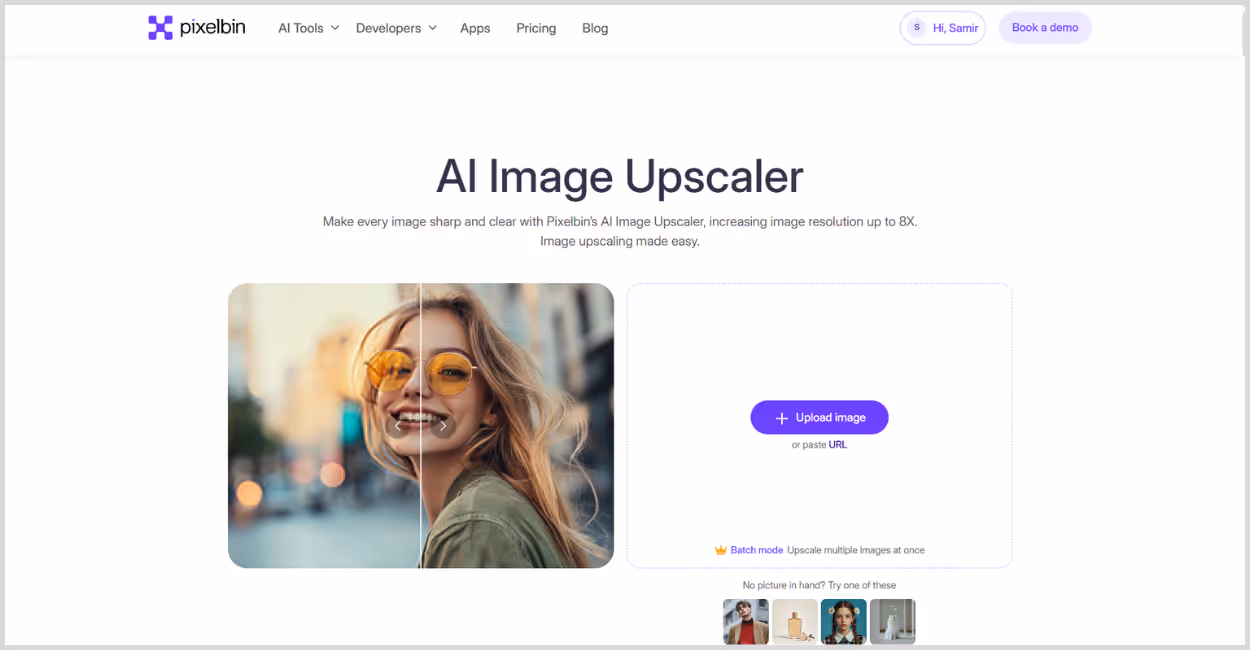
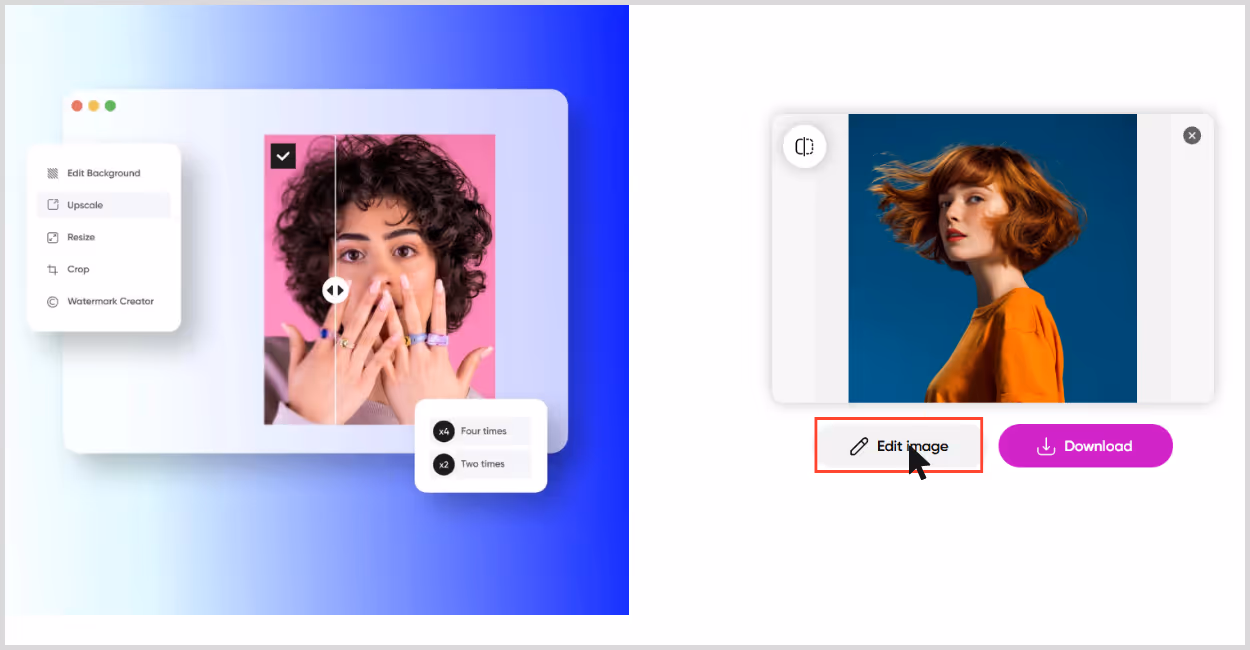
1. AI image upscaler by Pixelbin

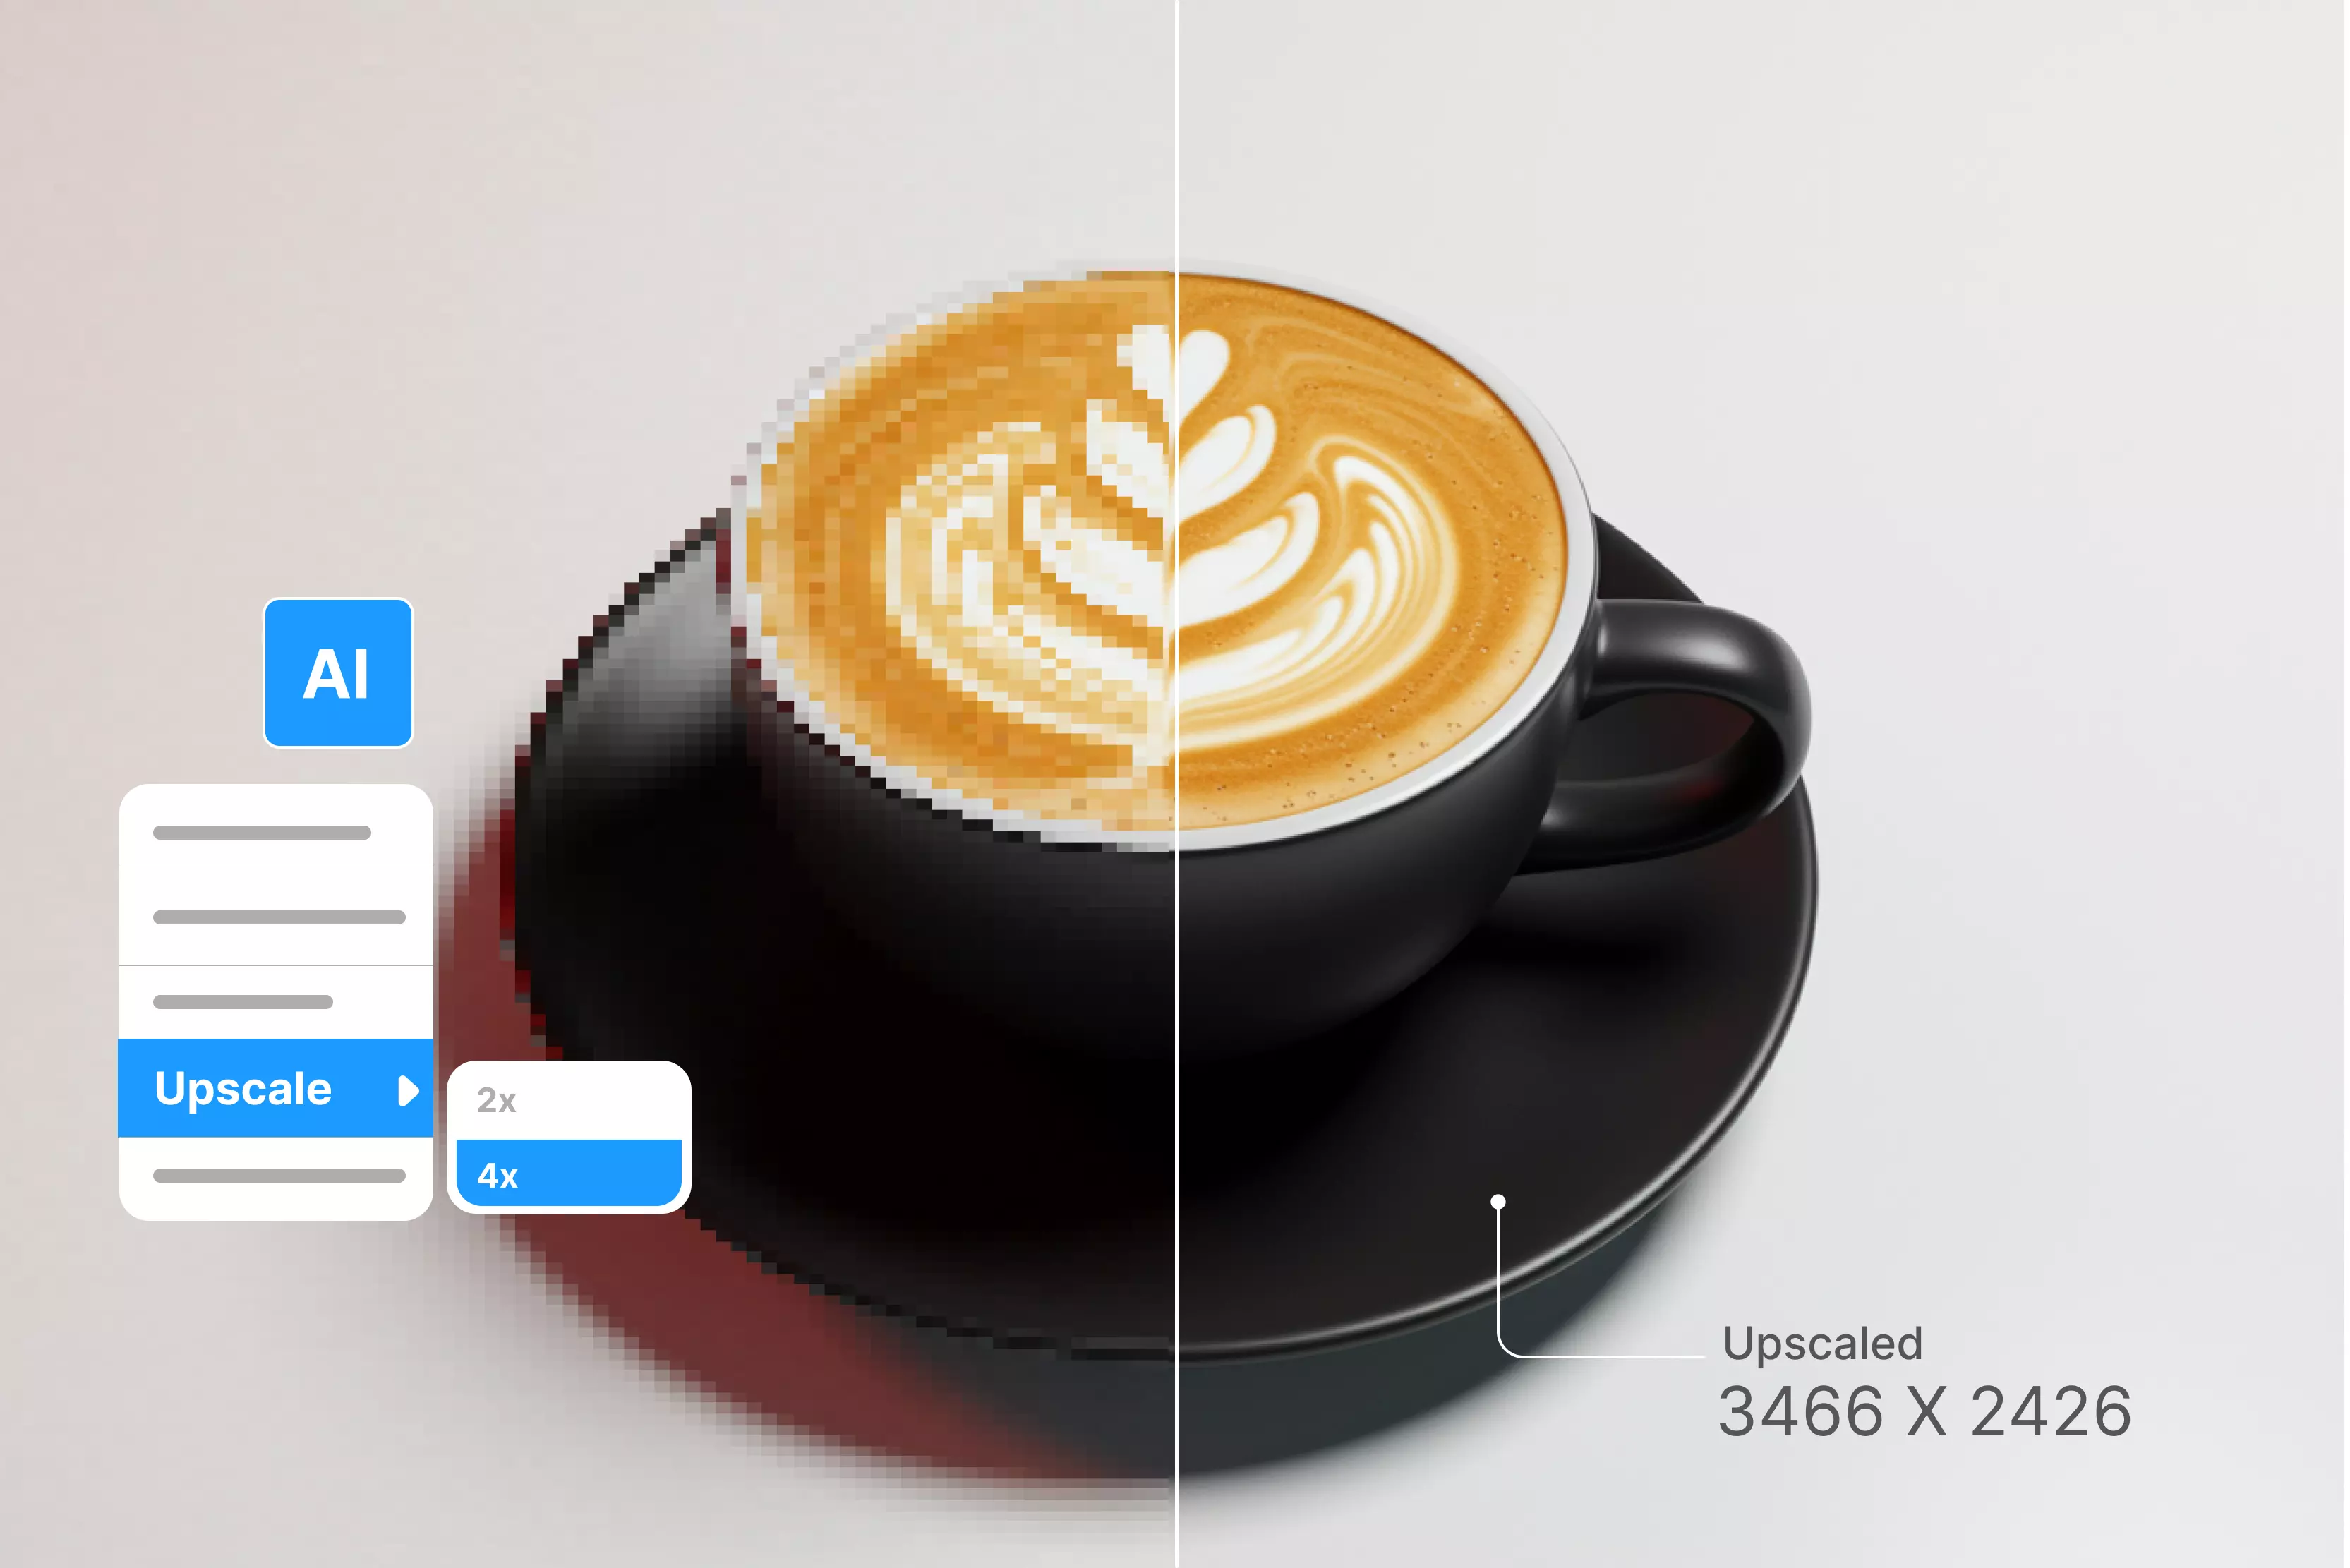
When testing out tools for this blog, I made sure to visit one of my go-to platforms: Pixelbin. It's a tool I keep coming back to, especially when I need clean, AI-assisted upscaling without compromising speed or quality.
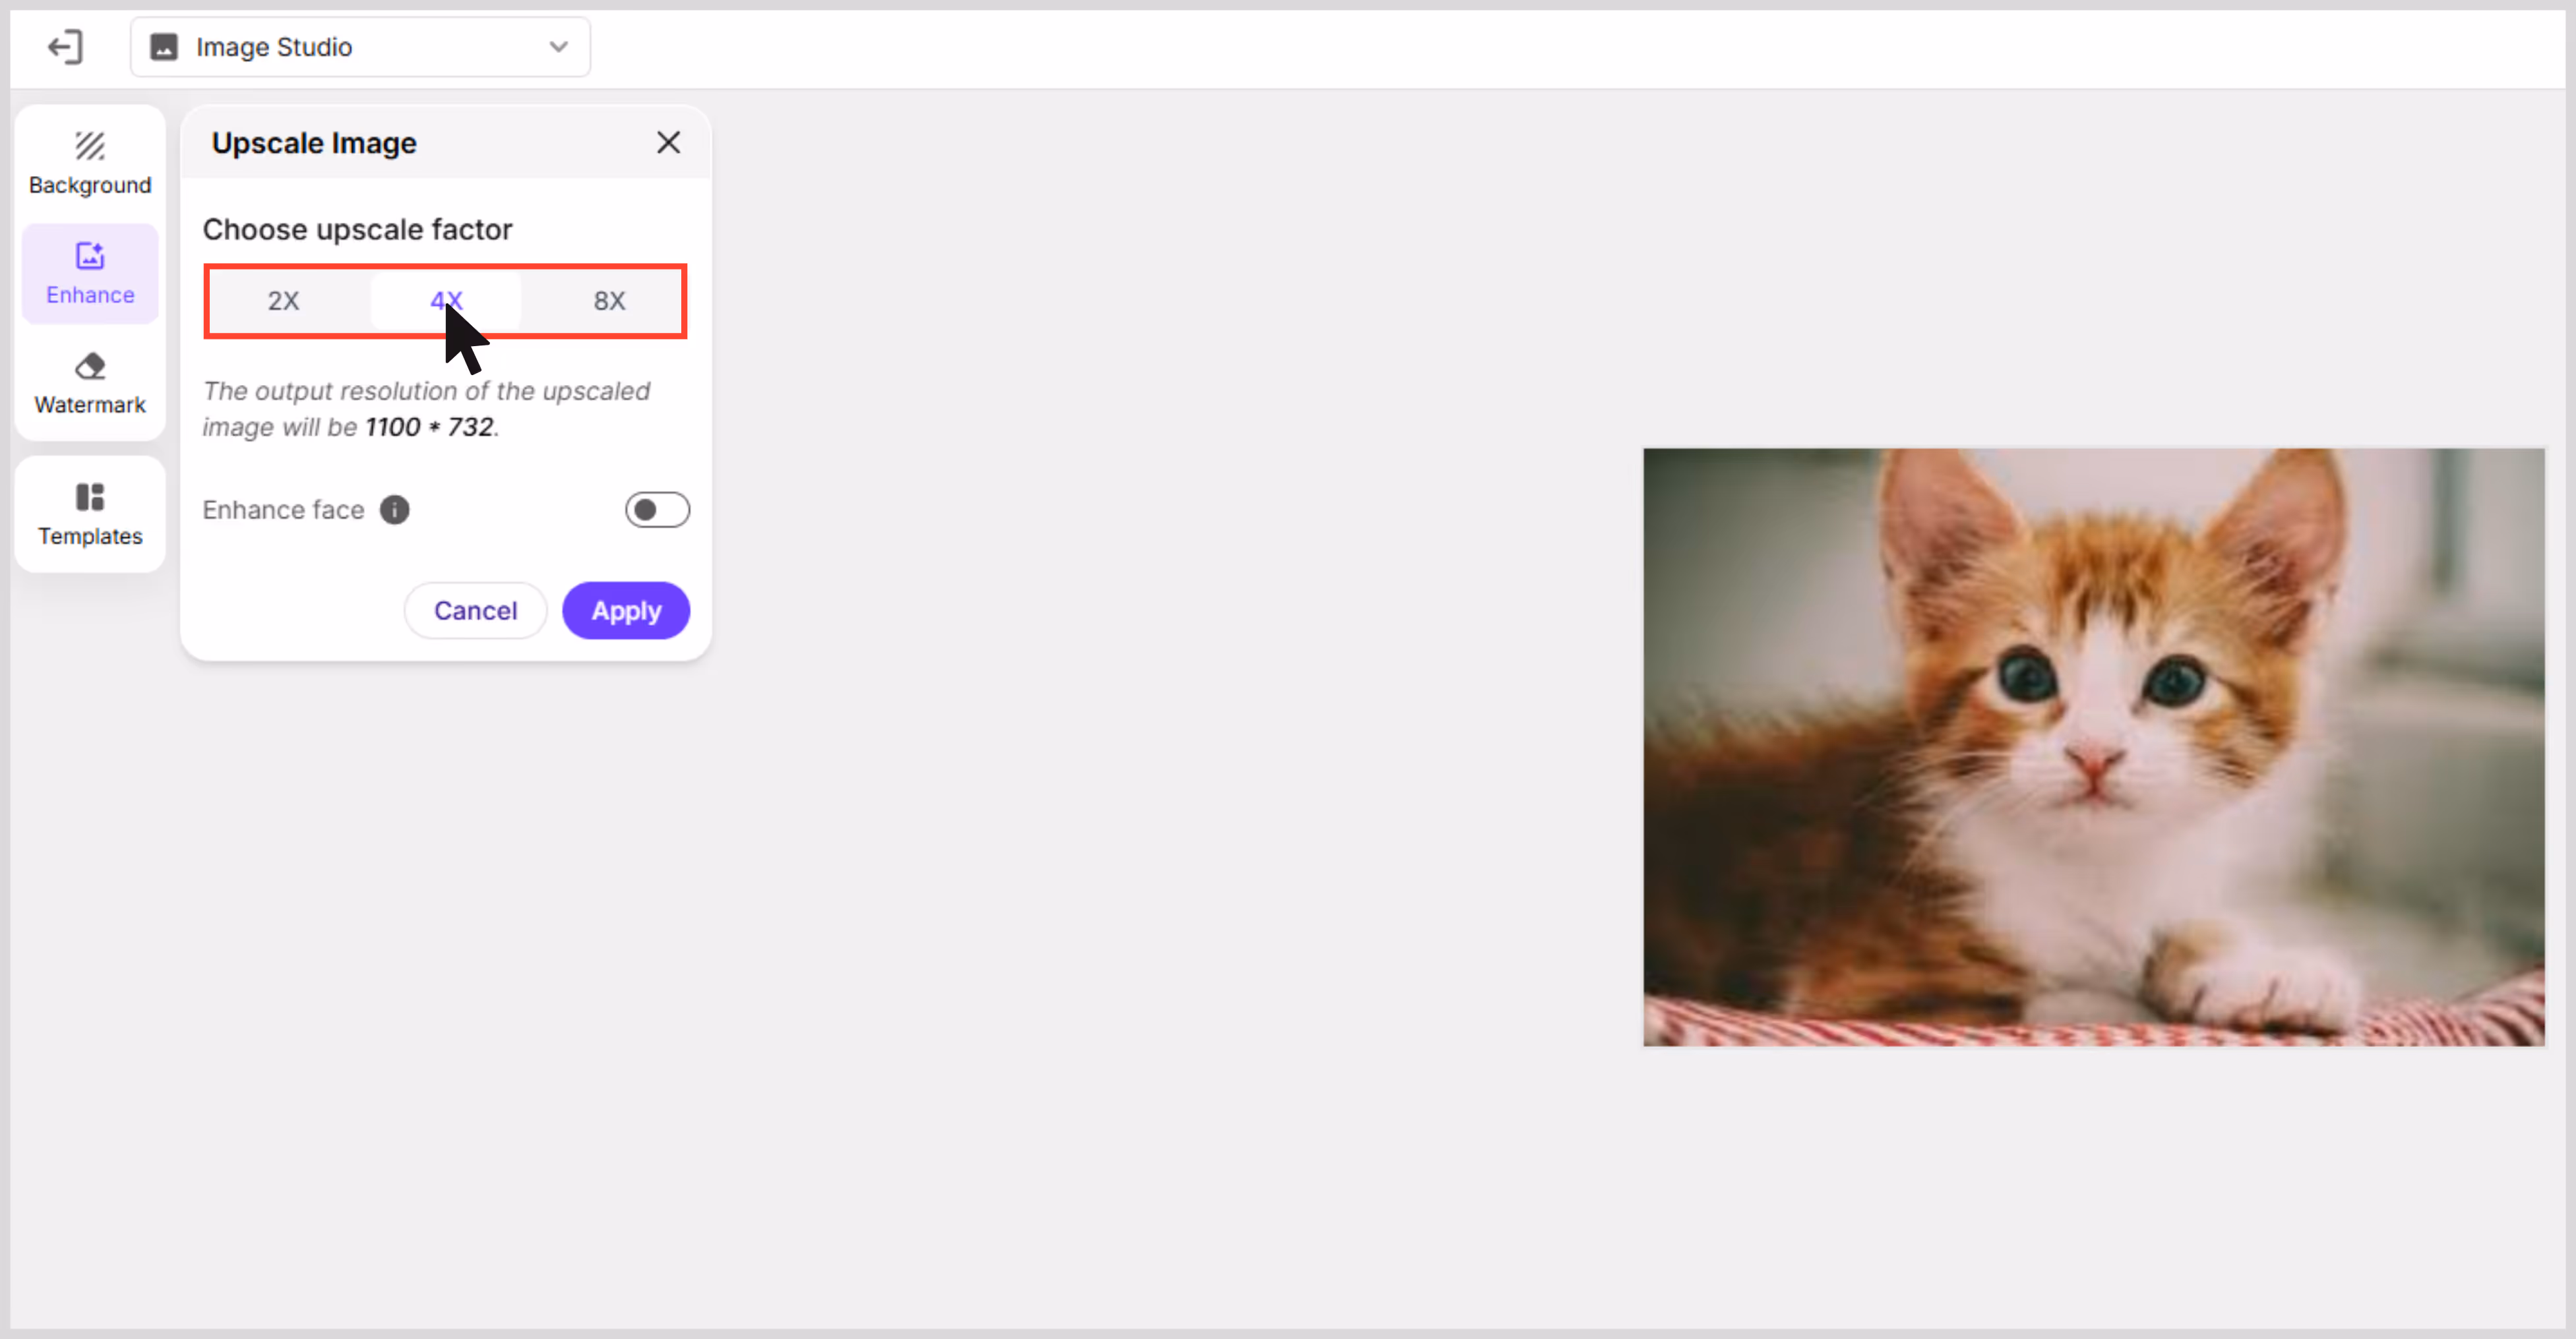
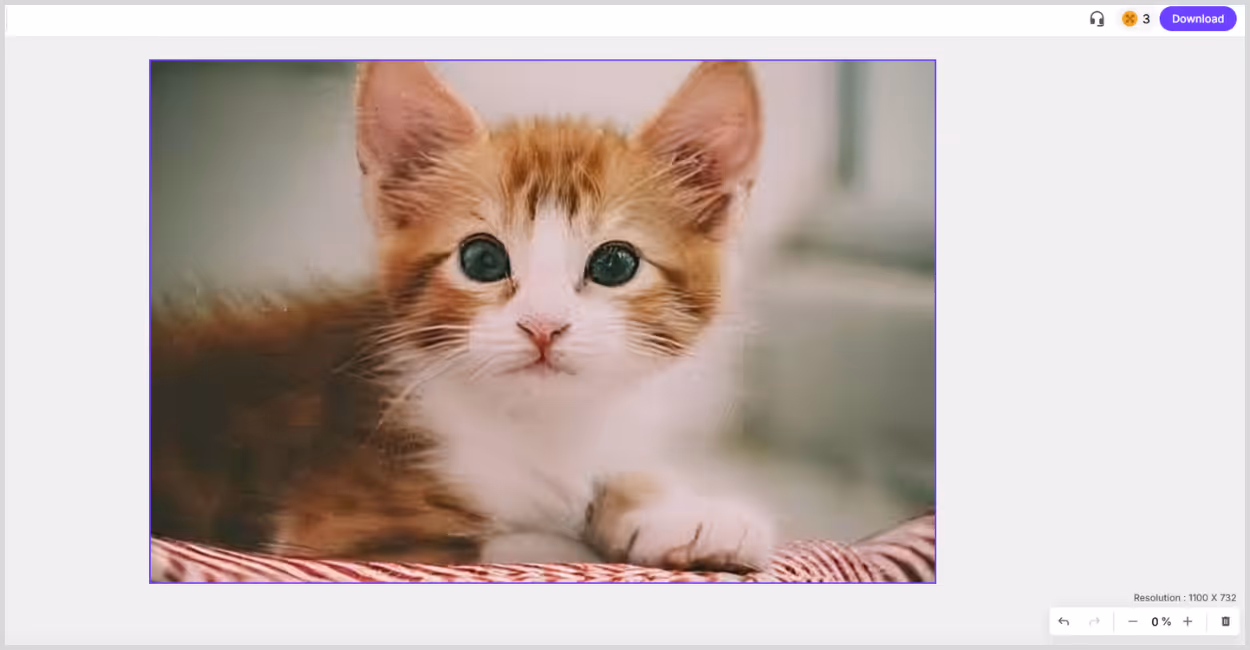
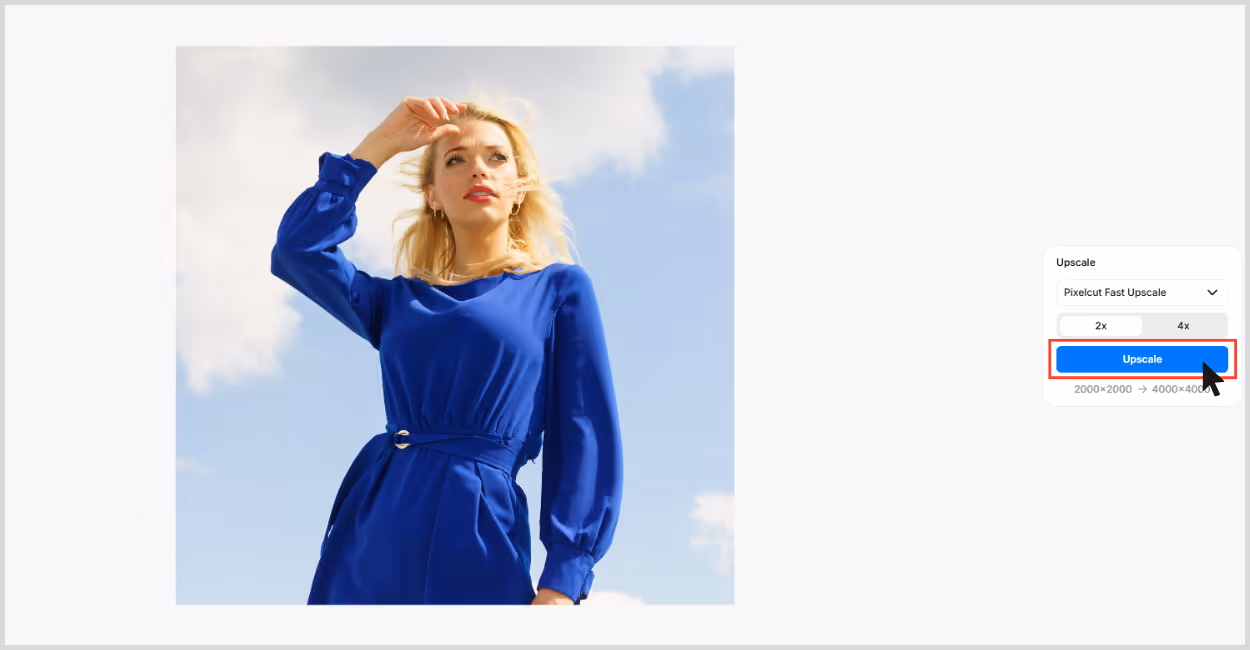
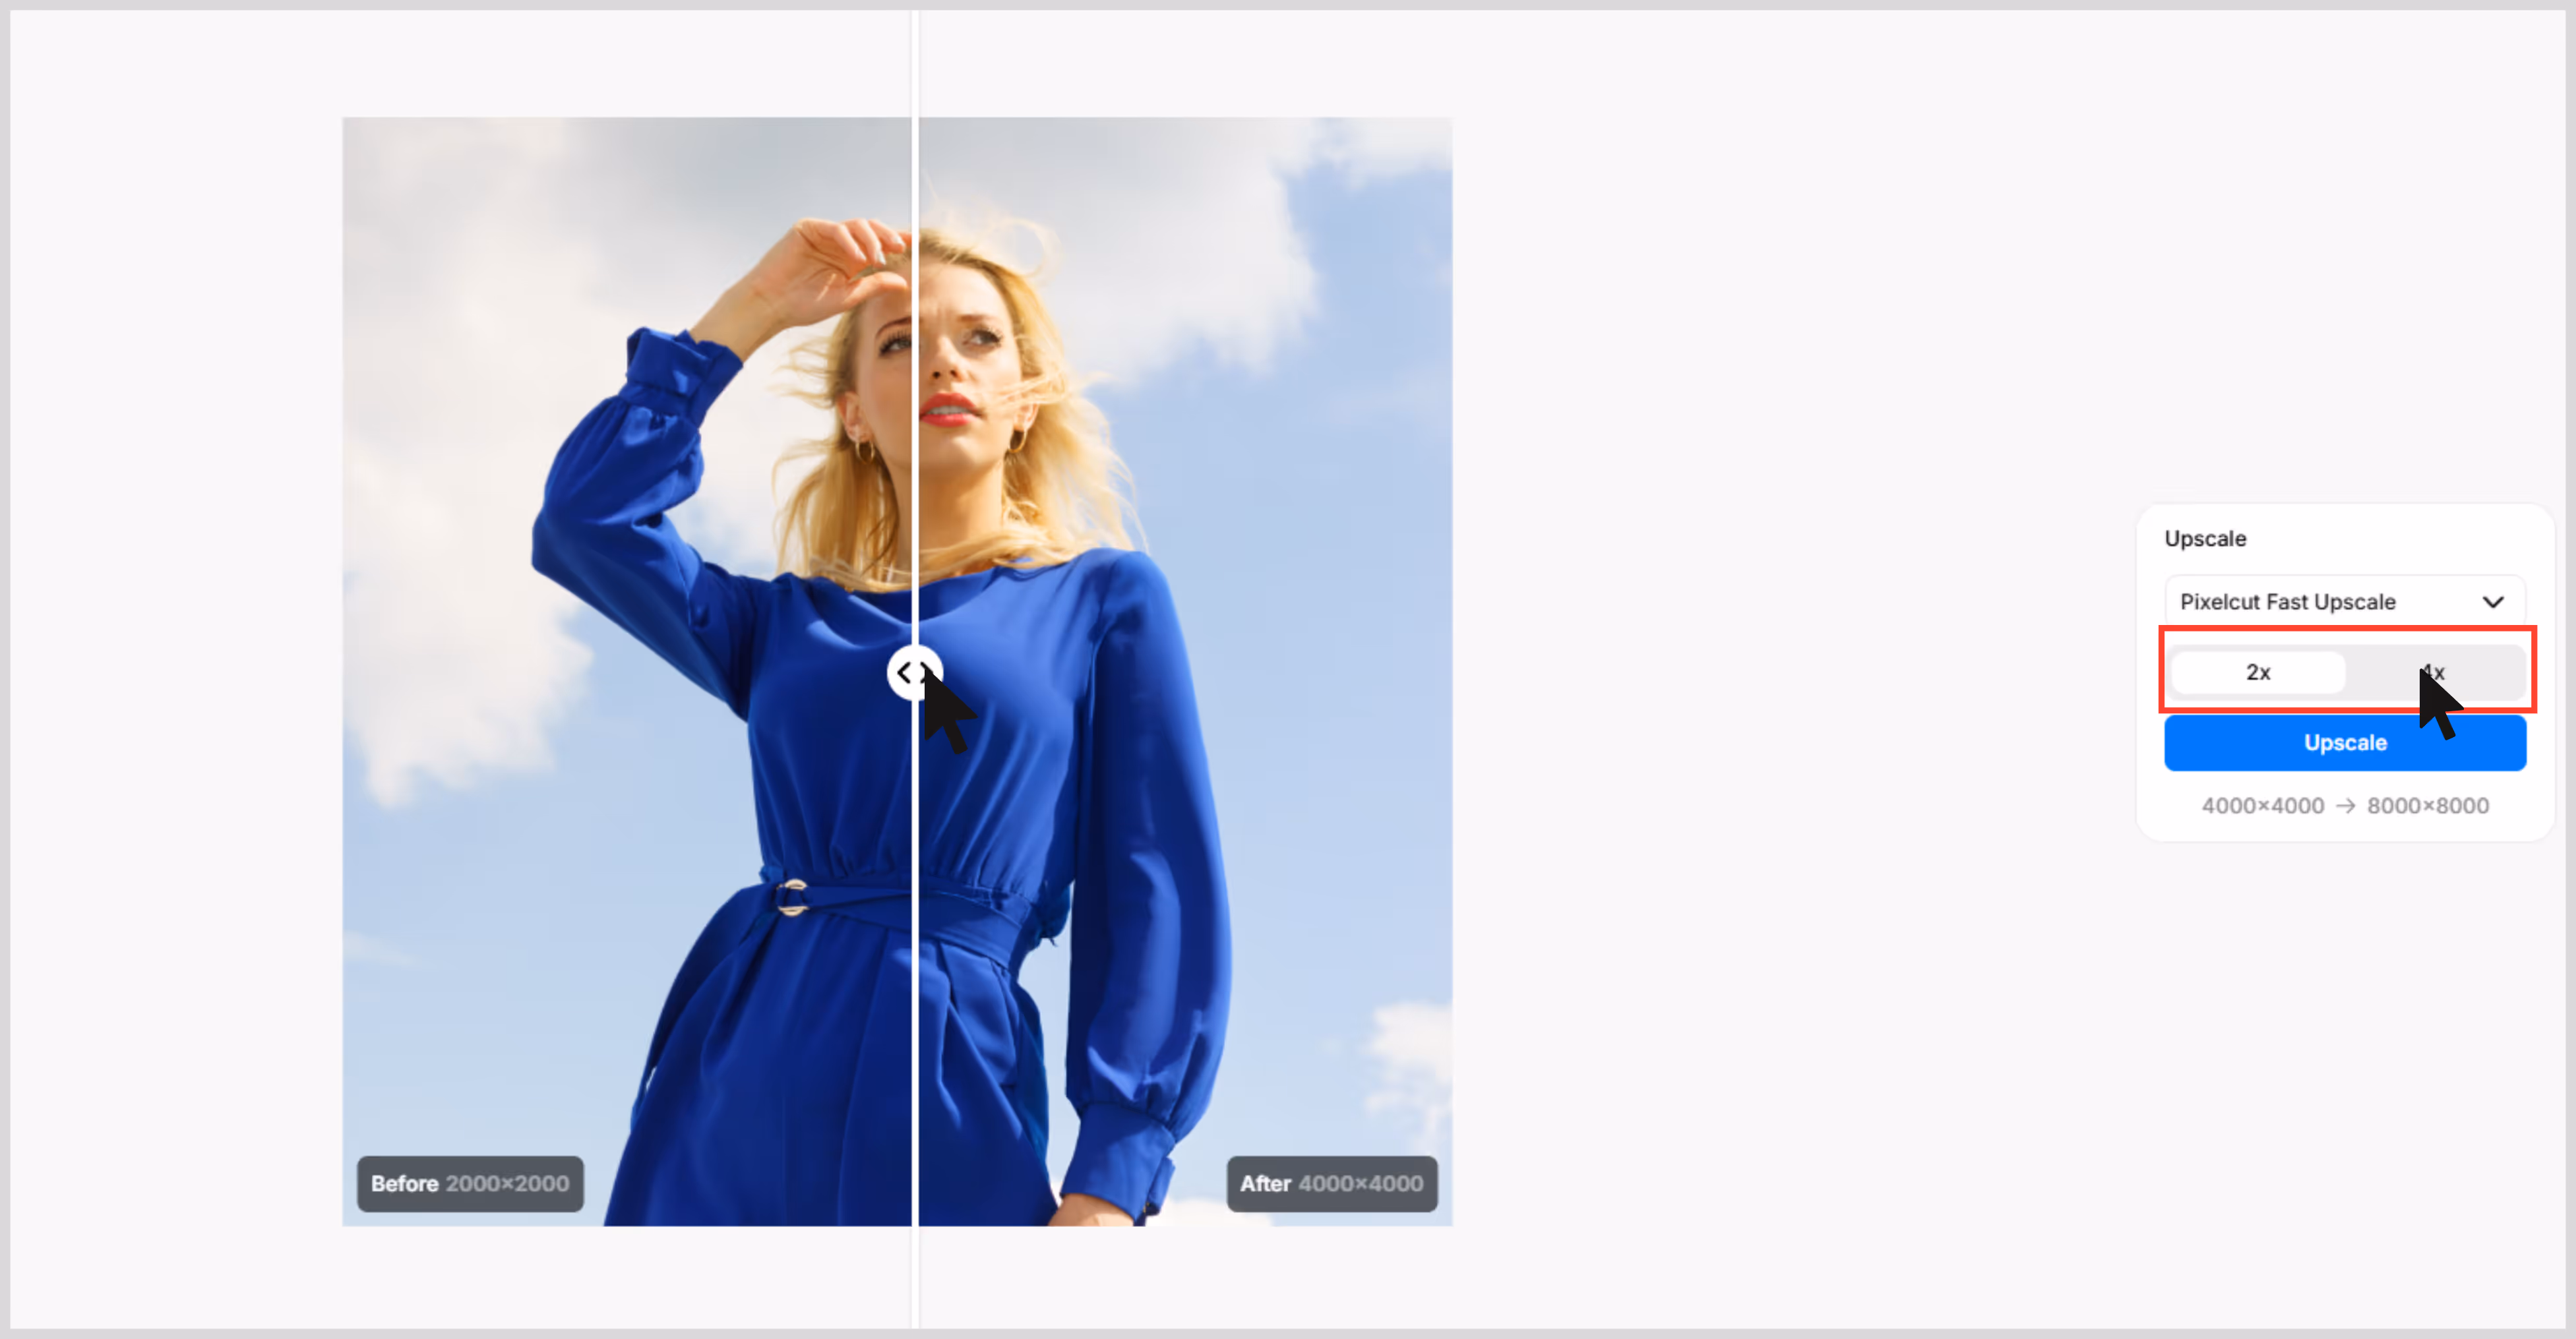
For this test, I picked a low-res portrait with soft focus. Using Pixelbin’s 4x upscale, the image was scaled up to 4K resolution, and the improvement was immediately visible. Removes noise and grainy texture by not just stretching pixels, but also enhancing missing details.
Pixelbin allows you to upscale by 2x, 4x, or 8x, meaning you can technically achieve 8K resolution if your base image is large enough — a significant advantage for professionals. What I loved about the tool:
- Free credits on sign-up to try 4x or 8x scale size.
- Clean, beginner-friendly interface.
- Batch processing support for developers and teams.
- Quality preservation.
- Supports JPG, PNG, and WebP formats.
- API access.
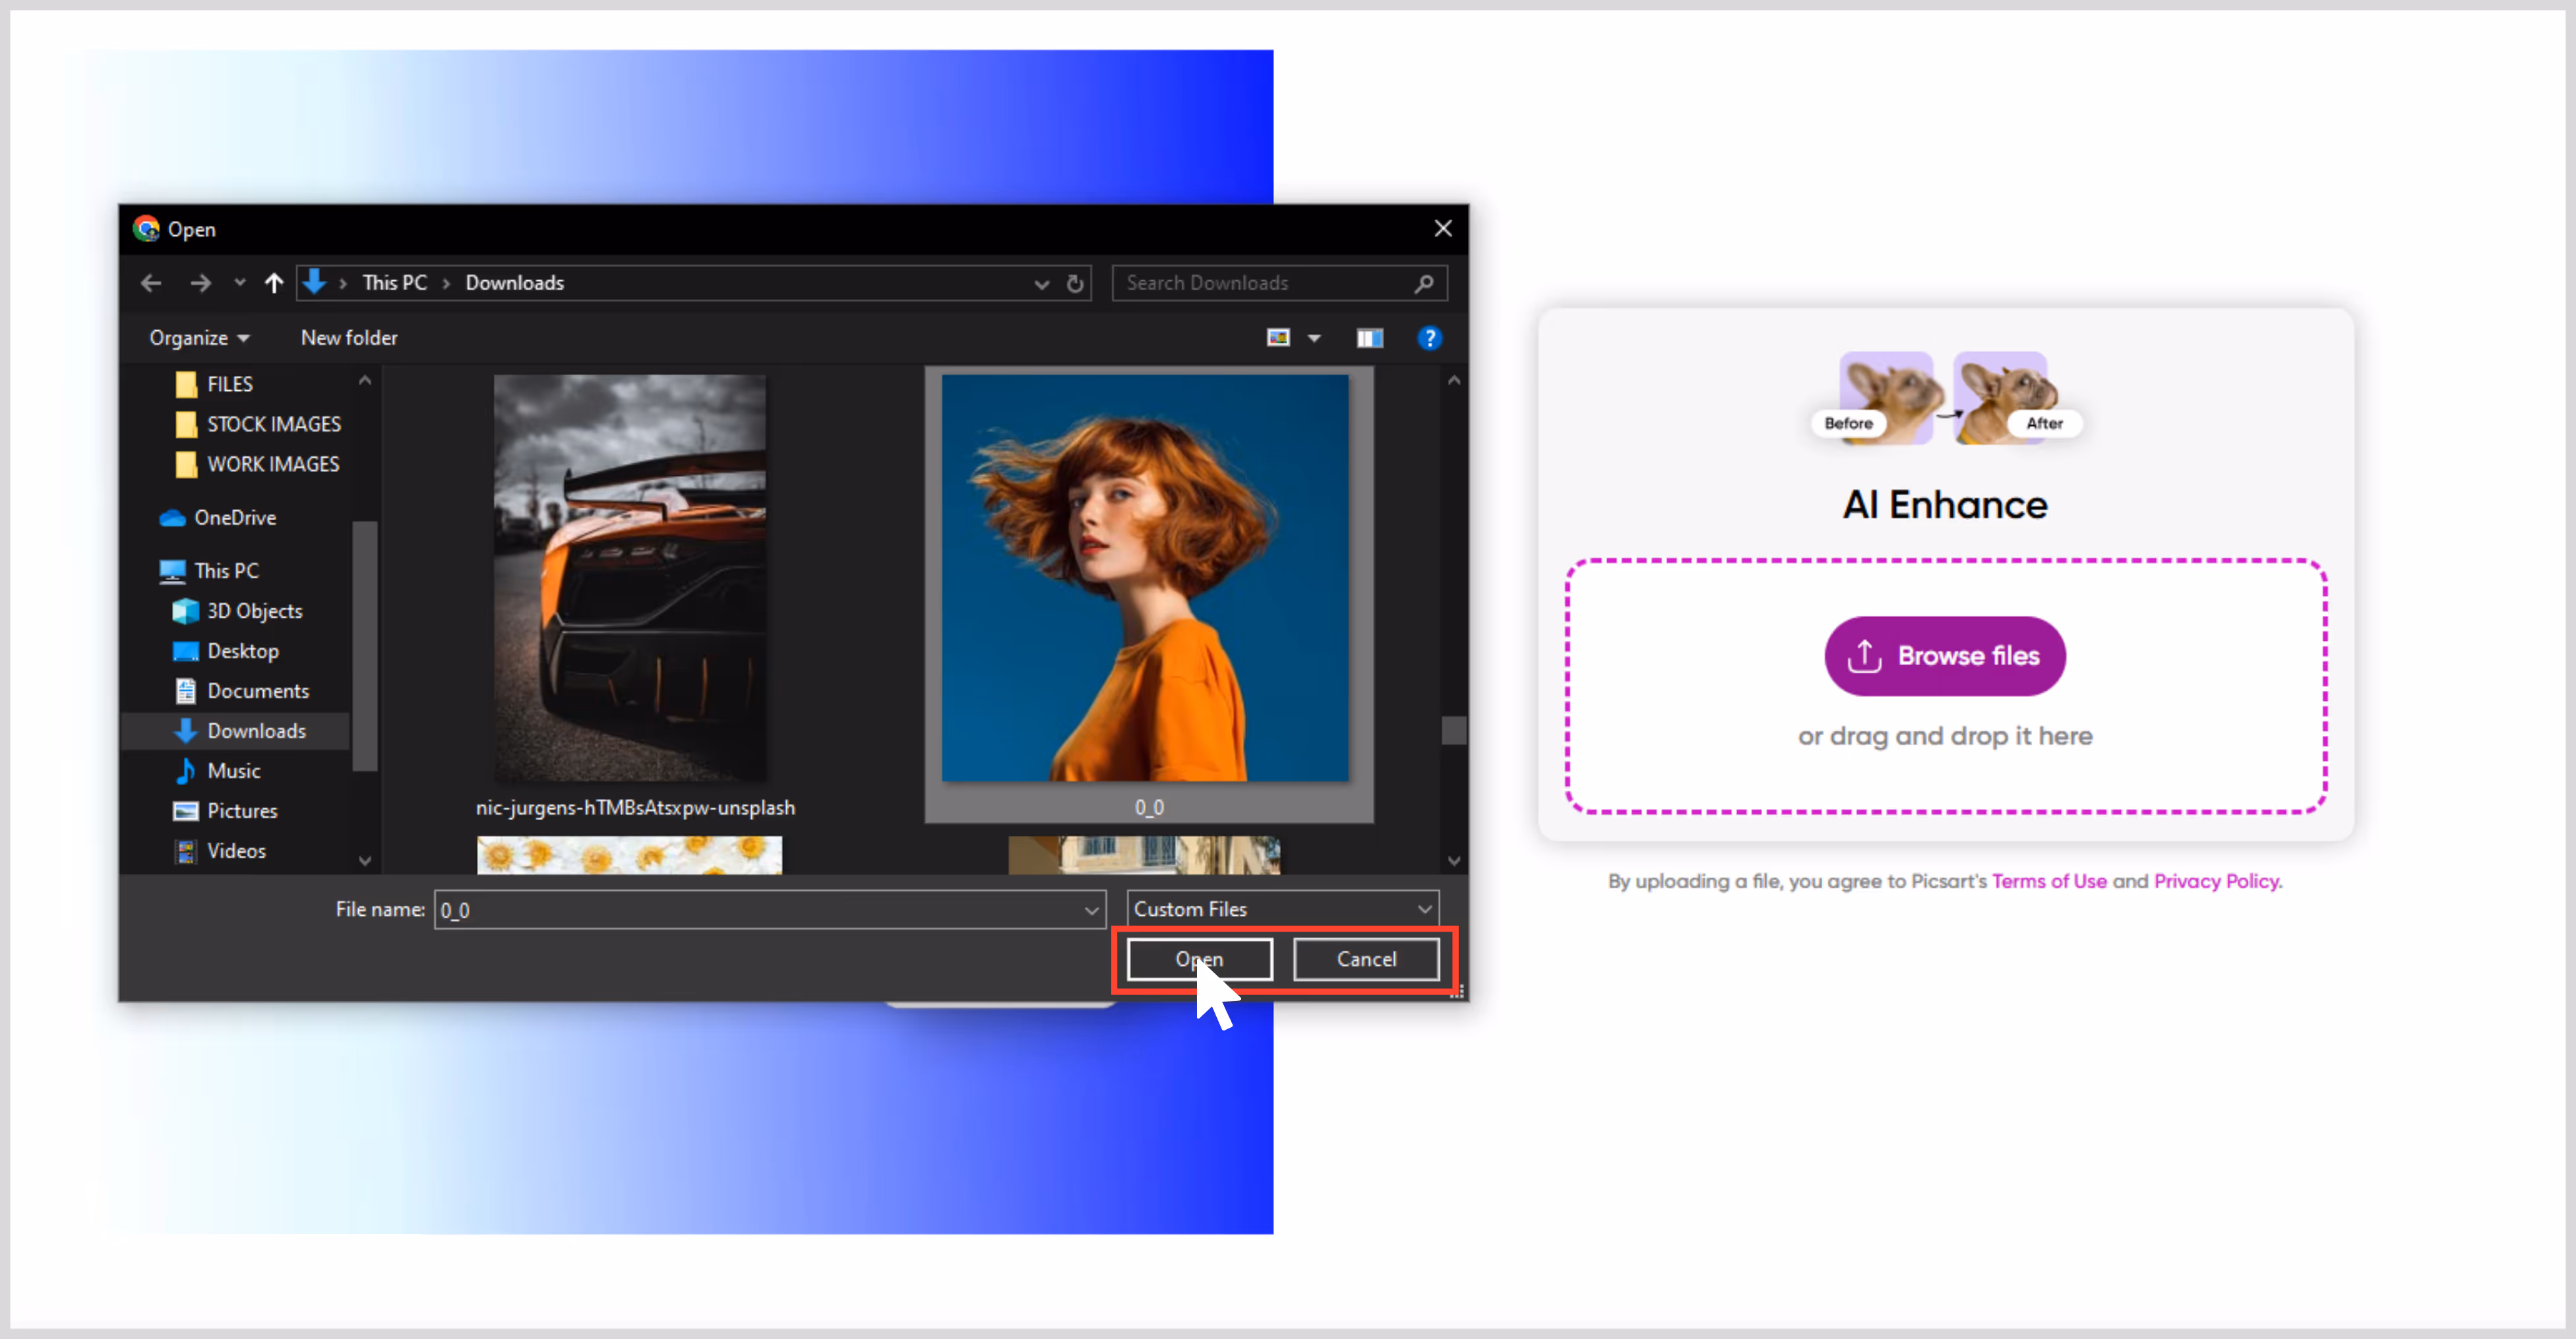
Steps to upscale the image with Pixelbin:
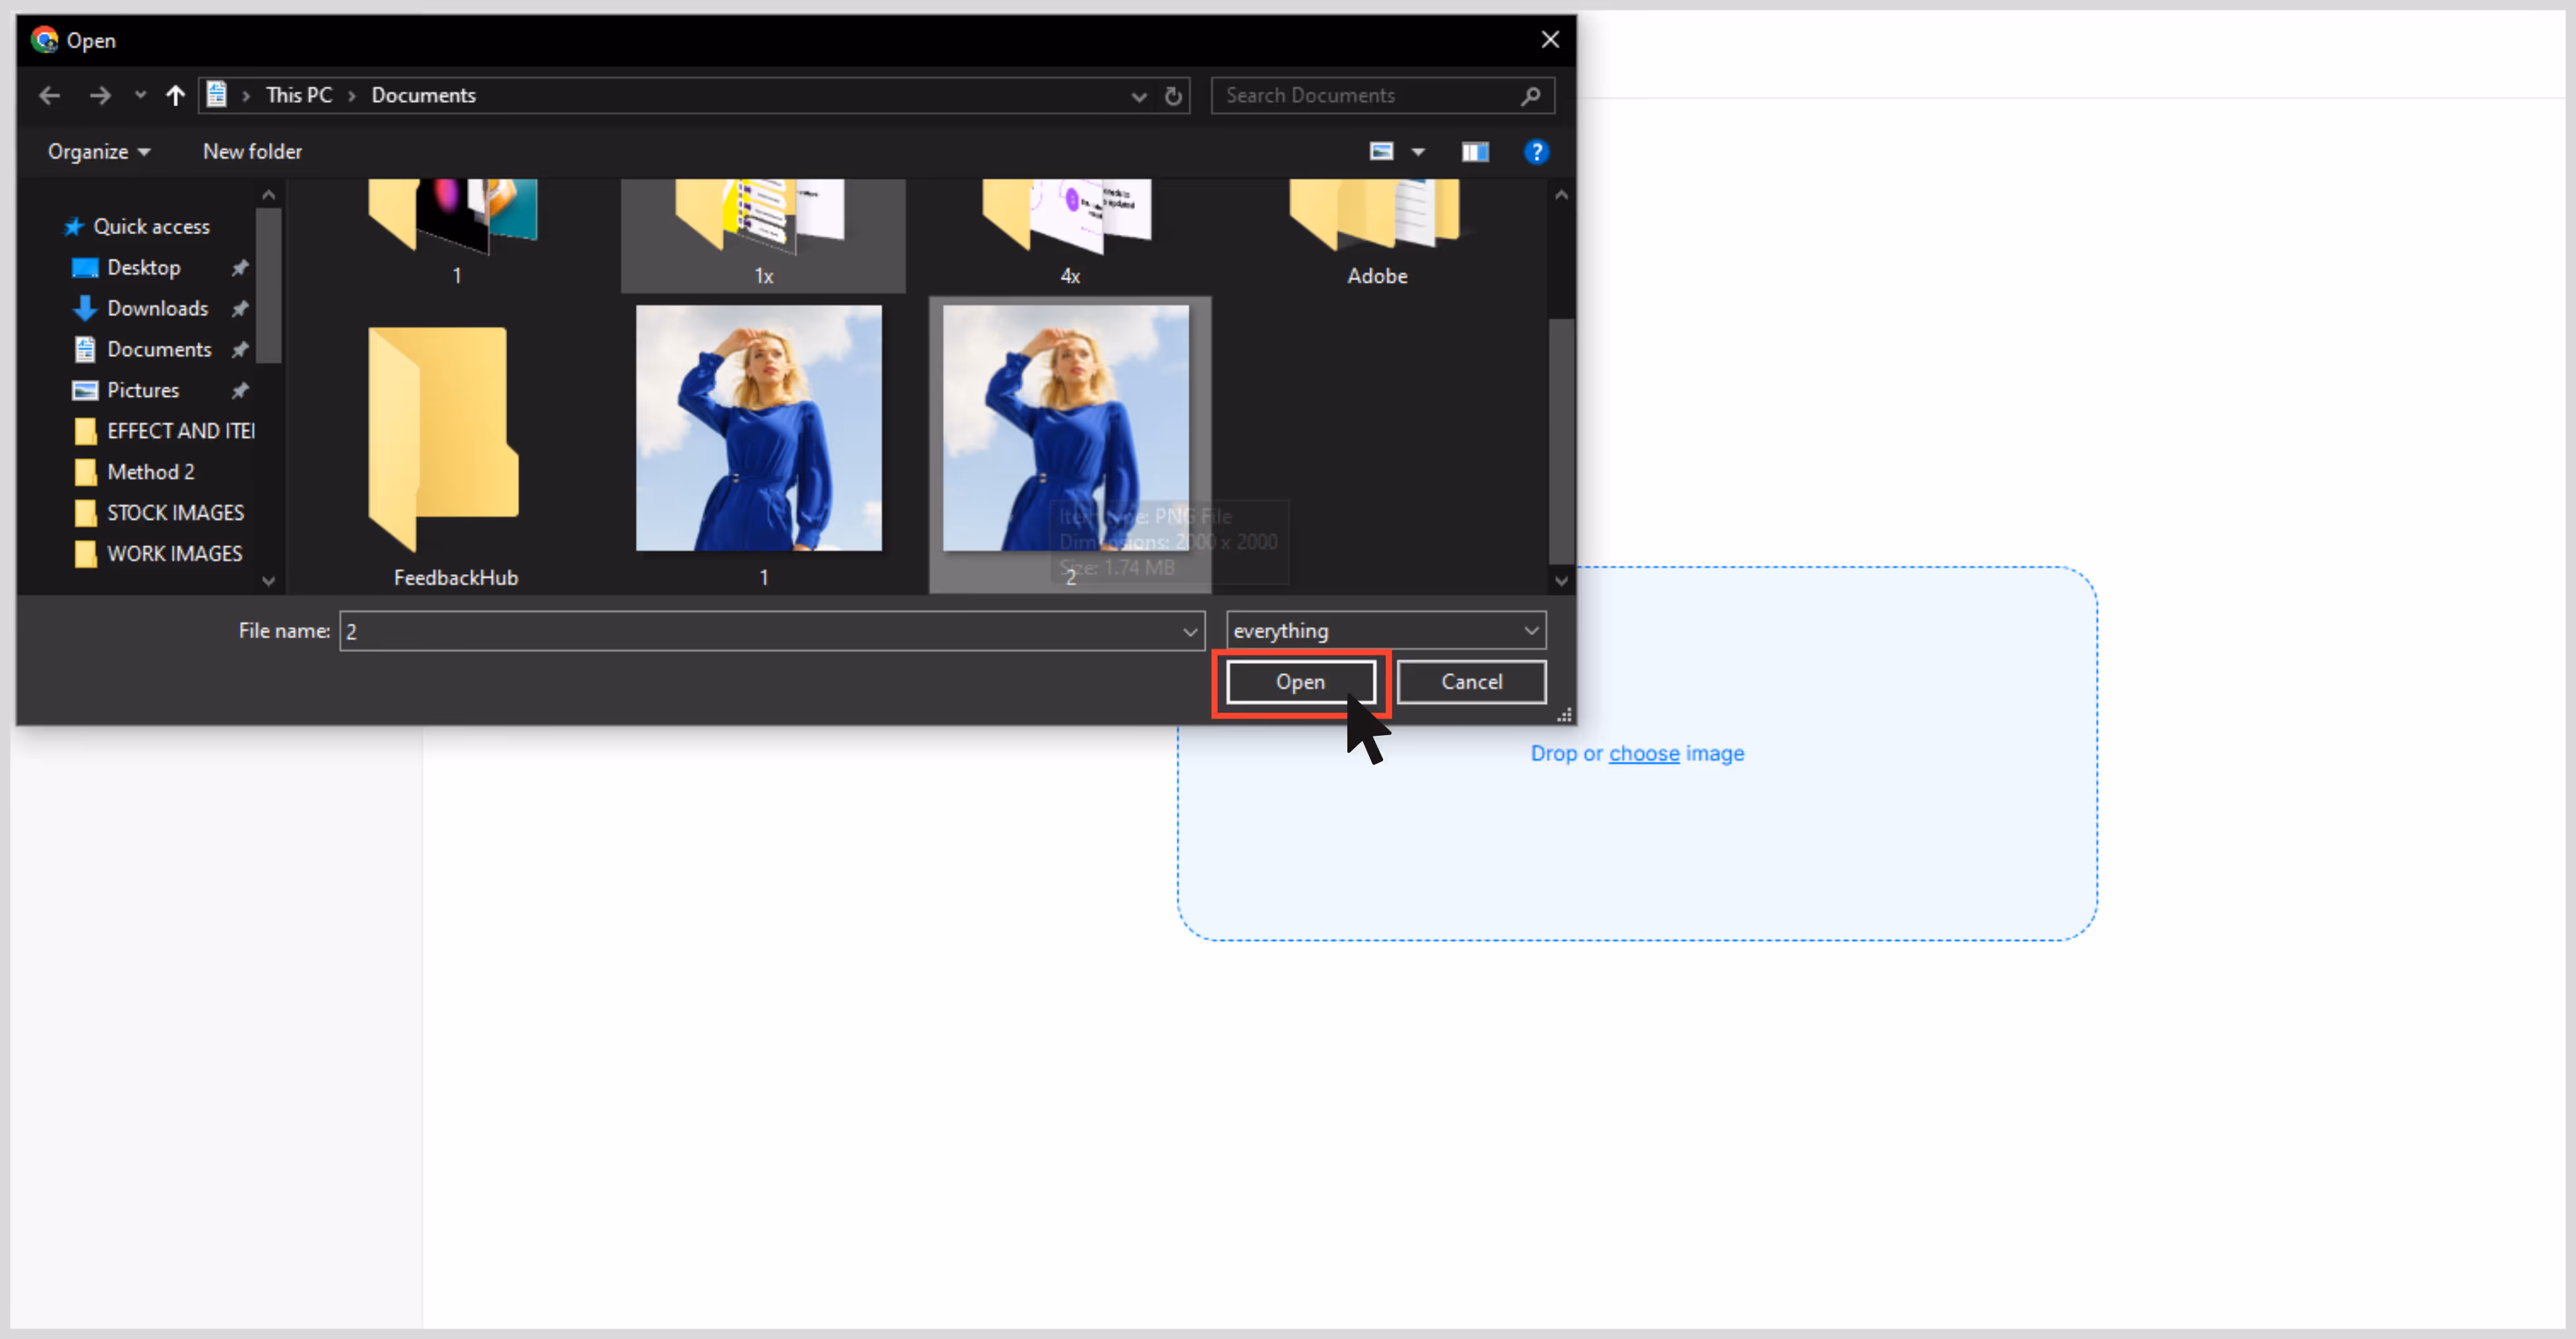
Step 1: Go to Pixelbin.io
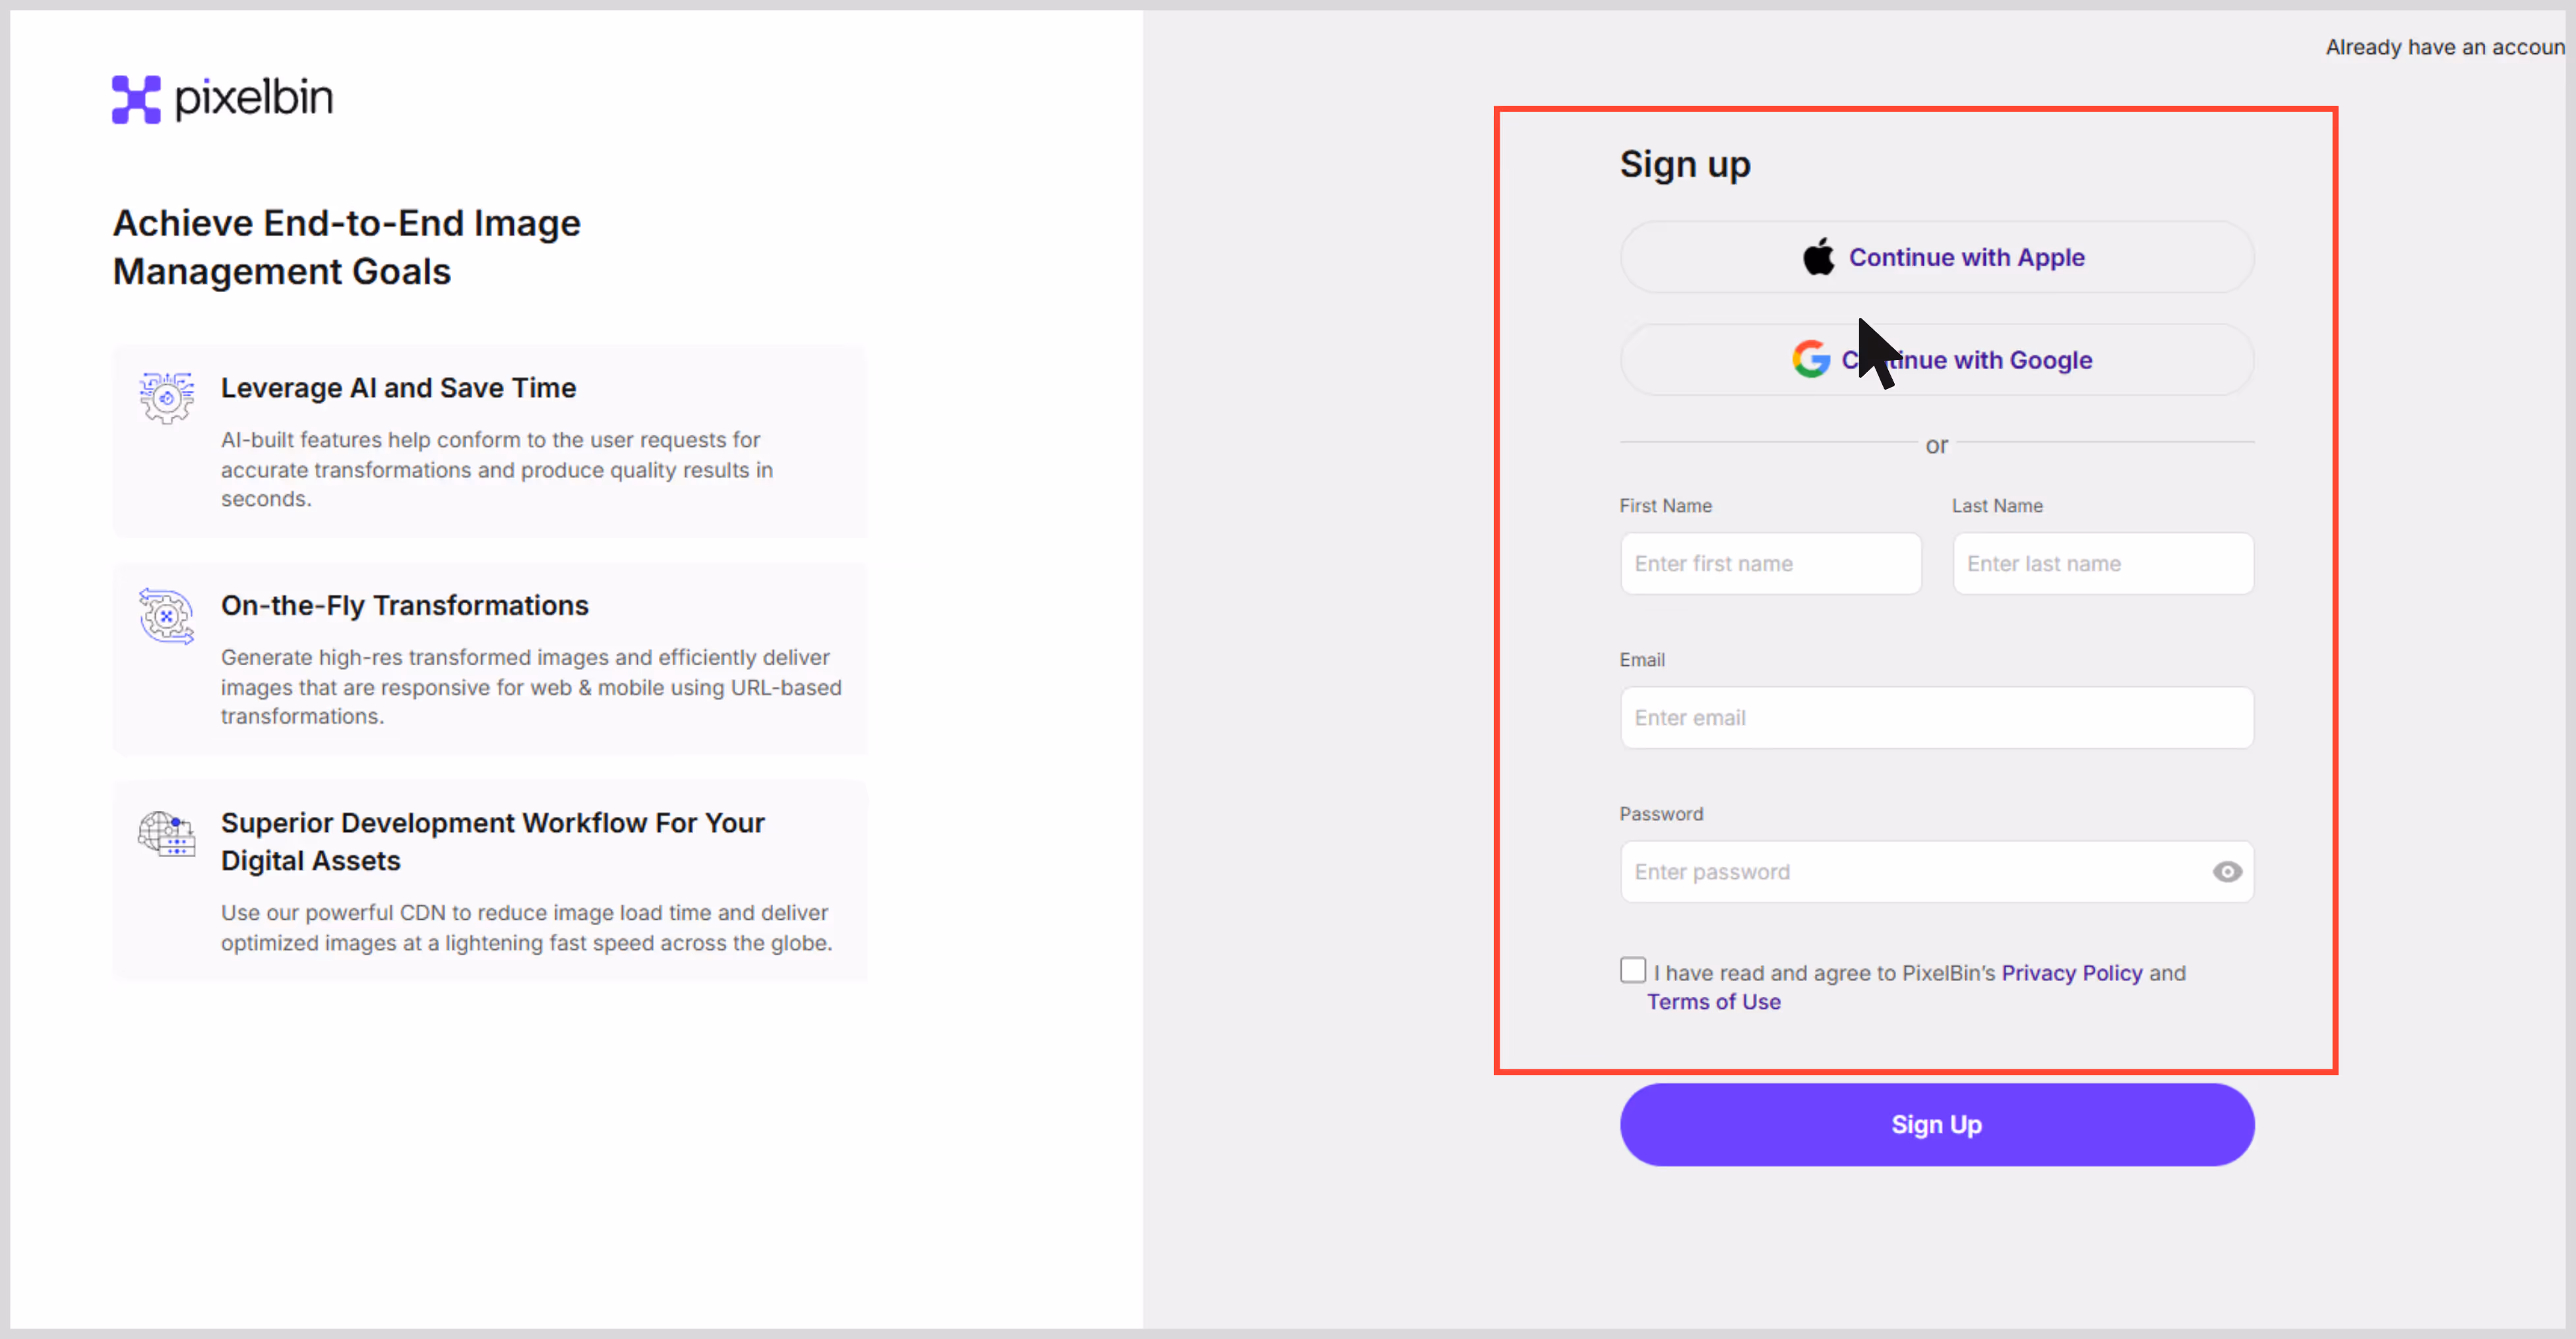
Step 2: Sign up (to get free credits to try all the image scales).
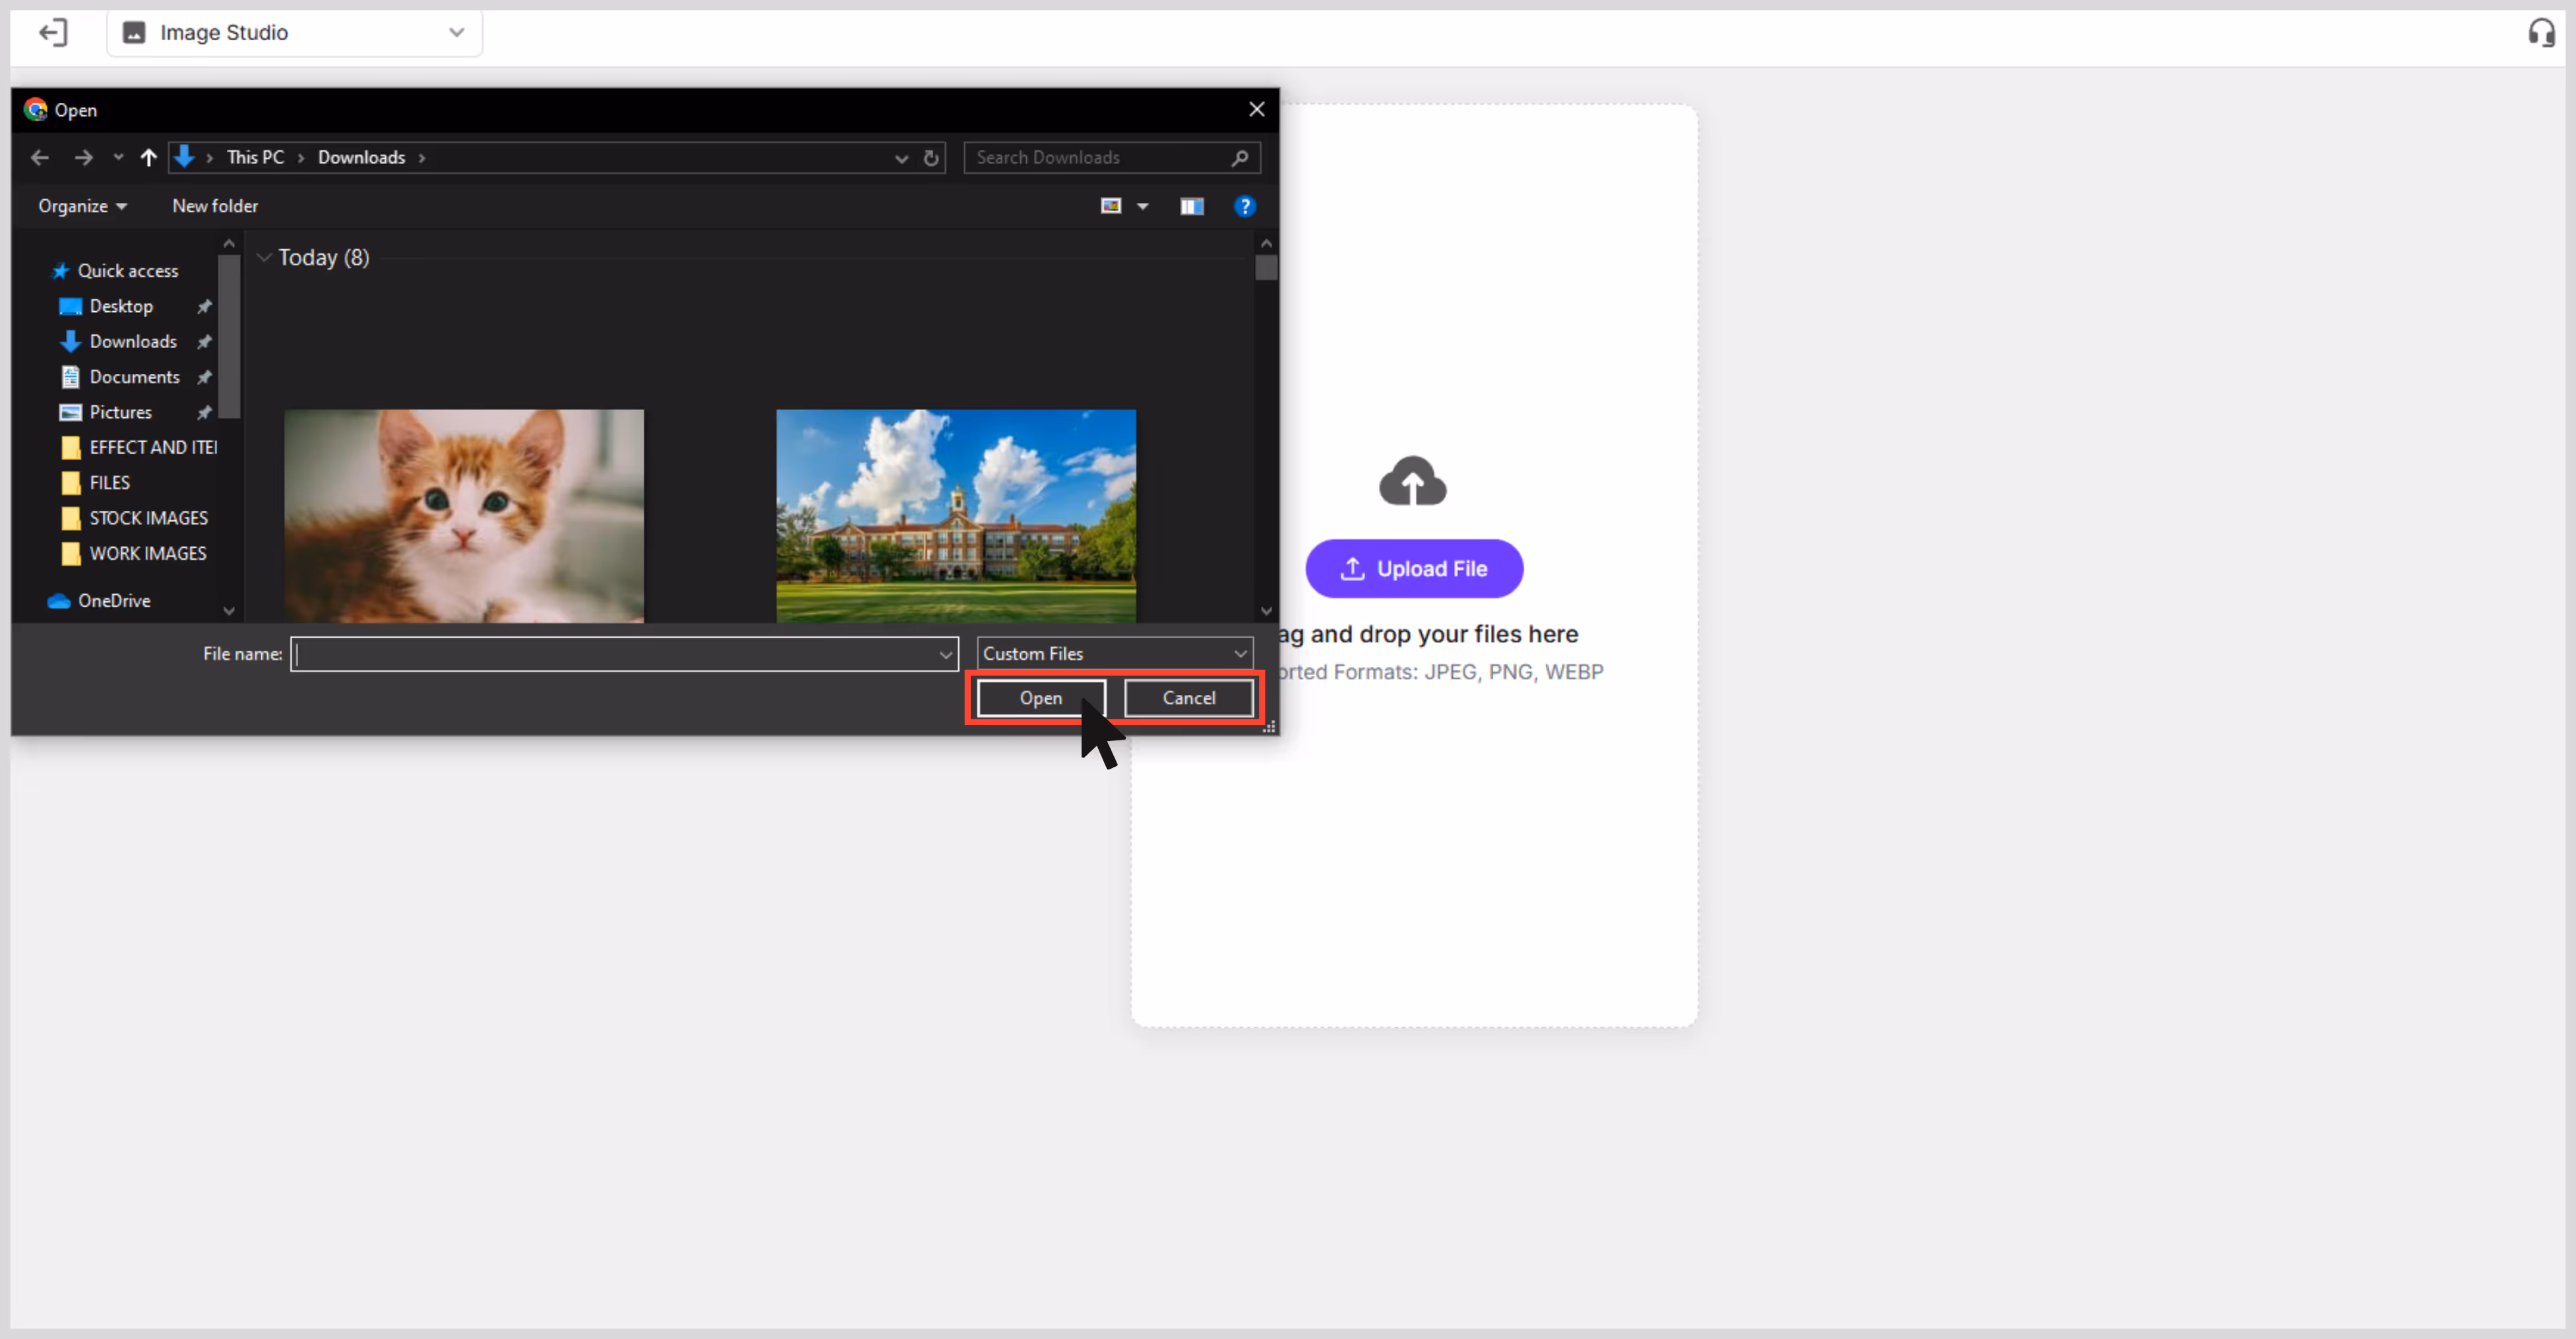
Step 3: Click “Upload” or drag your image into the tool.
Step 4: Choose your upscale level — 2x, 4x, or 8x.
Step 5: Wait for sometime processing takes a few seconds.
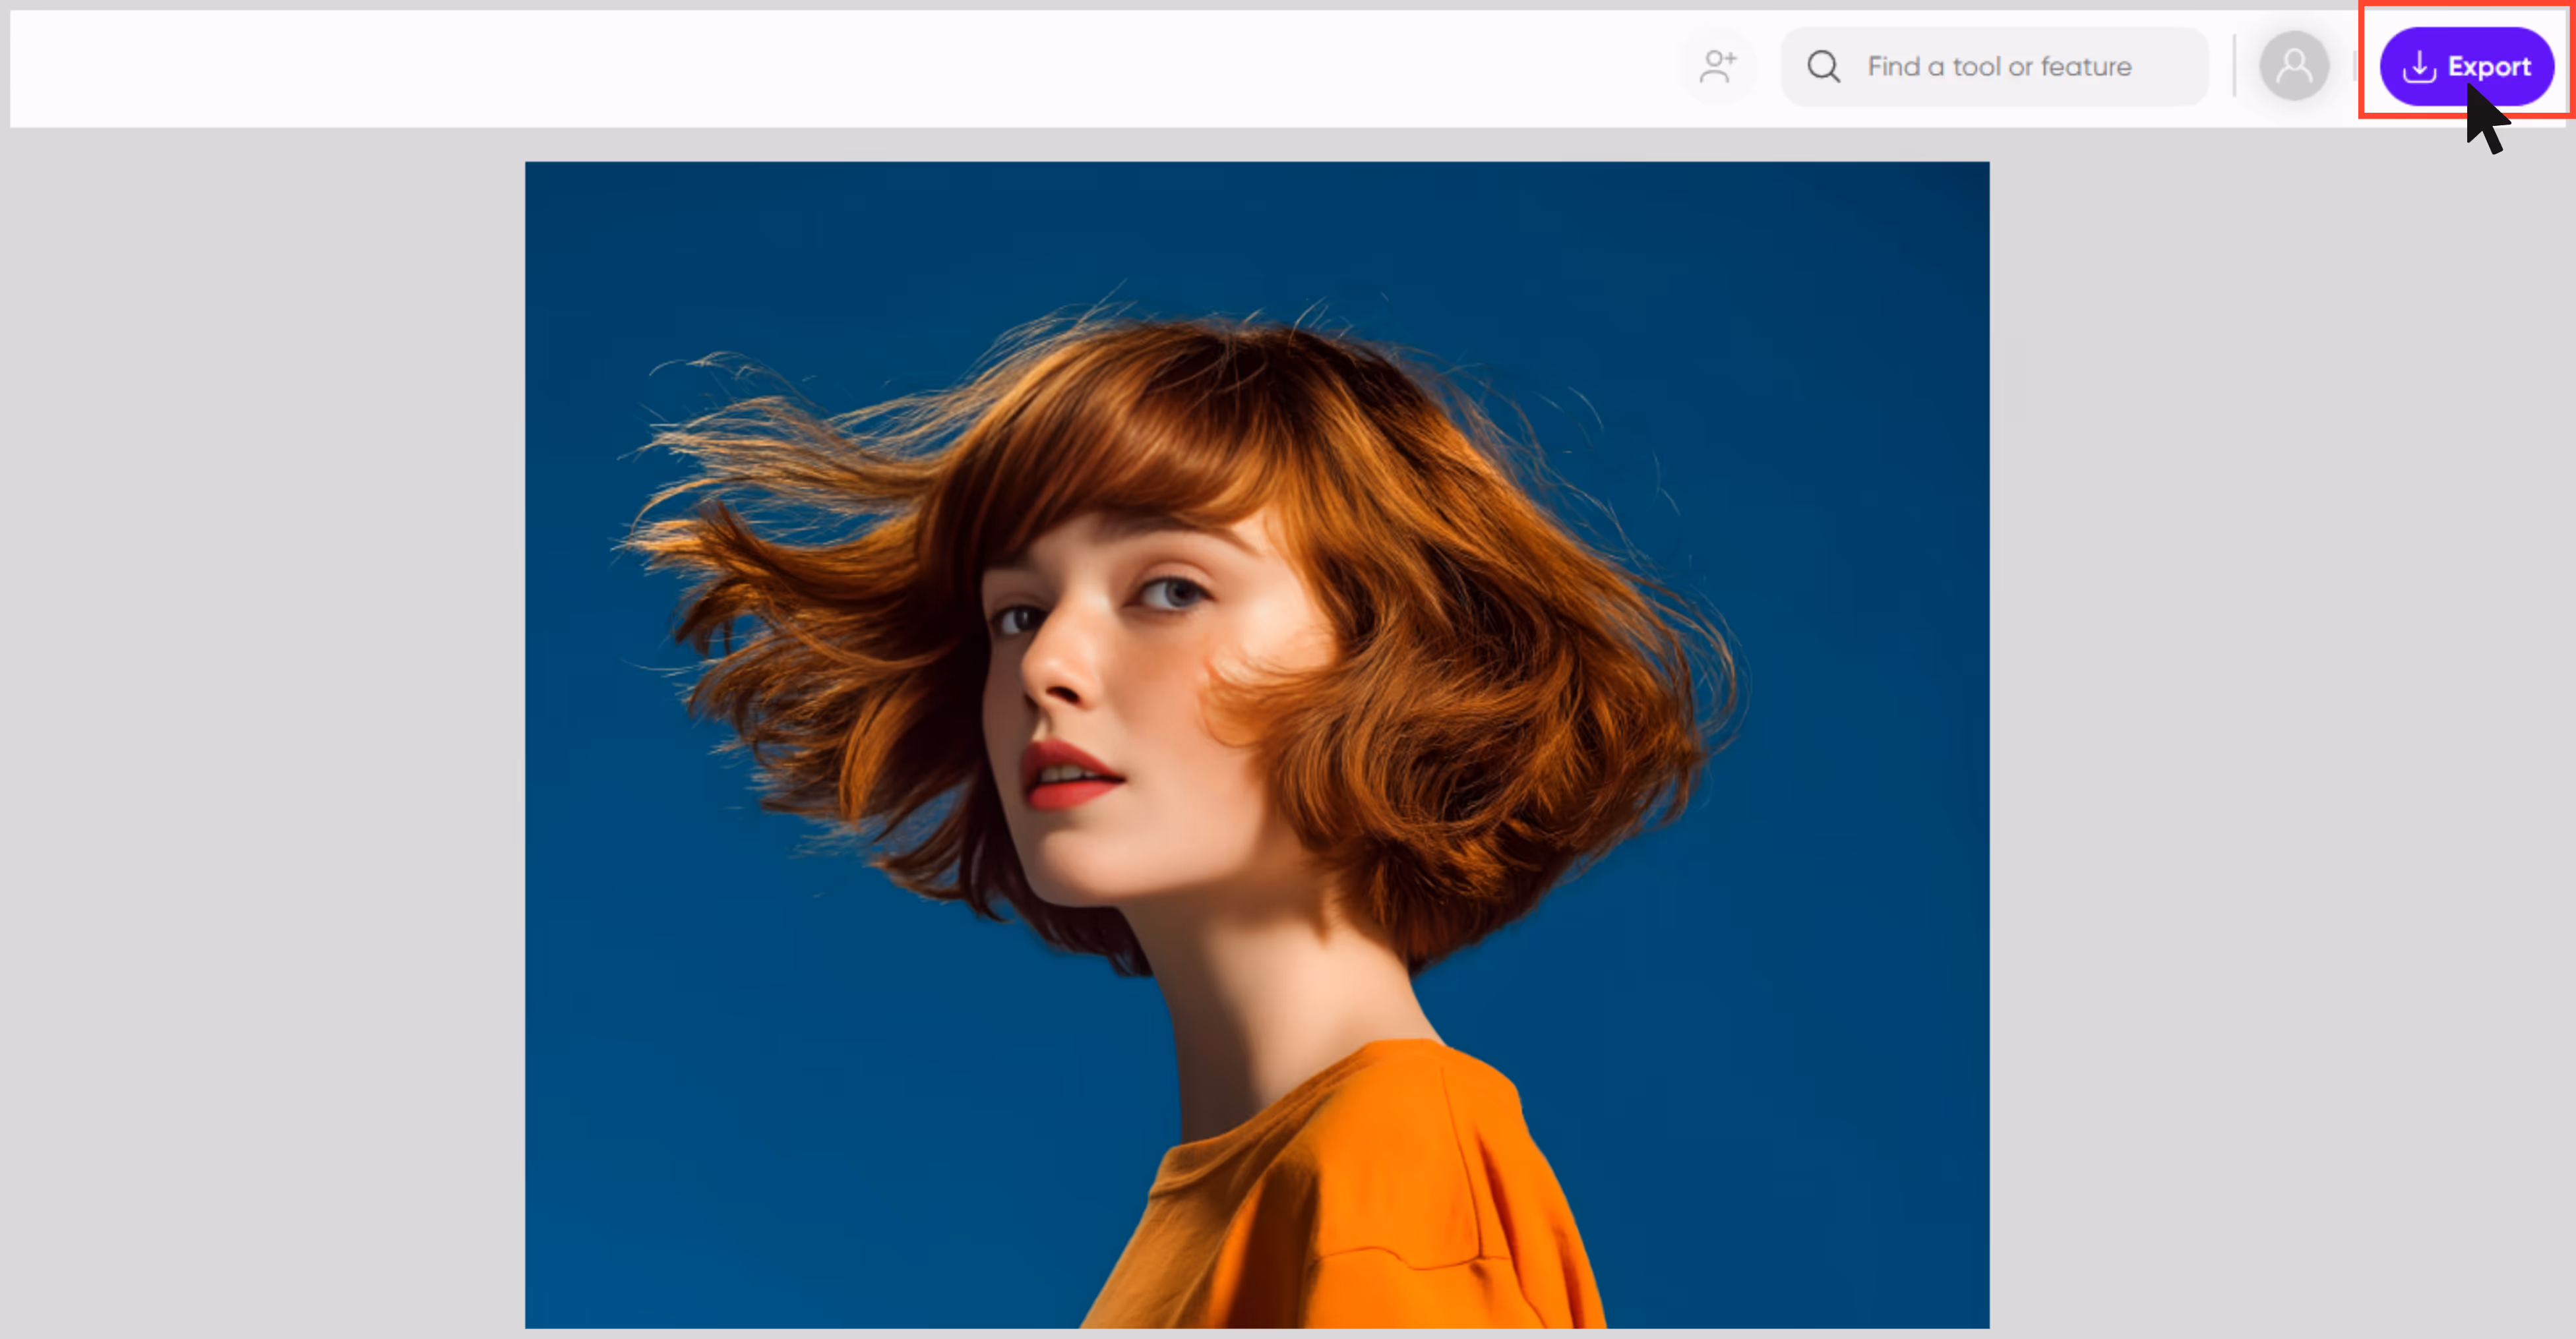
Step 6: Preview and download your upscaled image.
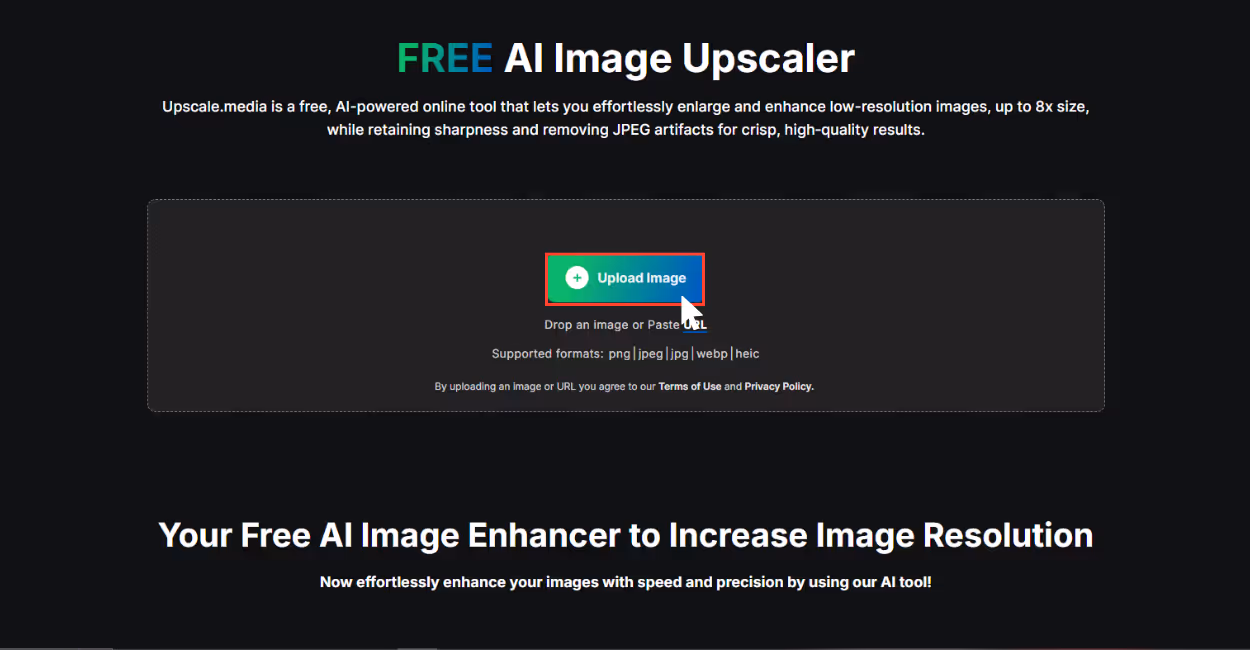
2. Upscale.media
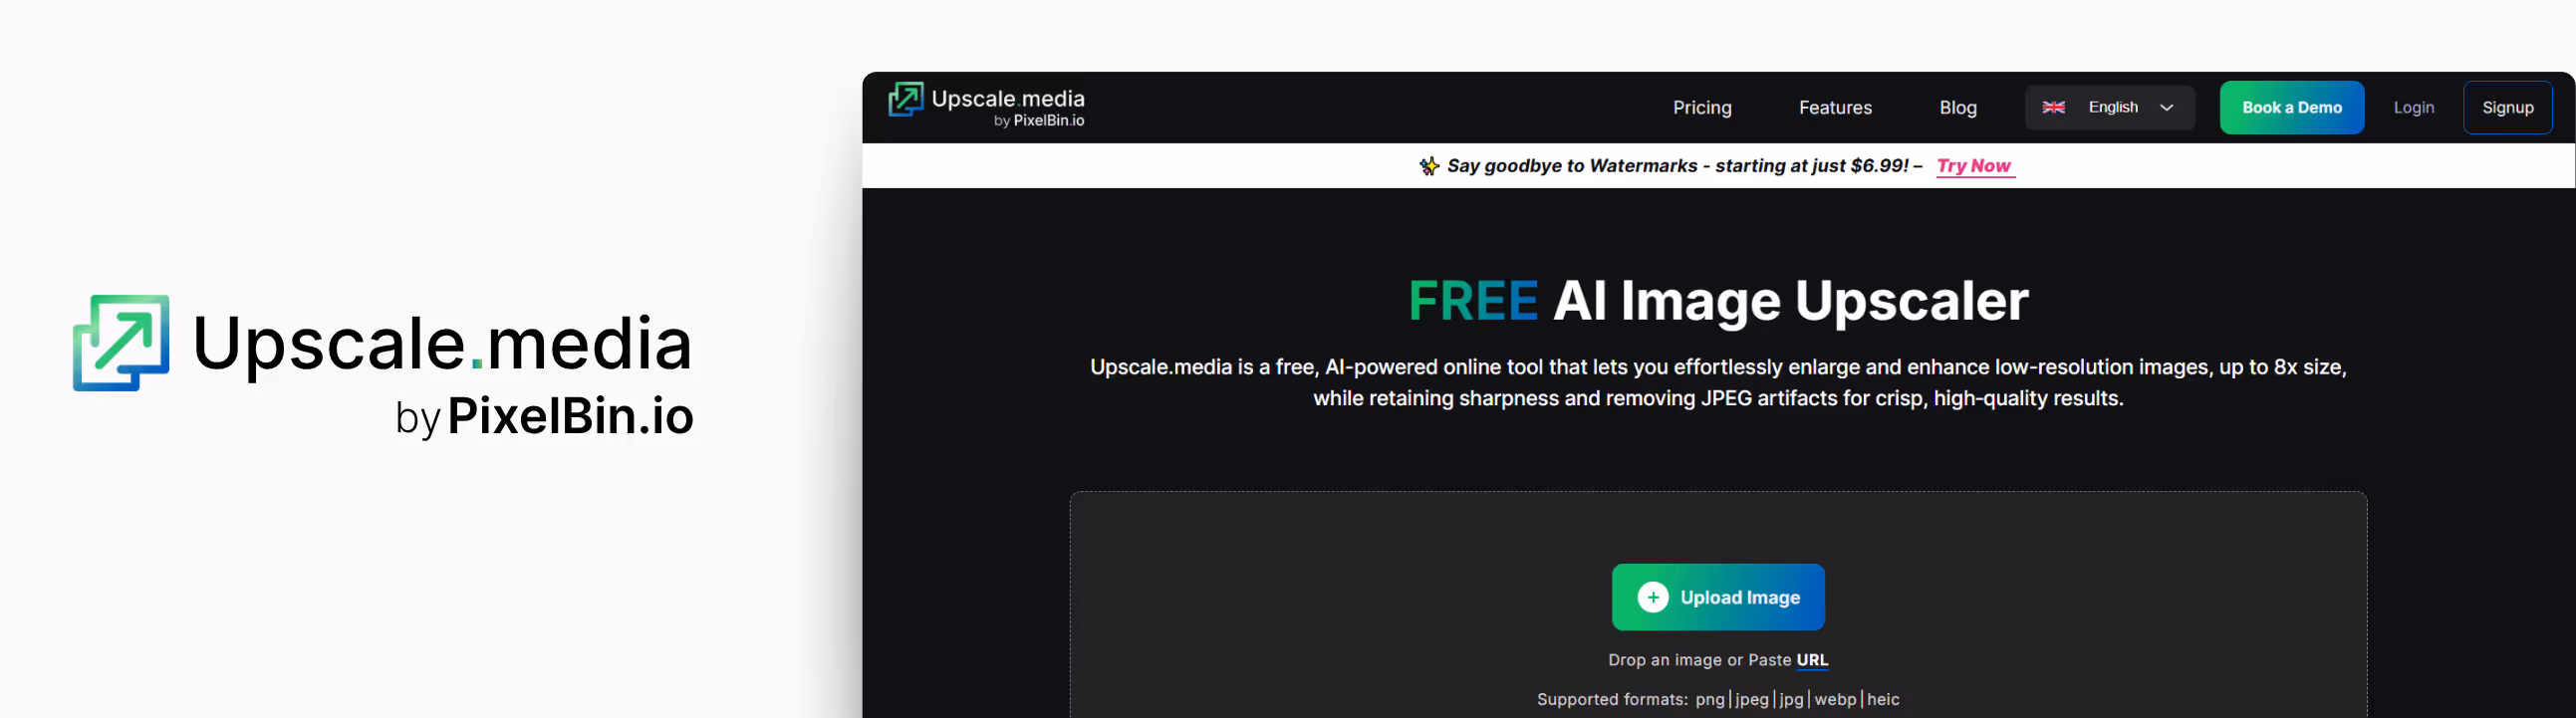
If you’re looking for a reliable and fast tool that handles image upscaling with minimal friction, Upscale.media is one of the best image upscale tools for professionals who don’t want to wrestle with complex settings just upload, enhance, and download.
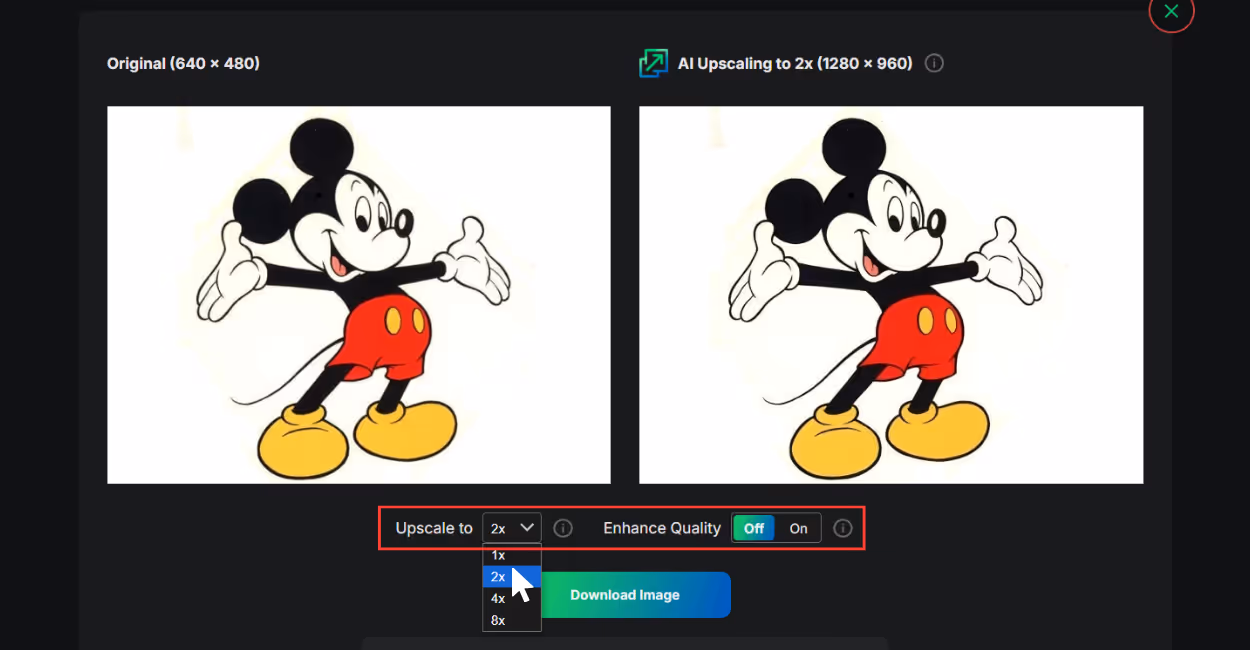
To try the tool, I used an image of low quality and small size. The original image was grainy and lacked sharpness. I ran it through Upscale.media and selected the 8x upscale, which pushed it up to high quality. The difference was noticeable: texture was sharper, edges were more defined, and the overall tone looked professional. What I liked most about the tool;
- No sign-up required for basic use.
- Beginner-friendly interface.
- Strong noise reduction, even in grainy images, made them look smoother.
- The interface is clean and fast.
Steps to upscale the image in upscale.media
Step 1: Go to Upscale.media
Step 2: Upload your image in PNG, JPG, or JPEG formats.
Step 3:The AI algorithms automatically upscale the image in 2x, 4x, or 8x scale size.
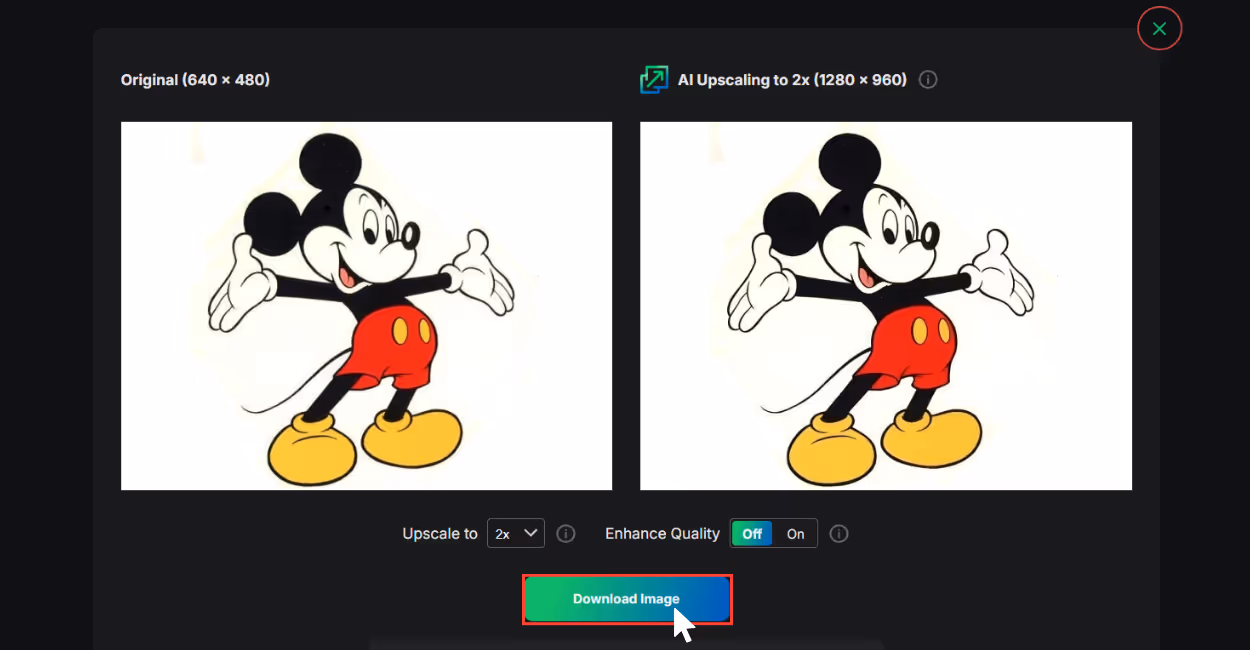
Step 4: Download your upscaled image instantly.
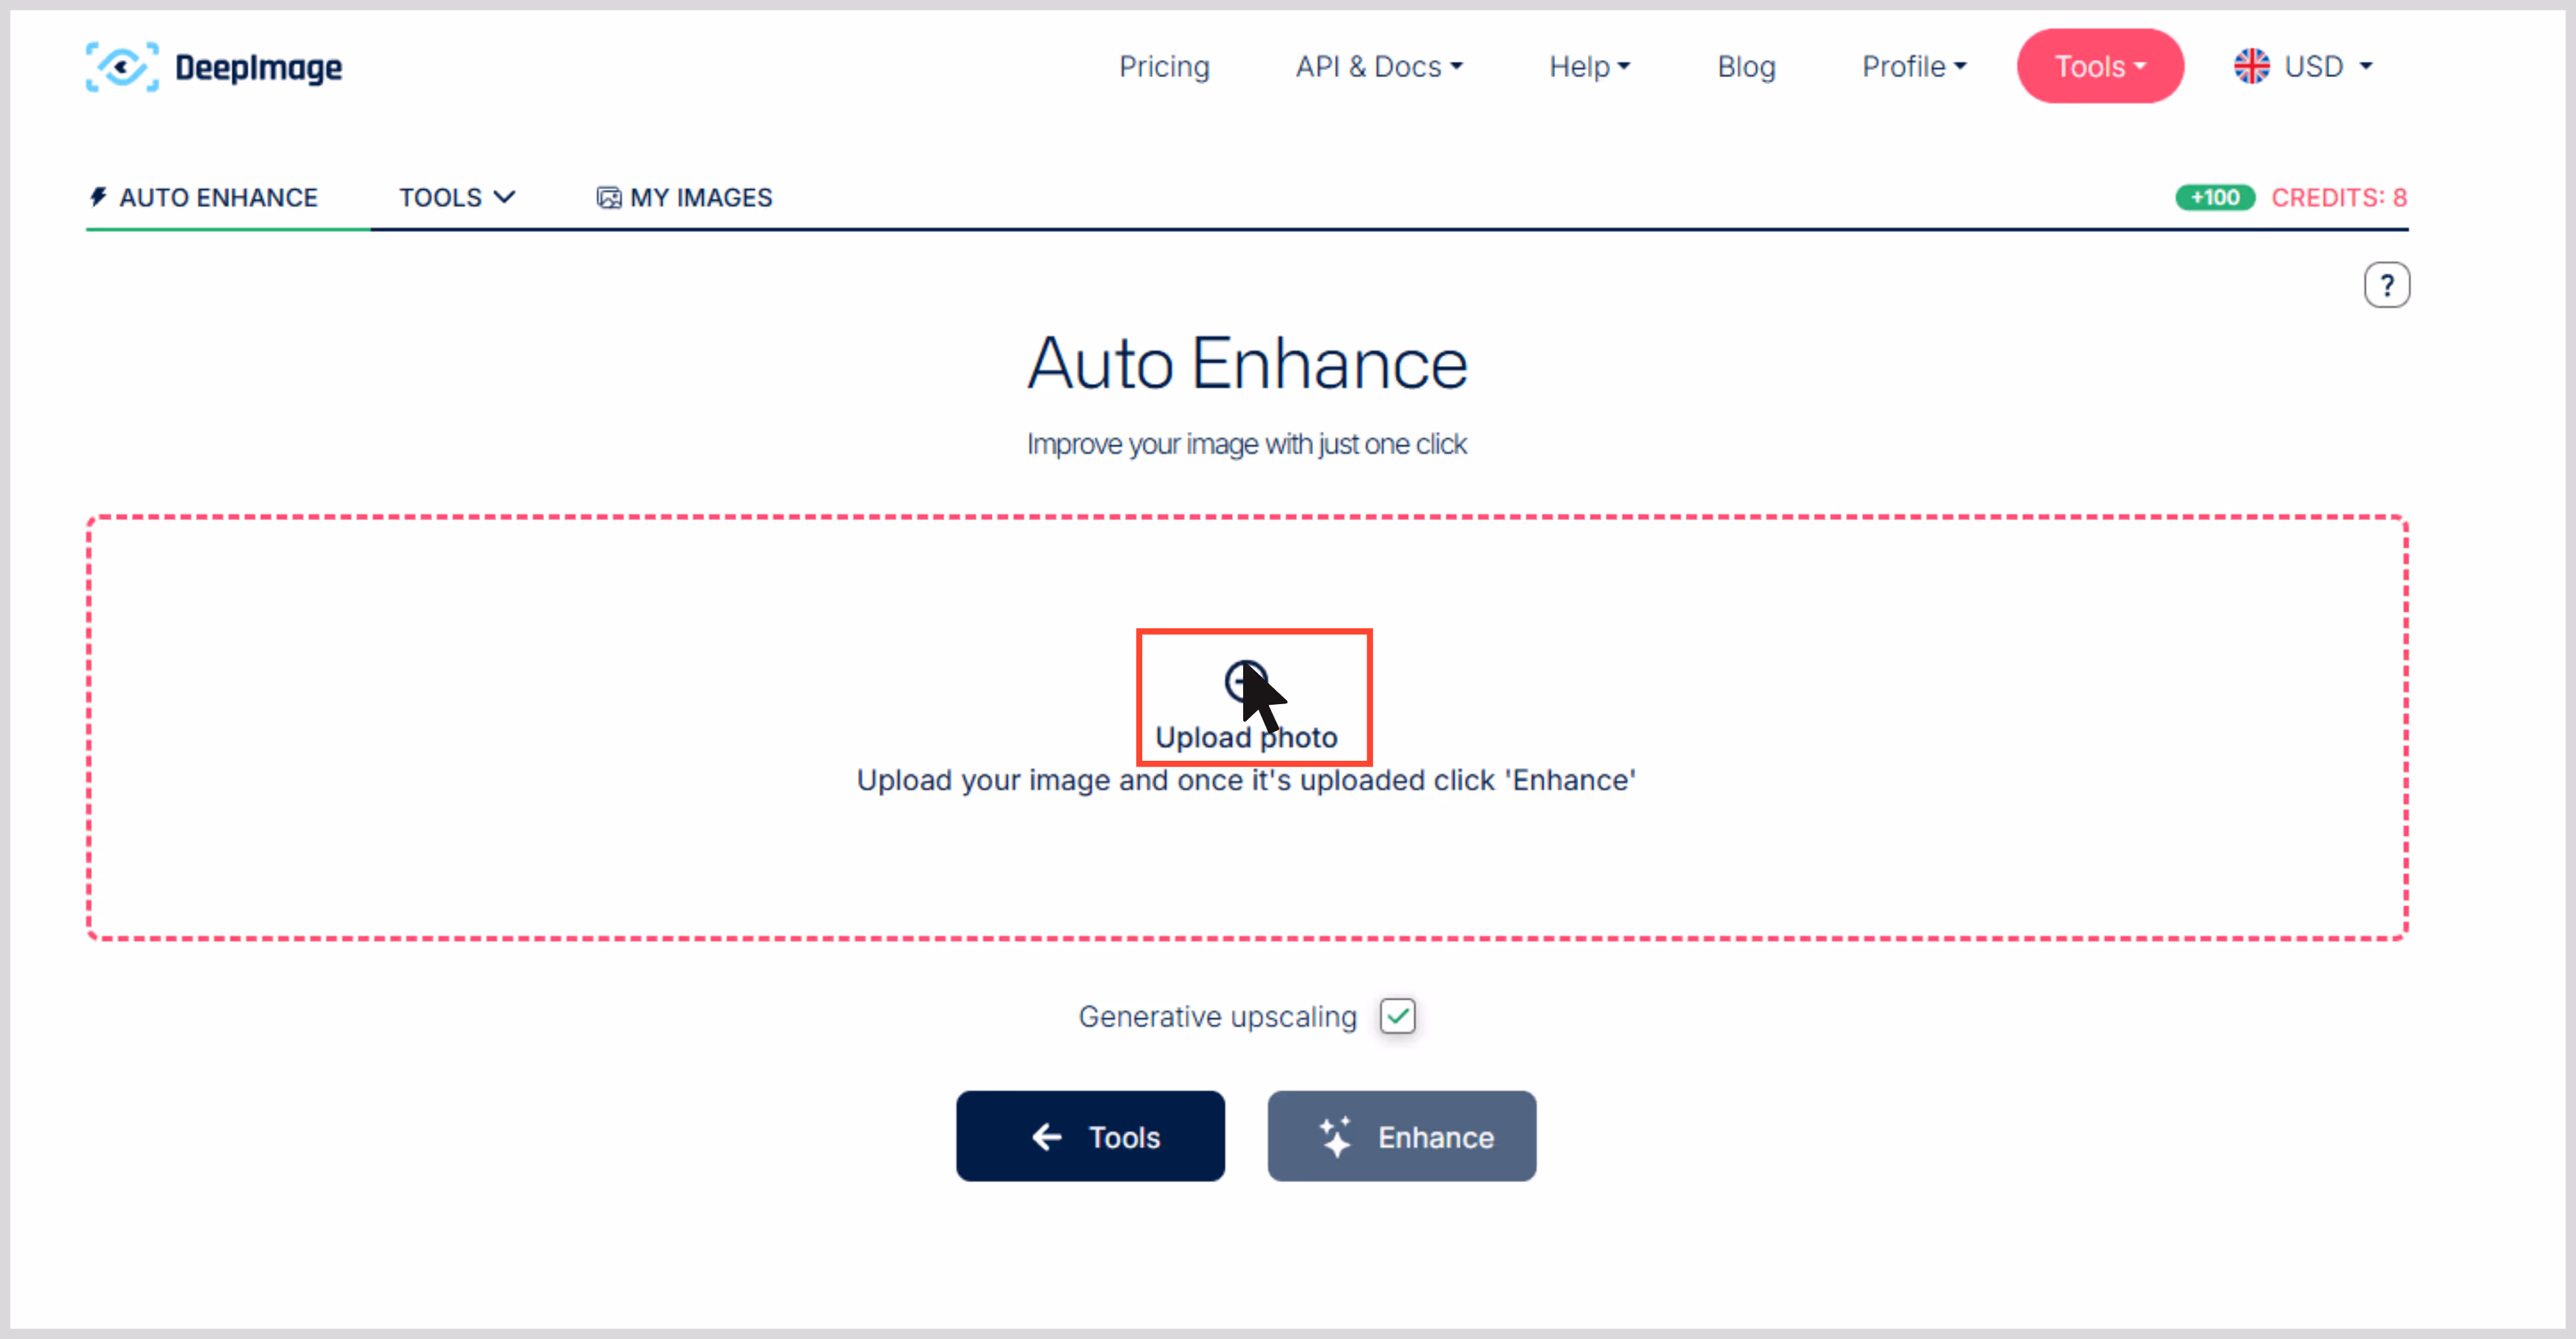
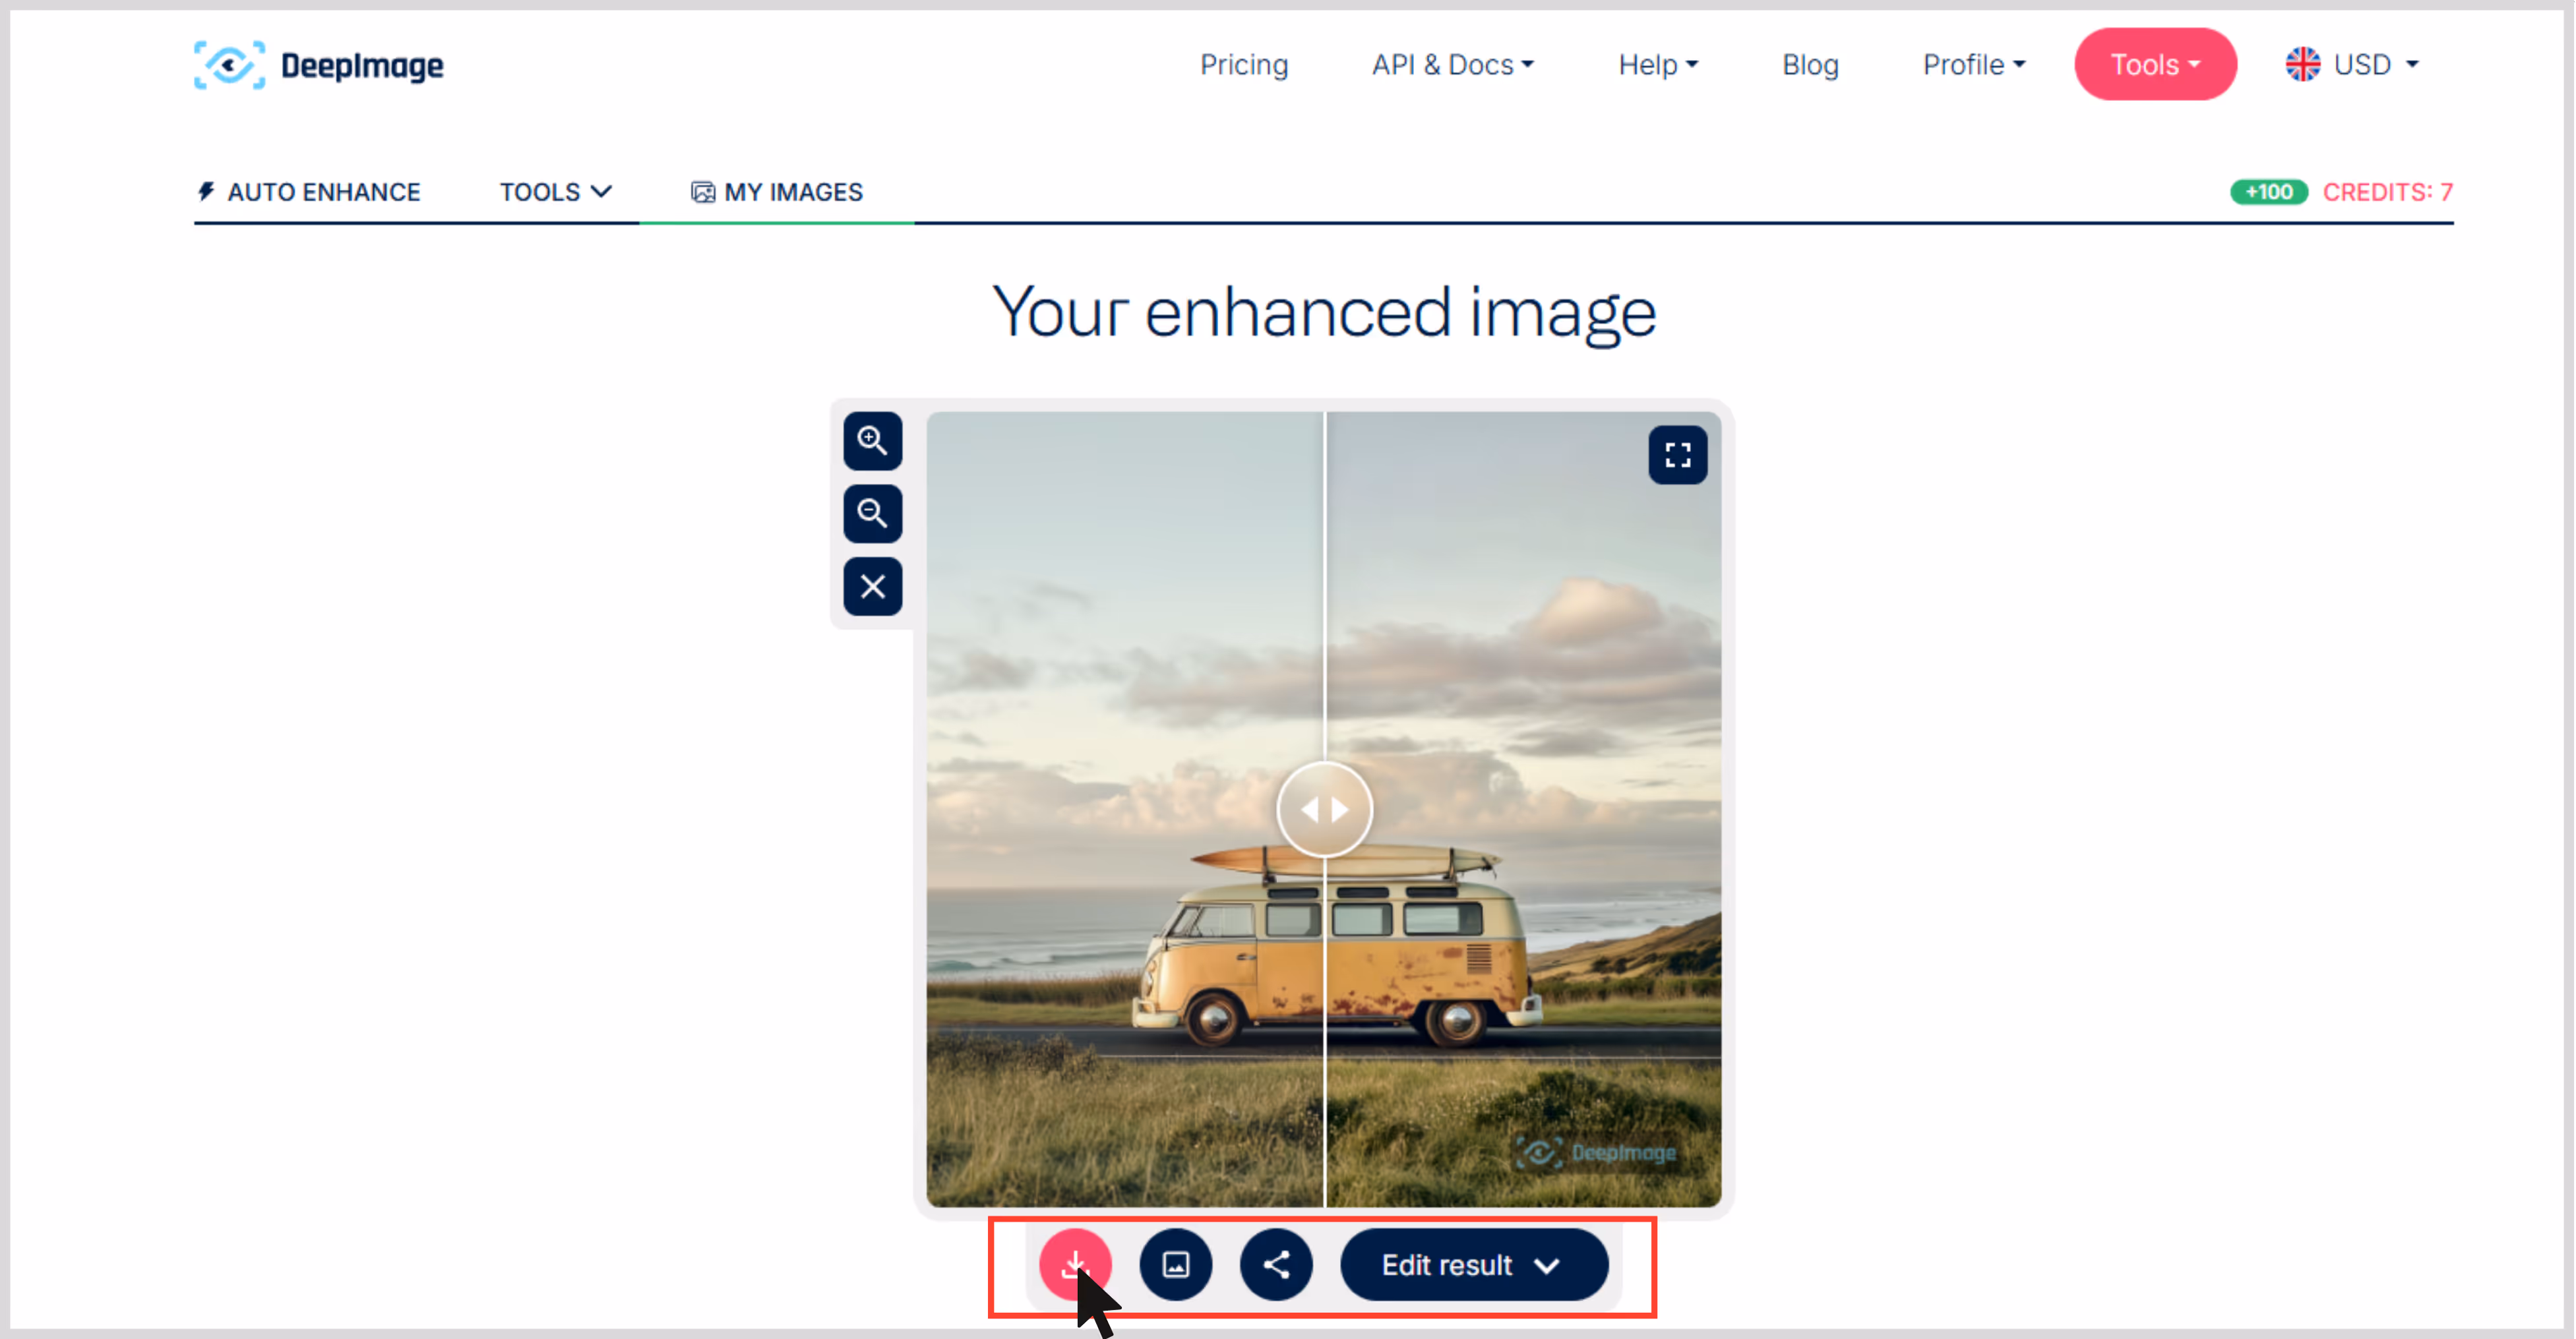
3. DeepImage

Out of all the tools I tested for this blog, DeepImage stood out for its flexibility and depth of customization. It gives you actual control over the upscaling and enhancement process. That’s a huge plus if you want more than a one-size-fits-all AI result.
I used an image of fairly low-res JPG from an old drive. I ran it through their 4x upscale and what impressed me right away was how clean the results looked — colors were balanced, the subject stood out more, and background noise was noticeably reduced. Unlike some tools that aggressively sharpen everything, DeepImage preserved natural textures and tones. What I liked about the tool:
- AI image upscaling that has an image scale of 2x and 4x.
- Face enhancements are available for portraits.
- Supports different image formats.
- API access is available for automation.
- Credit-based pricing model.
Steps to upscale the image in DeepImage
Step 1: Open DeepImage.

Step 2: Upload one or multiple images that you want to upload.
Step 3: Select Enhance, and your image is ready in seconds.
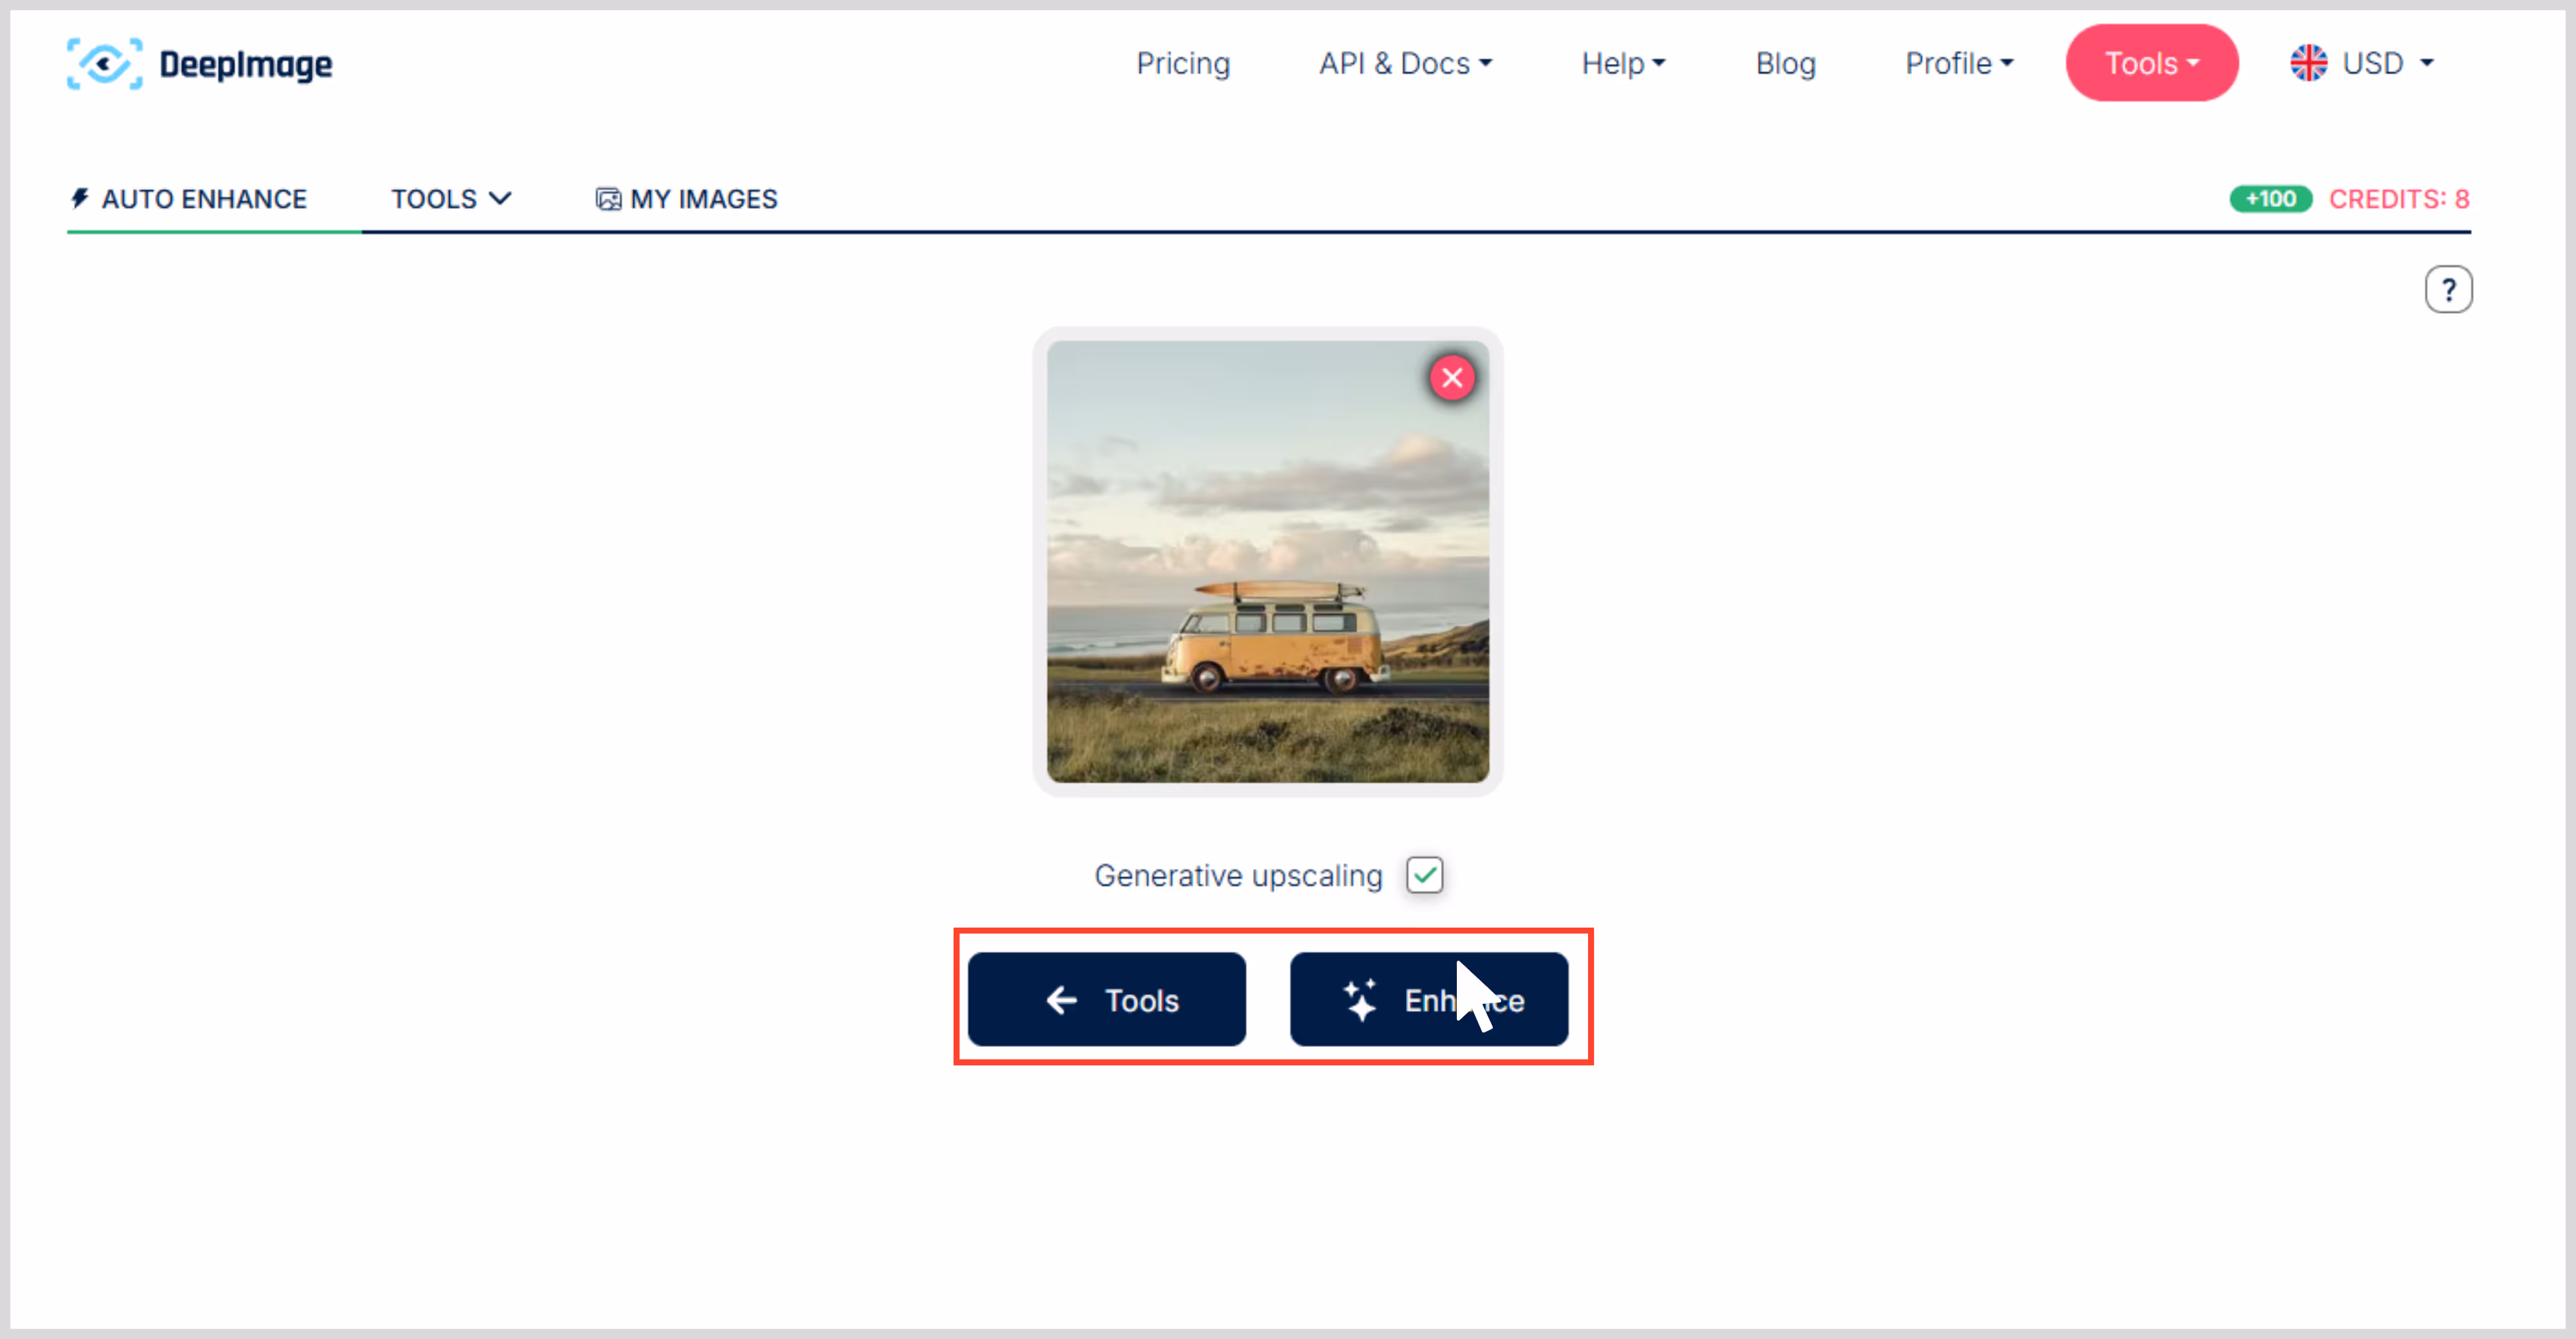
Step 4: Preview and download the images.
4. PhotoGrid

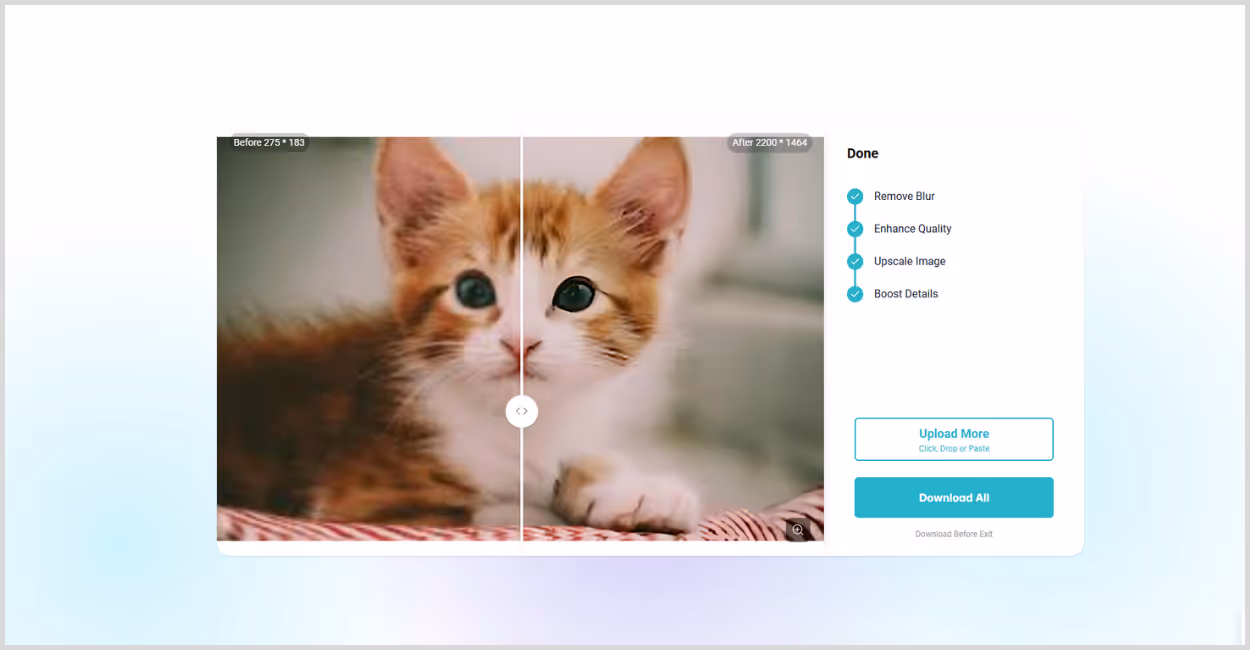
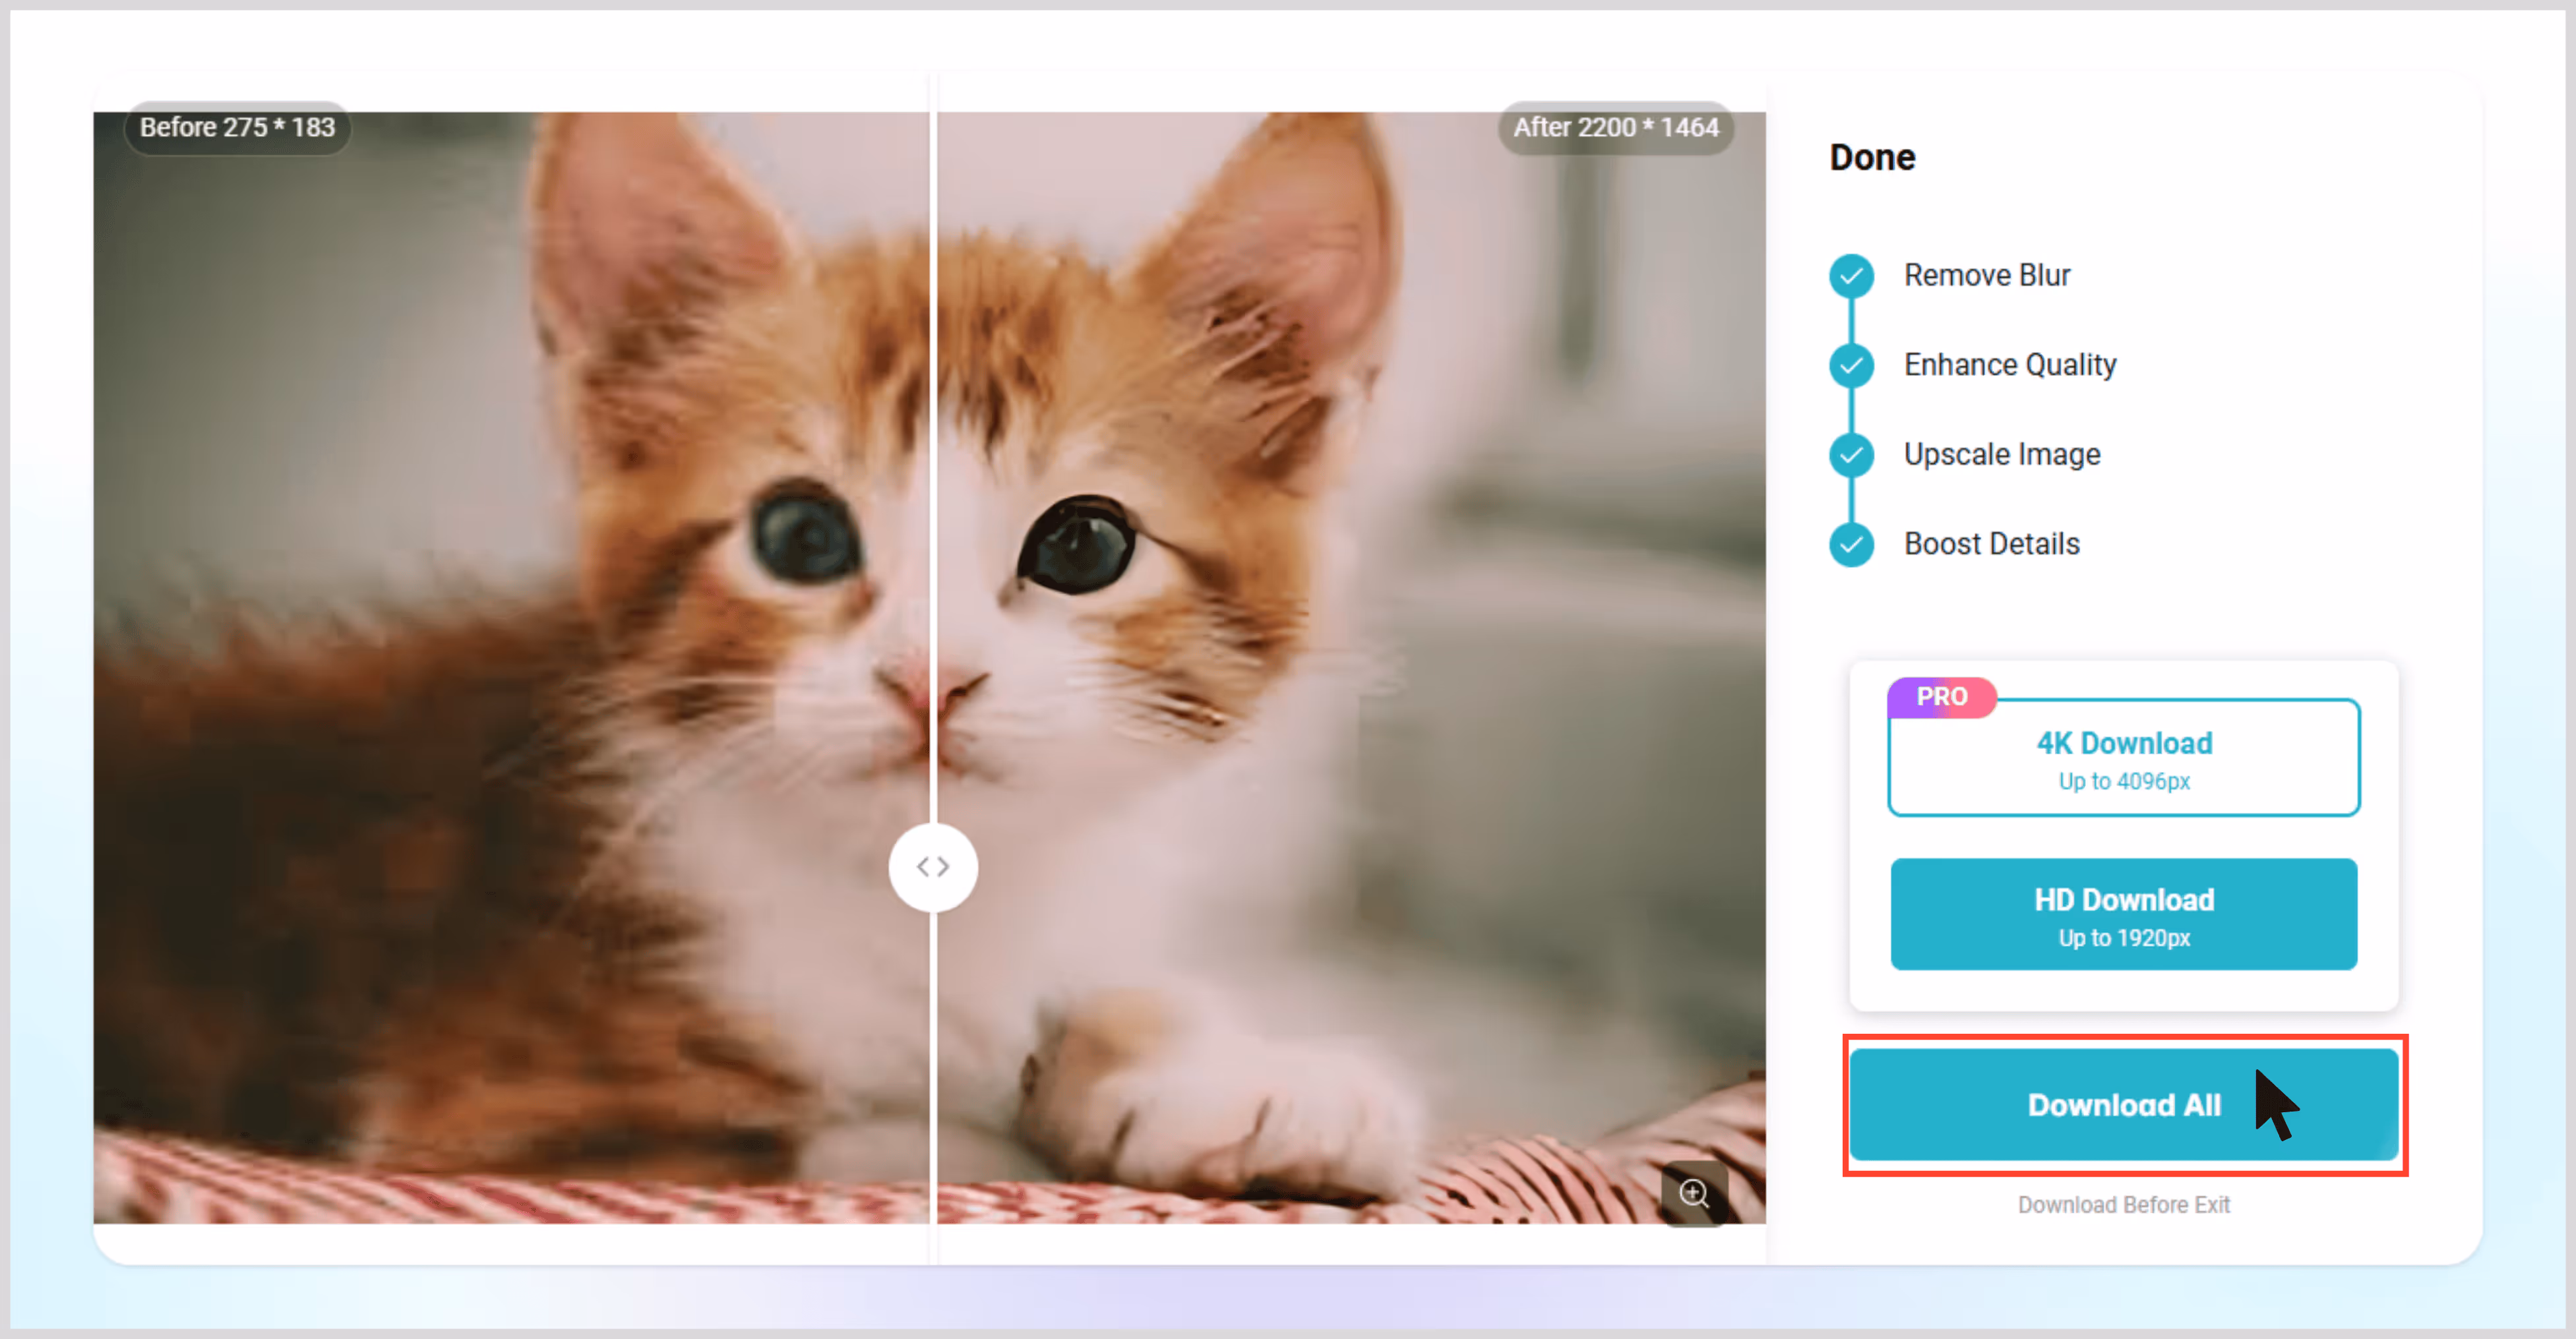
PhotoGrid is better known for its mobile-first photo editing tools, but its AI Image Upscaler turned out to be a pleasant surprise during my tests. I used a low-quality image that was slightly blurry.
Once I ran it through PhotoGrid’s 4x upscaling, the details became significantly sharper, the gradients smoothed out beautifully without looking over-processed. PhotoGrid’s tool is focused on 4x upscaling, which works well for most digital needs.
While it doesn’t currently offer an 8x option, the output at 4x was clean enough to use for web design, social campaigns, and even light printing. What I liked about the features;
- No sign-up required for basic use.
- Balanced enhancement boosts clarity without exaggerating filters.
- Mobile-friendly interface — easy to access from both desktop and mobile.
- Great for casual creators and professionals needing fast results.
Steps to upscale the image in PhotoGrid
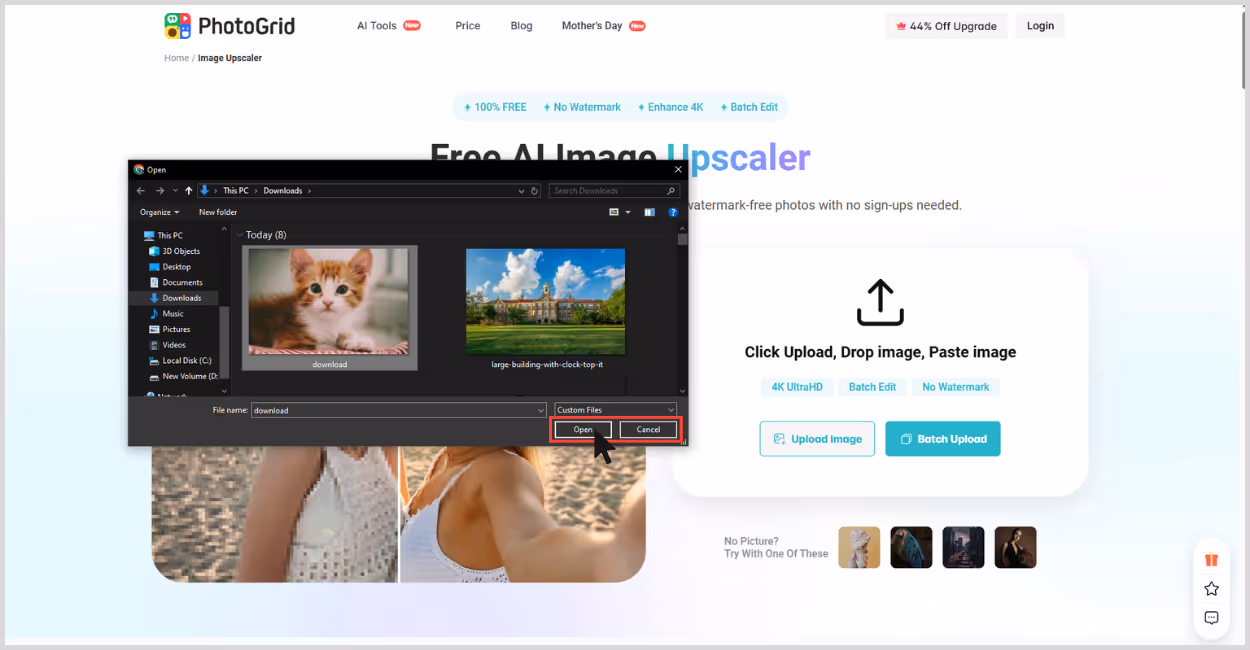
Step 1: Go to PhotoGrid Image Upscaler.
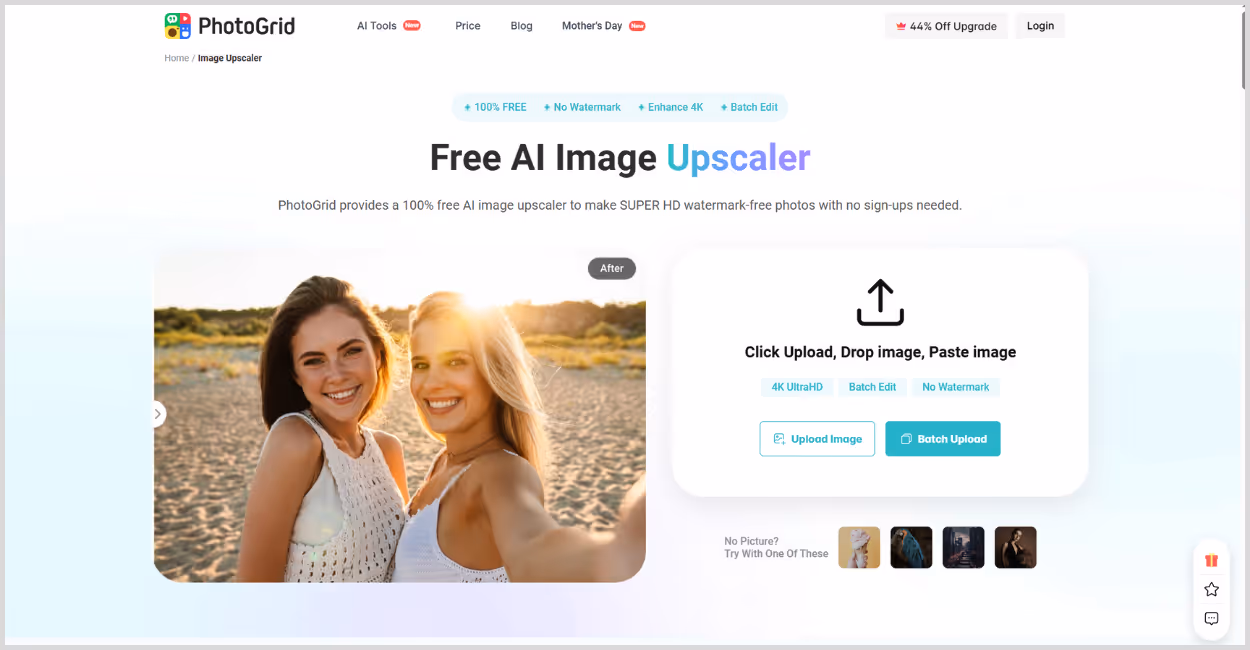
Step 2: Click on “Upload Image” and choose your photo.
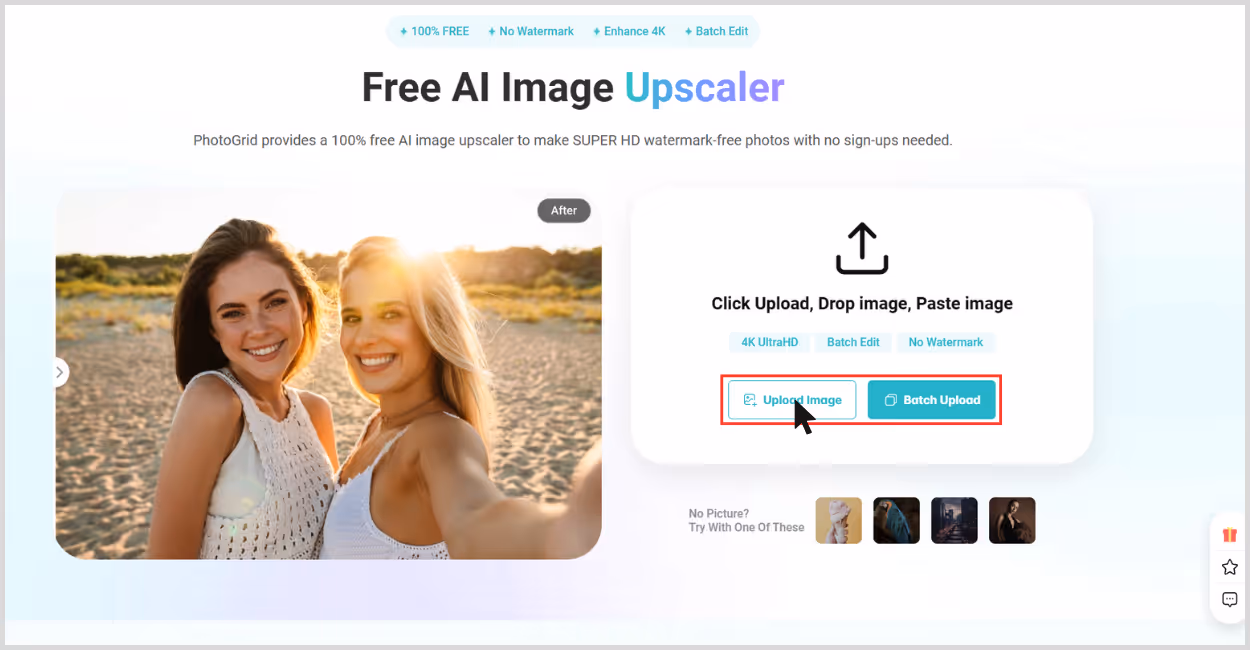
Step 3: The tool will automatically begin upscaling the image.
Step 4: Wait a few seconds for processing to complete.
Step 5: Once done, download your enhanced image.
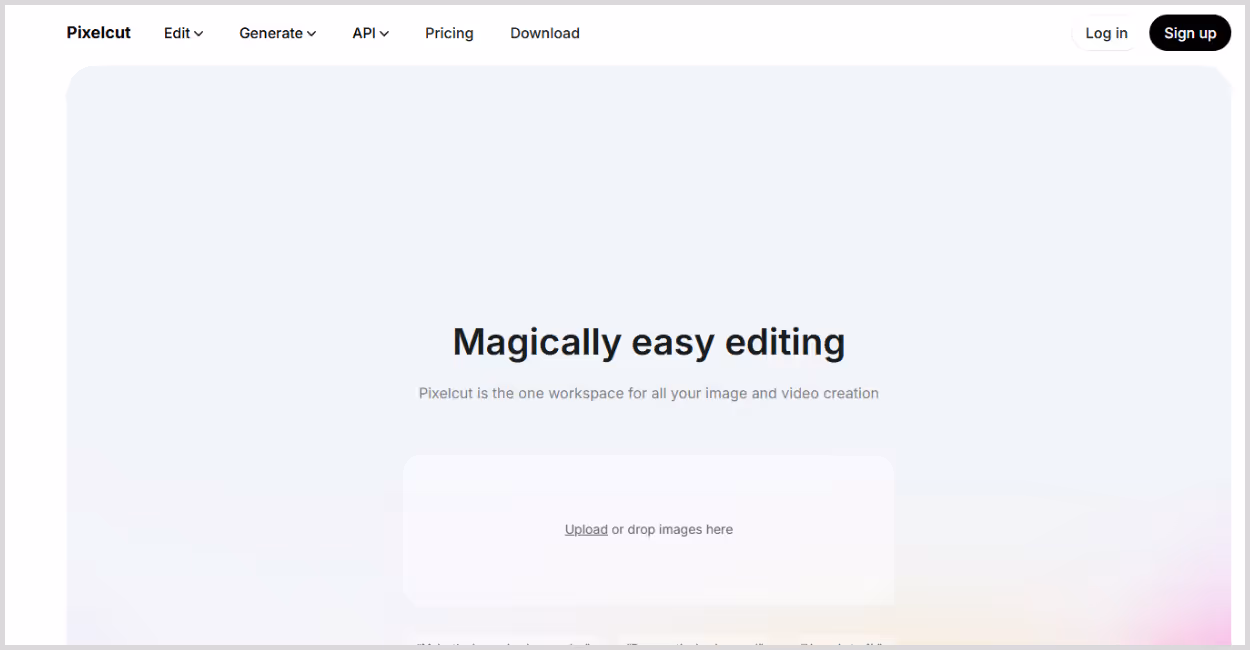
5. Pixelcut

Pixelcut is widely known among mobile-first creators, especially for product photography and social media visuals. I tried out its Image Upscaler to see how it performs for more professional tasks.
For this test, I uploaded a small-sized image — a product shot that was captured in low light and consists of a lot of grains. After using the 4x upscaling option, the image was scaled up to high quality by adding pixels, which gave me a result that was sharp enough for large-screen display or print use. The edges around the object were cleaner, and the background noise was nearly gone. What I liked the most about the tool:
- Sleek, mobile-friendly interface ideal for users who work across devices.
- No sign-up needed for quick use.
- Specialized for clean product and portrait upscaling.
- Preserves object textures and patterns.
Steps to upscale the image in Pixelcut
Step 1: Go to Pixelcut Image Upscaler.
Step 2: Click on “Upload Image” or drag and drop your file.
Step 3: Wait for the AI to automatically upscale your image (usually just a few seconds).
Step 4: Once processed, preview and download the enhanced image.
6. Upscale Pics
If you want to upscale an image without losing quality with a simple and clean interface focused purely on just upscaling, then Upscale Pics is worth trying.
I got a nice clarity image after I upscaled the image with this tool, which provides noise removal and background transparency, and hit go. It's an online AI tool to upscale image professionally that boosts resolution and clarifies the image by adding pixels and reducing noise. What I liked the most about this tool;
- AI-based algorithm that provides image scale up to 8x.
- Noise Reduction feature.
- Supports JPG and PNG formats.
- Large image sizes are supported (up to 10 MB).
Steps to upscale the image in Upscale Pics
Step 1: Go to the website UpscalePics.

Step 2: Upload your image (quality should be above 36 megapixels) and click on the Enhance option.
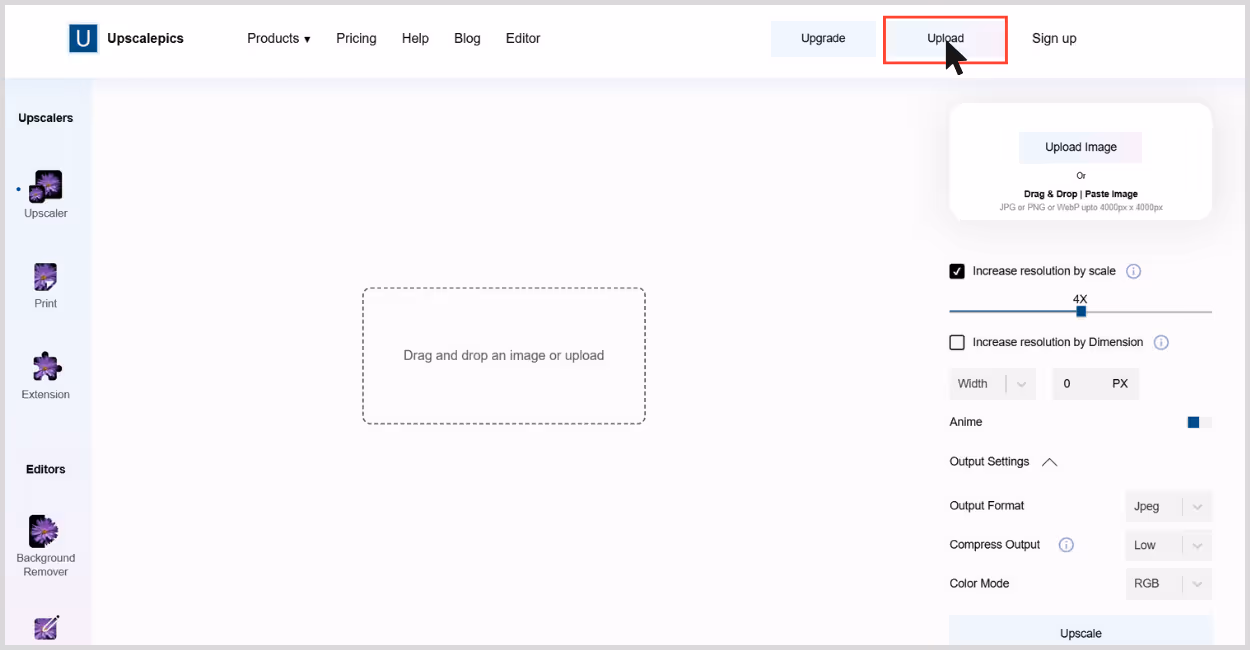
Step 3: You can increase the upscaling factor, ranging from 1x to 8x.
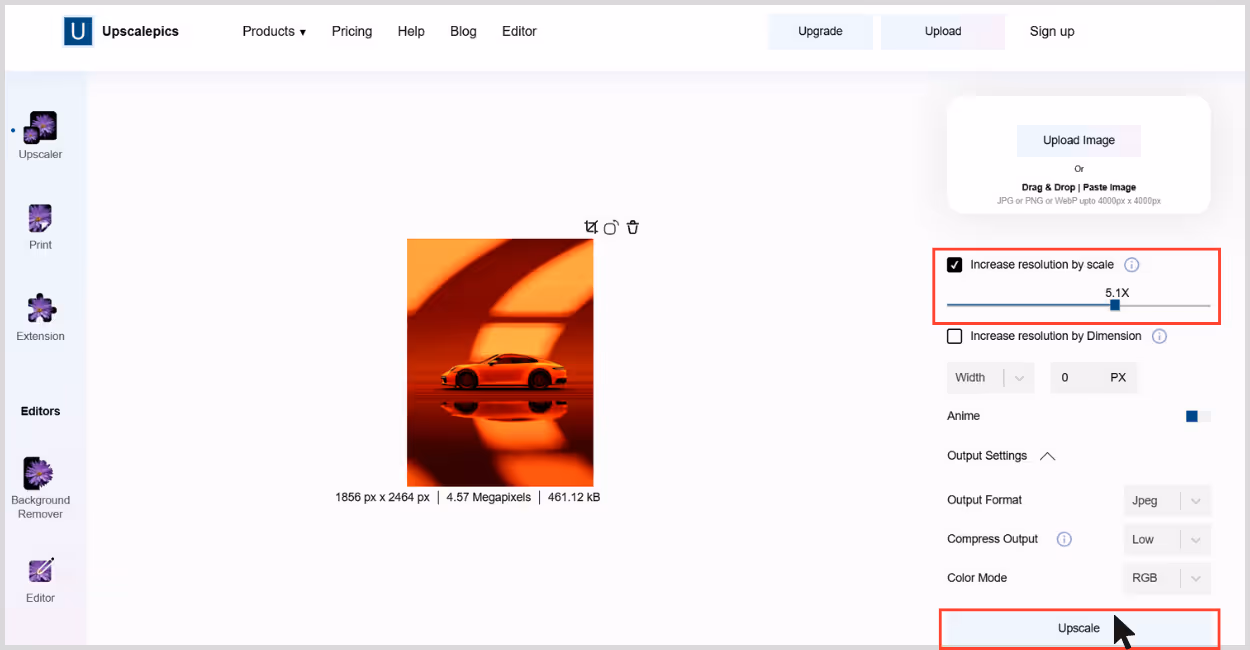
Step 4: Click on Upscale, and the image will get downloaded.

7. Picsart
Picsart is already a well-known tool in the creative community for its suite of editing tools, but I wanted to specifically test out its Image Upscaler to see how it performs on its own.
I used a moderately sized JPG that had soft edges and minor compression from an old export. After running it through the upscaler (I chose the 4x upscale), the image was boosted to a high-quality one. The image maintained the sharpness, removed the jagged edges, while retaining a natural look. What I liked the most about the tool is;
- High-quality image output.
- No login required for basic usage.
- Smooth and modern UI.
- Works great for both portraits and product shots.
Steps to upscale the image in Picsart
Step 1: Go to the Picsart Image Upscaler page Picsart.
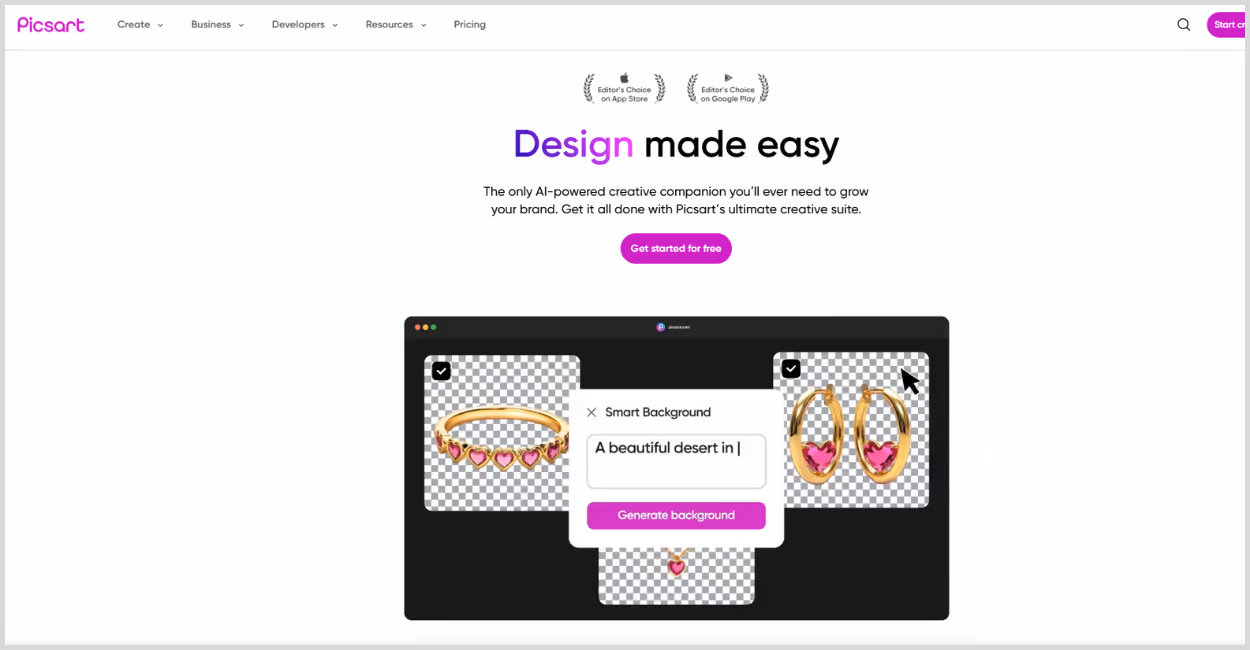
Step 2: Upload your image by clicking on the “Upload an image” button.
Step 3: After uploading, AI starts enhancing automatically and removes blur, sharpens the edges, and adds pixel count.
Step 4: Once done, just download.
What I found in my research
When it comes to image upscaling, using the right methods can create a difference in the image output. While testing each of these tools, I noticed a difference in visible results based on image input quality and tool selection.
Pixelbin delivered the sharpest results for commercial use, especially in 4x and 8x upscale factors. Upscale.media was fast and smooth, while other tools stood out for casual design edits. Batch processing took a bit of time while testing ten images.
Here are a few tips from my experience that can help you get the best results while using image upscalers.
- Start with the best image - Before starting with upscalers, make sure you're working with the highest-quality version of your image. The better your starting point, the better the results will be.
- Avoid overly compressed files – Images saved in low-quality JPEG formats come in a pixelated way, which leads to distorted results.
- RAW files are ideal – If you’re a photographer or designer working with RAW images, consider upscaling those before converting to other formats. You’ll preserve more depth and texture.
- Choose the right tool for the job - There are tons of AI image upscalers in the market, but not all work the best, and knowing which tool to use based on your needs can save time and boost image quality. For fast deliverables, go for high-performance tools like Pixelbin or Upscale.media. They offer detailed controls, better output format, and the ability to give results of images for 4K or 8K resolutions. For casual use, tools like Picsart or PhotoGrid offer a simple way to clean up visuals.
- Use batch processing - When you're dealing with a lot of images, manual processing isn't simple. Batch processing can save you hours and reduce redundant work.
Tools like Pixelbin and Upscale.media enable you to upload multiple images at once, upscale them, and export them all together. This tip is useful for performance marketers, affiliate marketers updating product catalogs, marketing agencies managing advertisements, or bloggers.
Benefits of upscaling images for professionals using AI tools
- Maintain image quality - AI algorithms accurately enhance details, allowing you to zoom in without losing the image quality.
- Better details - The image looks sharper, cleaner, and more detailed after the AI works on it.
- Removes visual noise - AI tools effectively have this feature, where they can reduce the noise and grains by zooming the image, which results in a clean and clarified image.
- Quick & easy - Image upscaling with AI tools turns out to be fast and automated. Quickly zoom and enhance your images while maintaining the image quality.
Final thoughts
Pixelbin stands out as the best professional image upscaler in 2026, offering a combination of high-quality output, seamless cloud integration, and ease of use, all in one tool. Whether you're handling thousands of product images or refining a single photo for print, Pixelbin makes it easy.
Other tools like Upscale.media, DeepImage, Pixelcut, and others bring their own strengths, depending on the use case. For beginners as well as professionals, we have listed a perfect tool above to upscale your images to pro-level quality.
FAQs
AI upscaling uses learned algorithms trained on high-quality image patterns to intelligently increase the resolution of an image while preserving details.
Tools like Pixelbin and Picsart are considered among the most advanced, offering high-res output and detail enhancement using deep neural networks.
Adobe Photoshop CC and Canva are leading AI image generators, but for enhancement and upscaling, Pixelbin and Upscale.media are more suited.
Upscale.media offers free 2x, 4x and 8x image upscaling, making it great for professionals on a budget.
As of 2026, Midjourney v6, Pixelbin, DeepImage offer the highest resolution and quality in AI image generation.
Use Photoshop’s built-in "Preserve Details 2.0" feature or export the PSD to PNG and use Pixelbin or DeepImage for upscaling without compromising layers.