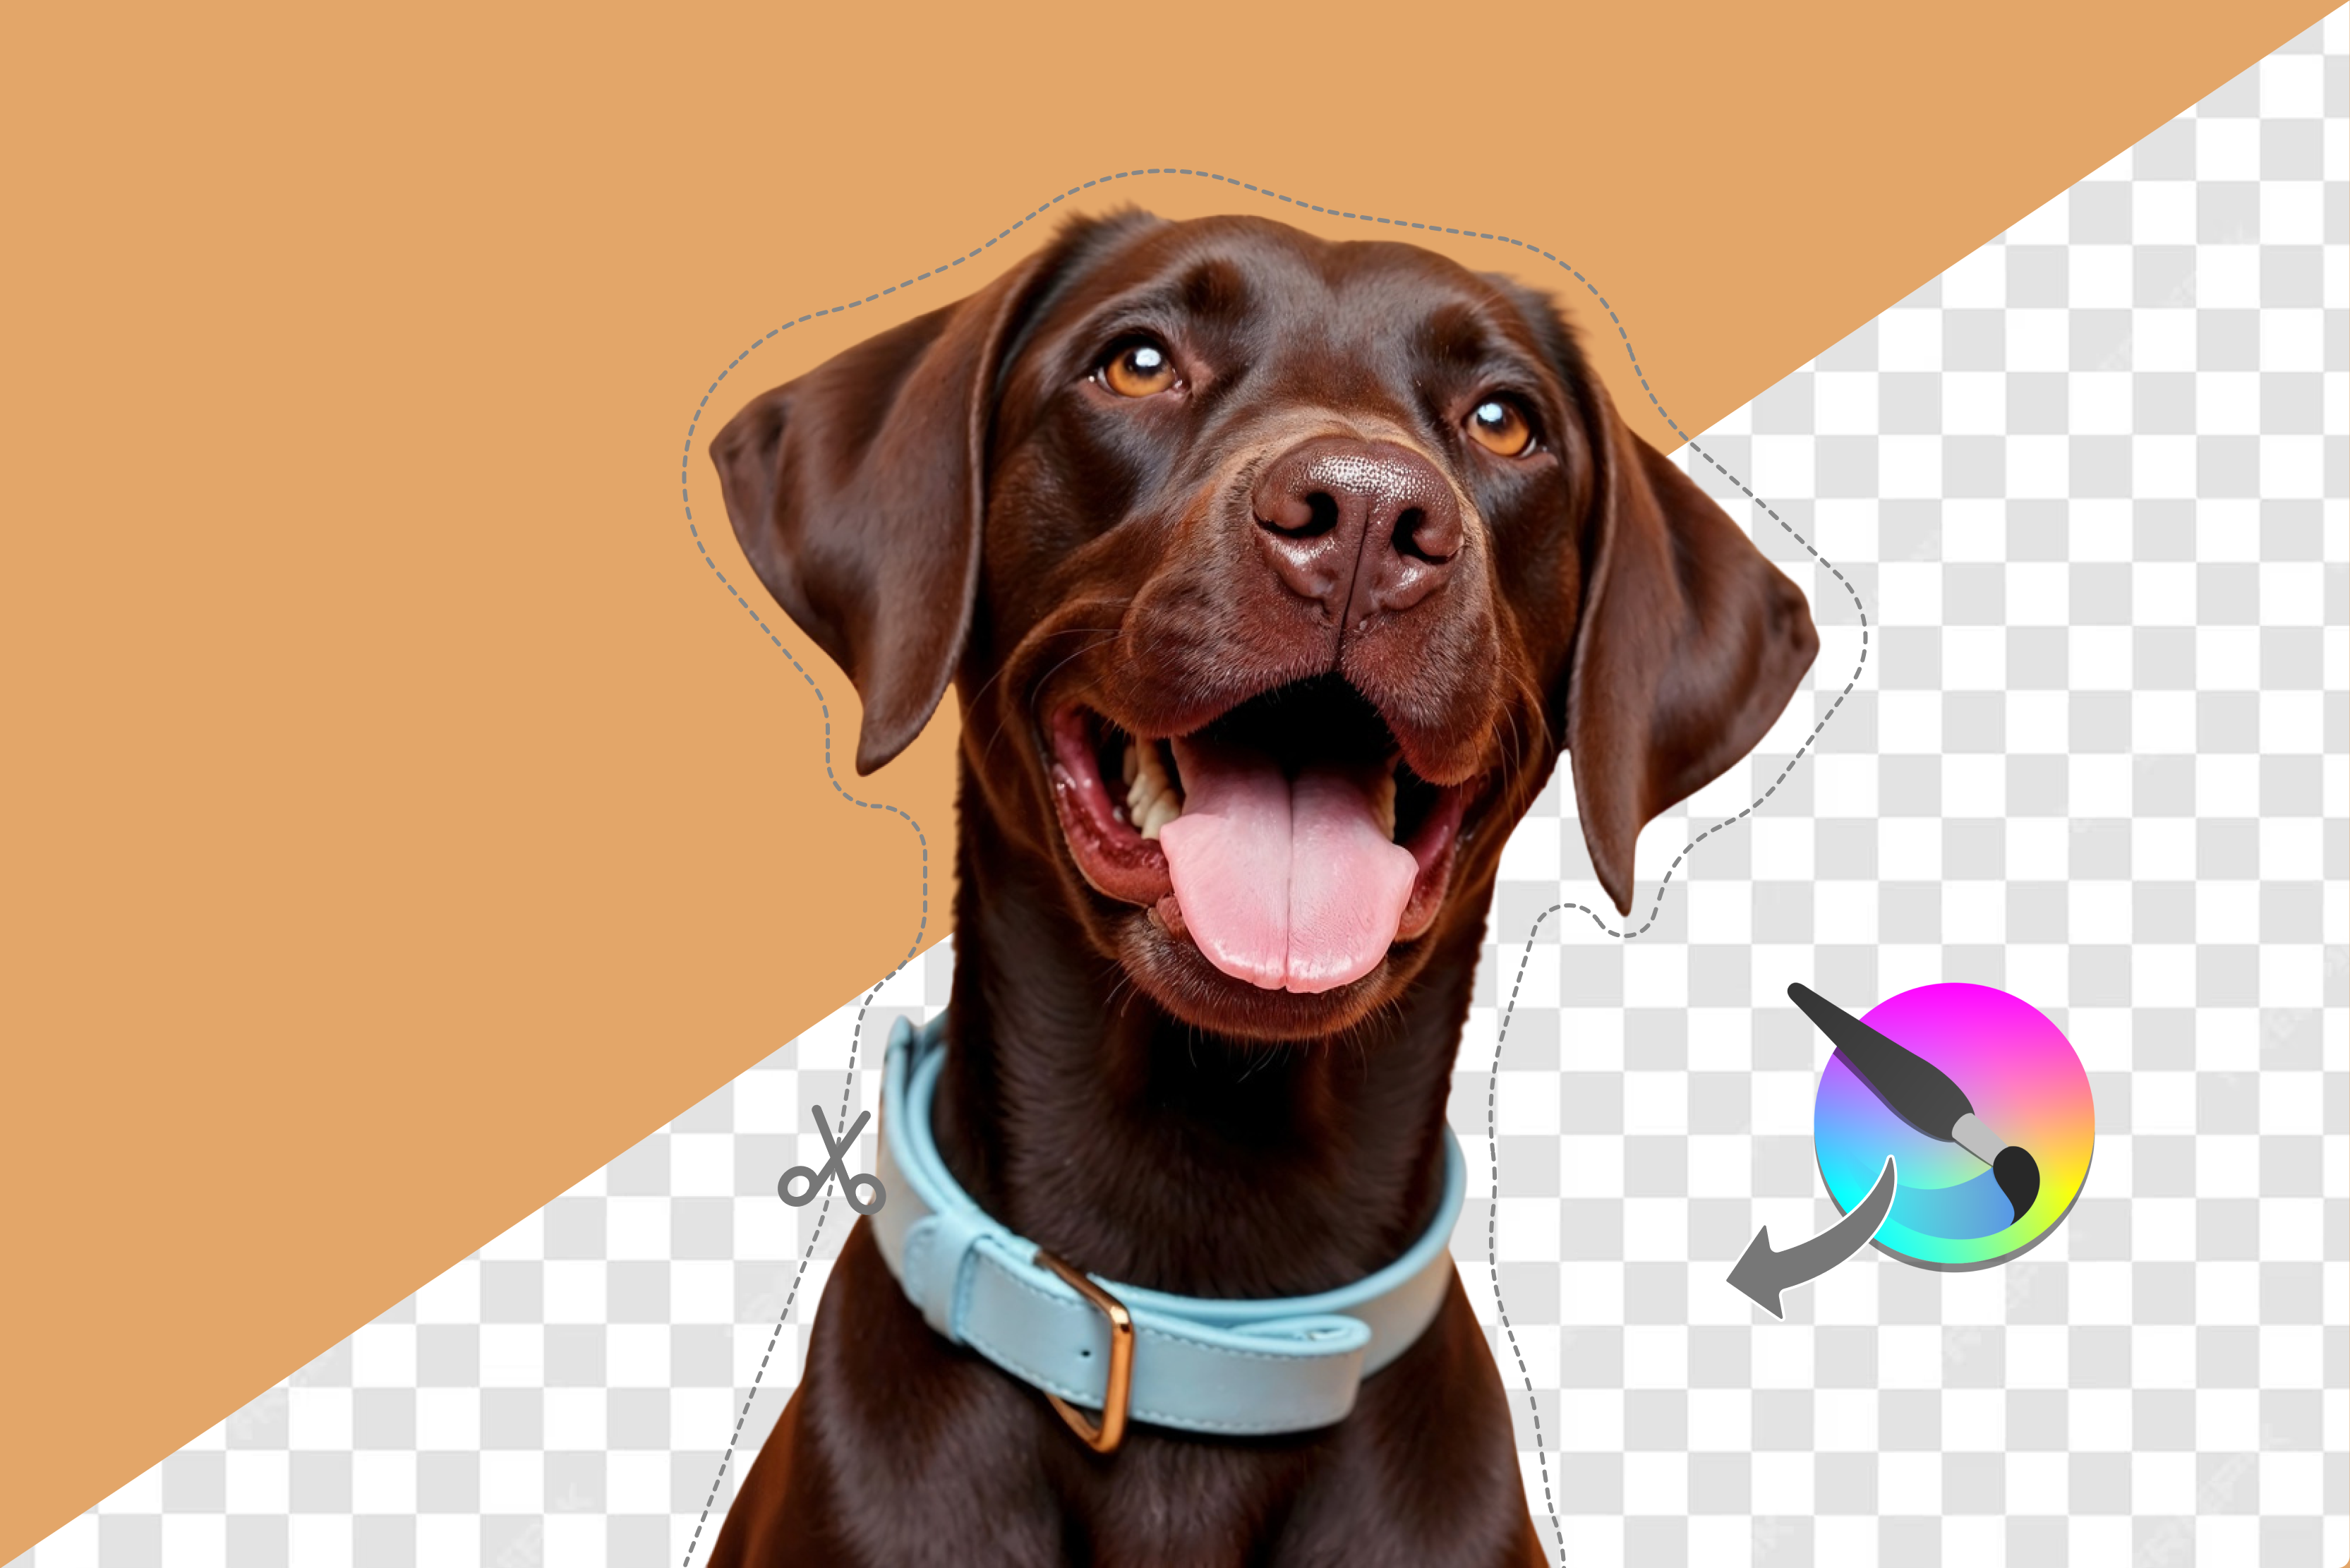
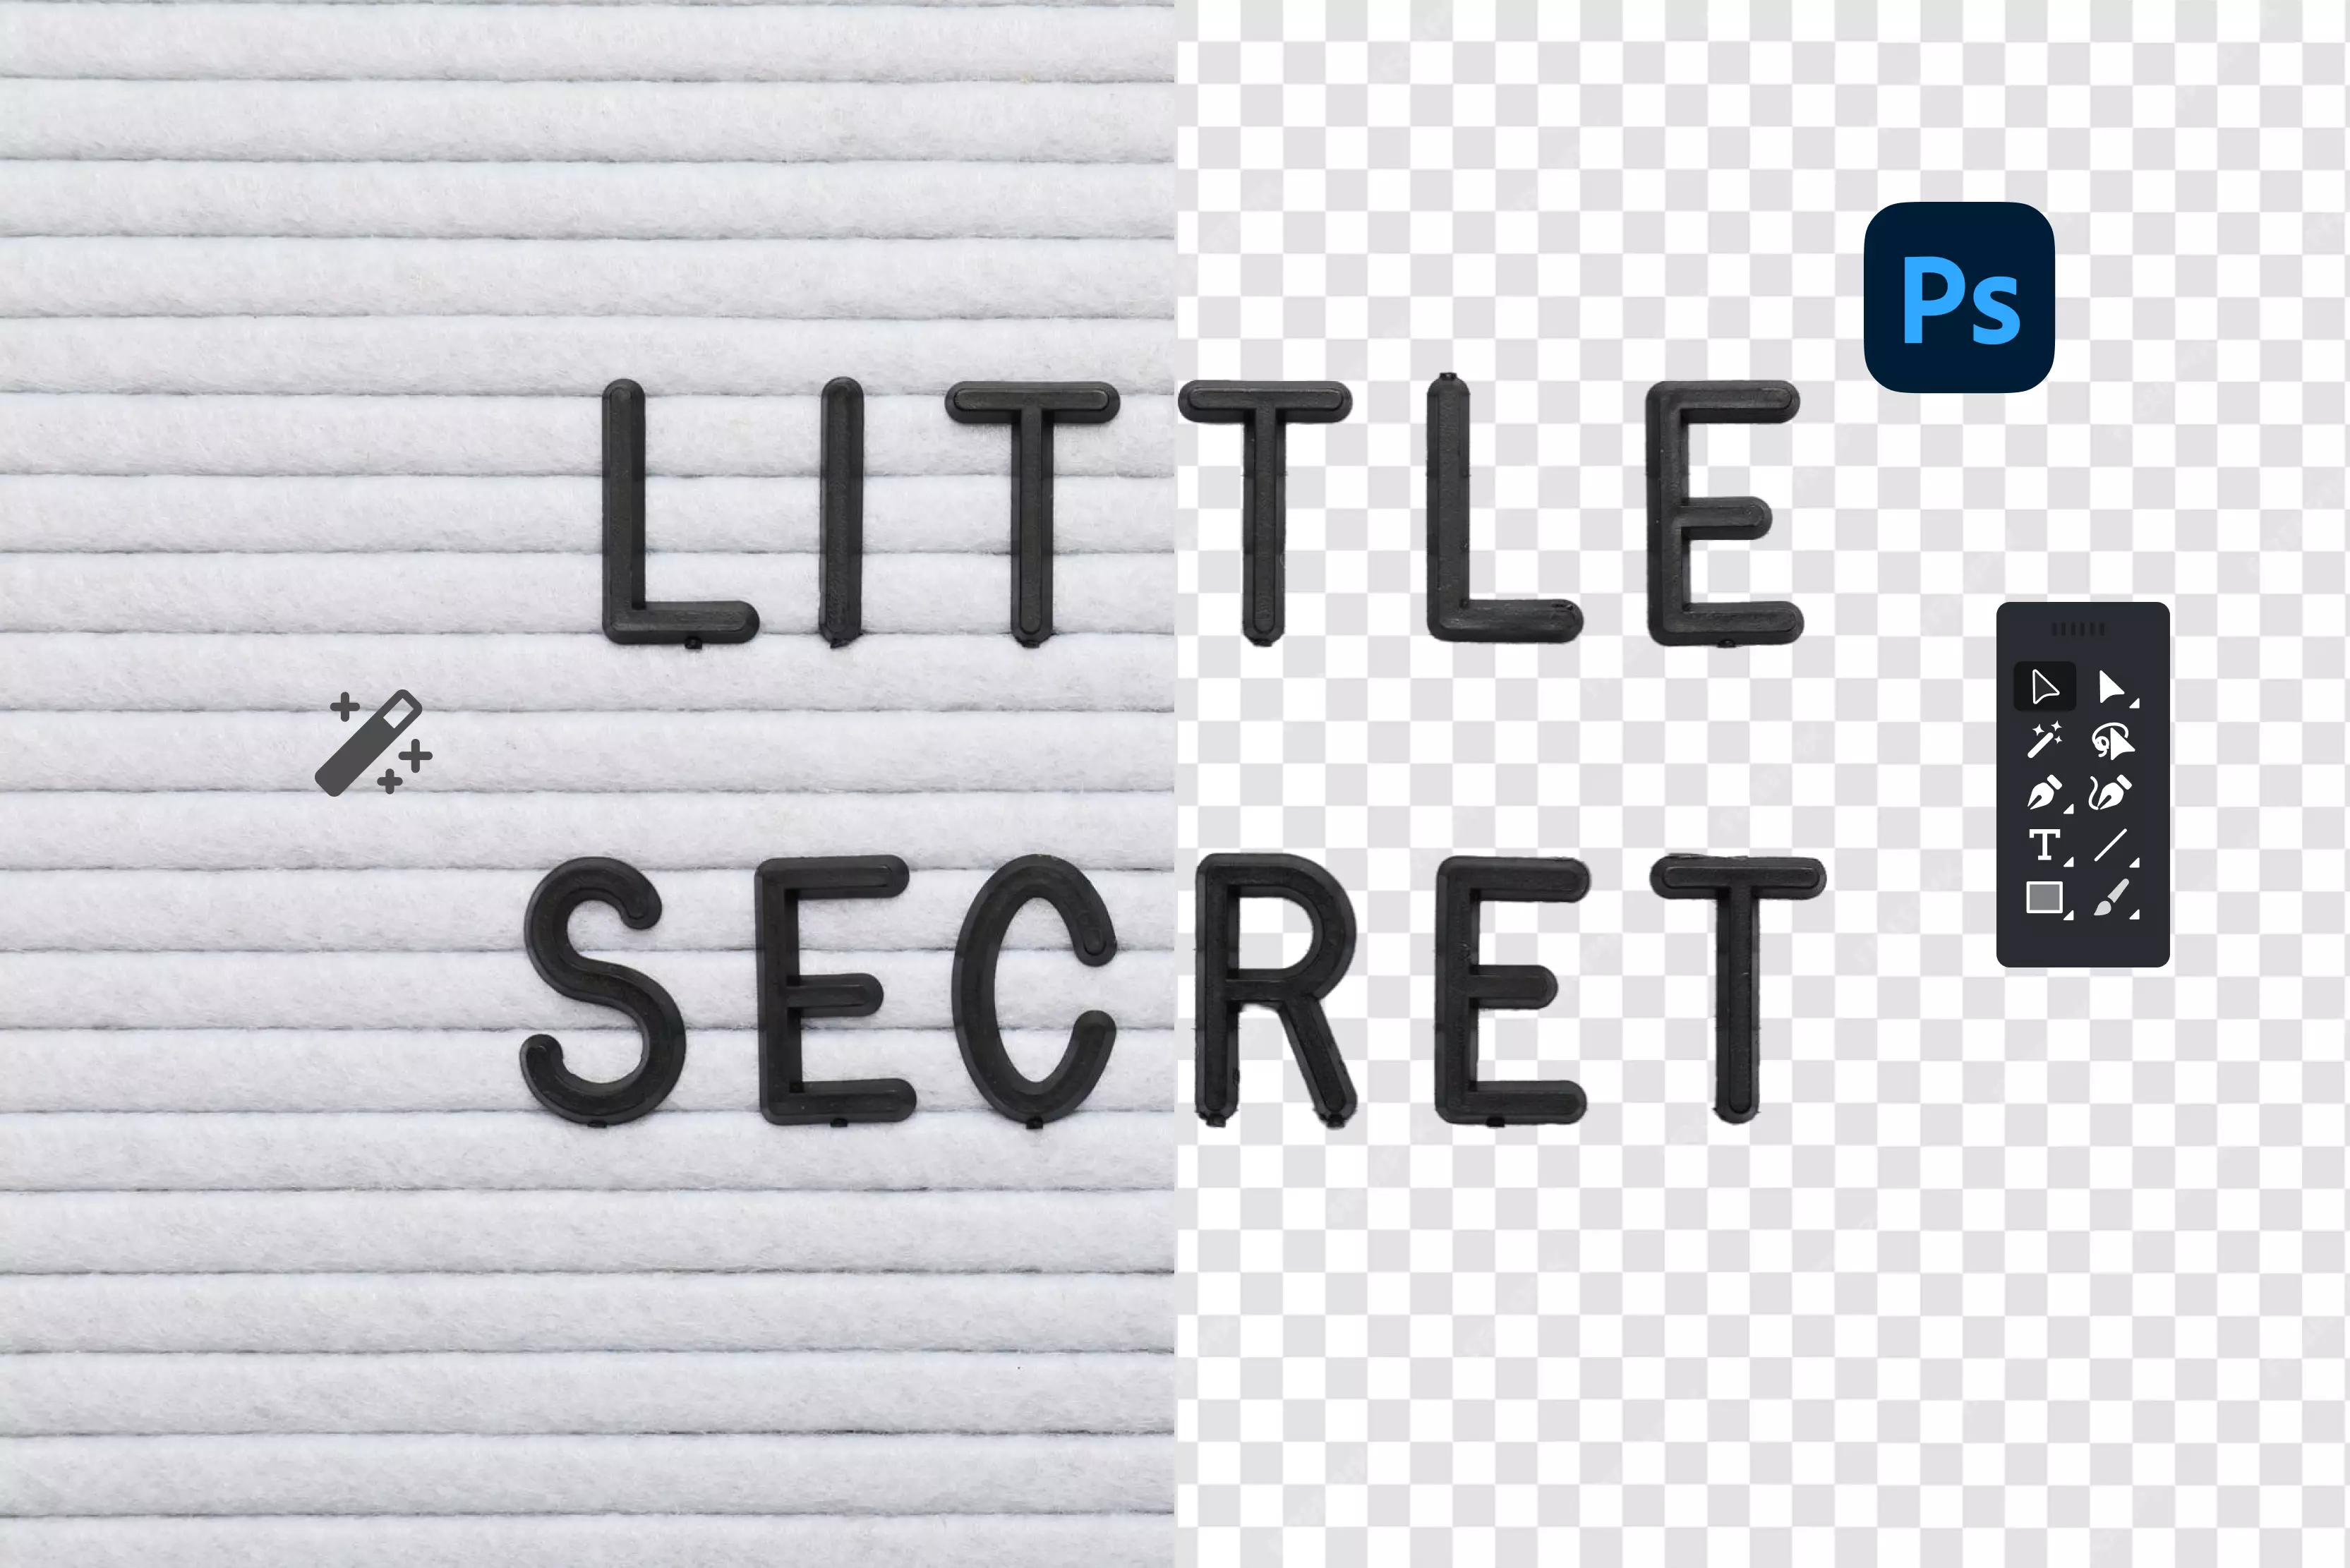
Removing backgrounds from images in Inkscape is a core skill in vector design. A clean background removal lets you keep the subject alone and reuse it wherever you need, keeping your work flexible and polished.
In vector tools like Inkscape, this is especially important because it preserves scalability without sacrificing quality, which matters a lot in branding and marketing. Inkscape is a powerful, free editor that holds its own against many paid programs.
It offers several dependable ways to remove backgrounds, from quick automated tools to precise manual methods, all without subscriptions or complicated setups. Since it runs on Windows, macOS, and Linux, it’s easy for anyone to pick up, no matter their experience level.
Not every background behaves the same, though. Solid colors are usually simple to clear out, while images with shadows, gradients, or lots of detail take a bit more care. This guide will walk you through practical techniques, version-specific steps, and helpful tips for common challenges so you can remove background in Inkscape.
Understanding background removal in Inkscape
When you’re working in Inkscape, it helps to know right away whether you’re dealing with a vector background or a raster one. It makes a big difference in how you approach the cleanup.
Vector backgrounds—like a simple rectangle behind a logo—are made from paths, so you can just grab them, reshape them, or delete them without losing quality. Raster backgrounds are the photos and JPGs you drop in, where the background blends into the subject.
Since Inkscape doesn’t erase pixels the way Photoshop does, you handle them by tracing the artwork into vectors or by hiding parts of the image with clips and masks. Inkscape gives you several good tools for background removal.
Clipping lets you draw a shape around what you want to keep, and everything outside disappears. Masking works with shades of grey, which makes soft fades and transitions easy. Tracing turns pixel images into editable paths, which is great for logos or simple art.
And if you like working by hand, you can dive into nodes or use Boolean operations to cut a photo, unless you vectorize or use clipping/masking instead. The best part is that most of these methods are non-destructive. When you clip or mask something, the original stays right there. You can remove it, adjust the shape, and apply it again without performing anything from scratch.
Quick points to know
- Vector backgrounds: Easy to delete or cut; they stay crisp at any size.
- Raster backgrounds: Photos or JPGs; trace them or hide parts with clips and masks.
- Clipping: Hides everything outside your drawn shape; sharp edges and easy to undo.
- Masking: Uses white-to-black gradients for smooth transition.
- Tracing: Converts pixels into paths; ideal for simple artwork or logos.
- Path editing: Adjust nodes or use booleans for precise cleanups.
- Non-destructive workflow: Originals stay safe, so making changes later is simple.
Methods to remove background in Inkscape
Learn how to remove backgrounds in Inkscape with practical, easy-to-follow methods. From Trace Bitmap to clipping and masking, this guide covers the most common techniques designers search for online.
1. Trace Bitmap
Trace Bitmap converts a pixel image into editable vector shapes, which makes it easy to pull out the subject and get rid of the background. It works especially well on logos or simple artwork with clear edges and solid colors.
You tweak the settings—brightness, edge detection, and so on—until the trace locks onto the part you want but it doesn’t truly auto-isolate a subject the way AI tools do. It just traces based on contrast/edges.
After that, you break the result apart and toss the extra pieces. What you’re left with is a clean vector version that stays sharp at any size, whether you’re using it for print, web graphics, or anything else that needs crisp lines.
Steps to know
- Drag your image into Inkscape or go File > Import and pick it.
- Click the image to select it, then hit Path > Trace Bitmap.
- Try Brightness cutoff for high-contrast stuff—slide the threshold and hit “Update” to see a preview.
- When it looks good, click Apply; new paths appear over the image.
- Drag the paths away, then Object, and then Ungroup so the pieces separate.
- Select and delete the background shape (usually the big filled area).
- Keep the subject paths or use them to clip the original image.
2. Clipping Mask
Clipping lets you draw a shape around the part of an image you want to keep and hides everything outside it, without altering the original. You can sketch the outline with the Bezier tool—BSpline helps if you want softer curves—and then apply the clip.
The nice part is that nothing is permanent. You can adjust the outline whenever you need or release the clip and redo it from scratch. It’s a simple, tidy way to get sharp, editable cutouts from photos or any imported image.
Steps to know
- Import your image and select the Bezier tool (B key).
- In tool controls, pick BSpline mode for easy curves.
- Click around the subject to build the path, hold Shift for straight lines, and close by clicking the start point.
- Select both image and path (Shift-click or drag box).
- Go Object > Clip > Set; background vanishes outside your shape.
- To fix, select the clipped group, Object > Clip > Release, edit path, and re-clip.
- Export PNG to keep transparency.
3. Manual Node Editing and Path Boolean Operations
If you already have vector shapes or a decent trace, node editing and path boolean tools let you clean up backgrounds with exact precision. Grab the Node tool to adjust curves manually, or draw a separate shape and use Difference to remove the parts you don’t want.
Intersection keeps only on the areas those are overlapping over one another, while Union merges shapes together. It’s like using a pair of digital scissors on your key frames. This method is used when AI tools leave jagged edges, giving you full control.
Steps to know
- Make sure shapes are paths (Object > Object to Path).
- Select the background path and hit Delete for simple cases.
- For overlaps, draw a cover shape over the background area with Bezier.
- Select both target and cover (Shift-click), then Path > Difference to cut out.
- Or Path > Intersection to keep shared areas only.
- Grab the Node tool (N key), click the path to show nodes, drag or delete for fine tweaks.
- Group cleaned paths when done.
4. Color to Alpha Technique
For solid color backgrounds, like white or black, you can effectively make that color transparent while keeping the rest of the image intact. Inkscape lets you do this with certain extensions or by using Trace Bitmap: select the color, process it, and creates vector paths.
This works especially well for scanned logos where the background is uniform, but the subject has detail. You can recolor the image afterward if needed, but it saves a lot of time compared to tracing everything manually. Just keep an eye on areas where the subject’s colors are similar to the background—they can blend in if you’re not careful.
Steps to know
- Import image, select it.
- If extension installed: Extensions > Raster > Color to Alpha extension in the main UI, pick background color, apply.
- No extension? Path > Trace Bitmap, check Remove bg for white (or Invert image for black).
- Update preview, tweak threshold, hit Apply.
- Ungroup result, delete solid paths.
- Use trace as a clip on the original or adjust fills in the Fill & Stroke panel.
- Check edges, refine with nodes if fringes show.
5. Masking for soft or gradient backgrounds
Masking is useful when hard edges from clipping feel too sharp. You use a grayscale shape where white reveals the image, black hides it, and gray creates soft transitions.
Draw or apply a gradient for the mask, and your subject blends smoothly into transparency. This works well for vignettes, glass effects, or photos with soft, glowing edges. You can tweak the mask anytime, making subtle adjustments without having to redraw anything.
Steps to know
- Place image, draw grayscale shape (white over subject, dark over background).
- Use gradient tool for smooth fades if needed.
- Select image then mask shape (important order).
- Object > Mask > Set; grays now control visibility.
- To adjust: Object > Mask > Release, tweak mask tones, reapply.
- Combine with clip for hard+soft boundaries.
- PNG export preserves the alpha blend.
How to remove background in Inkscape (Most searched queries)
Know how to remove backgrounds in Inkscape for latest versions, including white, black, and image backgrounds. Learn Trace Bitmap, clipping, masking, and node editing for clean, editable results.
1. How to remove the background in Inkscape 2023’s version
In 2023, Inkscape users depend on the same basic tools that are still in use today. Trace Bitmap made it easy to turn images into vectors, clipping handled clean cutouts, and node editing let you tweak shapes precisely—no extra features required.
Tutorials at the time focused on straightforward workflows for logos and simple photos, often combining tracing with ungrouping to remove backgrounds or using Bezier paths for clipping.
The interface was stable, and extensions like Color to Alpha were perfect for handling solid-color backgrounds. Overall, nothing had changed dramatically from earlier versions—just solid, reliable methods that worked on any platform without subscriptions or extra software.
Steps to know
- Import image via File > Import.
- For logos: Path > Trace Bitmap > Brightness cutoff, adjust threshold, Apply.
- Ungroup (Ctrl+Shift+G), delete background path.
- For photos: Bezier tool to trace subject outline.
- Select image + path, Object > Clip > Set.
- Node tool to refine clip path edges.
- Export PNG (File > Export PNG Image) with transparency.
2. How to remove the background in Inkscape 2025’s version
Inkscape in 2025 still depends on the same core tools designers have used for years: Trace Bitmap, clipping, masking, and booleans. The interface has seen a few small updates, and extension support is better, but the workflow is familiar.
Guides still recommend working shapes, photos, and adjusting paths with the node tool. For complex backgrounds, designers often clean up the image in another program and then bring it back as a PNG to edit in Inkscape. The focus remains on vectors and final editing, giving designers all the control to edit.
Steps to know
- Import raster image.
- Simple subject: Path > Trace Bitmap (Multiple scans or Edge detection), preview/adjust, Apply.
- Ungroup, delete background vectors.
- Complex photo: Bezier (BSpline mode) around edges.
- Select image + path > Object > Clip > Set.
- Or use grayscale mask: Object > Mask > Set for soft fades.
- Document Properties > Page > Background (none), export PNG.
3. How to remove white background in Inkscape
White backgrounds are usually easy to remove because they mix up well with most subjects. A common approach is using Trace Bitmap with the “Remove background” option. This generates paths around everything that isn’t white, so you can delete the white fill without trouble.
If your subject has white details—like text in a logo—manual clipping or the Color to Alpha extension helps avoid removing those parts. This method works well for scanned artwork or screenshots, producing clean, transparent vectors that are ready for recoloring or layering.
Steps to know
- Import an image with a white background.
- Path > Trace Bitmap > Brightness cutoff.
- Check "Remove background," adjust Threshold (0.45 typical), and Update preview.
- Apply, drag paths aside, ungroup (Ctrl+Shift+G).
- Delete the white rectangle path, keep the subject.
- Or use the traced subject as a clip path on the original: select both > Object > Clip > Set.
- Fill & Stroke panel to adjust colors if needed.
4. How to remove the image background in Inkscape
When you import photos or complex raster images into Inkscape, automatic tracing often creates messy paths, so manual clipping rules here. Draw a Bezier path around the main subject—use the image edges as your guide—then clip to hide the background cleanly.
This keeps photo quality intact while giving vector-sharp boundaries. For super-detailed shots, some prep the image in a raster tool first, but Inkscape handles most everyday image cutouts well with practice.
Steps to know
- File > Import your photo/image.
- Zoom in, select Bezier tool (B), set to BSpline in controls.
- Trace subject outline carefully, close path.
- Node tool (N) to smooth/add/delete nodes on path.
- Shift-select image then path > Object > Clip > Set.
- Background gone; tweak path anytime via Clip > Release.
- Export PNG for transparency in other apps.
5. How to remove black background in Inkscape
Black backgrounds need a slight twist since dark subjects blend in. Use Trace Bitmap with "Invert image" checked first—this flips tones so black becomes white and your subject pops—then trace normally and delete the inverted background.
Clipping works regardless of color, letting shape define the cutout. After tracing, you often recolor paths in Fill & Stroke since inversion changes hues. Reliable for dark logos or scanned artwork on black fields.
Steps to know
- Import black background image.
- Path > Trace Bitmap > check "Invert image" first.
- Brightness cutoff or Edge detection, adjust Threshold, preview.
- Apply, ungroup traced paths.
- Delete large background path (now light after invert).
- Fill & Stroke > adjust subject path colors back to original.
- Or clip method: Bezier trace > Object > Clip > Set on original.
Bonus tips for efficient background removal in Inkscape
- Organize layers and objects: Put each part of your design on a separate layer and give them clear names. This makes it much easier to select, hide, or tweak elements without accidentally changing other parts.
- Zoom in for details: When working on tricky edges, zoom in closely. It’s much easier to move nodes and adjust paths accurately, giving your cutouts clean, precise edges.
- Use raster editors with vector tools: Sometimes complex images need a little extra help. You can clean up parts of the image in a photo editor first, then bring it back into Inkscape to finish the vector work. This combination can save time and improve accuracy.
- Export with transparency: Make sure to export your designs with a transparent background when needed. This ensures your graphics layer properly in websites, presentations, or print, giving a polished, professional look.
Best Inkscape’s AI alternative for removing background—Pixelbin’s AI image background remover
If you just want to get rid of a white background fast without performing tough steps in Inkscape, Pixelbin is a really simple option. It works online, handles both images and videos, and doesn’t need much setup at all. The best part is how easy it is to use—no complicated steps, just upload and go.
With the premium plans, you can remove white backgrounds in batches, which is a huge time-saver if you’ve got hundreds of photos to deal with. Everything runs automatically, but the quality stays solid. Whether you’re a business owner, a designer, or just someone looking to save time, Pixelbin does the job quickly and without the usual complicated software’s hassle.
How to use Pixelbin for white background removal
Step 1: Go to Pixelbin and open the background remover tool.
Step 2: Upload your image by dragging and dropping it into the upload area or browsing your device to select the file. Supported formats include PNG, JPG, JPEG, WEBP, and HEIC.
Step 3: The AI automatically detects the subject and removes the white background instantly using advanced algorithms, preserving details such as fine edges, lighting, and shadows with high precision.
Step 4: Once satisfied, download the high-resolution image with a transparent background, ready for eCommerce, marketing, social media, or creative projects.
Why did I like it?
- Bulk background removal with accurate results.
- Keeps subjects sharp and detailed.
- Supports automation with API integration.
- Works smoothly with large, high-resolution files.
Final thoughts
For beginners tackling background removal in Inkscape, start simple with Trace Bitmap on logos—trace, ungroup, delete the back path—and you're done fast.Clipping masks work next for photos: draw around the subject with Bezier and clip to hide the rest. These get you clean results without much hassle.
Advanced users level up with node editing to smooth traces, boolean cuts for precise shapes, Color to Alpha for solid colors, and masking for gradient fades. Mix them based on your image for pro-level control.
To keep the background clear, always save your pictures as PNG or TIFF. If you have a lot of pictures, find ways to make your workflow more efficient so you don't have to do the same things over and over.
A thing that you should remember is to try out new tools and get used to them. Using AI tools, like Pixelbin background remover, will help you get faster results for removing a background.
FAQs
Import the image, go Path > Trace Bitmap, pick Brightness cutoff, check Remove background, adjust threshold till it looks good, Apply, then ungroup and delete the white path.
For most cases, Bezier clipping: trace the subject outline, select image + path, Object > Clip > Set. Fast for photos, fully editable.
Trace Bitmap with Invert image checked first, adjust threshold, Apply, ungroup, delete background path, then recolor subject in Fill & Stroke.
Yes for simpler photos via clipping, but very detailed ones work better with external AI removers first, then import PNG to Inkscape for vectors.
Great for high-contrast logos and icons, but creates messy paths on busy photos—use clipping instead for those.
Inkscape does one at a time; for batches, use an AI tool like Pixelbin for bulk PNGs, then import to Inkscape for layout.


