

Background removal is something I deal with all the time in my design work, especially when I’m working with text for social posts, logos, or anything that needs a clean, transparent look. Having text without a messy background makes everything feel sharper and more professional.
Photoshop has basically become my go-to for this because it handles both regular typed text and scanned handwriting really well. What I like about Photoshop is that there isn’t just one “Correct” way to remove a background. Sometimes the Magic Wand gets it done in a couple of clicks.
Other times, I have to mess around with channels or masks to get cleaner edges. If you’re creating graphics often—whether for clients, your own brand, or just for fun—it’s worth knowing a few different techniques, because one method won’t always work for every image.
So in this guide, I will walk you through nine different ways I usually remove backgrounds from text in Photoshop. Some are super quick, some take a little patience, and a few are great for tricky situations. I’ll also mention a couple of faster tools outside Photoshop in case you want to speed things up. Let’s jump in and get your text looking clean and crisp.
Methods to Remove Background from Text in Photoshop
Removing backgrounds from text can be done in several ways. I tested five reliable methods to see which ones work best for different images and editing needs.
Method 1: Magic Wand Tool
When I’m trying to remove a background from text in Photoshop, the Magic Wand is usually the first thing I reach for. It’s honestly the quickest way to deal with simple stuff.
If the background is just a flat white or black, and the text stands out clearly, it grabs the area in one click. I use it all the time for basic text images because it doesn’t make me jump through a bunch of steps.
It’s not perfect, though. If the background has random specks, gradients, or just looks a bit messy, the Magic Wand can get confused and grab too much or too little. You can tweak the tolerance, but still—sometimes it just doesn’t feel worth fighting with.
Steps to know:
- Select the Magic Wand Tool from the toolbar.
- Click on the background area near your text.
- Adjust the tolerance slider to select more or fewer pixels.
- Use the “Add to selection” or “Subtract from selection” options to refine.
- Delete the background or create a mask to hide it.
- Refine edges as needed using Select and Mask.
Method 2: Select > Color Range
When I’m dealing with text that has a more uneven background—such as scanned pages or images with subtle shadows or patches—I usually end up using Select > Color Range. It’s basically a way to grab all of one color at once, even if the pixels aren’t touching.
I like it better than the Magic Wand for this kind of thing because it doesn’t freak out over small variations. The fuzziness slider helps a lot, too, since you can decide how strict or loose the color match should be. It takes a bit of fiddling sometimes, but it gives me a cleaner selection when the background isn’t perfectly flat.
Steps to know:
- Go to Select > Color Range from the menu.
- Use the eyedropper tool to click the background color you want to remove.
- Adjust the Fuzziness slider to widen or narrow the color selection.
- Click OK to load the selection.
- Press Delete or add a mask to remove the background.
- Refine edges as needed for smooth transitions.
Method 3: Blending options & “Blend If”
When I’m dealing with text on a background that isn’t flat—like something with texture or a gradient—I usually mess with the Blending Options and the “Blend If” sliders. It’s a nice way to make the background drop out based on how light or dark it is, without actually deleting anything.
The best part is being able to split the sliders, because it smooths everything out instead of giving you those ugly, sharp cutouts. It keeps the text looking clean while quietly fading the unwanted tones away.
Steps to know:
- Right-click your text layer and choose “Blending Options.”
- Locate the “Blend If” section.
- Adjust the sliders under “This Layer” or “Underlying Layer” to hide the background based on brightness.
- Hold Alt/Option and split the sliders for smoother edge transitions.
- Click OK to apply changes.
- Use masks for further refinement, if necessary.
Method 4: Masking
Masking is pretty much what I fall back on when I want to remove a background without risking messing anything up. Since it doesn’t delete pixels, I can always bring something back if I went too far. With messy or scanned text, I end up using masks a lot because I can clean around the letters without worrying I’m permanently ruining anything.
More than once I’ve masked out something important by accident and was glad I could just paint it back in. It’s also nice for touching up edges and getting rid of little fuzz or artifacts, so everything looks cleaner in the final version.
Steps to know:
- Select your text layer.
- Use Magic Wand or Color Range to select the background.
- Click the “Add Layer Mask” icon to hide the background.
- Refine the mask edges with a brush tool—black to hide, white to reveal.
- Adjust opacity or feather to smooth edges.
- Save your file, retaining the mask for future edits.
Method 5: Channels Panel
When I’m dealing with text on a really tricky background, I usually end up going into the Channels panel. It takes a little more work, but it gives me way more control.
I just look for the channel where the text stands out the most from the background, and from there I can pull a really clean selection, even when the background isn’t consistent. It’s especially helpful with scanned stuff or images that have a lot of texture going on.
Steps to know:
- Open the Channels panel and review the Red, Green, and Blue channels.
- Identify the channel with the highest contrast between text and background.
- Duplicate this channel for editing.
- Adjust Levels or Curves on the duplicated channel to increase contrast.
- Ctrl + click on the channel thumbnail to load it as a selection.
- Apply this selection as a mask or delete the background.
- Smooth and refine edges with Select and Mask, as needed.
Most searched queries about how to remove the background from text in Photoshop
People search for all kinds of ways to remove backgrounds from text in Photoshop, so I gathered the most common questions and put together clear, simple answers based on real use.
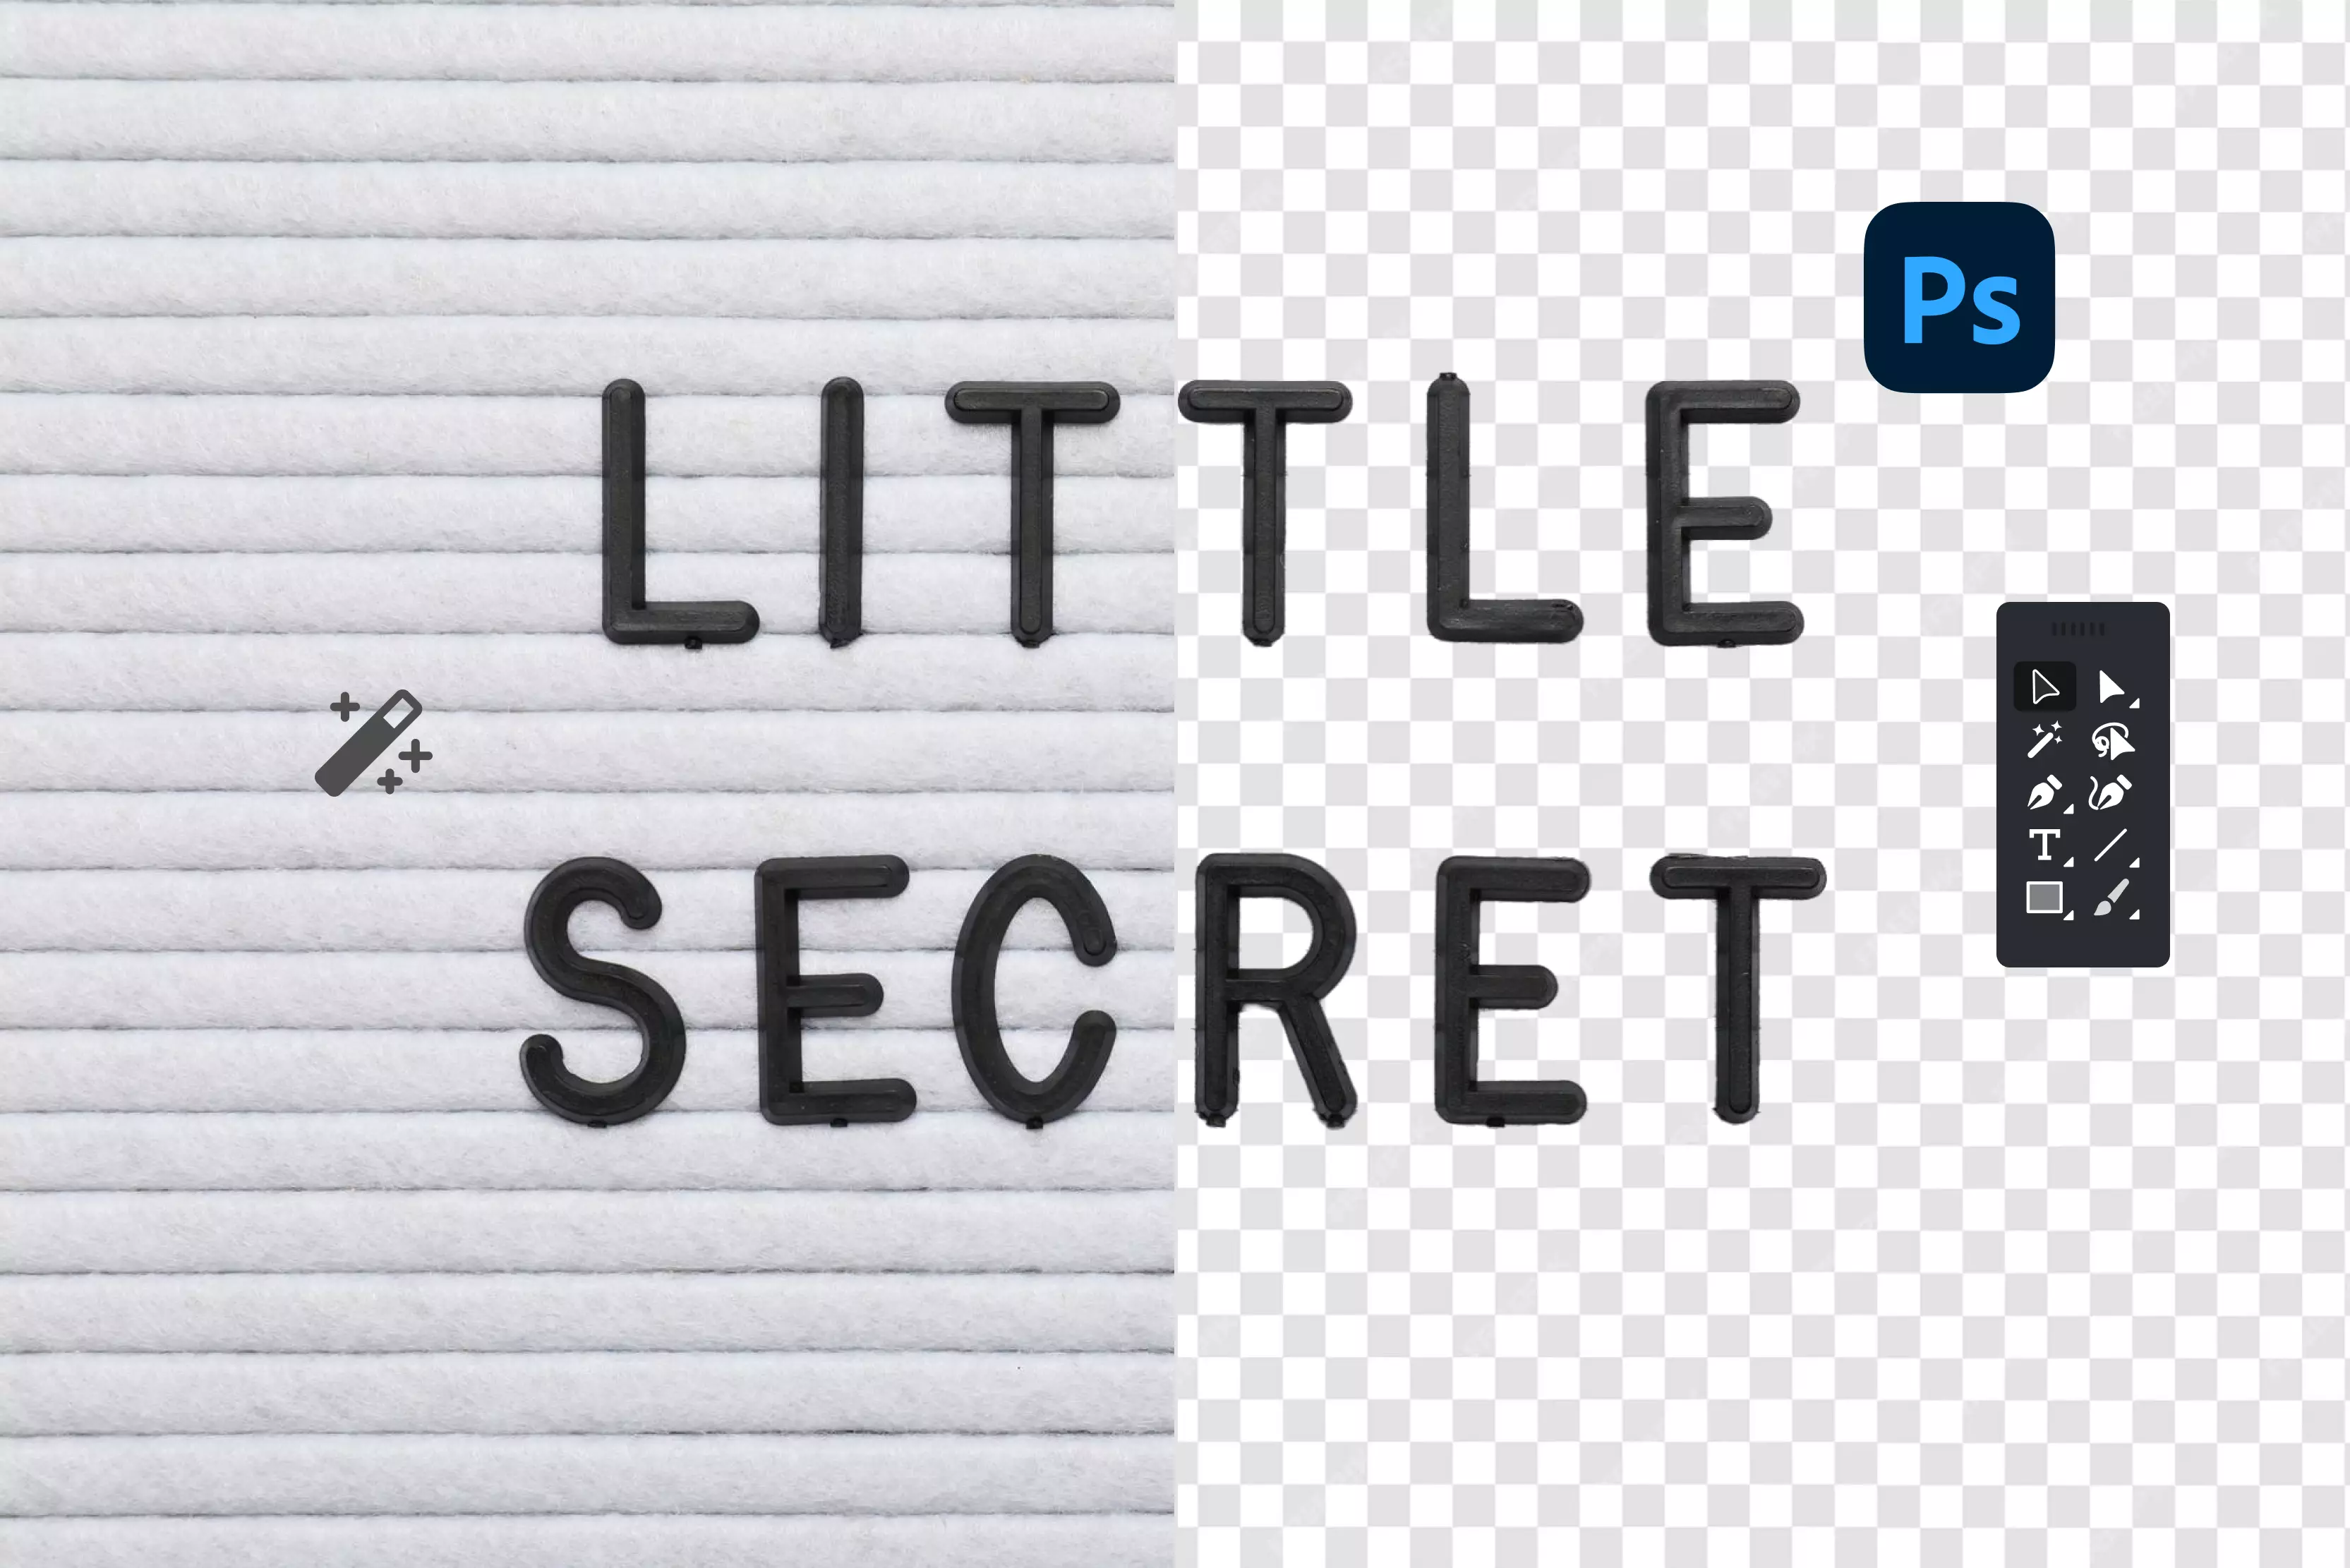
Method 6: How to remove a White Background from Text in Photoshop
I end up removing white backgrounds from text all the time in Photoshop—stuff like logos people send me, scanned handwriting, or random text graphics that only come as a flat image.
White backgrounds are everywhere, but they’re annoying when you want to drop the text onto a different design because the white box just sticks out. Luckily, Photoshop makes it pretty easy to get rid of that white so you can use the text wherever you want.
It’s super handy when I’m putting together things for websites or social posts and I need the text to sit cleanly on top of whatever background I’m using. Most of the time, I just grab the Magic Wand or Color Range and let it pick out the white for me.
Those tools grab the bright areas really quickly, and once that’s selected, I throw a mask on it so I can fine-tune the edges without actually deleting anything. With a little tweaking, the text ends up looking smooth and blends into whatever project I’m working on.
Steps to know:
- Open your image in Photoshop.
- Select the Magic Wand Tool or go to Select > Color Range.
- For Magic Wand: click the white background to select it; adjust the tolerance for more or less coverage.
- For Color Range: click the white area with the eyedropper and adjust fuzziness to refine the selection.
- Press Delete to remove the white background or add a transparency enabled layer mask to hide it non-destructively.
- Use Select and Mask to refine edges, feathering or smoothing as needed.
- Check for leftover white edges and clean with the Brush Tool on the mask.
- Save the image as PNG to preserve transparency for future use.
Method 7: How to remove a black background from Text in Photoshop
Getting rid of a black background behind text in Photoshop is usually trickier than dealing with white. Dark stuff tends to blend together, so you have to be a little more careful, or you’ll end up wiping out parts of the letters by accident. I’ve run into this a lot with scanned handwriting and older logo files.
Simple tools like the Magic Wand don’t always behave—they’ll either grab too much or leave you with messy edges. What usually works better is leaning on things like blending modes or luminosity-based masks. They separate the darker background without chewing into the text itself, and you can adjust everything until it looks clean.
The nice part is that these methods don’t actually delete anything, so if you mess up, you can fix it without starting over. After a few tries, it becomes a pretty straightforward process and keeps the text looking sharp.
Steps to know:
- Open your text image in Photoshop.
- Duplicate the layer for backup.
- Right-click the duplicated layer and select “Blending Options.”
- Locate the “Blend If” sliders and adjust the “This Layer” black slider to hide dark areas (background).
- Hold Alt/Option and split the slider for a smoother transition.
- Alternatively, create a Luminosity Mask by selecting the black areas via Channels.
- Delete or mask the black background areas.
- Refine edges using Select and Mask and paint on masks for final cleanup.
- Save the final image as PNG for transparent background use.
Method 8: How to remove background color from text in Photoshop
Removing background color behind text in Photoshop is something I do a lot, especially when I want the text to sit cleanly on different designs.
It’s really handy if you made a logo or graphic on a solid color background and now need it to be transparent or swapped out for something else. Photoshop has a bunch of ways to do this—sometimes it’s as simple as using a selection tool, other times I end up masking things to get it just right.
I usually start with the easy stuff and only go for the more precise methods if the background is tricky, so the text stays crisp and doesn’t get ruined. Once you get the hang of it, it makes putting together graphics, banners, or social media posts way easier because the text just fits wherever you want it.
Steps to know:
- Open your image with the background color in Photoshop.
- Select the Magic Wand Tool from the toolbar.
- Click on the background color; adjust the tolerance to capture the entire area.
- Use “Add to selection” or “Subtract from selection” to refine.
- Hit Delete or create a mask to hide/remove the background non-destructively.
- Use Select and Mask for edge refinement, smoothing, or feathering if needed.
- Deselect the selection and check for leftover bits on edges.
- Save your file as PNG to preserve transparency for versatile use.
Method 9: How to remove the background from handwritten text in Photoshop
Deleting the background from handwritten text in Photoshop can be tricky. Scanned handwriting usually has little shadows, uneven spots, or paper texture that make quick selections almost useless. What I usually do is combine channels with manual masking.
Channels let me pick out the text based on contrast, and masking gives me a way to clean up edges without actually deleting anything. It keeps all the major and minor details, like ink smudges or paper texture, so the handwriting still feels natural.
Once you get the hang of this, you can turn handwritten notes or drawings into graphics with transparent backgrounds that look good on digital projects or printed designs.
Steps to know:
- Open your handwritten text image in Photoshop.
- Open the Channels panel and inspect the Red, Green, and Blue channels to find the highest contrast channel.
- Duplicate the best channel for editing.
- Enhance contrast using Levels or Curves adjustments to darken text and lighten background.
- Ctrl/Cmd + click the channel thumbnail to load the selection.
- Return to the Layers panel and create a mask from the selection or delete the background.
- Use the Brush Tool on the mask to refine edges manually.
- Save the image as PNG to keep transparency intact for versatile use.
Troubleshooting pro tips
1. Take your time in Select and Mask
After you’ve made your first selection, don’t jump straight to deleting the background. Open the Select and Mask panel and really work the edges. The Edge Detection brush helps a lot with soft lettering or thin strokes.
Play with Smooth, Feather, and Contrast until the edges look natural—sharp enough, but not crunchy. This quick refinement step saves you from ugly halos later on.
2. Zoom in and clean the edges by hand
Once the mask is in place, zoom in closer than you think you need to—200% or more. On the mask itself, use a soft brush with low opacity and slowly clean the border around the text.
If you notice tiny white or black crumbs left behind, hit them with the Clone Stamp or the Spot Healing Brush. These tiny fixes make a huge difference in the final result.
3. Save as PNG when you need clean transparency
If the image needs a transparent background or crisp text, export as PNG. It keeps things sharp and doesn’t introduce weird compression spots.
Avoid JPEG for anything with transparency or fine text edges—it tends to smear or add noise where you don’t want it.
4. Automate your workflow for big batches
When you’re dealing with a pile of images, record an Action with your usual steps—your selection method, your mask adjustments, and your cleanup routine.
Then run it through File > Automate > Batch. It’s a lifesaver for product photos, scanned pages, or logo sets.
5. For tricky backgrounds, mix tools
Gradient or textured backgrounds rarely disappear cleanly with one tool. Start with a basic selection, then refine it in Select and Mask. Turning on Decontaminate Colors can help with messy edges.
If the background is stubborn, create a contrast-heavy mask using the Channels panel and refine the edges manually. It takes longer, but you get a much cleaner cut.
6. Preview the mask against black and white
Switch your background preview between pure black and pure white while you’re checking your mask. Each one reveals different flaws—stray pixels, soft smudges, or outlines you wouldn’t see otherwise. Fixing them here prevents surprises later.
7. Save your PSDs before flattening
Keep your file layered while you’re working. Don’t flatten the image until you’re completely done. Having the mask editable gives you the freedom to fix small areas without starting over.
Best alternative to Photoshop to remove background from text- Pixelbin AI Background Remover
If you just want to delete a background out quickly and don’t feel like wrestling with layers, masks, or any of Photoshop’s more advanced tools, Pixelbin’s background remover is an easy shortcut.
It runs in your browser, works with both photos and videos, and you don’t have to install or set up anything. If you end up using it a lot, the paid plans let you clear backgrounds from whole batches of images at once. That’s a huge help when you’ve got folders full of product shots or old photos waiting to be cleaned up.
The tool does everything automatically, but the results still look clean and polished. Whether you’re running a small shop, doing design work, or just trying to speed up your workflow, Pixelbin’s remover takes care of the job without any fuss.
How to use Pixelbin for background removal
Step 1: Go to Pixelbin and open the background remover tool.

Step 2: Upload your image by dragging and dropping it into the upload area or browsing your device to select the file. Supported formats include PNG, JPG, JPEG and WEBP.
Step 3: The AI automatically detects the subject and removes the background instantly using advanced algorithms, preserving details such as fine edges, textures, and shadows.
Step 4: Once satisfied, download the high-resolution image with a transparent background, ready for eCommerce, marketing, social media, or creative projects.
Final thoughts
If you’re new to Photoshop, start with the basics—Select and Mask, a soft brush, and a little patience. Those simple tools get you surprisingly far. Once you’re more comfortable, you can dip into channels, manual refinements, or batch setups to speed things along.
Whatever route you take, try to work non-destructively. Masks give you room to fix slips and clean up edges later, and they save you from having to redo the whole thing if something goes wrong. And if you’re stuck on a specific text or a background that just won’t cooperate, feel free to ask. I’m happy to look at it and help you sort it out.
FAQs
The cleanest way is to bring the image into Photoshop, add a Layer Mask, and use Select > Color Range to target the white background. Once you mask it out, fine-tune the edges with a soft brush. This approach keeps the text intact because you’re not erasing anything—you’re just hiding the background.
If speed is the goal, go straight to Select > Color Range, click the background, hit OK, and add a mask. In most cases, this gives you a transparent background in seconds. It’s quick and usually accurate enough for simple text.
Yes—just expect a bit more cleanup. Start with Color Range or use the Channels panel to isolate the darkest strokes. Once you get a rough selection, apply a mask and clean the edges with a small brush. Handwritten notes often need extra touch-ups because the shading and paper texture vary.
The Magic Wand struggles when the background isn’t perfectly even. Small shadows, gradients, or slight color changes make it skip spots. Adjusting the Tolerance helps, but for smoother results, Color Range or Select and Mask will catch more detail.
Open the mask in Select and Mask, then use the Smooth, Feather, and Contrast sliders to even things out. After that, zoom in and hand-paint the mask with a soft brush to tidy up tiny bumps or leftover pixels. This combo usually fixes anything jagged.
Use PNG. It keeps transparency clean and doesn’t blur or compress the edges. JPEG is fine for photos, but it adds artifacts and won’t save transparency at all.