Summary
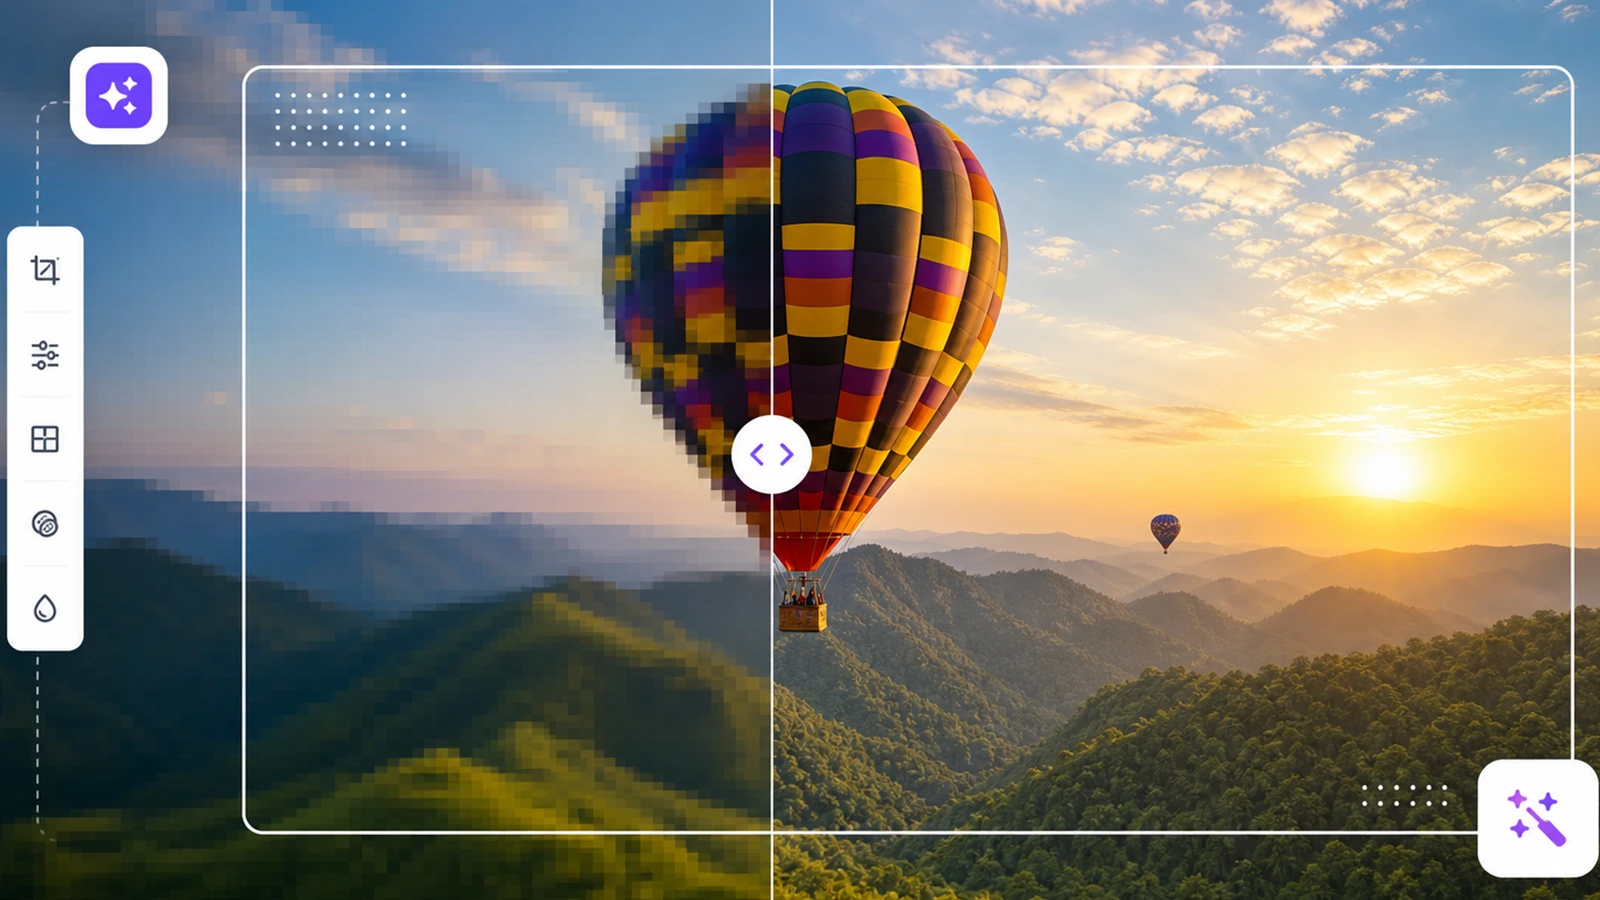
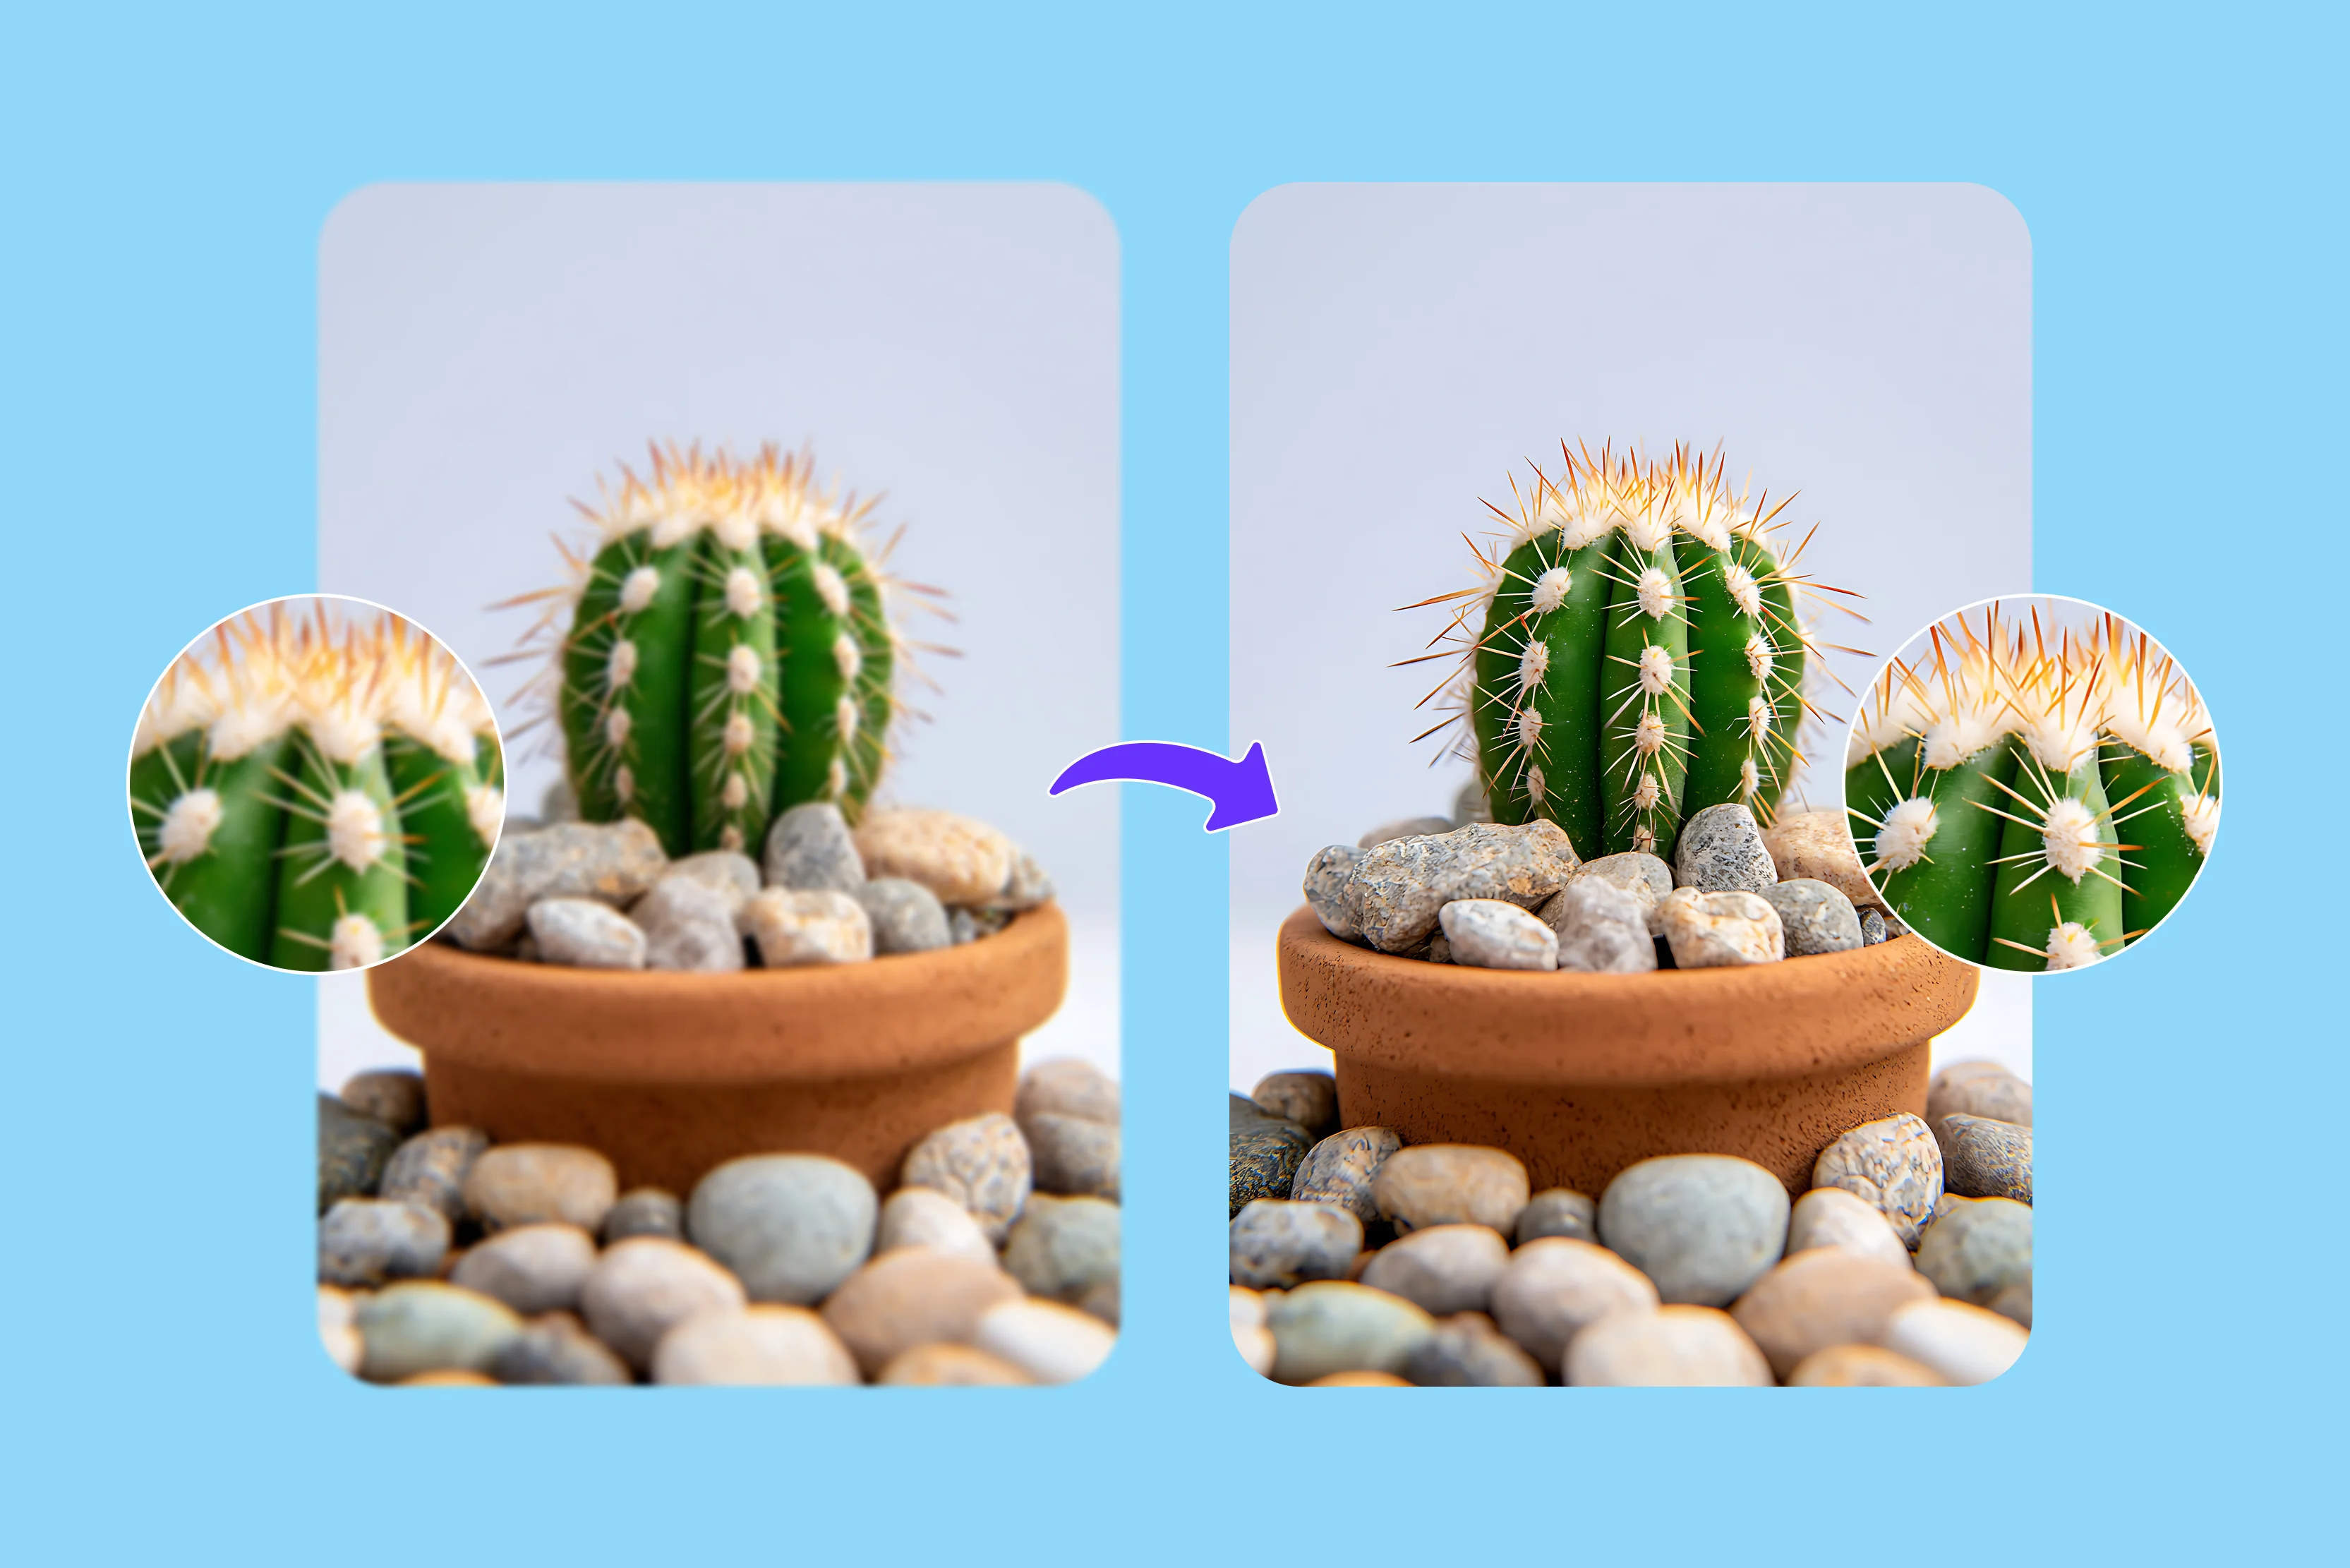
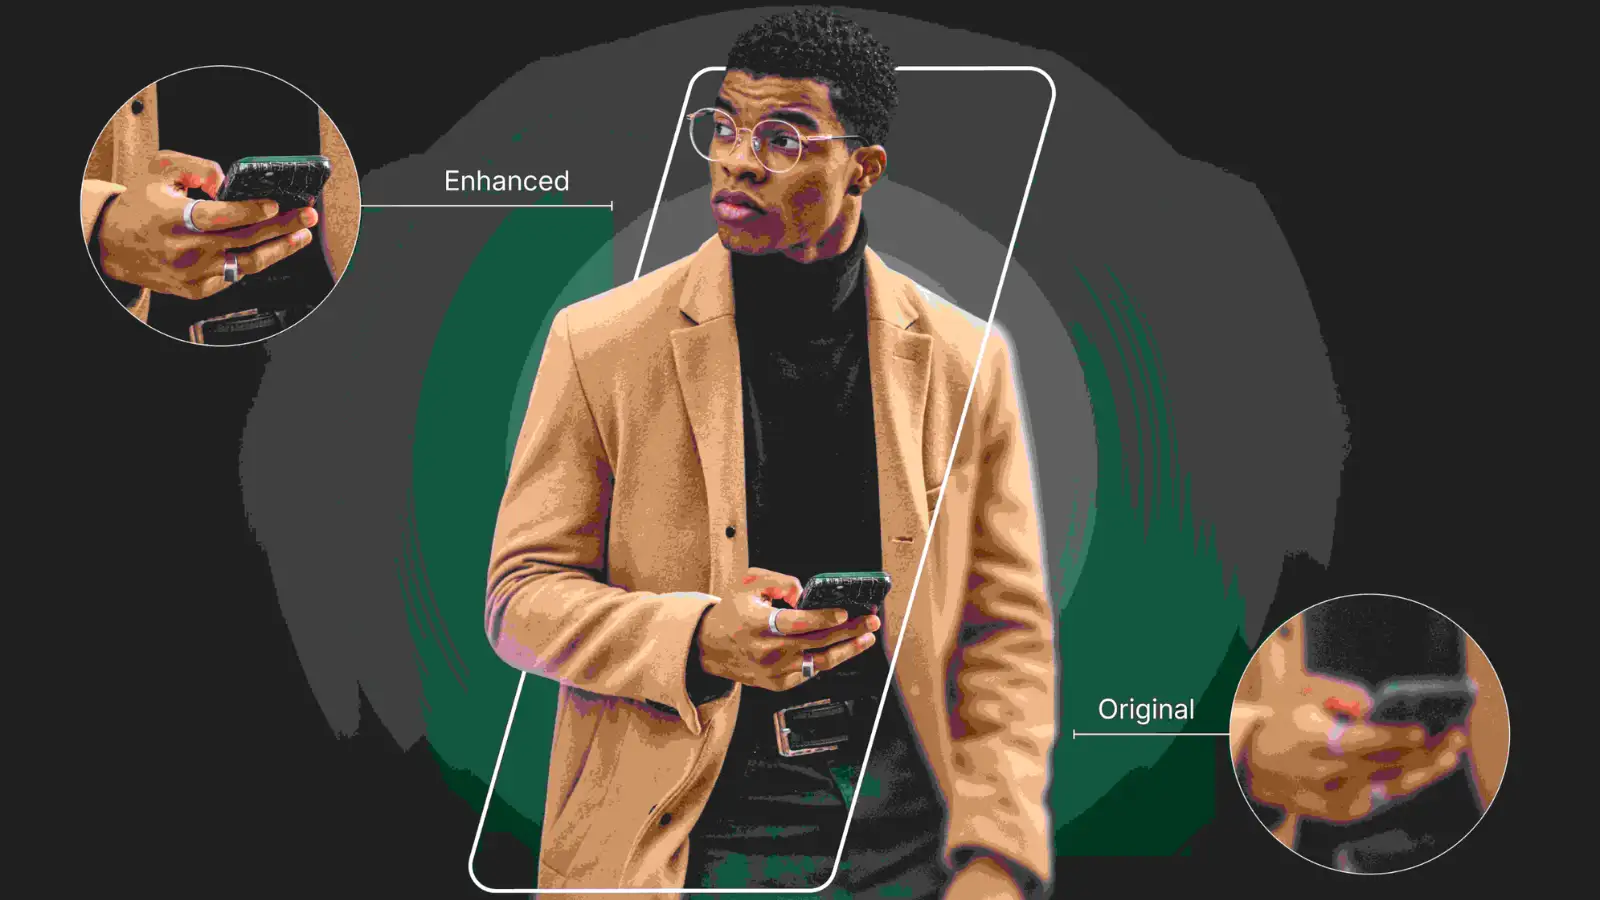
An image enhancer improves photo quality by making an image sharper, clearer, brighter, less noisy, and more detailed. AI image enhancers can also increase resolution, fix mild blur, restore texture, and prepare images for social media, ecommerce, print, or design. The best results come from choosing the right enhancement type, starting with the highest-quality original, and checking the output for natural detail instead of over-processed sharpness.
Introduction
An image enhancer is used when a photo is almost usable but still looks blurry, pixelated, dark, grainy, compressed, or too soft for publishing. Search intent is usually practical: users want a fast way to improve image quality online, often with AI, without needing advanced editing skills.
People also search for related terms like AI image enhancer, image quality enhancer, image resolution enhancer, free image enhancer, 4K image enhancer, HD image enhancer, image clarity enhancer, and photo enhancer. The use case varies by need: ecommerce product photos, social media visuals, portraits, real estate images, old photos, logos, screenshots, or print-ready assets.
This guide explains what an image enhancer does, how AI image enhancement works, when to use it and many more.
What is an image enhancer?
At its core, an image enhancer is a software system or algorithm designed to improve the visual characteristics of a digital photograph. Traditional image enhancers relied entirely on mathematical pixel manipulation stretching contrast curves, increasing global edge contrast, or shifting color balances uniformly across an image.
The modern ecosystem, however, is dominated by AI image enhancers. These advanced platforms use deep learning models trained on millions of high-definition images. Instead of merely manipulating existing, degraded pixels, an artificial intelligence system reads the contextual data within a photograph, identifies the subjects (such as faces, textures, fabric, or text), and mathematically predicts the missing detail.
An AI image enhancer handles a multi-layered matrix of visual problems simultaneously:
- Resolution Deficits: Synthesizing new pixels to expand small files into massive, print-ready sizes.
- Acutance and Sharpness: Removing structural blur caused by camera shake, mismanaged focus, or digital compression.
- Noise Abatement: Stripping away sensor grain and compression artifacts without turning fine details into mush.
- Luminance and Chrominance Correction: Rescuing details hidden in crushed shadows or flat highlights while balancing color temperatures.
Image enhancer vs image upscaler vs image sharpener
Image enhancer
An image enhancer is a holistic system. It evaluates the entire visual real estate of an image to correct a combination of lighting, tone, noise, scale, and clarity. It does not look at problems in isolation. If a portrait is dark and blurry, an AI image quality enhancer simultaneously recalculates the exposure curves while rebuilding facial feature details.
Image upscaler
An image upscaler focuses squarely on dimensional scale and pixel density. If you possess a $500 times 500$ pixel graphic that must be deployed as a hero banner on an ecommerce site requiring $2000 times 2000$ pixels, an upscaler bridges that gap. Traditional upscaling (like bilinear or bicubic interpolation) simply duplicates existing pixels, resulting in blurry, blocky artifacts. An AI image upscaler generates entirely new pixels based on semantic understanding, enlarging the file while retaining sharp, authentic edges.
Image sharpener
An image sharpener targets edge acutance. When an image suffers from lens soft-focus, minor motion blur, or web compression haze, a sharpener isolates the high-frequency zones (boundaries where light pixels meet dark pixels) and increases contrast along those lines. Traditional sharpening creates harsh halos around objects; AI-driven sharpening recalculates the directional vectors of blur to pull details back into crisp alignment.
At-a-Glance Comparison Matrix
What can a modern image enhancer actually fix?
While AI feels like magic, it is ultimately a sophisticated predictive engine. Knowing exactly what an image clarity enhancer can and cannot fix will save you time and preserve your production budget.
1. Low resolution and pixelation
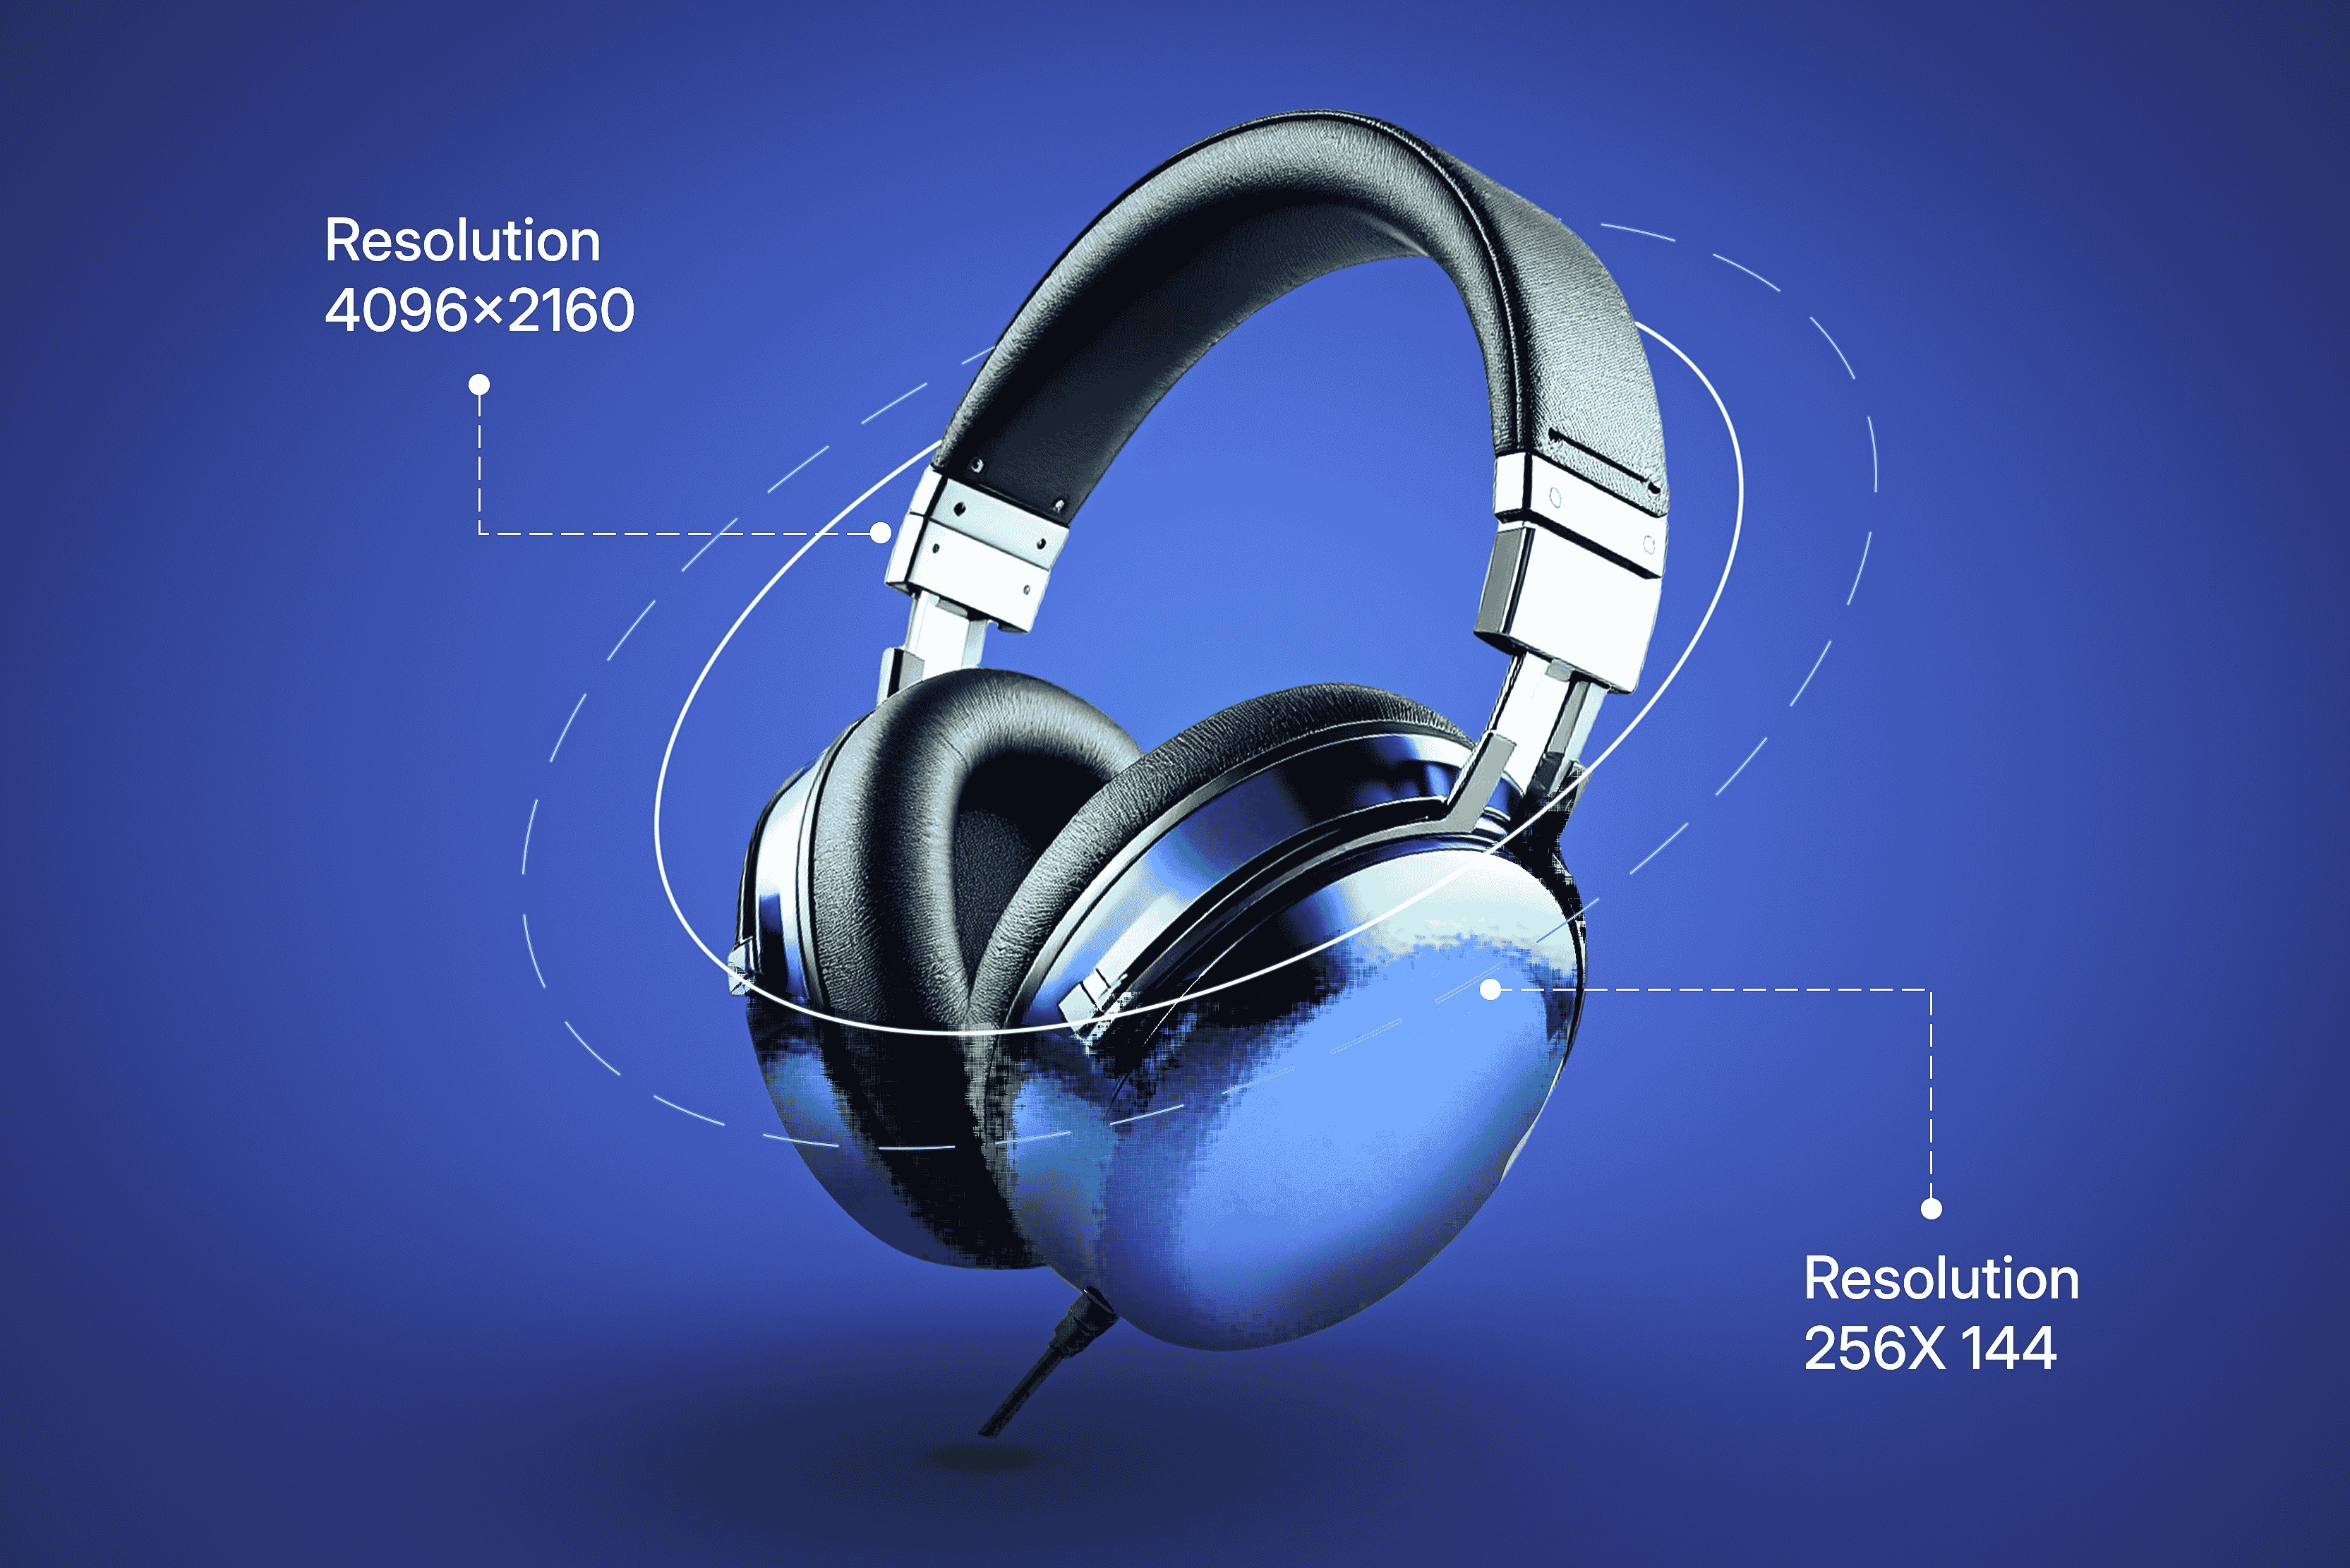
When an image is pulled from an old archive, shared over compressed messaging apps, or cropped down significantly, it loses its resolution. An image resolution enhancer processes these files by evaluating the pixelated, staircase-like steps along diagonal lines and rebuilding smooth vector-like paths, converting small, unusable files into crisp HD or 4K assets.
2. Motion and lens blur
Blur happens when a camera shutter moves too slowly relative to a subject, or when a lens misses its focus point slightly. AI deblurring engines analyze the directional spread of the blur determining exactly which way the light bled across the sensor and computationally reverse that shift, pulling details back into sharp focus.
3. Compression artifacts (JPEG artifacts)
To keep file sizes small, web servers and cameras use aggressive compression algorithms that slice an image into $8\times8$ pixel blocks. This creates distracting checkerboard patterns, color banding, and blocky textures around clean edges. An AI image quality enhancer easily identifies these standard compression signatures, eliminates the block boundaries, and restores smooth color gradients.
4. High-ISO sensor noise and grain
Photographing subjects in dark environments requires bumping up camera ISO sensitivity, which introduces random multi-colored speckles (chrominance noise) and sand-like grain (luminance noise). AI models are highly trained at separating random noise from structural details, clearing out low-light grain while preserving the underlying textures of skin, stone, or fabric.
5. Chromatic aberration and color fringing
Cheap lenses often fail to focus all wavelengths of color onto the exact same point on a digital sensor, resulting in distracting purple, green, or magenta outlines along high-contrast edges. Modern enhancement pipelines recognize these color alignment errors and instantly neutralize them, ensuring clean boundaries around your subjects.
5. Industry-specific use cases & best practices
Different industries have completely different standards for what makes an image "good." An enhancement setting that makes an Instagram travel photo explode with color will utterly ruin an Amazon product image or a real estate listing. Let us break down how to optimize your enhancements based on your industry.
In ecommerce, image quality directly correlates with conversion rates and product returns. If a customer cannot zoom in to view the texture of a shoe, the weave of a dress, or the text on a label, they will skip the purchase. Conversely, if your AI enhancement alters the product's color or smooths out its natural texture, the customer will return the item for not matching the listing.
- The Strategy: Focus heavily on edge sharpening and resolution upscaling. Avoid algorithms that apply aggressive artistic styling. Ensure that branding text, manufacturing labels, and stitching lines are perfectly legible.
- The Workflow: Run product photos through a dedicated 4K image upscaler to allow deep micro-zooming on your storefront, giving buyers the confidence to check details closely.
Real estate and property marketing
Real estate images often struggle with massive dynamic range challenges. Windows are completely blown out with white light, while the corners of indoor spaces are swallowed by deep shadows. Furthermore, wide-angle lenses frequently introduce soft edges along the borders of the frame.
- The Strategy: Use an image clarity enhancer that specializes in shadow recovery and luminance balancing.
- The Workflow: Brighten up dark corners and apply clean geometric sharpening along architectural lines. Be careful not to over-enhance colors; fluorescent blue pool water or unnaturally neon green grass can alienate serious buyers during in-person property tours.
Social media and content creation
Social media platforms are notoriously brutal with image compression. The moment you upload a high-quality photo to Instagram, LinkedIn, or Twitter, their servers aggressively downscale and compress the file to save bandwidth.
- The Strategy: Anticipate platform compression by oversharpening slightly and optimizing micro-contrast before uploading.
- The Workflow: Increase the initial resolution to 2x or 4x using an AI upscaler. When the social network downscales your upscaled, high-clarity file, the resulting image will still retain far more pop and detail than a standard unoptimized upload.
Archival, genealogy, and historical restoration
Historical photographs or scanned family memories suffer from physical degradation scratches, dust spots, faded silver haloid layers, and soft focus from vintage camera optics.
- The Strategy: Deploy specialized face restoration AI models.
- The Workflow: Historical photos require a delicate touch. Use an enhancer that balances noise reduction with texture preservation to fix cracked or pixelated faces without scrubbing away the historical character and paper grain that gives the original image its soul.
Print media and graphic design
Graphic designers frequently receive low-resolution, web-optimized logos, screenshots, or graphics from clients that need to be featured on large physical surfaces like trade show banners, posters, or brochures. Print media requires high pixel density typically 300 DPI (Dots Per Inch) meaning a standard web graphic will print out blurry and pixelated.
- The Strategy: Utilize precise vector-style upscaling.
- The Workflow: Convert low-resolution digital screenshots or compressed graphics through an explicit AI resolution enhancer set to 4x or 8x scale, locking in razor-sharp boundaries along graphic shapes, lines, and typography before sending the layout to production.
How to enhance images without looking fake?
The biggest pitfall of AI image enhancement is over-processing. Because AI models work by predicting and generating missing data, pushing settings too far can slide your images straight into the "uncanny valley."
To maintain professional, human-looking results, look out for these common AI artifacts:
Waxy and plastic skin
When face restoration algorithms are set to maximum intensity, they strip away crucial human imperfections like pores, fine lines, and subtle shadows. The result is a subject that looks like an airbrushed plastic mannequin. Keep skin textures natural by backing off global smoothing sliders.
AI text hallucinations
If an image contains background text (like street signs, distant storefronts, or t-shirt graphics) that is too low-resolution for the AI to read clearly, the neural network will guess what the letters should be. This can result in strange, unreadable gibberish characters. Always double-check any background typography after upscaling.
Edge halos and over-sharpening rings
Traditional sharpening tools and over-driven AI models often create bright white glowing lines around high-contrast borders (such as a dark building silhouetted against a bright blue sky). These halos are a dead giveaway of cheap digital processing.
Structural distortions
When processing organic textures like tree foliage, gravel paths, or detailed carpets, an overactive AI model can mistake random patterns for structured shapes, turning natural textures into strange, geometric swirls.
The professional quality checklist
Before you export and deploy any enhanced image, zoom in to 100% (1:1 pixel view) and verify these quality benchmarks:
- Faces: Are the eyes, eyebrows, and teeth sharp without looking artificially painted or distorted?
- Typography: Is all text legible, and free of distorted, synthesized characters?
- Edges: Are high-contrast boundaries clean and free of glowing white halos or jagged artifacts?
- Textures: Do materials like leather, fabric, wood, and skin look authentic rather than plasticky or waxy?
- Lighting: Are the shadows free of blocky color patches, and are the highlights clean instead of blown out?
How to choose the best image enhancer online
The best image enhancer is not always the one with the biggest "4K" claim. Choose based on your image problem and final use.
Look for these features:
- Clear before-and-after preview.
- Support for JPG, JPEG, PNG, and WebP.
- Resolution options such as 2x, 4x, or 8x.
- Sharpness and clarity improvement.
- Noise and blur reduction.
- Natural-looking output.
- No forced watermark on downloads.
- Easy browser-based workflow.
- Batch or API options for teams.
- Privacy and secure processing.
Also check whether the tool is built for your image type. A portrait enhancer may smooth faces beautifully but over-process product textures. A 4K image enhancer may be excellent for print but unnecessary for a small website thumbnail.
How to enhance image quality online with Pixelbin?
If you are looking for a clean, professional platform to streamline your photo upgrades, Pixelbin provides a powerful suite of AI-driven tools. It simplifies the entire process, letting you address specific image issues through dedicated modules rather than wrestling with complicated manual adjustments.
Here is a clean workflow:
Step 1: upload your cleanest image
Always start with the highest-quality version of the image you have access to. Avoid using screenshots of photos or files pulled from compressed messaging chats if the original camera file is available. The less noise the AI has to sift through at the start, the more realistic its generated details will be.
Step 2: choose your target enhancement path
Instead of applying every single adjustment tool at once, analyze your image's primary flaw and choose the tool tailored for it:
- If your photo looks flat, dull, or generally low-quality, route it through the AI Image Clarity Upscaler to boost sharpness and pull out hidden details.
- If your image is too small for modern web standards or ecommerce layouts, send it to the AI Image Upscaler to cleanly expand its resolution by 2x, 4x, or 8x.
- If the image is out of focus or suffers from camera movement, use the AI Image Sharpener to clean up soft borders and lock in crisp edges.
- If you are prepping a file for large physical prints or premium high-resolution displays, select the 4K Image Upscaler for maximum pixel density.
Step 3: inspect the output and export
Zoom into critical areas like eyes, fine textures, or text boundaries using the live before-and-after preview window. Once you are happy with the balance of clarity and realism, download the enhanced asset and compress it to your target format (like WebP) for clean, fast delivery on your platform.
This keeps the workflow practical: clarity for general quality, upscaling for size, sharpening for blur, and 4K output when resolution is the main goal.
Conclusion
An image enhancer is useful when a photo needs to look clearer, sharper, brighter, or more professional without manual editing. AI image enhancers can improve blur, grain, low resolution, lighting, and fine detail, but the best results still depend on the source image and the final use case.
For a natural result, do not enhance blindly. Identify the image problem first, choose the right tool, preview the output at full size, and avoid over-processing. Whether you are preparing product photos, portraits, social media images, print assets, logos, or old photos, the right image enhancer can turn an almost-ready image into a publish-ready one.
FAQs
An AI image enhancer is a tool that improves photo quality automatically using artificial intelligence. It can sharpen details, reduce noise, fix mild blur, improve brightness, enhance colors, and increase resolution depending on the tool.
The best image enhancer depends on your goal. For low-resolution photos, choose an AI upscaler. For blurry images, choose an image sharpener. For dull or low-quality photos, choose a clarity enhancer. The best tool should give natural results, clear previews, useful export sizes, and support common formats like JPG, PNG, and WebP.
An image enhancer can improve mild blur and make a photo look sharper, especially if the subject is still recognizable. However, it cannot perfectly recover details that were completely missing in the original image.
A free AI image enhancer is enough for occasional images, social posts, personal photos, or quick edits. For batch editing, high-resolution exports, API use, or commercial workflows, a paid plan may be more practical.
An image enhancer improves overall quality, including sharpness, clarity, lighting, color, and noise. An image upscaler increases image resolution and size. Many AI tools combine both so the image becomes larger and clearer at the same time.
Yes. An image enhancer can make product photos sharper, cleaner, and more professional. Just make sure the enhancement does not change the real product color, shape, label, texture, or material because ecommerce images should stay accurate.