
Summary
To make realistic AI videos, start with a believable reference image, keep the motion slow and simple, and use prompts that clearly describe the subject, action, setting, lighting, and camera movement. The most natural results usually come from image-to-video workflows, light final edits, and avoiding vague cinematic buzzwords, aggressive motion, over-smoothed skin, and inconsistent shadows.
Introduction
AI video looks real when the model starts with a believable image, follows a simple motion path, and gets just enough editing to remove the obvious generated feel. The strongest results usually come from an image-first workflow: create a realistic base image, animate it with controlled movement, and then polish the clip lightly so it feels natural instead of overproduced.
If you want to know how to make AI video look real, the shortest answer is this: start with a clean reference image, write specific prompts, keep the motion simple, and avoid over-smoothing the final output. Also, you need to use the right AI video generator.
In this blog, we will explain how you can make realistic videos, best prompts to add, and the mistakes you should avoid to make your videos look fake.
Why AI video looks fake
AI video often looks fake for the same reasons every time: the skin is too smooth, the motion is too aggressive, the lighting is inconsistent, or the subject changes in ways a real camera would not capture.
If you want to make AI video less fake, the main job is to remove these errors before they become obvious in motion.
Another common issue is that people try to do too much in one prompt. A scene with multiple subjects, fast camera movement, complex background action, and stylized lighting gives the model too many opportunities to drift.
Realistic output comes from stronger input control, not from asking for more cinematic effects.
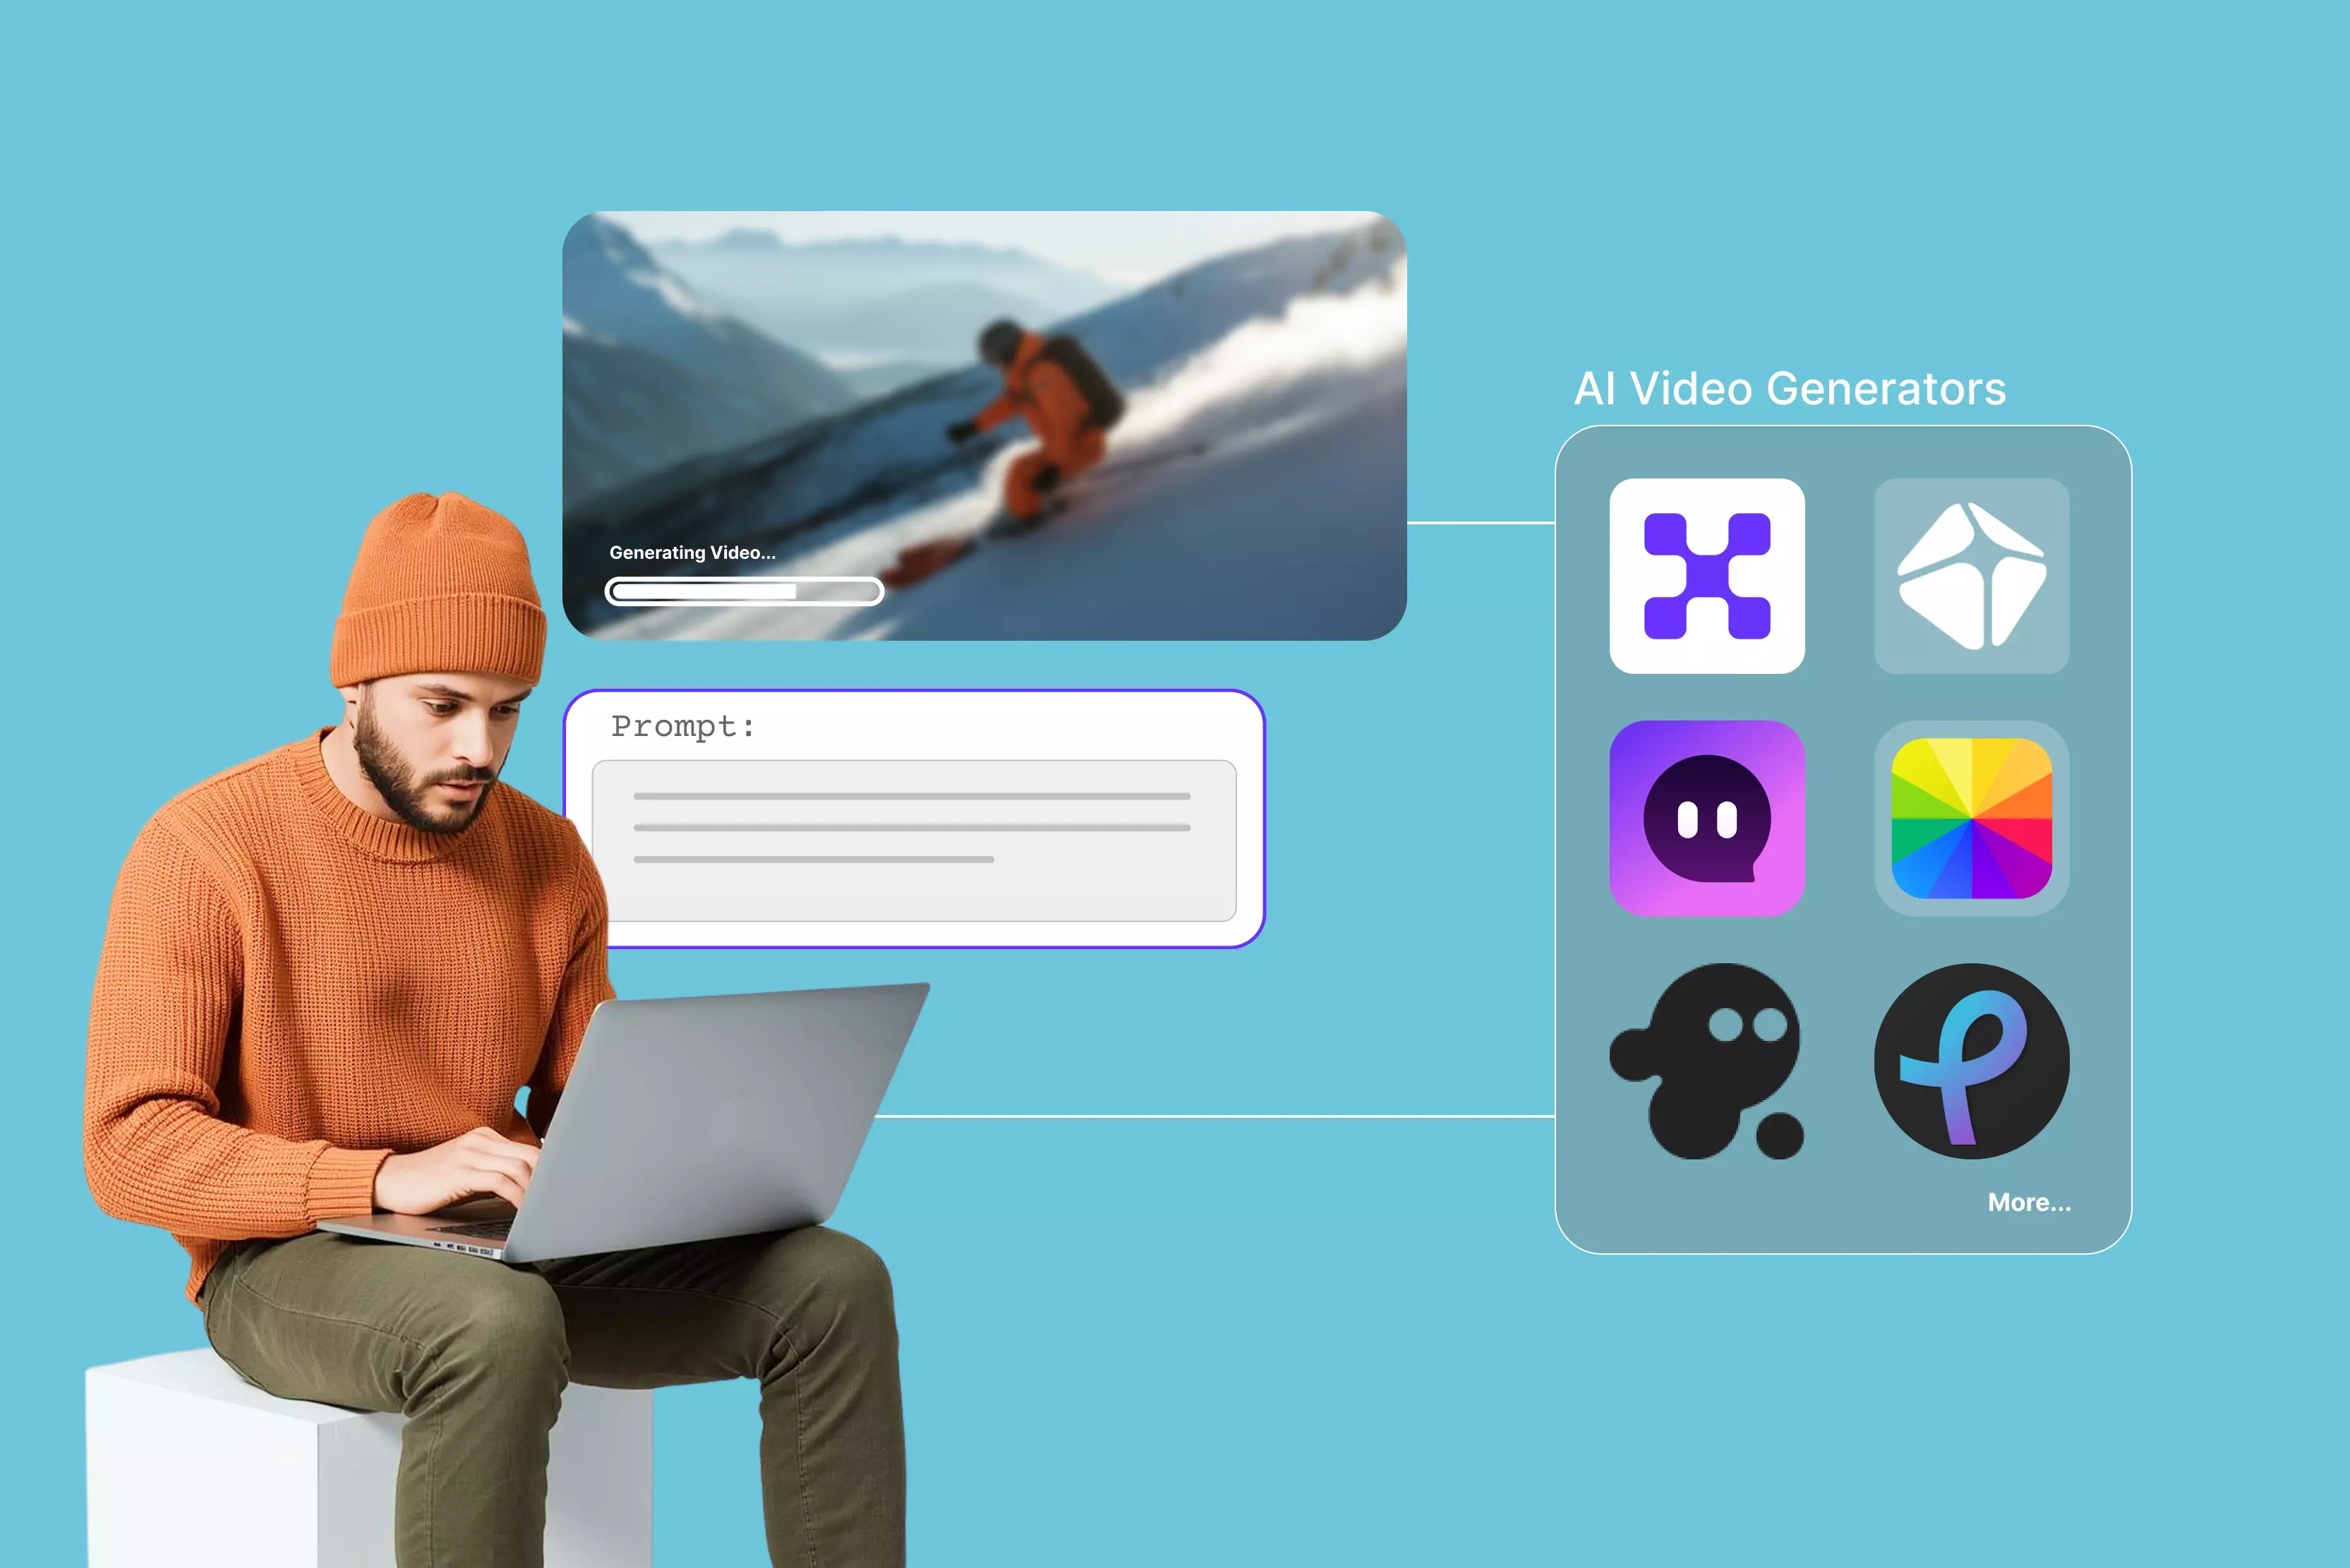
How to make AI video look real with Pixelbin
If you want to make your videos look real, you can simply try the steps below:
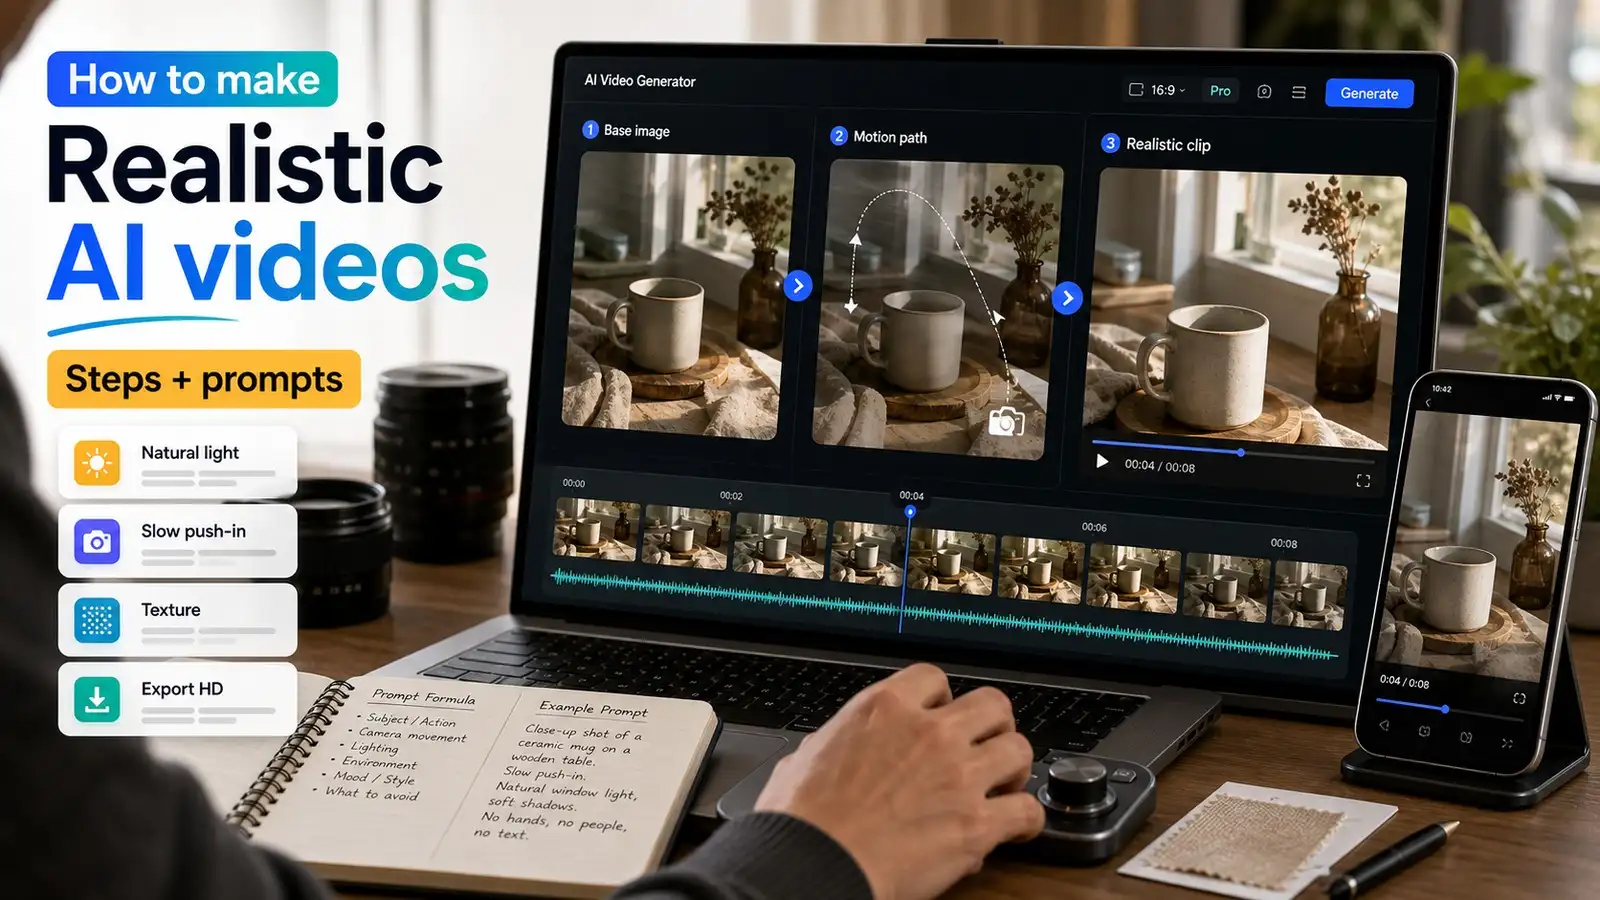
Step 1: Create a realistic base image
A strong base image is the foundation of a realistic video because the model will inherit the subject detail, lighting, and composition from that frame. Use a believable face, product, or environment, and avoid overly stylized visuals if the goal is realism. Pixelbin’s AI image generator can make this easier because you can generate, edit, and enhance the starting frame before animation.
If the image looks blurry or soft, run it through an upscaler before you animate it. Better image quality usually leads to better motion quality too. Or you can use your own reference images from your folders or gallery.
The image looks like this:
Step 2: Open the AI video generator & turn the image into video
Open the AI video generator, upload your reference images, add prompts, choose aspect ratio, and the duration of the video. You can also choose to turn on/off audio based on your preferences. Make sure you use clear prompts to guide the AI.
Step 3: Refine the result for realism
Once the video is generated, inspect it for the usual telltale signs of AI output: over-sharpened edges, unnatural skin smoothness, flat lighting, or motion that feels too even. The goal is not to make the video perfect; it is to make it believable.
Step 4: Save in HD
If you’re not satisfied with the result, you can regenerate or make edits to the prompts. Once satisfied with the result, you can download your video in 720p or 1080p.
How to keep AI videos realistic: Tips & tricks
This is the most important part of the article because realism is not just about prompt wording. It is about controlling the image, the motion, the lighting, and the edit so they all feel like they belong in the same physical world.
Start with a realistic reference image
The first image should already feel like something a real camera could capture. Good source images usually have believable proportions, clear subject separation, and natural detail in skin, fabric, glass, metal, or background surfaces. If the still frame looks fake, the video almost always inherits that problem.
Use natural lighting and believable shadows
Lighting is one of the fastest ways to make or break realism. Natural daylight, soft studio light, window light, and warm indoor lighting all tend to look more believable than extreme neon effects or mismatched color temperatures. If the shadows and highlights do not match the subject position, the scene feels wrong immediately.
Keep camera movement simple and slow
Strong realism usually comes from subtle camera motion rather than dramatic cinematic movement. A slow push-in, gentle pan, or small handheld drift can feel authentic, while fast zooms and sudden angle changes often expose generation errors. This is where AI video camera movement matters as much as the subject itself.
Focus on one subject and one action
The more subjects and actions you add, the more likely the model is to lose consistency. Keep the shot focused on one person, one product, or one main motion if you want the output to feel stable. That is also why many AI video prompt guide best practices recommend single-action scenes over busy multi-action scenes.
Add texture, depth, and small imperfections
Real footage is never perfectly smooth, and AI video should not be either. Tiny imperfections such as slight grain, subtle background blur, fabric texture, skin variation, or natural lens softness can help the clip feel more physical. If you want photorealistic AI video, these details matter more than flashy effects.
Use realistic facial expressions and body language
Faces are one of the first places viewers notice something is off. Keep expressions restrained, avoid exaggerated smiles or sudden emotion changes, and choose actions that human bodies can perform naturally. This matters even more for close-up shots because tiny inconsistencies become obvious very quickly.
Avoid over-smoothing and over-sharpening
A polished look can become a fake look when it goes too far. Over-smoothing removes the texture that makes skin and materials feel real, while over-sharpening creates harsh edges that scream edited. If you want to make AI video look realistic, leave some natural softness in the frame.
Match motion to the scene and the object
Motion should fit the subject. A coffee cup does not need the same movement style as a city street or a walking person. Good natural motion AI video usually feels physically plausible, with movement that matches gravity, balance, and real-world timing.
Export cleanly, but not overly polished
Your final export should look finished, but not sterile. Excessive color boosting, too much compression cleanup, or heavy noise removal can flatten the image and remove the little details that make it feel believable. The safest approach is to make only the edits that improve clarity without destroying texture.
Prompts to use for realistic AI videos
Prompts matter a lot, but only when they are used to support realism rather than replace it. A good prompt is specific, restrained, and visually grounded. If you want strong realistic AI video prompts, think in terms of subject, action, setting, lighting, and camera behavior.
Prompt formula for realism
Use this formula:
Subject + action + environment + lighting + camera movement + style restraint
Example:
A young woman standing near a window in soft morning light, slight breeze moving her hair, subtle smile, gentle handheld camera, realistic skin texture, natural documentary style.
This format works because it gives the model enough detail to stay on track without overwhelming it with too many creative directions. It is especially useful if you are building AI generated video prompts for product shots, social content, or creator portraits.
Prompt example for a person talking
A man seated at a wooden table in a bright room, speaking calmly, natural skin texture, soft daylight from the left, shallow depth of field, slow push-in camera, realistic interview style.
Prompt example for a person walking
A woman walking slowly through a quiet city street at sunset, warm ambient light, slight handheld movement, realistic clothing folds, natural stride, documentary-style footage.
Prompt example for a product shot
A premium perfume bottle on a stone surface, soft studio lighting, clean reflections, slow side camera pan, realistic shadows, commercial product video style.
Prompt example for a lifestyle clip
A creator making coffee in a small kitchen, morning sunlight through the window, natural hand movement, realistic steam, casual phone-camera feel, authentic social media style.
Prompt example for a social media reel
A young man showing a new pair of sneakers on a desk, clean indoor lighting, slight zoom, realistic fabric texture, fast but natural creator-style framing, vertical video format.
Prompt example for an outdoor scene
A person standing near a roadside café in late afternoon light, gentle traffic in the background, slight wind, realistic depth, slow camera push-in, natural film look.
Bad prompt vs good prompt
Bad prompt:
A beautiful woman in a luxurious room, cinematic lighting, dramatic movement, ultra-realistic, glowing effects, masterpiece, 8K, highly detailed, epic camera motion.
Good prompt:
A woman standing beside a window in soft daylight, looking outside with a calm expression. She blinks naturally, slightly tilts her head, and breathes gently. The camera slowly pushes in over five seconds. Natural indoor lighting, realistic skin texture, stable framing, no exaggerated motion.
The first prompt relies on generic quality buzzwords and visual effects without describing what should actually happen in the scene. This often leads to inconsistent motion and less realistic results.
The second prompt gives the AI clear instructions about the subject, environment, movement, lighting, and camera behavior. That level of specificity helps produce videos that feel more natural and physically believable, reducing common AI-generated artifacts.
Common mistakes to avoid to make AI videos look real
Most weak outputs come from the same avoidable issues. If you want to how to make AI videos look real in practice, the first step is learning what usually breaks realism.
Using vague prompts
Vague prompts leave too much room for the model to invent details. If the scene is not clearly described, the output may still look attractive, but not believable. Realistic AI video prompts are always better than fancy but unclear prompts.
Adding too much motion
Fast motion exposes generation problems quickly. It can distort faces, warp hands, blur products, and make the camera feel impossible to track. Use motion only when it serves the scene.
Ignoring the reference image
If you have a reference image, treat it like the visual contract for the video. A weak or inconsistent reference frame will usually produce weak motion and inconsistent results. This is why image prep matters so much in image-to-video workflows.
Overlooking lighting and shadows
If the shadows do not line up, the clip will feel unnatural even when everything else looks good. Lighting should be one of the first things you check after generation. A believable light source goes a long way toward making the shot feel grounded.
Skipping final edits
Many creators stop too early. A short final pass can help remove the most obvious AI artifacts without changing the entire scene. That is where the last 10 percent of realism often comes from.
Using too many subjects in one scene
Multiple people or objects can create identity drift, object warping, or inconsistent motion. Simpler scenes are easier for the model to keep stable. If realism is the goal, less is usually better.
Making the camera too cinematic
Extreme camera movement is tempting, but it often makes the output look artificial. A believable shot usually feels like something a real person with a real camera could capture. Keep the camera language grounded.
Forcing unnatural expressions
Big smiles, dramatic reactions, or exaggerated emotional changes can create odd facial movement. Subtle expressions usually look more realistic and more human. This is especially true in close-up shots.
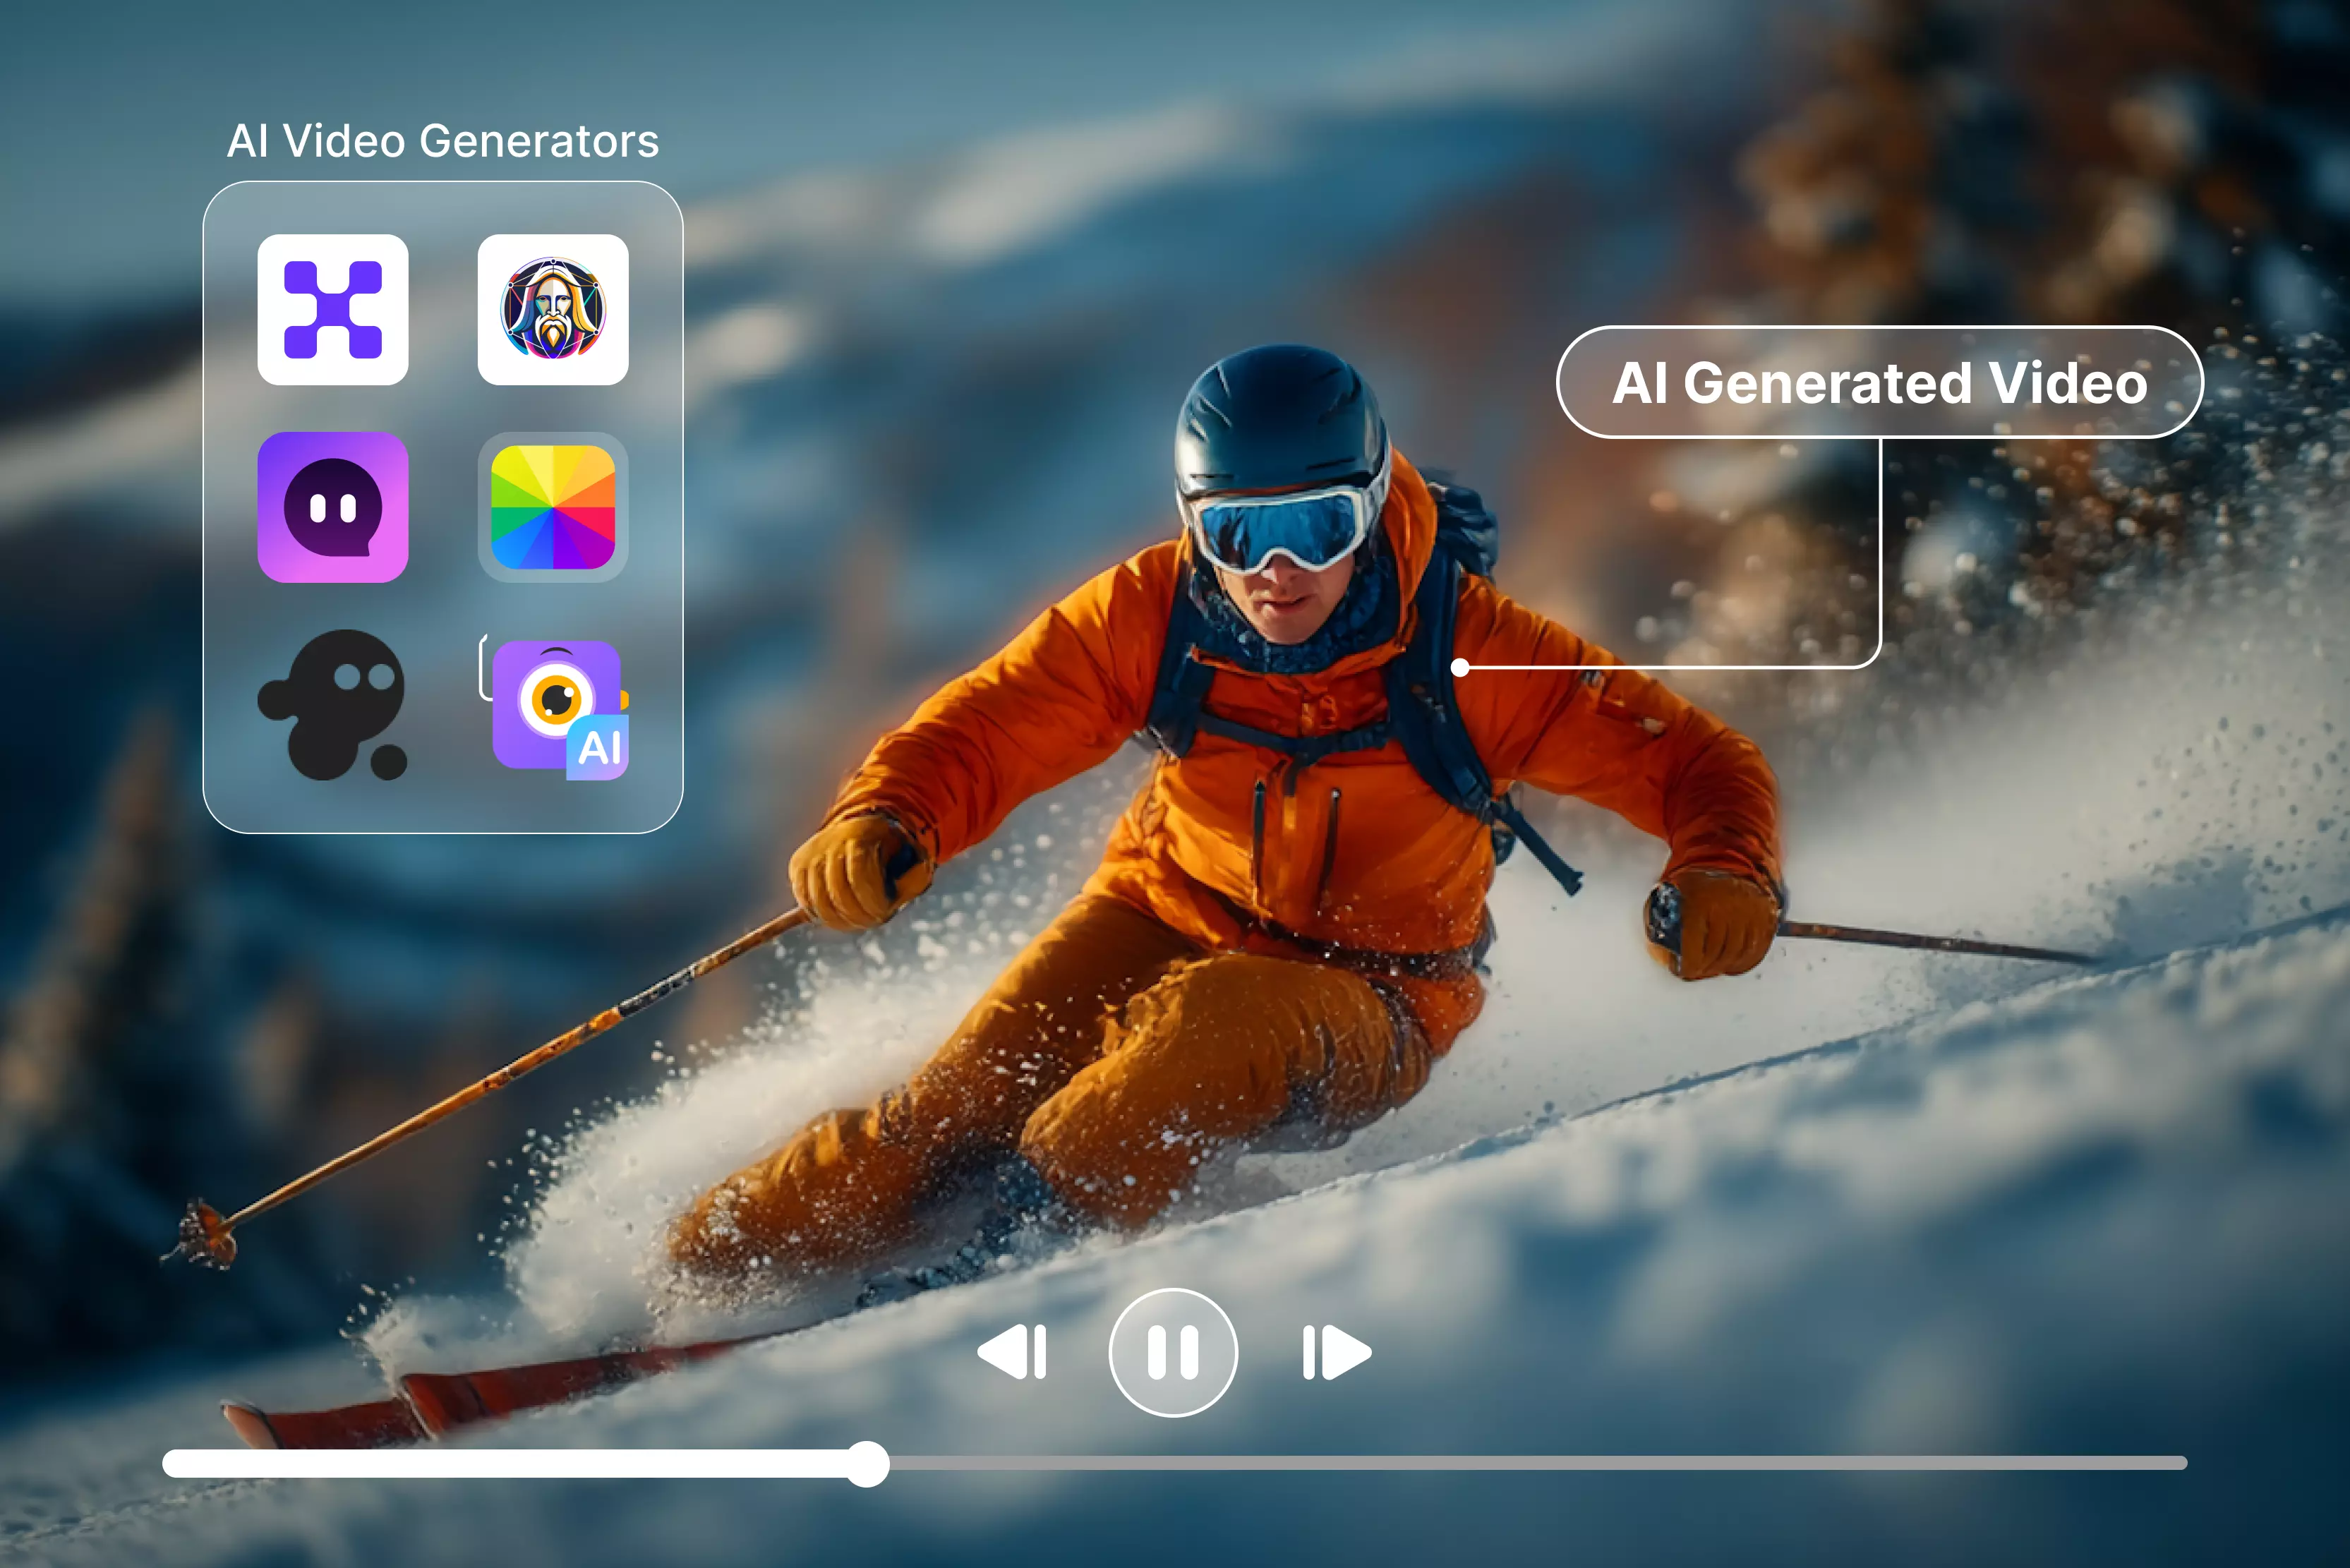
Best 5 AI video generators
If you are searching for the best video models for to make your AI videos look real, below are a few that you can try:
- Google Veo 3.1 Fast: Best for fast iteration and quick testing. It is useful when you want to move fast, test prompts, and see which direction feels most realistic before spending time on polished output.
- Google Veo 3.1: Best for creating story-based videos with multiple scenes. It understands detailed cinematic prompts, supports built-in audio, and can generate videos in 4K resolution for up to 60 seconds.
- Seedance 2.0: A powerful AI video model from ByteDance. It lets you reference images and videos using a simple tagging system, helping characters, objects, and scenes stay consistent across multiple shots.
- Wan 2.7: A great open-source option for smooth scene changes. It lets you define both the first and last frame of a shot, making transitions more accurate and controlled.
- Hailuo 2.3: Built to create realistic movement. It handles object interactions and motion naturally, reducing common AI glitches and making videos look more lifelike.
Conclusion
The best way to make AI video look real is to start with a believable image, keep motion simple, use clear lighting and camera cues, and finish with light editing rather than heavy polishing. If you follow that workflow, you reduce the biggest causes of fake-looking output and give the model a much better chance of producing something natural.
Pixelbin supports that process well because it lets you create the source image, improve it, upscale it, and animate it in one workflow. That makes it easier to stay consistent from the first frame to the final clip.
FAQs
Yes, AI video can look real when the source image is strong, the motion is controlled, and the lighting is believable. The best results usually come from image-to-video rather than relying on vague text prompts alone.
AI video usually looks fake because of weak source images, unnatural motion, inconsistent shadows, or over-smoothed details. Too much cinematic movement can also make the scene feel artificial.
For realism, often yes. Image-to-video gives the model a stable visual anchor, which usually leads to more consistent output.
The best prompt is specific and simple. Include the subject, action, environment, lighting, and camera movement, and avoid overloaded creative language.
Start with a realistic face image, keep facial motion subtle, and avoid extreme camera changes. Natural lighting and small imperfections also help a lot.
Use a clean product image, stable lighting, minimal motion, and realistic reflections. Products often look fake when edges warp or shadows do not match the surface.
.webp)

.webp)