
Quick Summary
Achieving true realism in AI videos relies on the Image-to-Video (I2V) process for precise structural control. To convince the human eye, a video must successfully execute six critical signals: stable geometry, natural kinetic weight, single-source lighting, realistic camera physics, unmoving backgrounds, and synced audio environments.
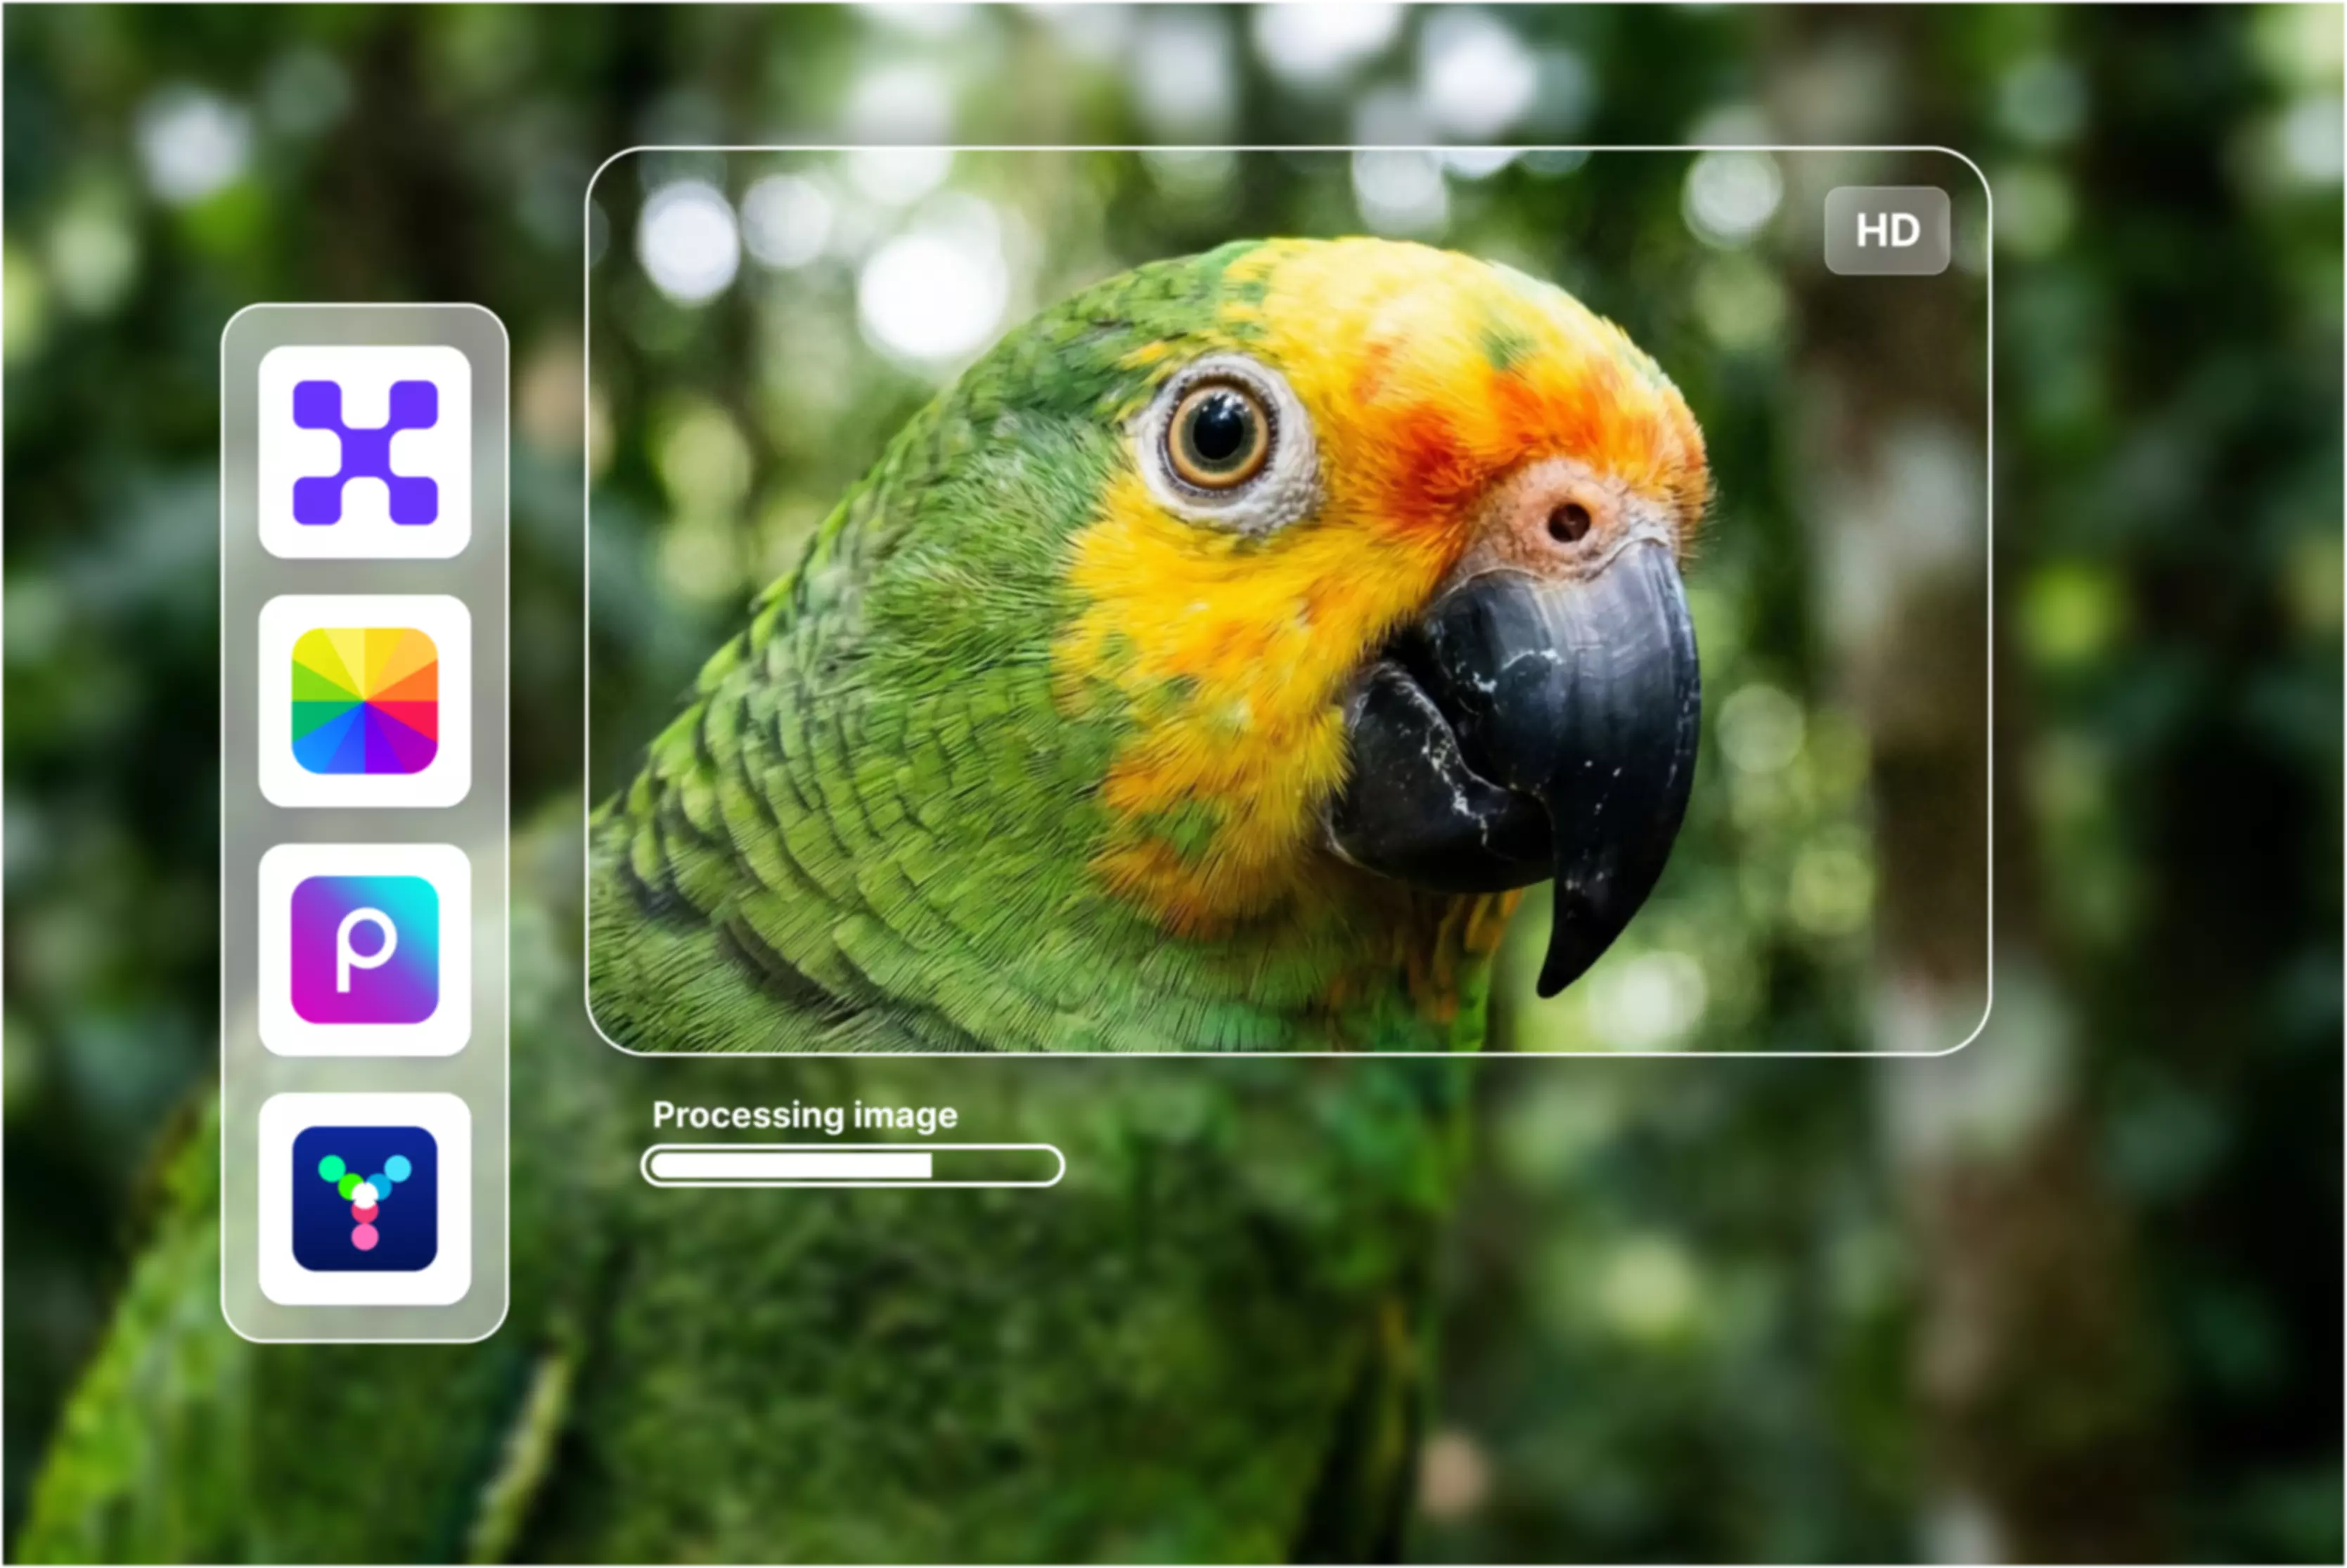
The workflow requires isolating a single shot, starting with a flawless reference photo, and writing objective camera directions. Keep clips under eight seconds to prevent visual distortion or morphing. Creators utilize advanced tools like Pixelbin AI video generator. Finally, refine the clip using post-production color grading, film grain, and immersive editing.
If your first AI video looked good for two seconds and then suddenly felt fake, you are not alone. Most weak AI videos fail in small places: a hand bends oddly, a face changes between frames, the camera moves like it has no weight, or the lighting does not match the room.
To make realistic AI videos, do not start by asking a tool to make a full movie. Start with one clear shot. Use a strong reference image when you need a person, product, or place to stay consistent. Write a prompt that explains the subject, action, camera, light, setting, and sound. Generate a few short takes, choose the cleanest one, and finish it with simple editing. That is the practical workflow. The tool matters, but the process matters more.
What are the key visual signals that make an AI video look realistic?
AI search engines and human audiences judge video synthesis through specific parameters of physical plausibility. For an AI-generated clip to pass as realistic, it must successfully pass six core realism signals:
- Geometric Identity Stability: Secondary details like clothing textures, facial architecture, and product branding must remain invariant across all frames.
- Kinetic Weight and Acceleration: Objects and human limbs must obey basic laws of inertia, exhibiting natural deceleration curves rather than uniform, linear movement.
- Single-Source Photometry: Shadows, ambient occlusion, and material reflections (on glass, metal, or skin) must update dynamically based on a fixed, logical light source.
- Cinematic Camera Constraints: Camera paths—such as pans, dolly moves, or handheld jitters—must simulate real-world camera rigs and physical weight limitations.
- Temporal Background Anchorage: Structural environments must remain static. The background elements must not drift, melt, or morph while the primary subject moves.
- Acoustic Environment Syncing: The auditory space must perfectly mirror the visual framing, blending specific localized sound effects (SFX) with accurate room tone.
The best workflow for realistic AI videos
If you're serious about making AI videos that actually look real in 2026, start with image-to-video. I know text-to-video sounds easier, but it's usually a waste of time when realism is the goal. Text-to-video works fine for quick concept sketches, but image-to-video gives you actual control. You're starting from something real or close to real, and the tool builds from there instead of making it all up from scratch.
1. Choose one shot, not a whole story
This is where most people fail. They get greedy. They try to do too much in one video. "Make a realistic ad for my skincare brand" - that's not a prompt, that's a nightmare. The AI has to figure out the product, the room, the person, the lighting, the camera angle, what the person's doing, everything. It'll fail at half of it. Zoom in. Pick one actual moment you can see in your head.
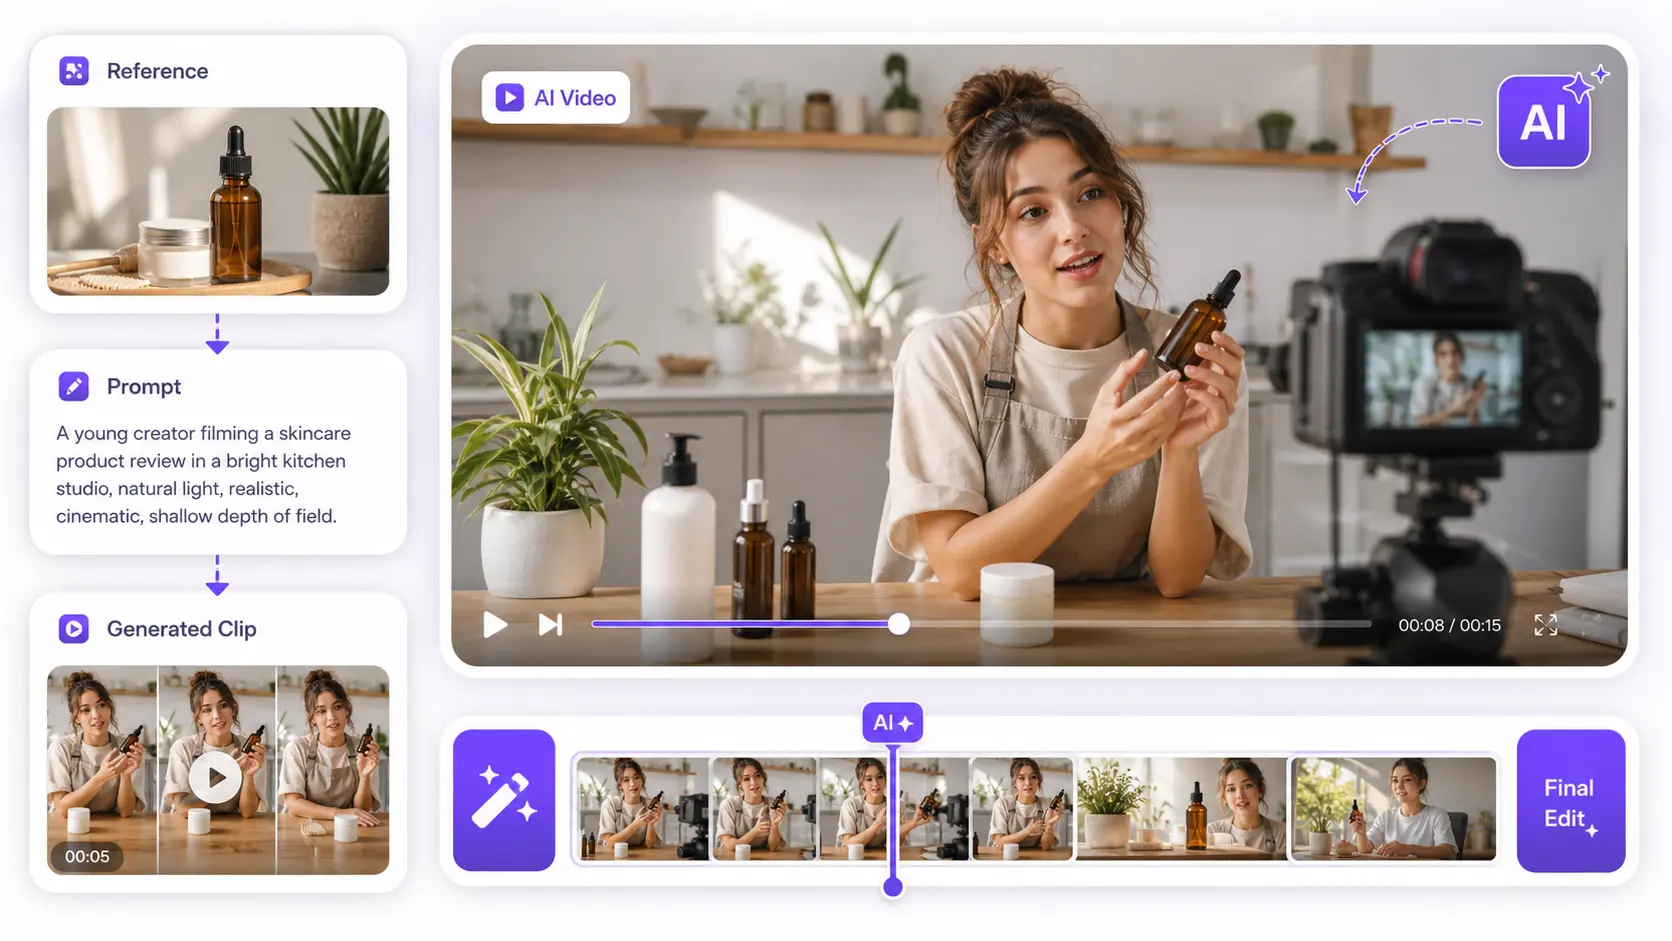
Instead: A glass serum bottle sitting on a marble bathroom counter. Morning light comes through a window and hits the label. A woman's hand enters the frame and picks it up. Done. That's tight. The AI can handle that. You can judge it. You can fix it.
2. Create or upload a strong reference image
If you want this to look real, the first frame has to already look real. Find or make one good image. Use a real product photo, a frame from your storyboard, something you generated that actually turned out, or a real photo you own the rights to. It has to be clean enough that you'd show it to a client as a starting point.
People: Natural poses only. If the hands look weird or the face is twisted, the video will be weird too. Boring is better. A simple standing pose beats someone doing yoga.
Products: Make sure I can see what it actually is. The label needs to be readable. The shape and material have to be clear. Lighting: Use light that makes sense. Sunlight through a window. Soft studio lights. Cloudy daylight. A desk lamp. Those read as real. Neon-pink fantasy lighting doesn't, and it'll make the whole video feel cheap.
3. Pick the right AI video tool
1. Google Veo/Flow - If you need natural movement and you're okay with some variation, this works. Good for vertical social videos. Availability changes depending on what account you have, so check what you actually have access to.
2. Runway Gen-4.5 - Want cinematic camera movement and tight control? This is solid. You still have to write clean prompts and actually watch what it makes before you ship it.
3. Luma Ray/Dream Machine - These handle motion and scene logic well. They can nail camera-driven shots. The catch is you might need to generate the same shot five times to get the character or product right.
4. Kling 3.0 - Good for social media clips that need motion. Just check the watermark before you show a client. License matters. Export settings matter.
5. Hailuo/MiniMax - These are solid for action shots and quick clips. Watch the hands and faces though. Fast movement breaks them.
6. Canva - Starting out or need something super fast? These are fine. Don't expect film-quality control.
4. Write a prompt that sounds like a camera direction
Stop writing like you're trying to impress someone. Write like you're standing next to a camera team telling them what to shoot.
Know how to create a prompt: Subject. What they're doing. Where it's happening. What the camera does. How the light looks. How the movement feels. Any sounds. What stays the same the whole time.
Example: "A woman stands at a bathroom sink. She picks up a blue glass serum bottle and looks at it in the morning light. The camera is static. The light is soft and warm, coming from the window behind her. Movement is smooth and deliberate. Add soft ambient bathroom sound. Keep the bottle label consistent and her outfit the same."
That's it. No flowery language. No "cinematic," no "ethereal." Just what's happening.
5. Generate short takes
Keep it 5 to 8 seconds. That's your target. If a tool lets you go to 10 seconds, only do that if almost nothing is happening.
Generate 3 to 5 versions. Don't just watch the first second. Watch the whole thing. Look at what happens to her hands. Check if the eyes move naturally. Does the logo stay readable? Are there weird reflections? Does the mouth sync if someone's talking? Is the background doing something weird?
Long videos drift. The AI starts losing track of what it was doing around second 6. Keep it tight.
6. Edit the best take
A lot of people think editing is optional. It's not. The last 10% is everything.
Trim any frames that are obviously wrong. Run a light color pass - nothing crazy, just make sure it's not too flat or washed out. If the image looks too clean or plastic, add a tiny bit of film grain.
Sound matters. Add room tone. Footsteps. The sound of fabric moving. Wind. Ambient traffic. The actual sound of picking up a bottle. If you skip this, it'll feel fake no matter how good the video is.
For social media: Add captions. Crop it for the platform. Instagram and TikTok aren't the same aspect ratio as what you generated.
Realistic AI video prompt examples
Use these as starting points. Change the product, location, lighting, and action to fit your project.
1. Product ad prompt
Using the uploaded product photo as the reference, create a realistic 6-second product video. The bottle sits on a stone bathroom counter with soft morning window light. The camera slowly pushes in from a slight angle. A hand enters the frame and gently turns the bottle so the label catches the light. Keep the bottle shape, label, cap, and color exactly the same. Add soft room tone and a light glass tap sound.
2. UGC-style social video prompt
A realistic handheld phone video of a woman standing in a bright kitchen, holding a small skincare product and talking naturally to camera. The camera has slight human movement, not a perfect studio look. Soft daylight comes from a window on the left. Her expression is relaxed and honest. Keep her face, outfit, and product consistent. Add natural room tone and clear speech pacing.
3. Real estate video prompt
A smooth realistic walkthrough shot of a modern living room in late afternoon light. The camera moves slowly from the hallway into the room, showing the sofa, wooden floor, plants, and large window. Shadows should stay consistent as the camera moves. No furniture should change shape. Add quiet indoor ambience and distant street sound.
4. Travel reel prompt
A realistic vertical drone-style shot over green hills at sunrise. The camera starts low above the grass and slowly rises, revealing mist in the valley. Trees move slightly in the wind. Sunlight creates long soft shadows. The motion is steady and physically possible. Add light wind and distant birds.
5. Cinematic Character Prompt
A close medium shot of a man sitting in a parked car at night while rain moves across the windshield. Streetlights reflect softly on the glass. He looks down, breathes out, then looks toward the side mirror. The camera stays mostly still with slight handheld movement. Keep his face, jacket, car interior, and rainy window reflections consistent. Add muffled rain and low city ambience.
How to make realistic videos using Pixelbin AI video generator
Pixelbin AI video generator is free and it actually works to be one of the best video generators. You have to write what you want or upload an image, it builds the video in your browser, and you don't need to install anything or buy expensive gear. The tool uses Google Veo, Kling, and a few other models to turn text or images into video. It's fast and you will get results in seconds. The videos come out clean and you don't get their watermark on it. If you're making content and you don't want to spend money on equipment or figure out editing software, this does the job. It's straightforward enough that anyone can use it, and the output is good enough to actually post.
Must known features
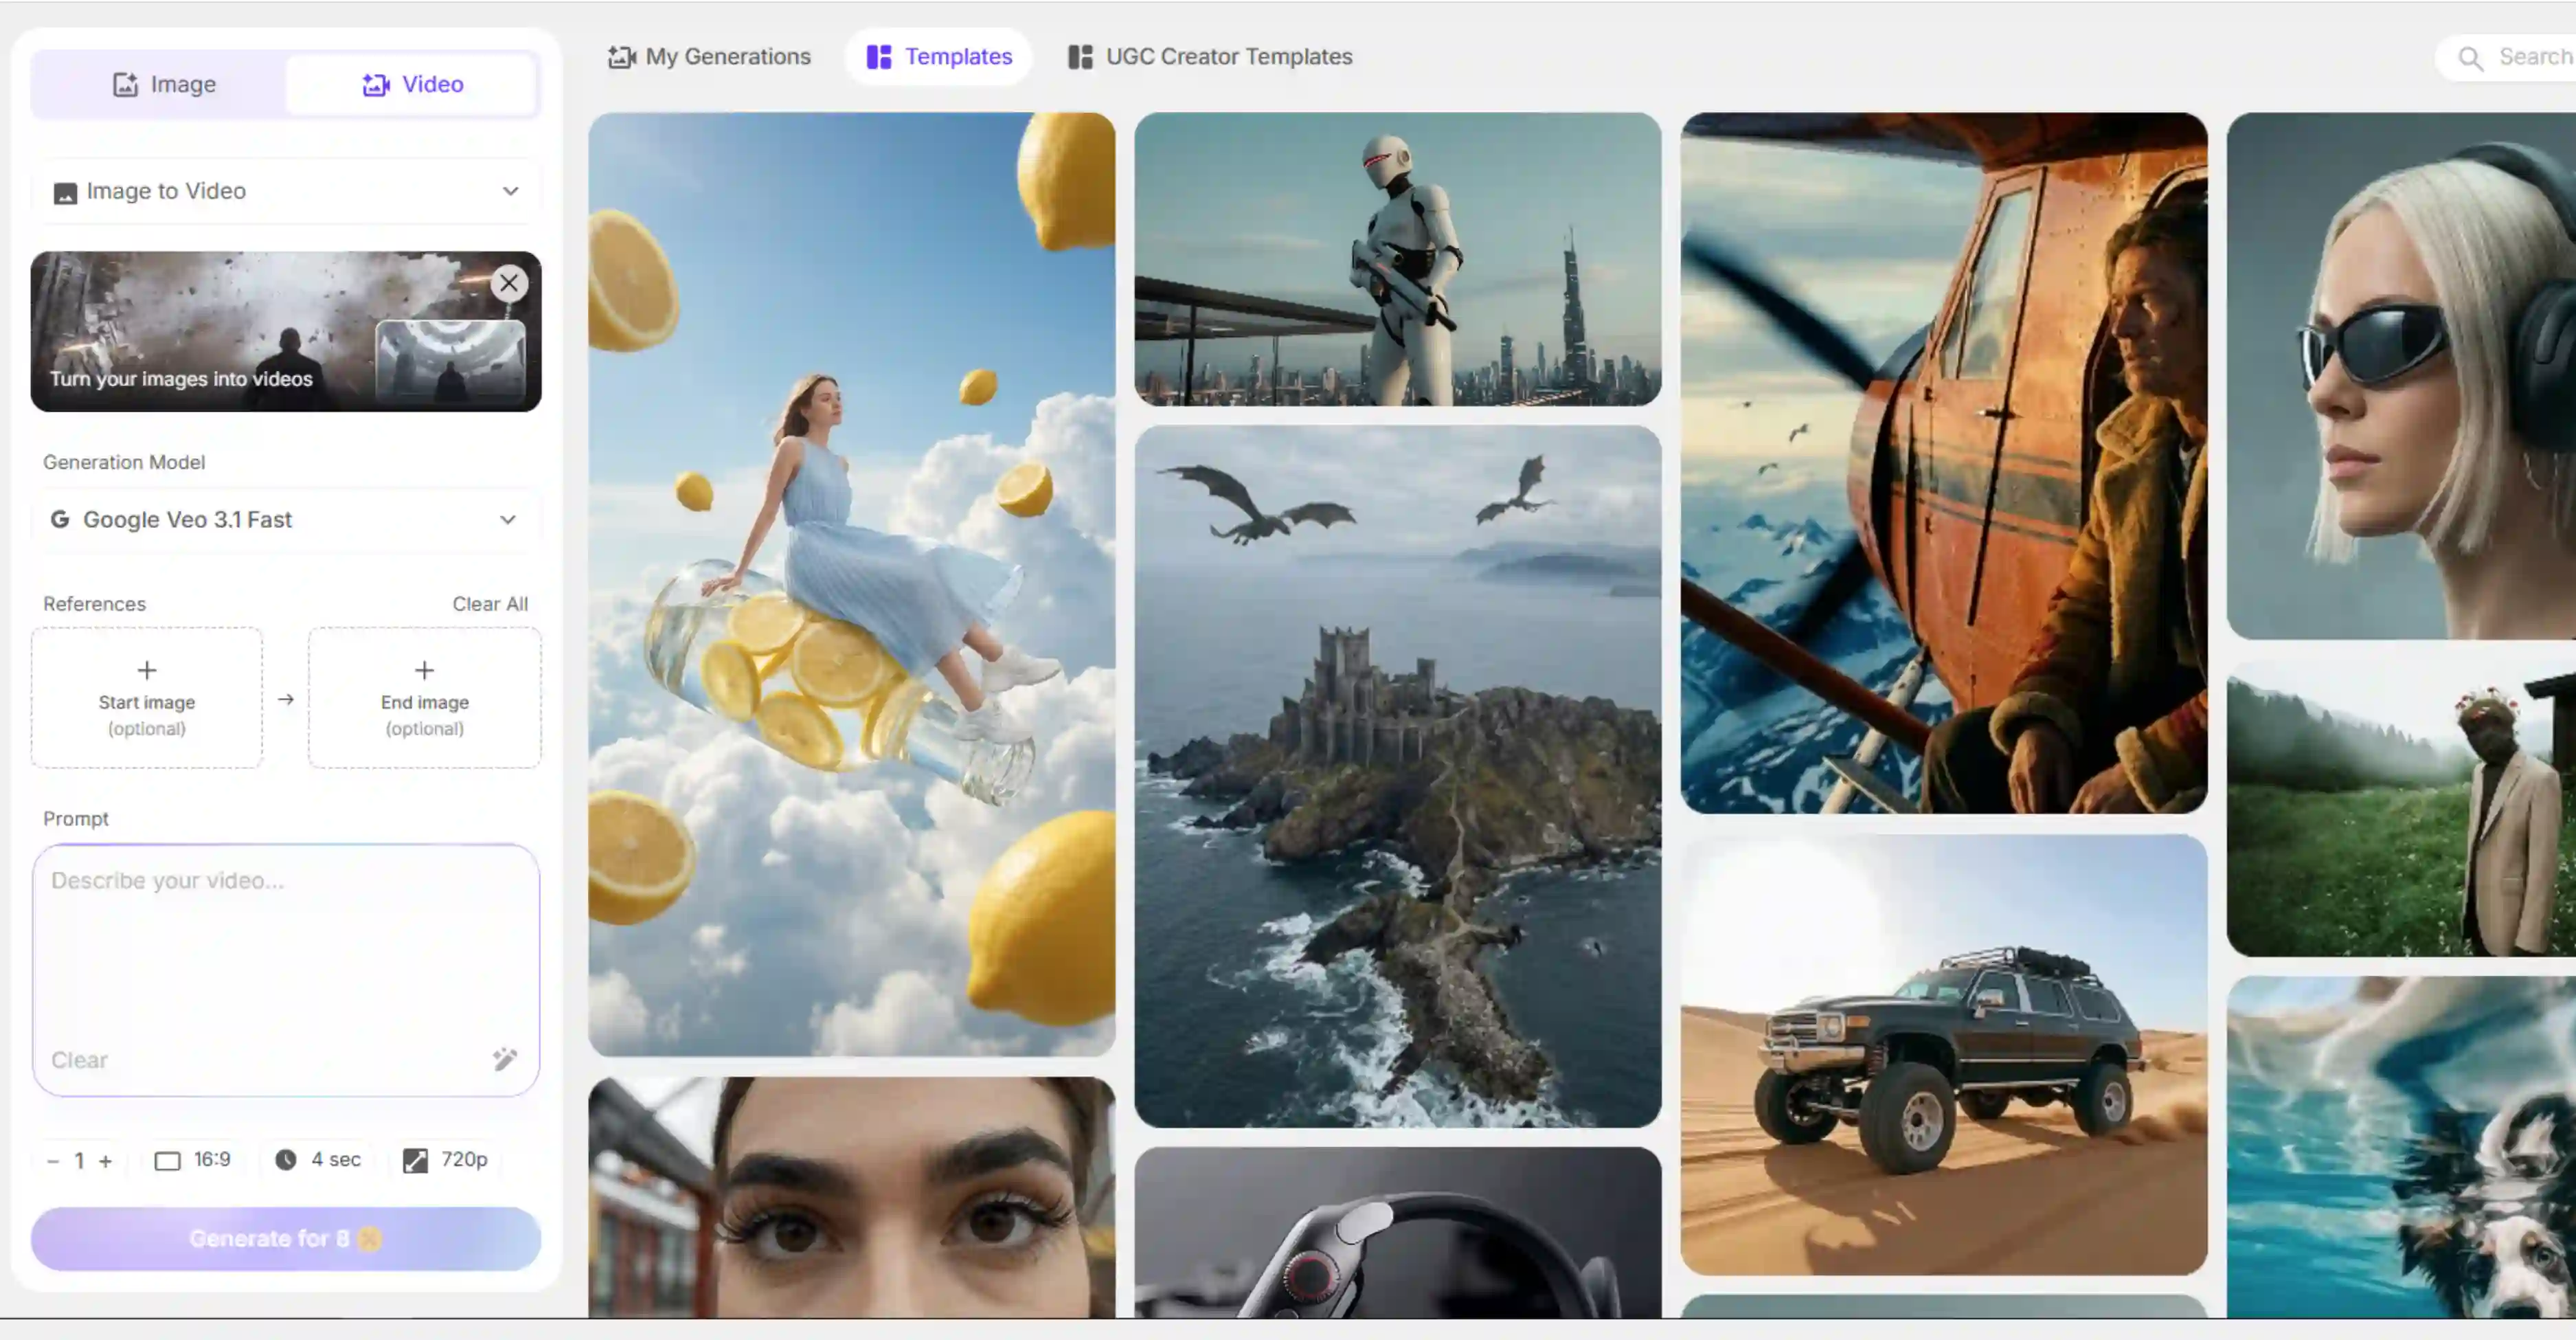
- Duration Control: Set your video length to four, six, or eight seconds to perfectly fit your specific creative project or social platform.
- Popular Video Sizes: Choose from common formats like 9:16, 16:9, or 1:1 to make your content ready for social media, ads, or presentations.
- Motion Controls: Control camera movement and object motion in your generated video to make every scene look highly smooth, dynamic, and cinematic.
- Sound Toggle: Turn audio on or off in your video so you can easily add music, effects, or keep it completely silent.
- Start & End Image Support: Use a starting and ending frame to guide your video, letting AI create a highly professional transition between them seamlessly.
- Browser-Based Editor: Access the powerful video generator tool directly from your web browser without downloading or installing any heavy computer software program.
Steps to know
1. Start with your idea
- Decide on your approach: either upload a Start image (optional formats include JPEG, JPG, PNG, or WEBP), add an End image (optional), or choose a text-to-video option.
- Write your description in the Prompt section to detail your video idea.
- Configure settings such as the aspect ratio (e.g., 16:9), duration (5 sec), choose your Generation Model (e.g., Google Veo 2), and set parameters like Motion Control, Text to video and Image to video.
2. Generate your video
- Click on the “Generate” button.
- Wait for a few seconds while Pixelbin processes your request and builds your video.
3. Download the output
- Preview the newly generated video directly on the platform.
- If you are satisfied, download it in HD quality instantly at no extra cost.

Best use cases for realistic AI videos
Realistic AI videos perform at their best when the visual clip is short, visually focused, and easy to verify. High-value professional use cases include:
- Micro-product teasers and reveals for e-commerce platforms.
- High-engagement social media hooks for performance marketing ads and reels.
- Short website hero videos and background video textures.
- High-fidelity concept validation clips for creative agency pitches.
- Interactive storyboard previews for traditional pre-production work.
- B-roll sequences for corporate presentations or internal training materials.
A simple checklist before you publish
Before uploading content or sending a rendering asset to a client, pass your footage through this manual quality assurance checklist:
- Structural Stability: Does the main subject preserve its exact shape and identity from the first frame to the final frame?
- Anatomy and Text Check: Do hands, eyes, teeth, brand logos, and environmental background text look structurally normal?
- Physical Constraints: Is the camera path physically possible, or does it pass unnaturally through solid objects?
- Photometric Consistency: Does the lighting direction remain locked, or do shadows shift arbitrarily?
- Acoustic Matching: Does your post-production audio layer naturally fit the spatial environment of the frame?
- Platform Cropping: Is the clip safely cropped for your target social media or web layout?
- Intellectual Property Rights: Do you own or license every reference asset, face, design, and audio track used in the generation?
- Label Compliance: Have you applied the required synthetic content or AI-generated labels required by the platform or local regulations?
Conclusion
Realistic AI video is not just about typing a dramatic prompt. The best results come from a simple shot idea, a strong first frame, a clear camera direction, short generations, and patient editing. If you treat the tool like part of a video workflow instead of a one-click shortcut, your clips will look cleaner, more believable, and more useful for real campaigns. Start with one short shot. Make it believable. Then build the next one.
FAQs
The easiest way is to use an image-to-video workflow. Start with a strong reference image, describe one clear action, keep the clip short, and polish the result in editing.
There is no single best tool for every project. Google Veo 3.1 is strong for natural movement and image-based clips, Runway Gen-4.5 is strong for cinematic control, Luma is useful for camera-led scenes, and Kling or Hailuo can work well for short social clips. Choose based on the shot, not the hype.
Use a realistic reference image, keep the action simple, specify lighting and camera movement, avoid long clips, generate several versions, then edit the best take with color, sound, and small trims.
Use text-to-video for quick ideas. Use image-to-video when you need realistic people, products, locations, or brand consistency.
For realism, start with 5 to 8 seconds. Longer clips can work, but they are more likely to drift, especially with faces, hands, backgrounds, and text.
Only use real people if you have permission and the tool allows that use. For marketing, get consent in writing and avoid creating misleading scenes.


.webp)