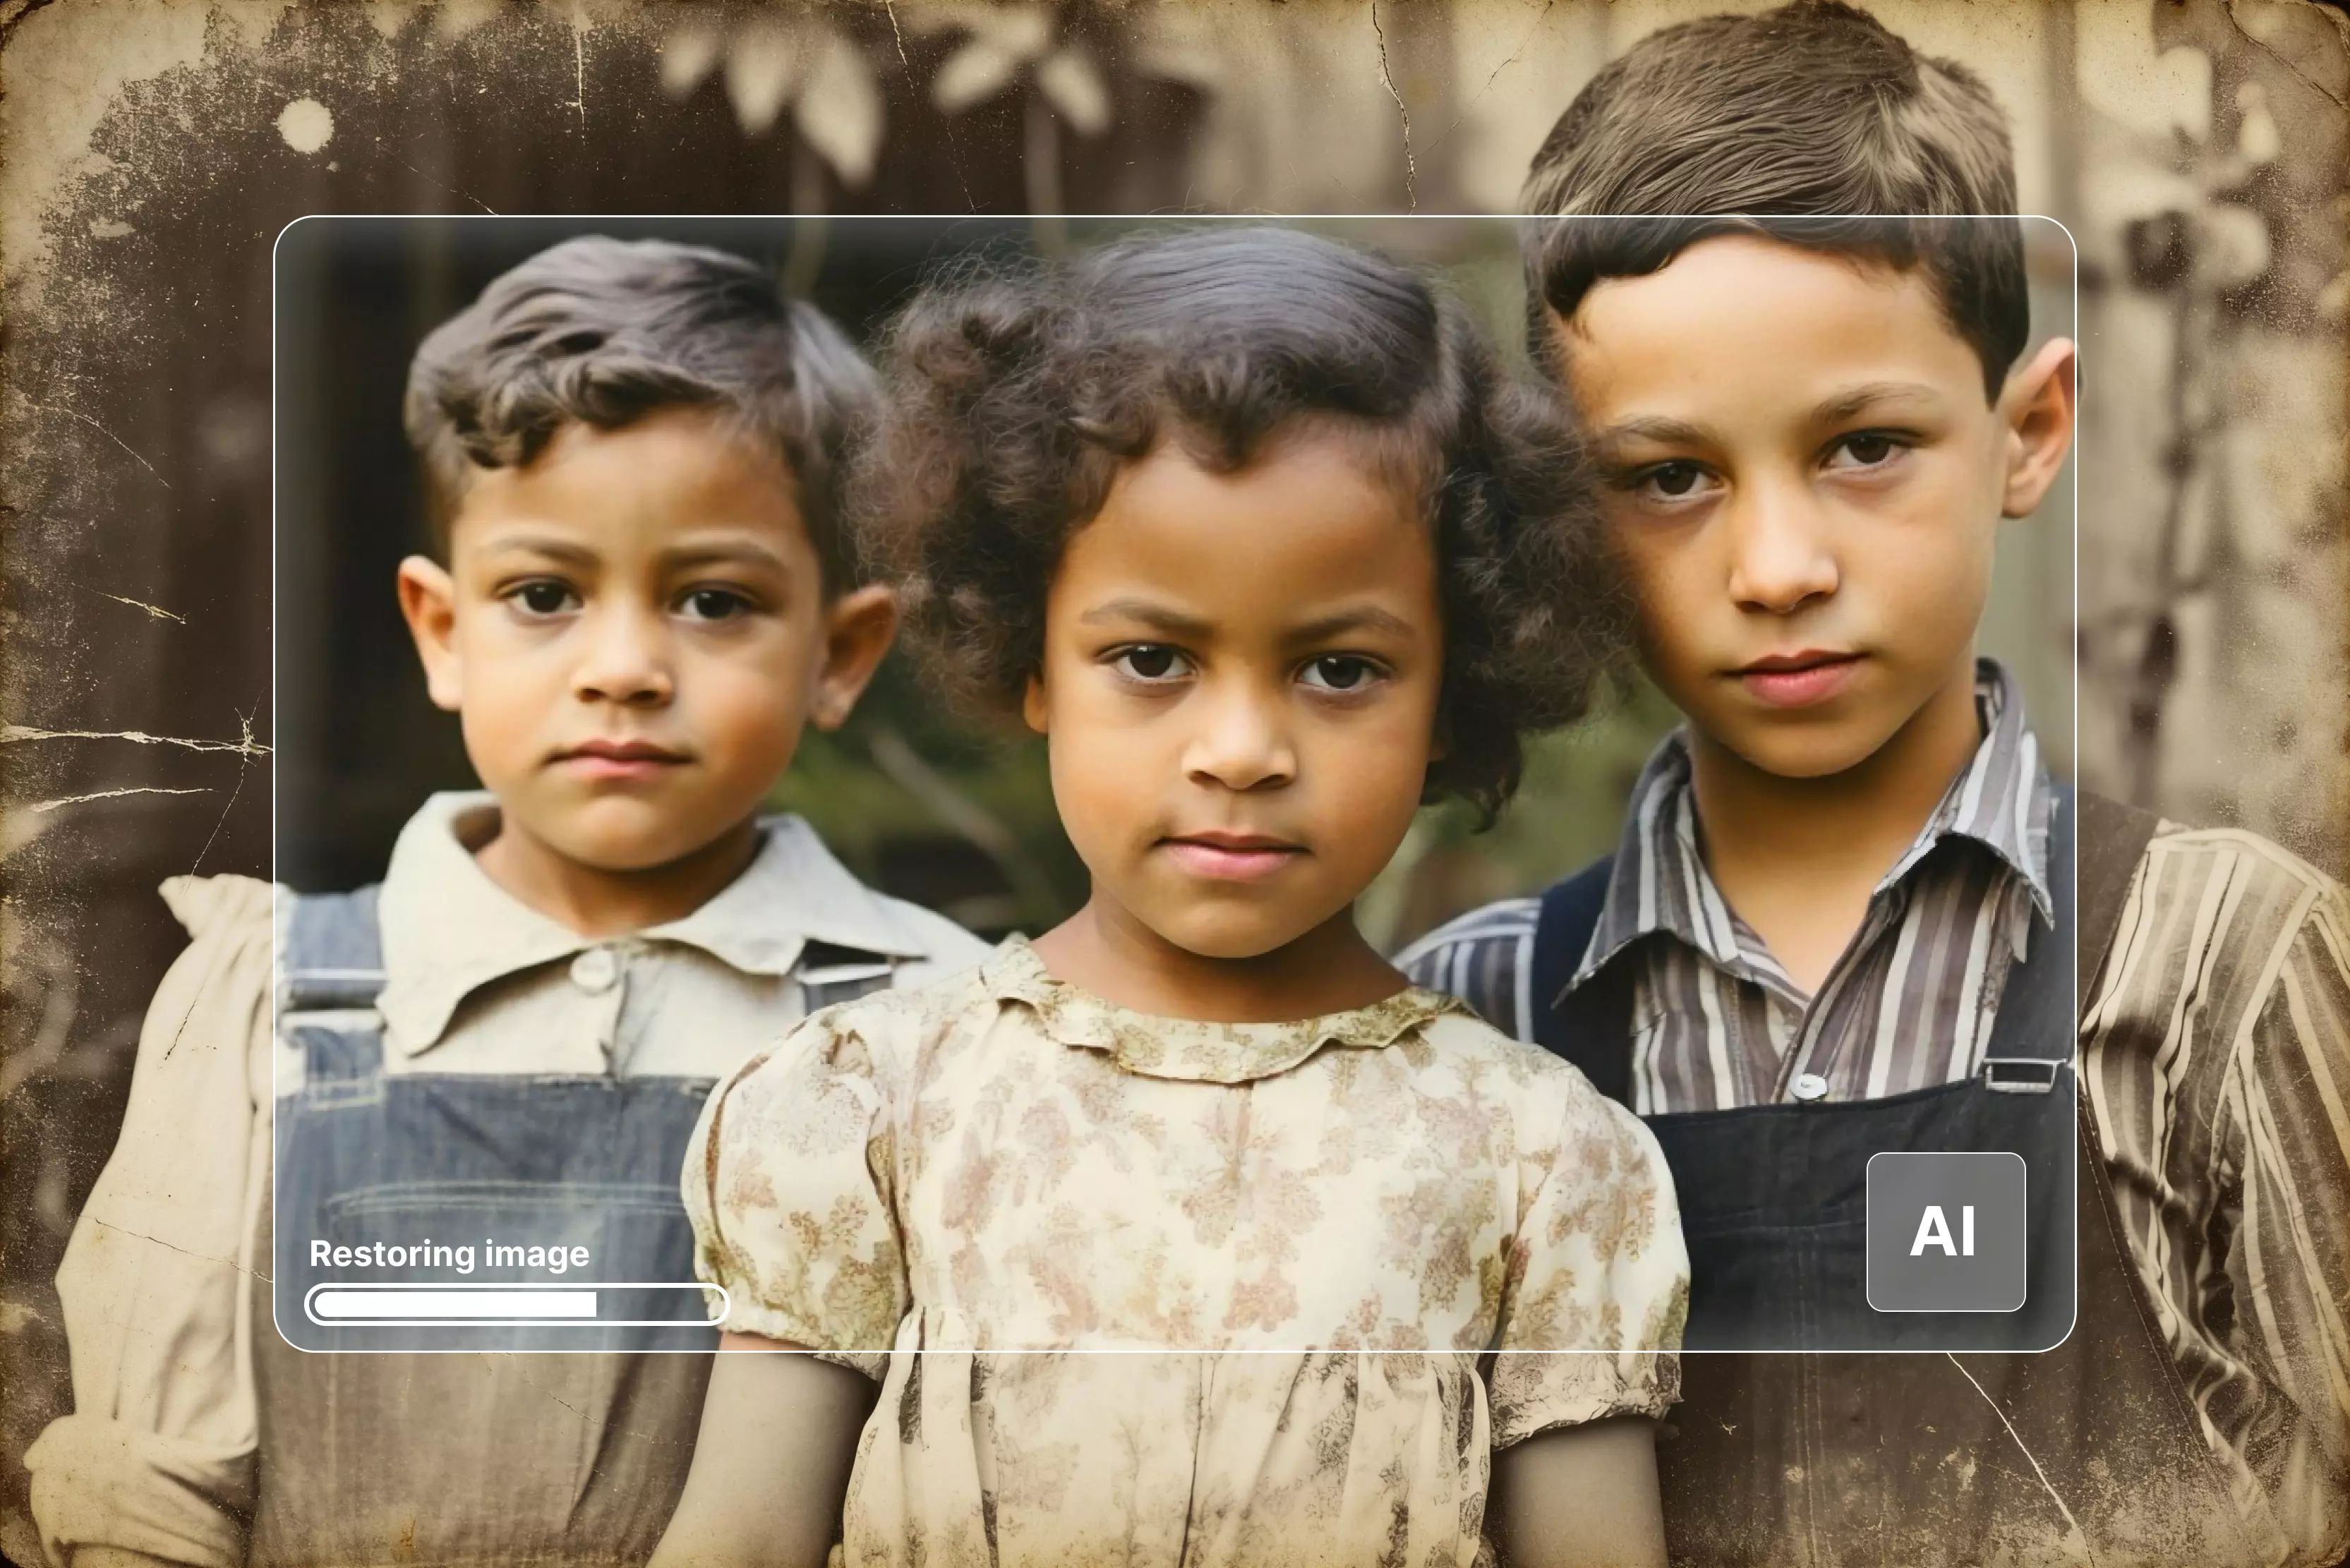

There’s a charm to those worn-out photos tucked inside old family albums. Maybe it’s a snapshot from your grandparents’ wedding, or a childhood moment you forgot about until you saw it again.
Once you scan it, Photoshop gives you the tools to lift away scratches, brighten shadows, restore color that’s slipped away over the years, and bring the details back into focus. In this guide, I’ll walk you through the whole process—starting with how to scan the photo the right way, then moving step-by-step through the restoration work, and finally, how to save the finished image with the best photo clarity.
We’ll go through several dependable techniques: classic tools like Spot Healing and Clone Stamp, color-balancing tricks, sharpening methods, and yes, even Photoshop’s quicker one-click options if you want them. Each step builds on the last, so the picture ends up looking natural, not overly edited.
You’ll also find tips for getting unstuck when things don’t look quite right, plus a quick comparison between doing everything manually in Photoshop versus using Pixelbin if you ever need a fast alternative. Whether you’re just learning or you’ve repaired photos before, this walkthrough should help you bring those old memories back to life—one careful step at a time.
What is old photo restoration?
Old photo restoration is the process of repairing and improving old or damaged photographs so they look closer to their original condition while preserving the original scene and emotions.
This process is often performed by AI tools like Pixelbin old photo restoration tool or smart software like Photoshop, Illustrator, and the like. The main goal of all the tools is to reverse the effects of time and handle the image without changing the core content of the image.
How to restore old photos in 2026?
Restoring old photos starts with careful handling and clean scanning of the damaged portions. The tools gently dust the print with smart AI techniques or tools and then scan it at HD resolution, like 300 to 600 dpi, to preserve the images. They make the process in such a workflow, like using non-destructive adjustments so you can fine-tune exposure, contrast, and color balance without permanently altering the original.
Generalized steps to know how to restore an old photo:
- Cropping and cleaning up borders and torn edges to frame the main subject.
- Removing scratches, stains, and dust using AI tools or healing, clone, or patch tools.
- Adjusting brightness, contrast, and color to remove fading and restore more lifelike tones.
- Sharpening important features like faces and clothing to enhance clarity without over-smoothing.
Understanding Photo Restoration in Photoshop
Photo restoration is really just trying to help an old picture look like itself again. Most old photos have their own set of problems—little scratches everywhere, bits that look washed out, weird discoloration from sitting in boxes for decades, and sometimes whole areas that just don’t look right anymore.
Each issue needs its own kind of fix, and you sort of learn to feel your way through it. The point isn’t to make it perfect or modern-looking, but to clean it up enough that the original moment comes through again. If you take your time, you can bring back a lot more than you’d expect.
Photoshop has plenty of tools for this, although you don’t have to use everything it offers. Working on separate layers helps a lot, because you can mess up without worrying about wrecking the original scan. Some tools are quick and useful for the simple stuff, and others require a bit more patience.
Restoring a photo usually ends up being a mix of both—fix the easy things first, then nudge the trickier parts until they blend in naturally. When it’s done right, the photo still feels like itself, just clearer and easier to look at.
Key Photoshop features for restoration
- Non-destructive Layers: Make copies or masks, so you’re not touching the original scan. It keeps you from getting stuck if something goes wrong.
- Neural Filters: Handy for quick cleanup on scratches or soft details, though they’re not magic and you still need to check the results.
- Healing Brushes: Great for knocking out small scratches and little blemishes that distract from the main image.
- Clone Stamp: This one’s good when you’ve got bigger damaged areas or textures you need to rebuild piece by piece.
- Color Correction Tools: Curves, Levels, or even Selective Color help fix old fading and color weirdness that happens over time.
- Sharpening Filters: Things like Unsharp Mask or High Pass can help bring back some crispness, but they work best when used lightly.
Top 5 methods of old photo restoration in Photoshop
Method 1: Scan and Prepare
Proper scanning prevents quality loss—you and I start here every time. Before anything else, I always wipe the scanner glass and set the resolution high enough that the details don’t get lost later. A flatbed at 600 DPI usually does the job, and I go higher if the print is big or worn.
Even old black-and-white photos scan better in color, so I keep it at 24-bit. Once it’s in Photoshop, I make a copy of the background, straighten it, trim the edges, and label my layers so the whole repair stays organized from the start.
Steps to know
- Clean scanner glass, place the photo face down.
- Scan at 600-1200 DPI, 24-bit color, TIFF format.
- File > Open in Photoshop.
- Duplicate layer (Ctrl+J) → rename "Working Copy."
- Crop Tool (C) remove edges/borders.
- Image > Image Rotation > Arbitrary for straightening.
- Image > Auto Color quick preview.
- Save PSD preserving layers.
Method 2: Apply Neural Filter
Photoshop Neural Filter has become one of those tools you don’t really appreciate until you see it fix a badly damaged photo in seconds. Instead of spending hours on tiny scratches or faded faces, the filter can give you a strong starting point with just a couple of clicks.
You open it, turn on the restoration options, and watch the photo suddenly make sense again. It’s not perfect, and you’ll still want to touch things up by hand afterward, but it saves a huge amount of time—especially when a picture looks like it’s barely hanging on.
Steps to know
- Select working layer.
- Filter > Neural Filters > Photo Restoration (download ~200MB).
- Toggle "Scratches," "Faces," "Enhance."
- Strength 50-70%; preview toggle.
- Choose “Output to New Layer” for non-destructive edits.
- Mask layer is over-processed.
- Compare with 50% opacity to the original.
Method 3: Spot Healing and Clone Stamp
When you’re fixing old photos in Photoshop, the tools that handle scratches and small marks become your best friends pretty fast. The Spot Healing Brush is usually where I start, because it can clean up tiny dust spots and light scratches just by brushing over them.
But once you run into bigger rips or messy areas, you have to slow down and use the Clone Stamp instead. It takes a little more care—sampling clean spots, changing angles, zooming in way too far—but it gives you the control you need to rebuild damaged parts without things looking fake.
Steps to know
- Spot Healing Brush (J), soft brush 20-50px.
- Alt+click near damage, paint over spots.
- Clone Stamp (S) for tears: Sample (Alt+click) clean areas.
- Brush Size 10-100px, Hardness 50%, Opacity 100%.
- New layer per repair type (stains, tears).
- Layer > Layer Mask > Reveal All for refinements.
- Eraser (E) on the mask to reveal underneath.
Method 4: Color Correction
Faded photos can be tricky because the damage isn’t dramatic, but the image just feels tired—low contrast, a bit yellow, colors that don’t look alive anymore. When I’m restoring something like that, I usually start with Curves because it gives me the most control. A little adjustment to the shadows and highlights can bring the picture back faster than anything else.
Color issues take more patience, especially stains or strange hues from age, but nudging individual tones usually helps. The goal isn’t to modernize the photo, just to make it look the way it probably once did.
Steps to know
- Layer > New Adjustment Layer > Curves.
- Shadow input 10→20, Highlight 240→230.
- Midtone S-curve for contrast.
- Selective Color: Yellows/Cyans reduce for sepia.
- B&W photos: Black/White layer > Tint (sepia 20%).
- Vibrance +15-25%, Hue/Sat preserve skin tones.
- Layer mask paint black on faces if needed.
Method 5: Sharpen and Finalize
Sharpening a restored photo is one of those last steps that can make the whole image suddenly look clearer, but it’s easy to overdo it if you’re not paying attention. I usually start gently and see how the details react, because every scan behaves a little differently.
Sometimes a small bump in sharpness brings out the texture beautifully, and other times it makes the grain shout louder than anything else. The trick is taking your time, checking the image at actual size, and dialing things back if it feels too crisp. Subtle usually wins with older photographs.
Steps to know
- Duplicate final layer > Smart Sharpen (Ctrl+Alt+F).
- Amount 120%, Radius 1.5px, Remove "Lens Blur."
- Or High Pass: Filter > Other > 1.5px radius.
- Blend If: Layer Style > Underlying gray 50-70%.
- 100% view check—no halos.
- File > Export > TIFF (master), PNG (transparent)
Troubleshooting tips
- Smart Objects: Always convert your layers to Smart Objects first. It’s a lifesaver because you can experiment with filters, adjustments, or any edits without worrying about messing up the original pixels. If something looks off later, you can go back and tweak it.
- Zoom and Tablet: Get up close, at least 200–300%, and use a tablet if you have one. It’s much easier to follow textures and subtle details without accidentally over-sharpening or creating weird edges.
- Layer Opacity: Lower the opacity of adjustment layers to check your edits against the original. It helps you see if you’re overdoing anything and keeps the photo looking natural.
- Hybrid Workflow: Start with Neural Filters or other quick fixes to handle scratches or fading, but don’t rely on them completely. Manual touch-ups afterward make the photo feel authentic and personal.
Tips to make photo restoration easier
Save your progress as you go
- Before any big edit, save a snapshot of where you are
- This lets you go back instantly if something does not look right
- Never rely on just one version of your file
Keep your layers organized
- Create separate layers for skin corrections, background fixes, and colour changes
- Label each layer clearly so you always know what is what
- Organised layers make fixing mistakes much quicker
Try different blend modes
- If an edit looks too harsh or too subtle, changing the blend mode can fix it
- Start experimenting with Darken, Lighten, and Colour as a beginner
- Small blend mode changes can make a big visual difference
Adjust your brush before you paint
- Use a softer brush with lower flow for more natural looking results
- Hard brushes at full flow are easy to overdo, especially on skin
- Take your time adjusting brush settings before each new correction
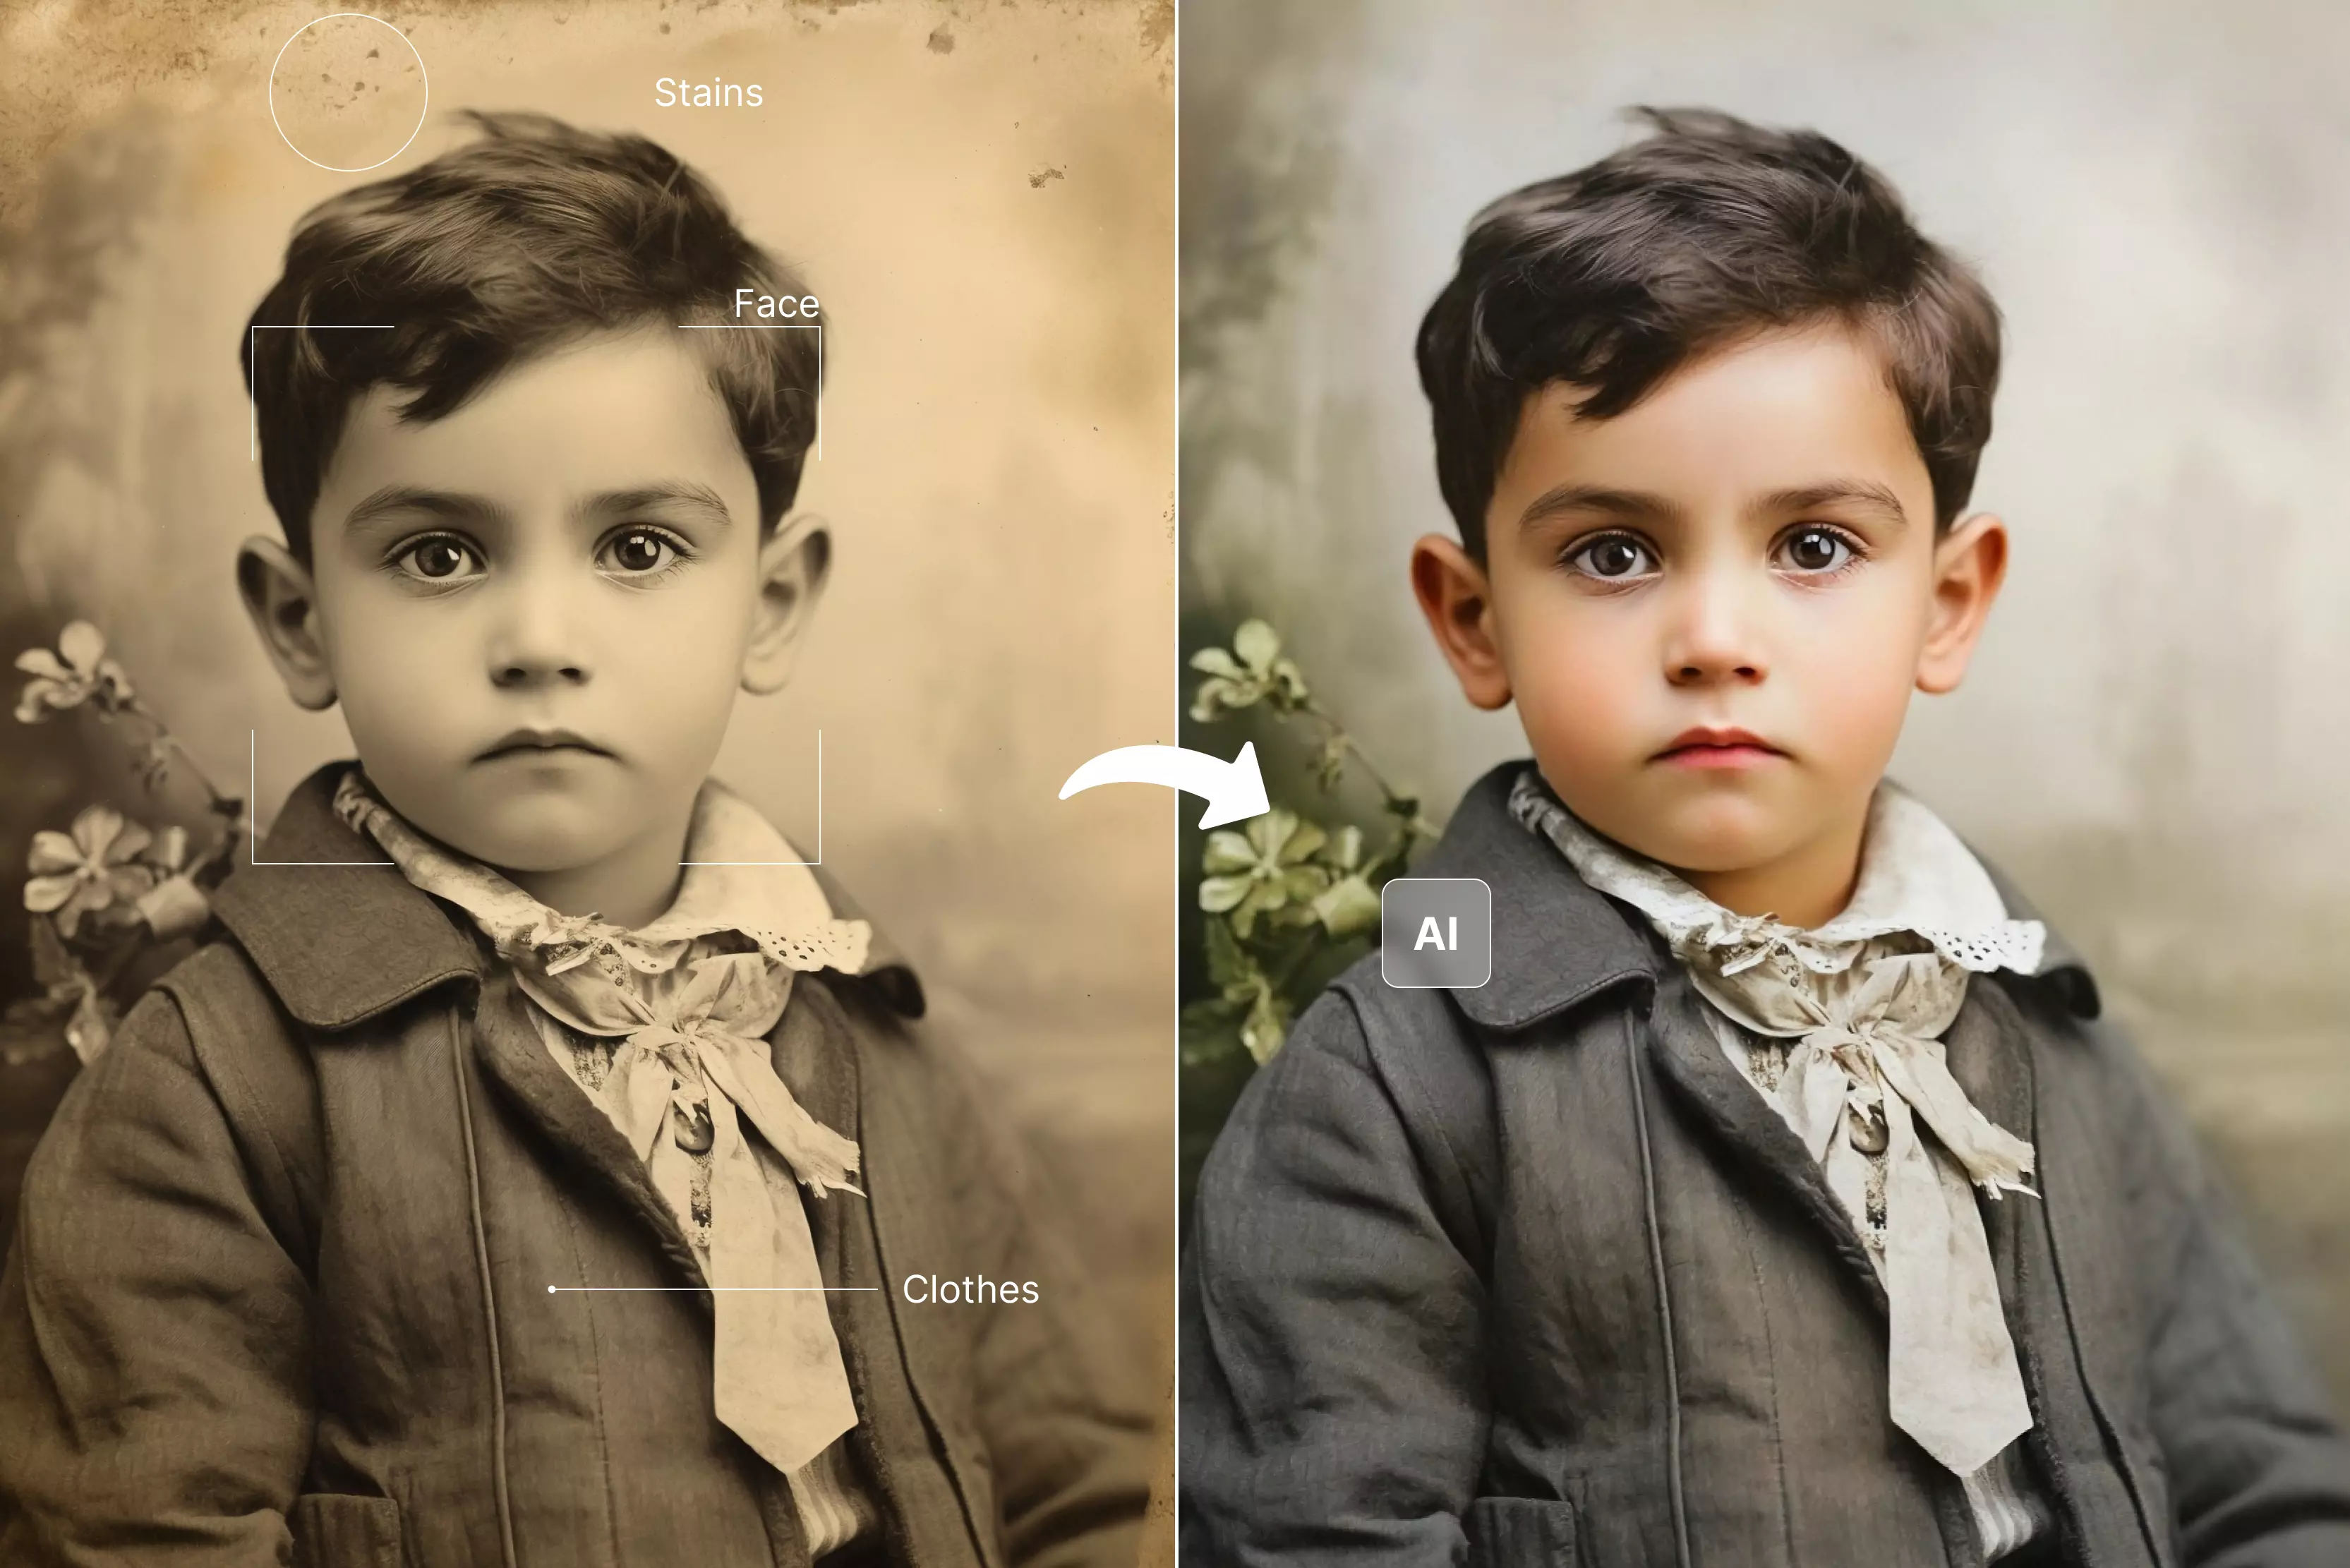
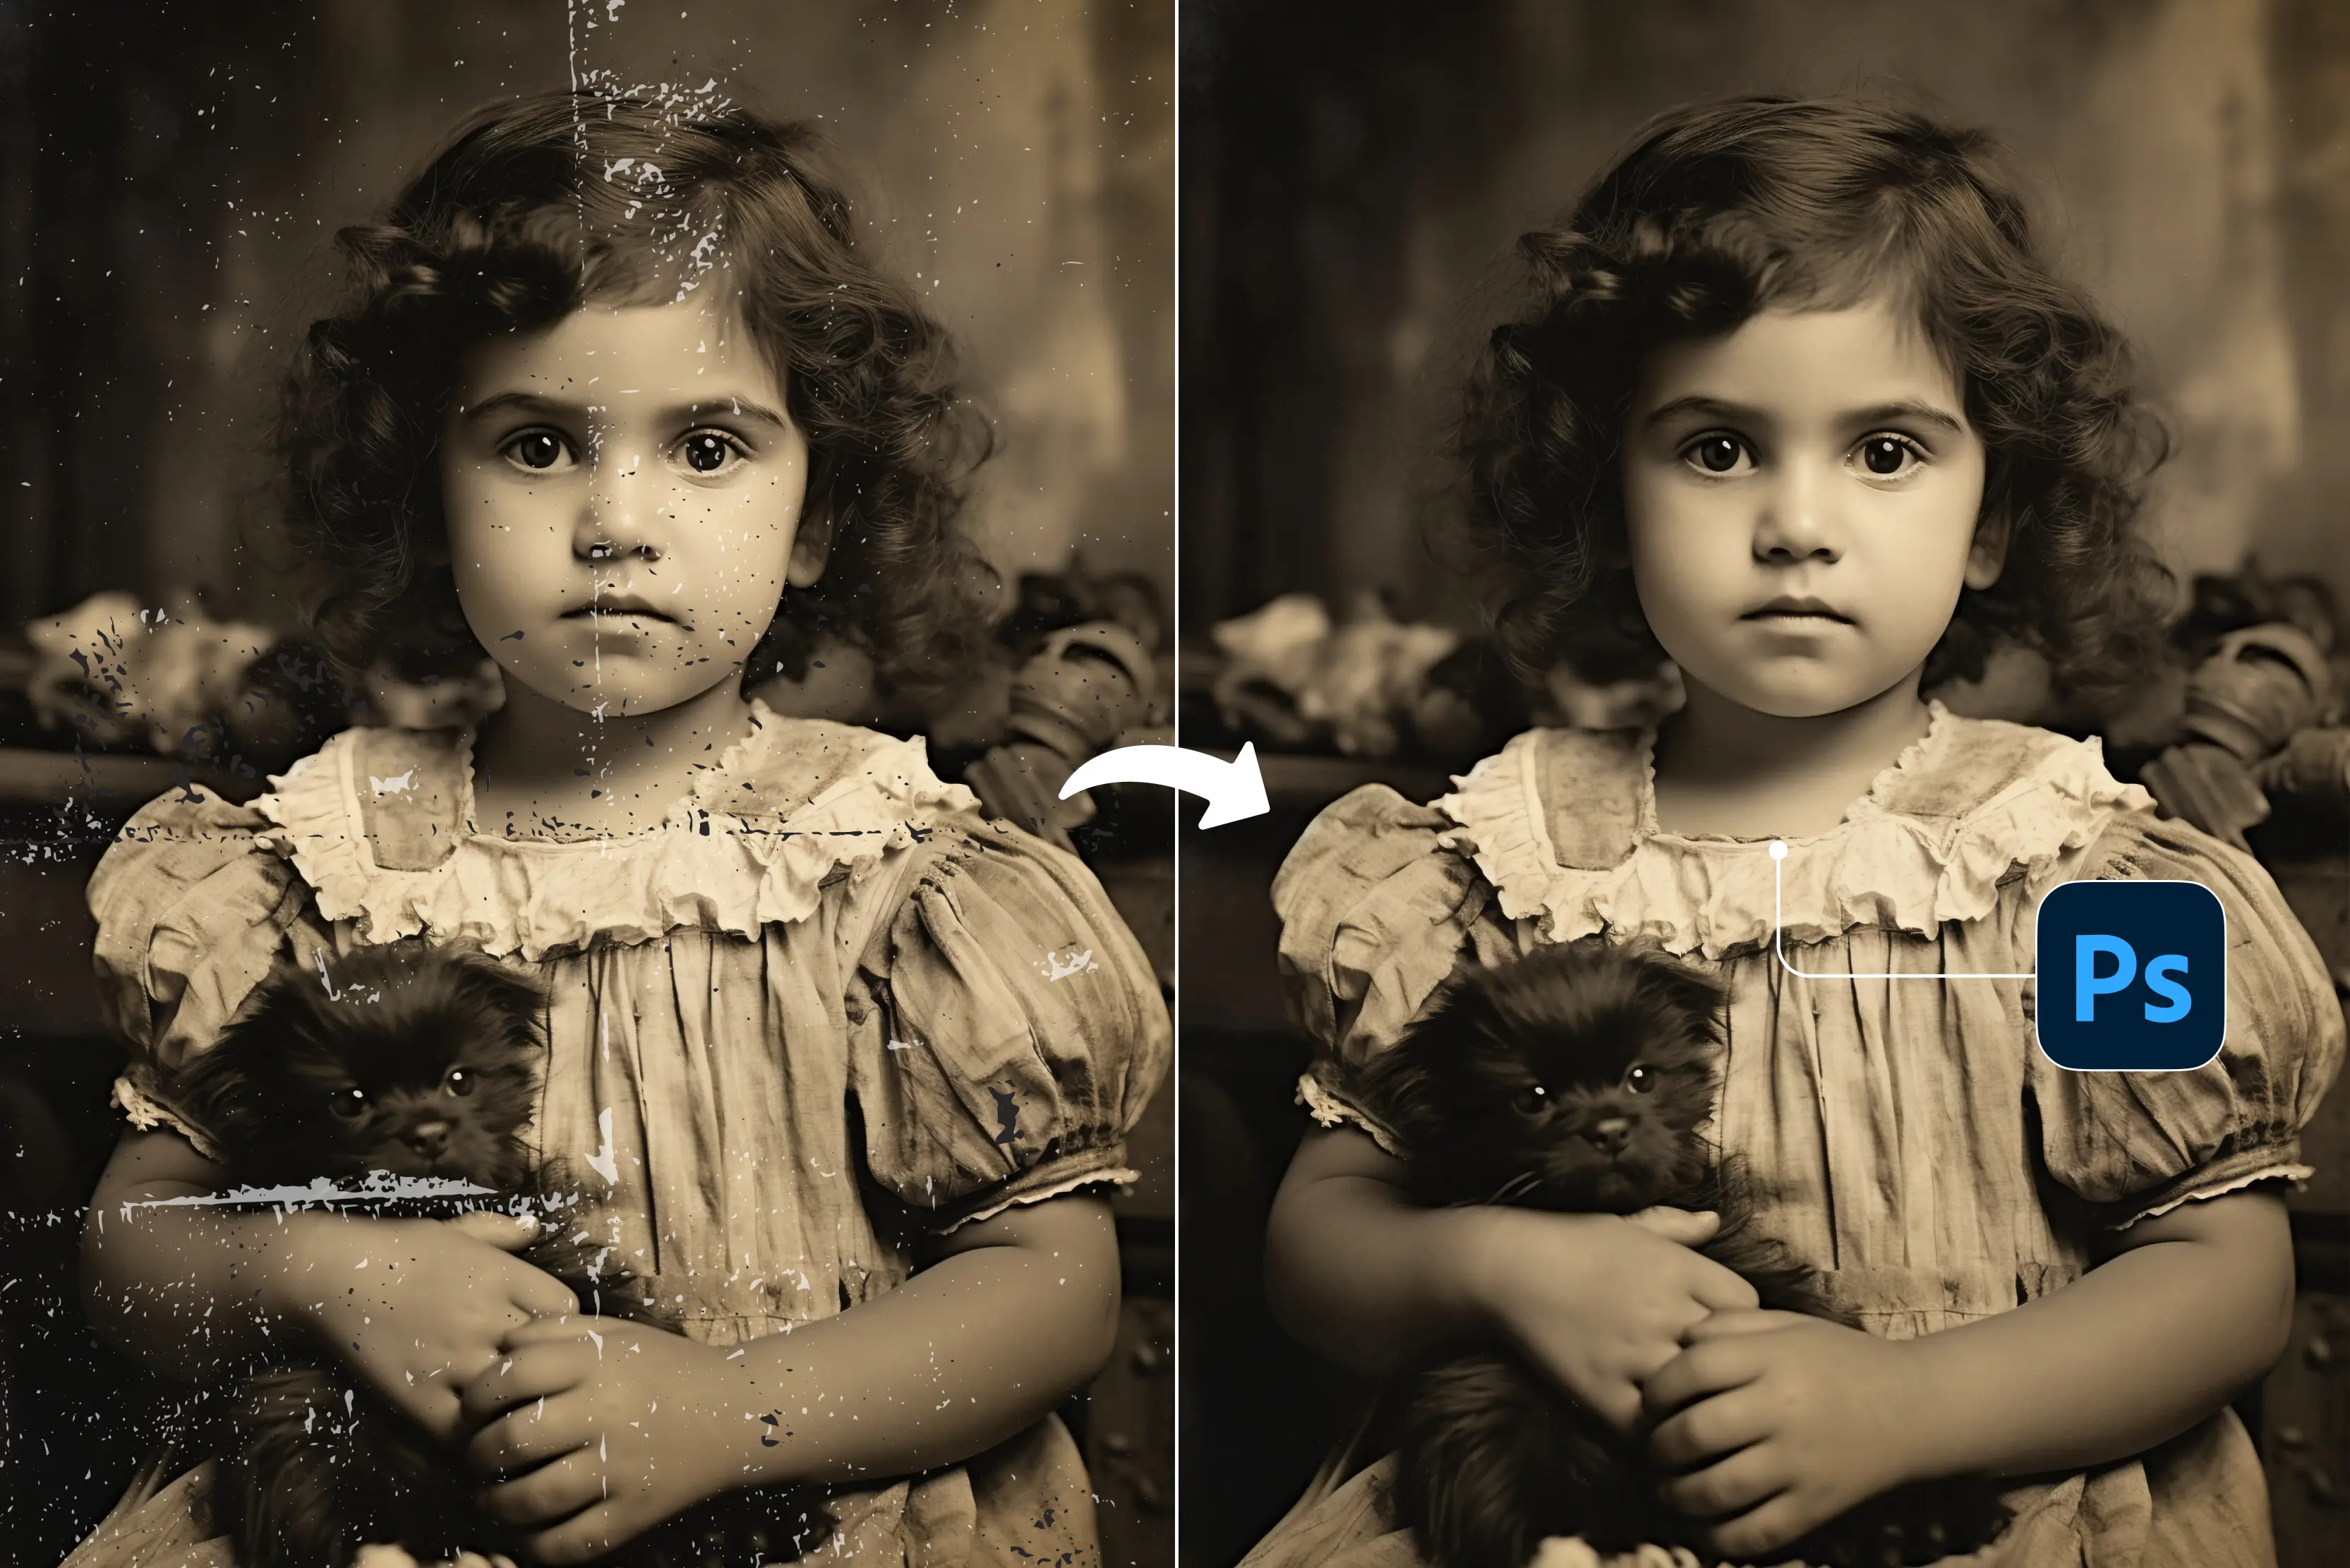
Best alternative to Photoshop for old photo restoration—Pixelbin’s old photo restoration
If Photoshop feels too slow or complicated for bringing old photos back to life, Pixelbin’s Old Photo Restoration tool is a solid browser-based option to try. You just upload a damaged photo (up to 10MB), and the tool automatically looks for issues like scratches, discoloration, fading, blur, or small tears. It repairs them while keeping the original look and resolution intact.
You can view the before-and-after results side by side, and everything happens in a few seconds—no editing experience required. It’s handy for family keepsakes, wedding albums, historical images, or even large batches of photos through the API.
Must known features:
- AI automatically removes scratches, tears, discoloration, and blur from old photos
- Preserves original image quality, resolution, and natural details during restoration
- Side-by-side comparison of the original vs the restored versions before downloading
- Supports bulk photo restoration through API for multiple images at once
- Handles various photo types: family portraits, wedding photos, historical documents
- No photo editing skills required; fully automated one-click process
- High-definition output downloads are ready for printing or sharing
- File size limit 10MB; supports URL paste for online images too
Steps to know:
Step 1: Visit Restore old photos with AI.

Step 2: Upload a damaged photo (<10MB) or paste an image URL.
Step 3: Wait for AI to process it automatically.
Step 4: Click "Download" for the HD restored image.
Final thoughts
Photoshop gives experienced editors full control over every part of a restoration. Its Neural Filters can speed up broad fixes, while tools like the Clone Stamp and Healing Brush let you handle delicate tears or heavy damage with real precision.
When you’re willing to spend the time learning layers, masks, and fine-tuning adjustments, Photoshop can deliver true archival-grade results. It’s why museums, historians, and professionals trust it for irreplaceable photos where accuracy matters more than speed.
Pixelbin, on the other hand, is built for quick, no-hassle cleanups. You upload a photo in your browser, and it automatically tackles scratches, fading, discoloration, and blur within seconds. There’s nothing to learn and nothing to install—just a fast way to refresh old family snapshots.
FAQs
Scan at 600+ DPI, open in Photoshop, duplicate background layer (Ctrl+J) for safe editing.
Filter > Neural Filters > Photo Restoration; toggle Scratches/Faces/Enhance, adjust Strength 50-70%, apply.
Spot Healing Brush (J) for small spots; Clone Stamp (S) + Alt-sample for larger tears/damage.
Upload (<10MB), AI auto-fixes scratches/blur/discoloration, preview side-by-side, download HD—seconds, no skills.
Use Smart Objects, work non-destructively with masks, zoom 300% for edges, and avoid over-sharpening.
Yes—Curves for contrast, Selective Color tinting, and Neural Faces enhancement work excellently.