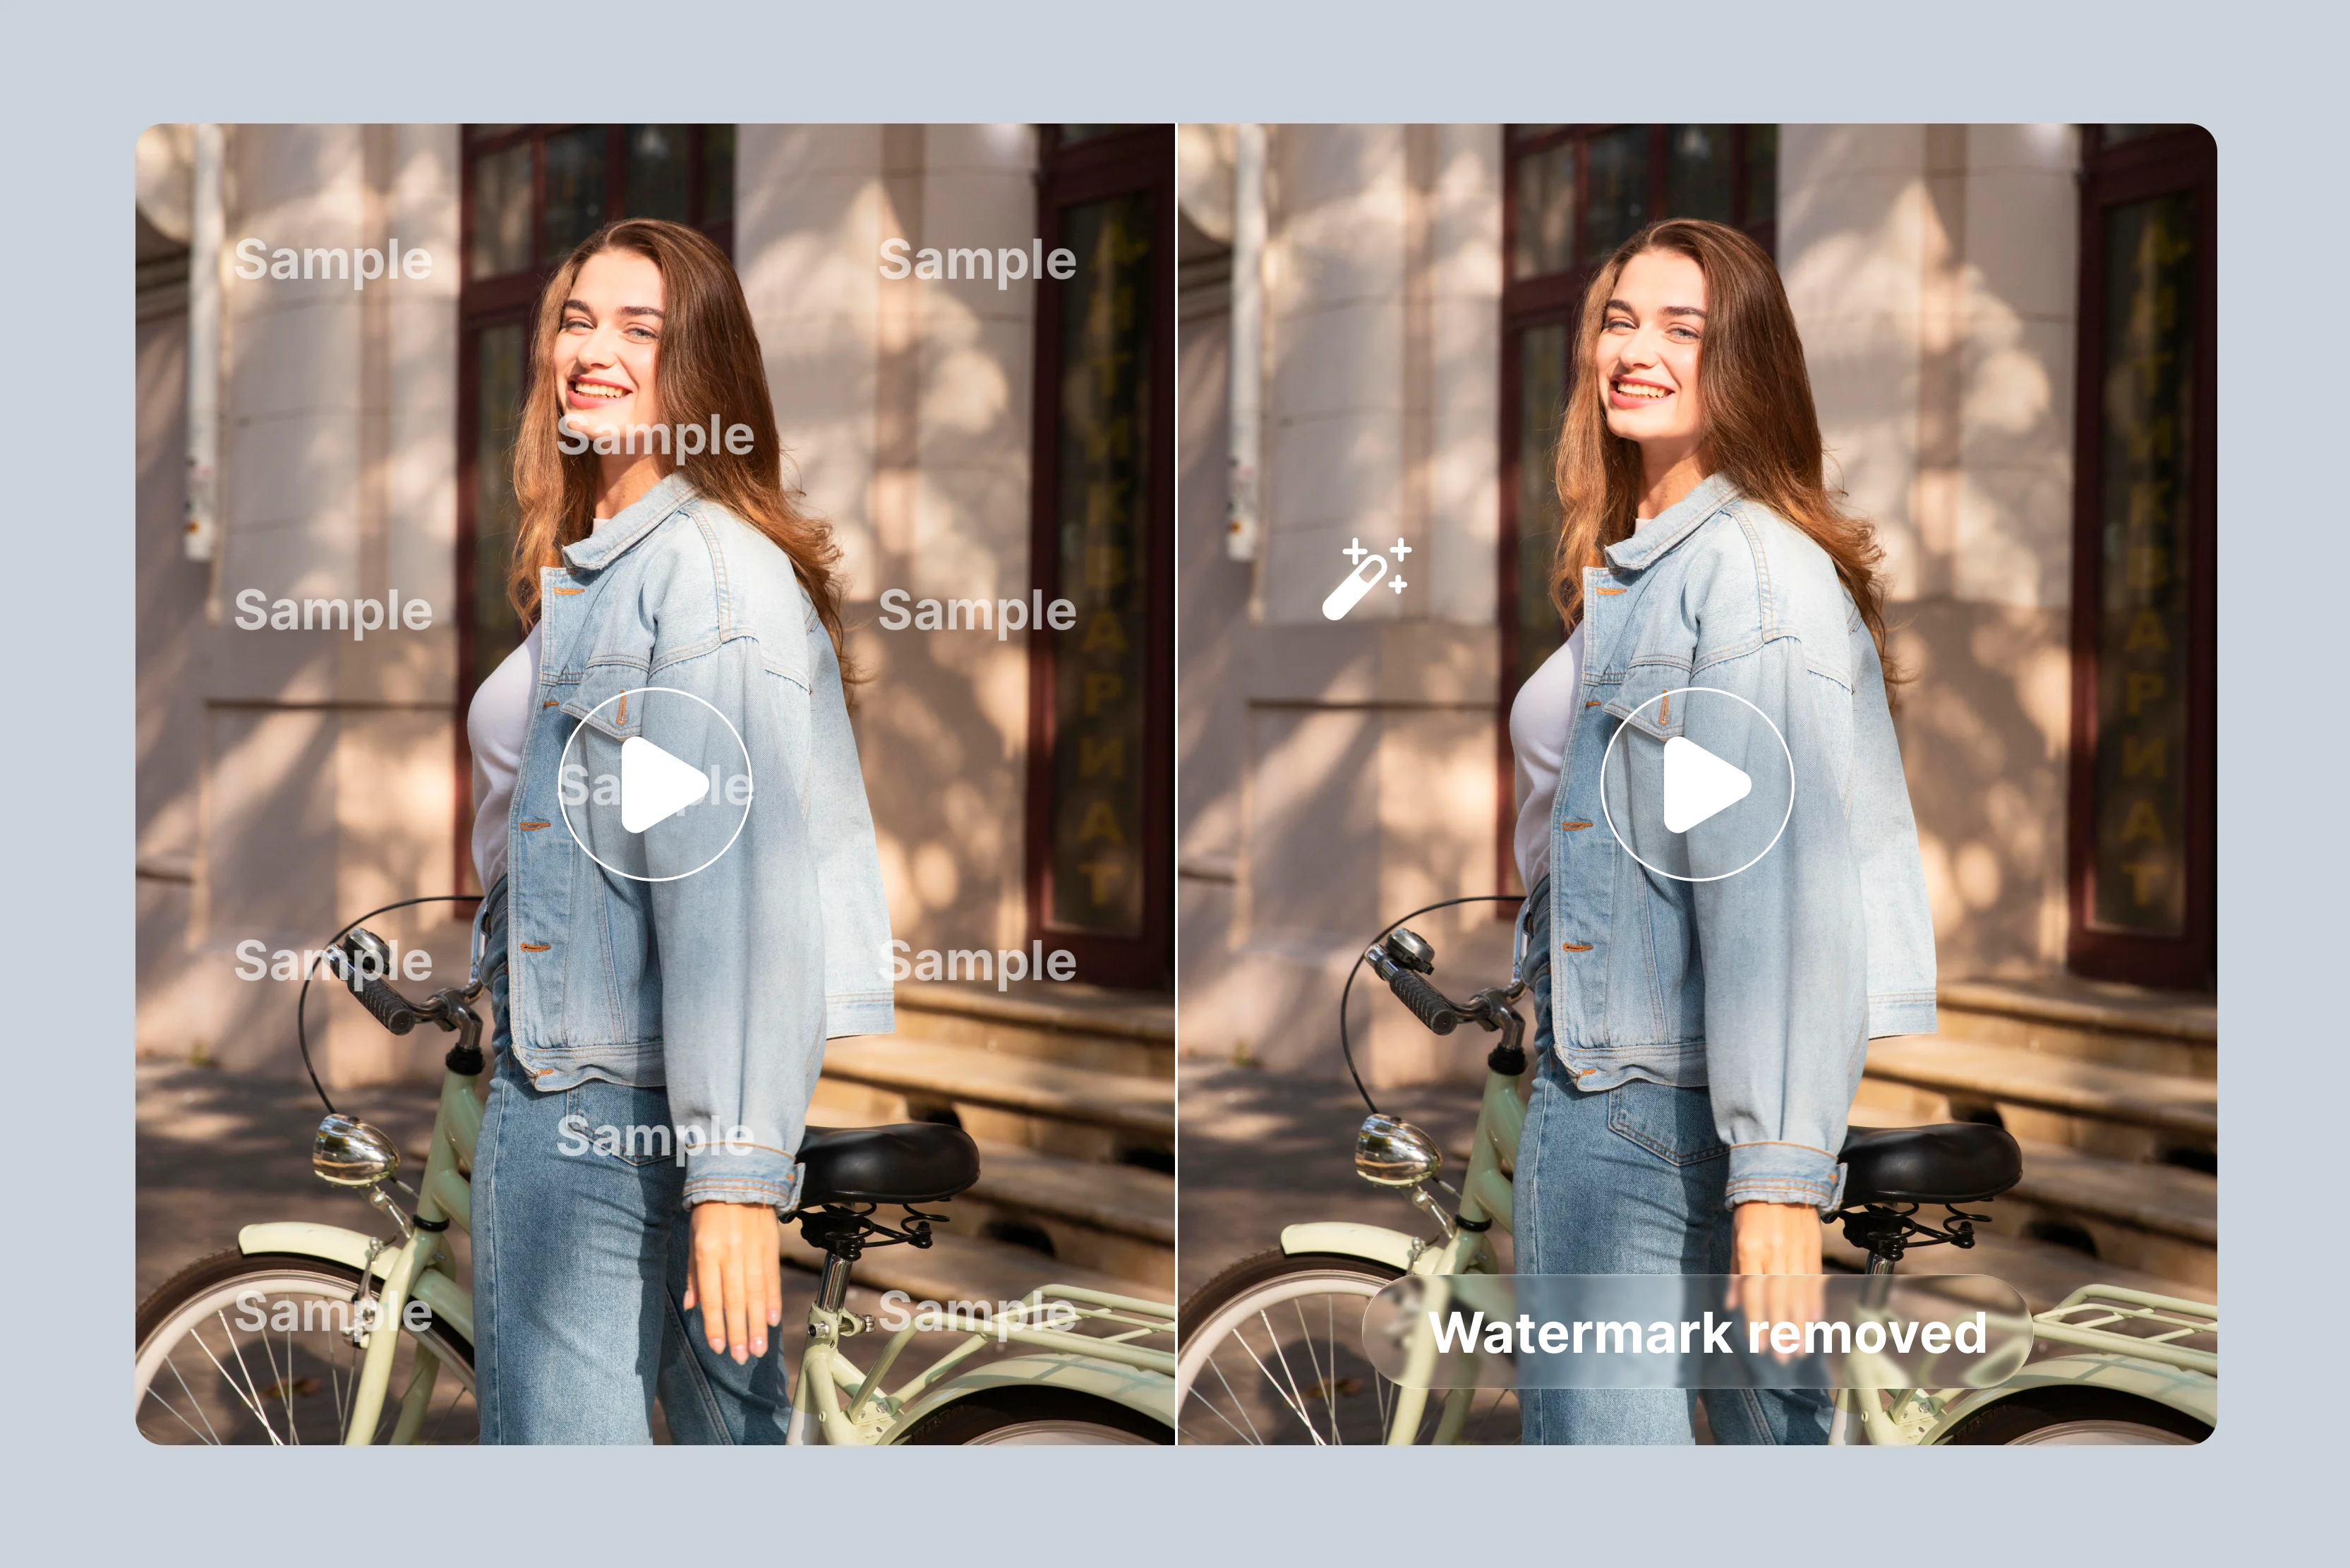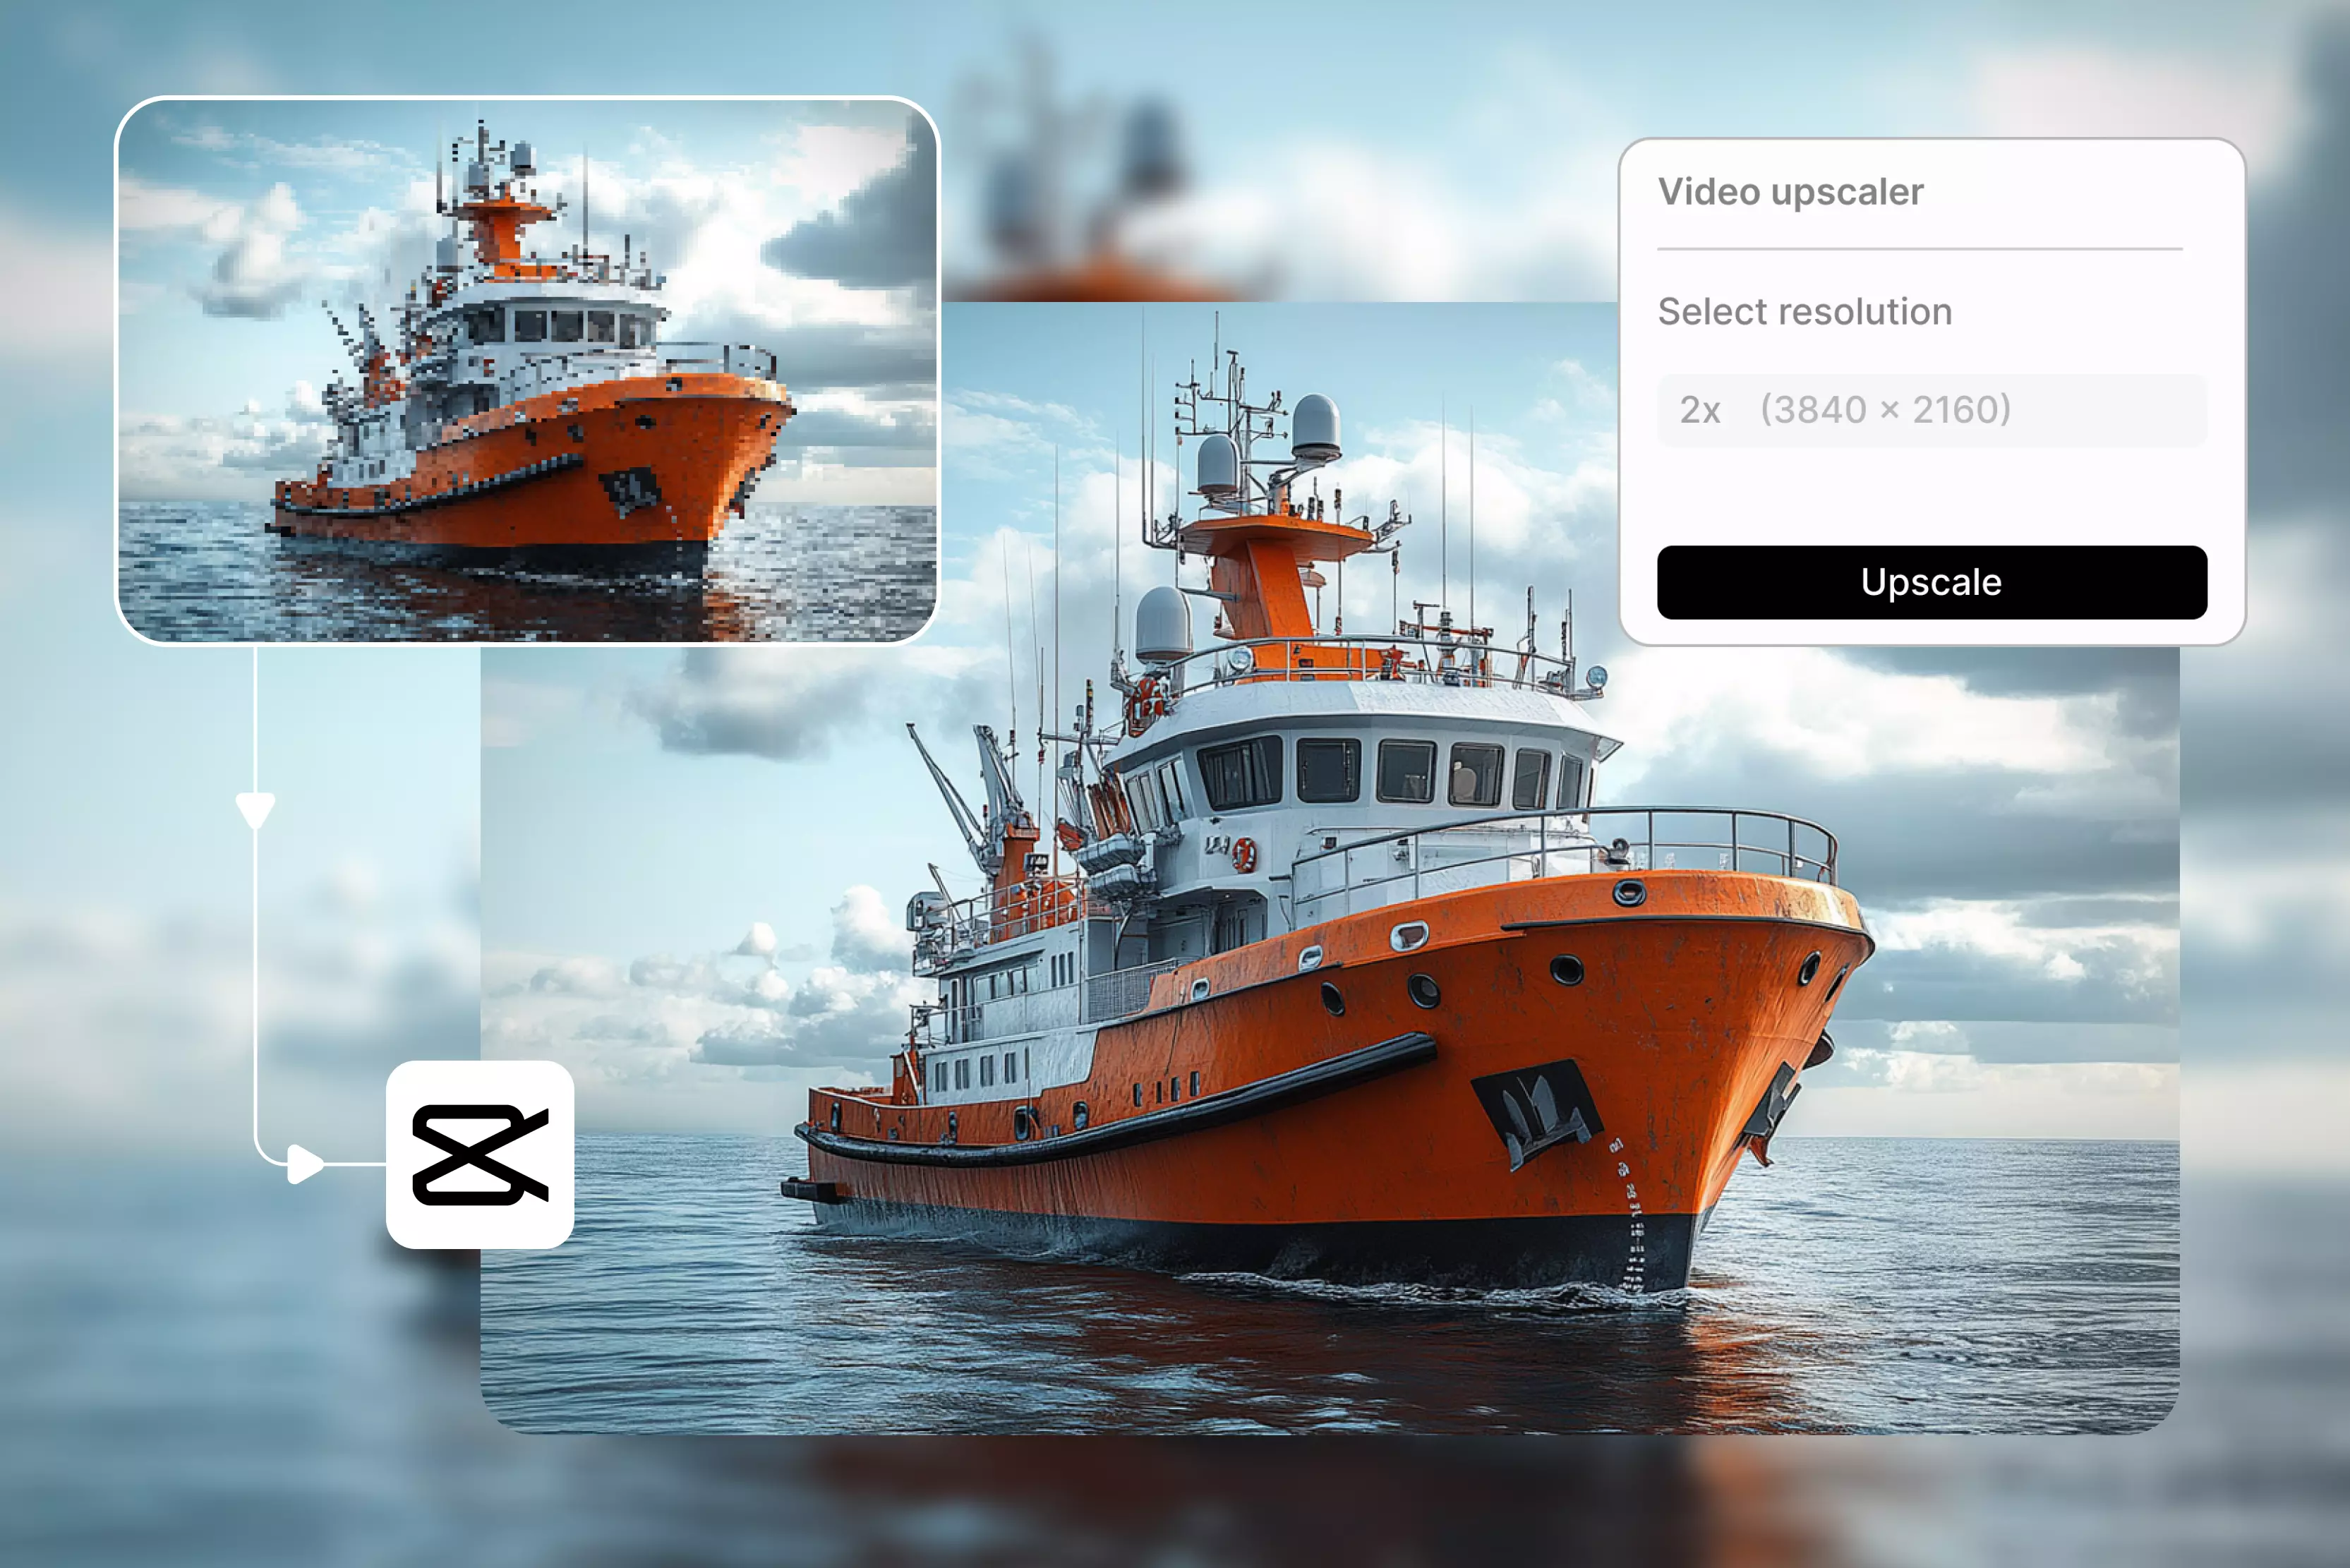


Ever dug up old 480p phone videos so blurry they gather digital dust, unfit for TikTok or Reels? CapCut AI Video Upscaler rescues them by letting you upload footage, tap upscale, and witness AI turn grainy messes into vibrant 4K masterpieces that demand views with sharp details popping everywhere from faces to backgrounds.
This tool excels at faces and motion, guessing missing details so skin looks natural, not fake. In my test, I upscaled a short dance clip and noticed improved background clarity, with faster processing on shorter videos. Free version handles quick jobs; Pro unlocks batch processing and higher limits for serious workflows.
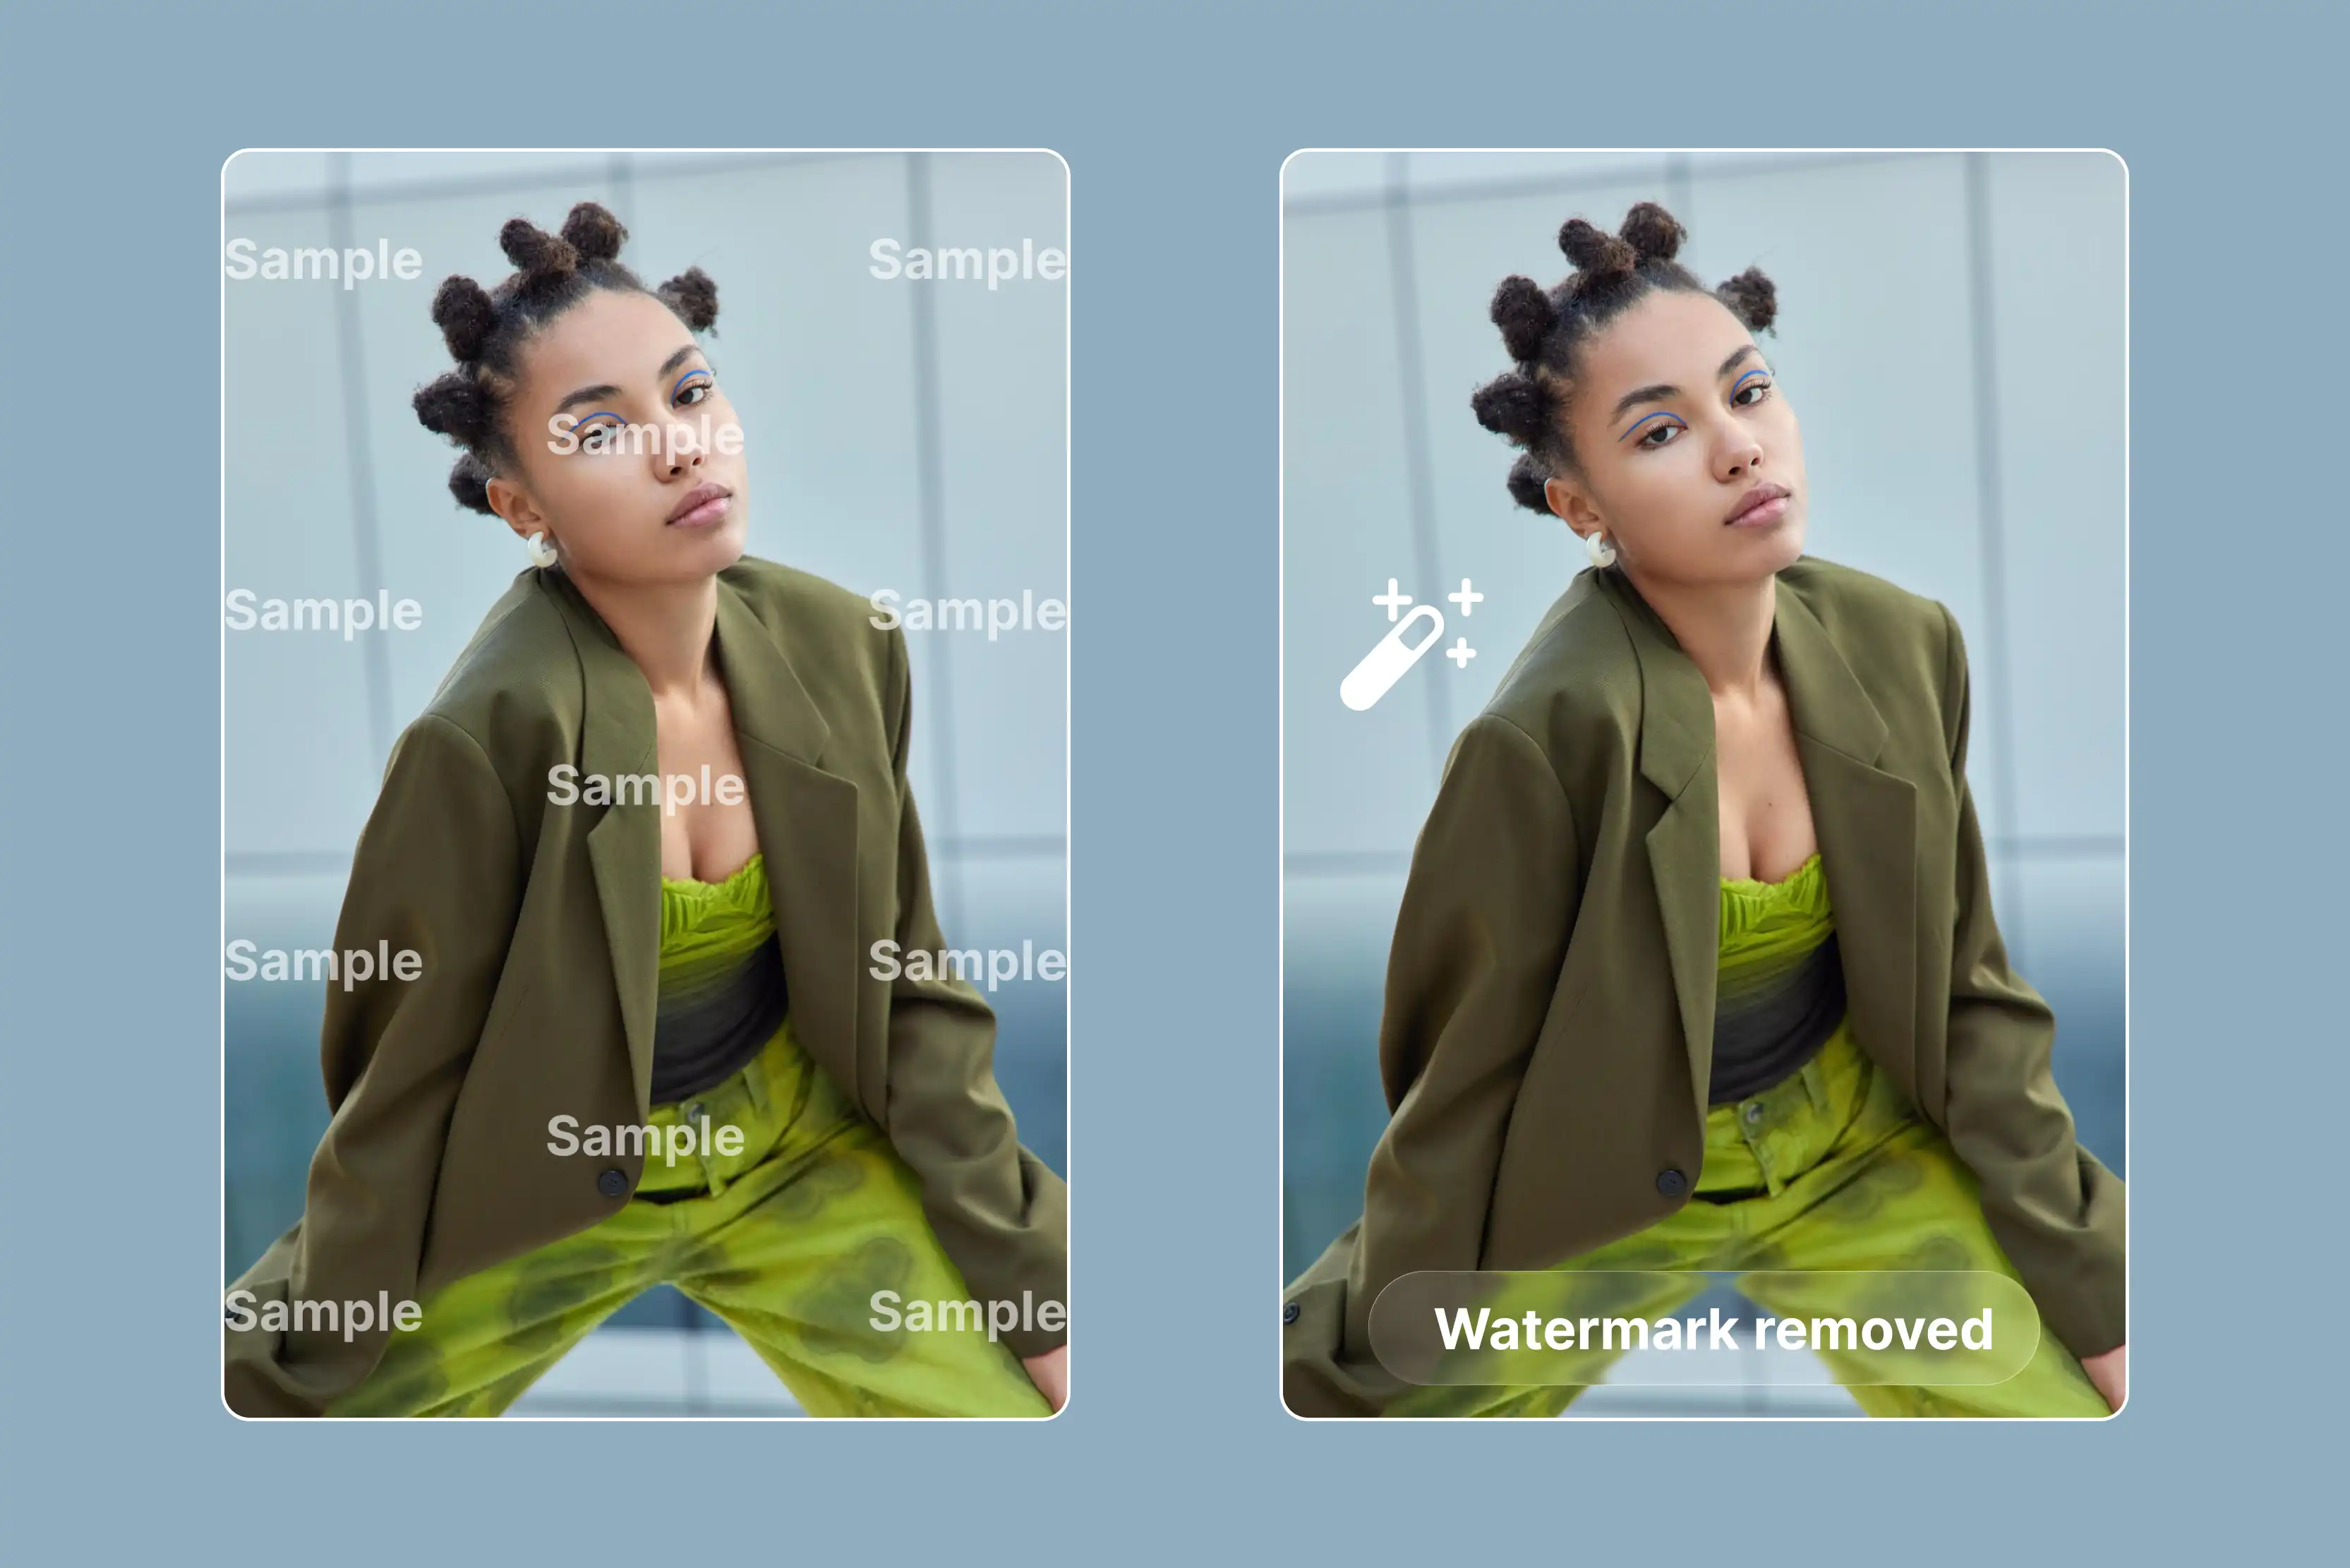
Processing slows on long clips, though, and free exports have limits. This blog will provide a complete guide to CapCut AI video upscaler, talk about its best alternative, Pixelbin AI video editor, which delivers faster renders, free usage, and no watermarks.
What is CapCut AI Video Upscaler?
You know those old phone videos collecting digital dust at 480p or 720p that could totally shine on Reels if they just looked crisp and pro? That's exactly where CapCut AI Video Upscaler steps in, effortlessly boosting that low-resolution footage all the way up to stunning 1080p or even full 4K while pulling back sharp details that creators dream of.
What I love most is how the AI digs into each frame one by one, pulling back details that got lost in compression, cutting down blur around faces and edges, and sharpening everything up so it looks polished but still totally natural for both quick personal edits or stuff you're charging clients for.
At the heart of what makes it work so well lies some seriously smart AI that dives deep into every single frame of your video, carefully studying the pixels around blurry spots to intelligently rebuild edges, faces, and textures just as they should be.
After that, applying targeted denoising that smooths out artifacts without ever smudging motion or making skin look unnaturally plastic, upload your file, pick something like a 2x or 4x upscale option, hit process, and you're looking at short clips finishing in 30 seconds, while longer ones might need you to grab a quick coffee break depending on your setup.
These days you can find it built right into CapCut's free mobile apps whether you're on iPhone or Android, the beefier desktop version for Mac or Windows that handles heavier workloads without breaking a sweat, or even their handy browser-based editor for quick jobs on the go, though the free tier understandably slaps on watermarks and export limits that gently nudge anyone getting serious about content into grabbing the Pro subscription like;
- Monthly pro: Generally $7.99–$19.99/month.
- Yearly pro: Approximately $89.99/year.
- Standard plan: Around $9.99/month.
for those unlimited 4K exports, batch processing power, and zero interruptions to keep your workflow seamless.
Must known features
- Smart Resolution boost: Lifts 480p/720p videos to 1080p/4K, keeping details crisp, perfect for old clips that need pro polish fast.
- AI Frame analysis: Dives into every frame to rebuild edges, faces, and motion naturally without that fake over-sharpened look.
- Noise Reduction power: Wipes grain, blur, and compression artifacts clean so footage flows smoothly, even from budget phone cameras.
- One-Tap workflow: Drag-drop, pick 2x/4x upscale, process short reels, and finish in 30 seconds with batch options in Pro.
- Multi-Platform reach: Upscales smoothly across desktop, mobile apps, and web browsers, jumps between Phone, PC, or browser without missing a beat.
Essential advantages
- Smooth low-to-4K upgrade: Turns blurry 360p videos into clear 4K ones, details show up sharp as they should.
- Rich color & depth lift: Makes colors brighter and scenes deeper. Faces look warm, everything feels real.
- Reliable 4K enhancement: Handles full 4K fixes on long videos without problems, and quality stays good.
- Instant social media posting: One tap sends your video right to TikTok or Instagram, ready for views fast.
- Universal file support: Works with any video type or size, no headaches importing files.
- Built-in edit tools: Has filters, effects, and changes all in one place, finish editing easily.
How to use CapCut Video Upscaler on mobile (Android/iOS)?
Getting sharp videos on your phone is straightforward once you know the flow. I've done this dozens of times for social media posts and reels. Here's the full rundown:
Step 1: Open CapCut and Create a New Project
Launch the app, smack New Project, then pick your fuzzy video from photos or files and add it to the timeline right away.
Step 2: Select the video clip on the timeline
Hit that video strip on the bottom timeline, it lights up the side menu with all the tools you need.
Step 3: Find and open the “Enhance” / “Upscale” Option
Look for Enhance, AI Upscale, HD, or Sharpen in the menu (names shift by app version), tap whatever shows to pop open the upscaler.
Step 4: Pick the AI upscale mode
Go with AI Upscale for top results; others like Clarity, Sharpen, or Noise Fix pair nicely if your clip's extra messy.
Step 5: Wait for AI to work
Let it scan and fix sharpness, bump resolution, tweak colors, add details, 10 seconds for quick clips, a couple of minutes for longer ones on average phones.
Step 6: Export your crisp version
Preview quick, tap Export, set to 1080p+, and save to gallery, now drop it on TikTok, ready to shine.
How to use CapCut Video Upscaler on PC (Windows/Mac)?
Desktop CapCut crushes mobile for upscales, beefier power means faster, cleaner 4K results on big files. Here's how I do it every time:
Step 1: Get CapCut desktop running
Grab the latest from CapCut's site if it's not installed, fire it up, and log in quickly.
Step 2: Kick off a project and load a video
Click New Project, drag your low-resolution clip in or import from folders, lands straight on the timeline.
Step 3: Click your video clip
Select the layer; the right panel pops up editing tools like effects and tweaks.
Step 4: Spot and tap AI upscale
Scan for AI Upscale, Enhance Video, or HD Boost, whatever shows, click to open upscaler options.
Step 5: Choose upscale strength
Dial in 1080p, 2K, or 4K (Pro needed for top tier), go highest your hardware handles for wow factor.
Step 6: Hit export and save
Apply changes, smash Export, pick output resolution, and drop the file where you need it. Click on Done, sharp as new.
Scene-based CapCut Video Upscaler settings for 4k/HD quality (Bonus tip)
Stop fiddling with sliders blind, I've dialed these exact combos on client projects that went viral. They work. Copy, paste, preview, tweak.
Best video upscaler alternative to CapCut: Pixelbin video editor
Sometimes, no matter how carefully you adjust the sliders in CapCut, the video still doesn’t look right. That’s where the Pixelbin video editor steps in.
It’s not just another editing tool; it uses AI to understand what your video needs and fix it in ways manual settings can’t. Pixelbin video editor doesn’t just enhance videos; it also enhances photos, helping you sharpen, upscale, and restore images with the same AI precision.
To use the tool, you don’t need to be a tech expert. Just upload your clip, select the model, click one button, and let the AI do the heavy lifting. Within minutes, your blurry, noisy, or low-resolution video comes back sharper, smoother, and clearer. Know the steps in detail.
- Log into Pixelbin & Find AI Video Generator: Head to your Pixelbin dashboard and click AI Video Generator; this page shows all the pro models ready to roll, like Kling 2.1 Master, Seedance 1.0 (Fast/Lite/Pro), Sora 2, Veo 2/3/3.1 Fast, and Wan 2.2/2.5 for top-tier upscaling power.
- Switch to Video Editor Mode: Spot the downward arrow next to the generator, tap it, and select Video Editor from the dropdown menu that appears, which takes you straight into the full editing workspace built for upscales and tweaks.
- Start Fresh with New Project: Hit the bright New Project button to open a clean timeline, which gives you full control over your video without any clutter from old sessions or templates.
- Upload Your Video Files: Drag or select your low-res video (handles 2 at once for side-by-side collabs or merges), pulls from phone, Drive, or Dropbox fast so you can start upscaling right away.
- Drop Video to Main Canvas: Once uploaded, grab it from the left panel and slide it onto the central workspace. Now it's locked in and ready for AI upscaling tools.
- Choose Upscale Options: Tap Crop to trim edges, Adjustments for sharpness/resolution boost, Filters for clarity pops, Opacity/Blur fixes, Animation for motion smoothing, or Add Text, AI processes each for pro HD results.
- Add prompt to generate: In the prompt box, if you want to generate, describe: subject and action (what moves, what happens). Camera moves (slow pan, zoom in, orbit, handheld, etc.). Environment, lighting, mood, and style (cinematic, anime, realistic, product demo, etc.). Click the generate button, and get a premium plan because you will technically need 30 credits at least to run the above-mentioned steps through the models.
When is CapCut AI Video Upscaler not enough?
CapCut works fine for short Reels, but sometimes you need more power. Here's when to try something better, like Pixelbin:
- Long videos take much time: CapCut slows down on 10-minute clips and can crash your phone. Pixelbin handles hours of video fast using cloud power.
- The free version has limits: CapCut adds watermarks and stops at lower quality unless you pay. Pixelbin lets you export clean 4K videos for free, no limits.
- Can't fix bad quality: Heavy blur or grain from old WhatsApp videos? CapCut helps a bit, but leaves problems. Pixelbin cleans them up much better.
- Can't do many videos at once: Upscaling 50 clips one by one wastes hours. Pixelbin processes all your videos together while you sleep.
- Picky about file types: CapCut rejects some video formats. Pixelbin opens everything without problems.
Final thoughts
CapCut AI video upscaler handles quick fixes nicely, especially when you dial in the right settings for day shots or night clips. It's dead simple to use and perfect for everyday social posts without much hassle. But when your videos have deeper problems like shaky motion, bad grain, or super low quality, those basic sliders fall short, no matter how much you tweak.
That's where Pixelbin Video Editor steps up, letting AI tackle footage that CapCut just can't save. Whether you're polishing travel vlogs, bringing old family tapes back to life, or prepping Reels that need to pop, picking the right tool for each job changes everything.
FAQs
Yes, the free tier converts 720p videos to 4K resolution, but it adds watermarks and limits the number of exports you can do. The Pro subscription removes all restrictions for clean, unlimited HD results perfect for social media clips.
First, update your CapCut app to the latest version since older ones hide the feature. Then check the Enhance menu and scroll down, or switch to the PC version, where AI tools always appear reliably.
Short Reels finish in about 30 seconds, while longer clips take 2-5 minutes depending on your phone's speed, video length, and whether you're using the free or Pro tier for faster processing.
CapCut's AI upscaling does both by sharpening resolution while automatically cutting grain and blur. For heavy artifacts on old footage, combine it with the dedicated Noise Reduction tool for the best results.
Yes, the web editor includes AI Upscale through the Enhance tab, using fast cloud processing so you can fix videos directly in your browser without installing the mobile or desktop app at all.
There's no direct integration, but you can export videos from CapCut and import them into Pixelbin for deeper AI restoration. Pixelbin excels at batch processing and tough noise removal that CapCut often skips.