Have you ever scrolled through an online store and thought, Why do their photos look so crisp while mine feel a bit messy? The difference is usually not a fancy camera—it’s the background. A clean, distraction-free backdrop can instantly make a product, portrait, or social post look polished and professional.
Studies and e-commerce reports show that clear product images can improve clicks and sales. That’s where Pixlr earns its reputation. It’s a lightweight, browser-based photo editor that works whether you’re on a laptop, tablet, or phone.
No downloads, no complicated setup. You can choose Pixlr X for quick fixes or Pixlr E when you need finer control, and both versions are free to start. Think of it as having a mini Photoshop that runs right in your browser. In this guide, I walk through every practical way to background removal with Pixlr—from the one-click AI remover to manual tools for tricky edges.
We’ll also look at the mobile app for on-the-go editing and the batch processor for bulk projects. By the end, you’ll know exactly how to turn any busy photo into a clean, transparent cutout ready for e-commerce, social media, or personal branding.
Everything you need to know about Pixlr
Pixlr is a photo editor that lives right in your web browser. No heavy installs, no steep learning curve—just open a tab and start editing. The platform launched back in 2008 and has grown into a favorite for people who want Photoshop-style features without the cost or the bulky software.
You actually get two versions to play with:
- Pixlr X – the quick and easy option. Perfect when you just need to crop, brighten, or remove a background in seconds.
- Pixlr E – the “Editor” for those who like more control. It supports layers, masks, and detailed selections so you can polish every pixel.
Because it’s cloud-based, Pixlr works almost anywhere—Windows, Mac, Linux, even Chromebooks. You can edit on the web or mobile, and with a Pixlr account, you can save projects to the cloud and access them across devices.
It handles all the common file types too: JPEG, PNG, WebP, and even layered PSD files if you’re moving over from Photoshop. If you want a capable editor that’s free to start, easy to learn, and surprisingly powerful, Pixlr checks all the boxes.
Pros of Pixlr
- Free to get started: The core tools, including background removal, cost nothing. You can always upgrade later if you need bigger file sizes or premium templates.
- Two styles of editing: Pixlr X keeps things simple for quick fixes. Pixlr E gives you layers, masks, and detailed control when you want to fine-tune.
- Works everywhere: Use Pixlr on desktop, tablet, or phone. With a Pixlr account, you can save projects to the cloud and continue editing across devices.
- Friendly with most file types: JPEG, PNG, WebP even layered PSDs if you’re coming from Photoshop.
- Built-in AI helpers: One-click background remover, smart color tweaks, and other time-savers mean less fiddling.
- Mobile apps included: Handy when you need to edit a photo right after taking it.
How to remove the background in Pixlr?
When I first started selling a few handmade items online, the biggest headache wasn’t taking the photos—it was getting rid of the cluttered kitchen counter behind them. That’s when I discovered Pixlr’s background tools.
They give you two solid choices: a quick, almost magical AI remover and a set of manual tools for those tricky shots where AI needs a helping hand.
The power of Pixlr’s AI Background remover
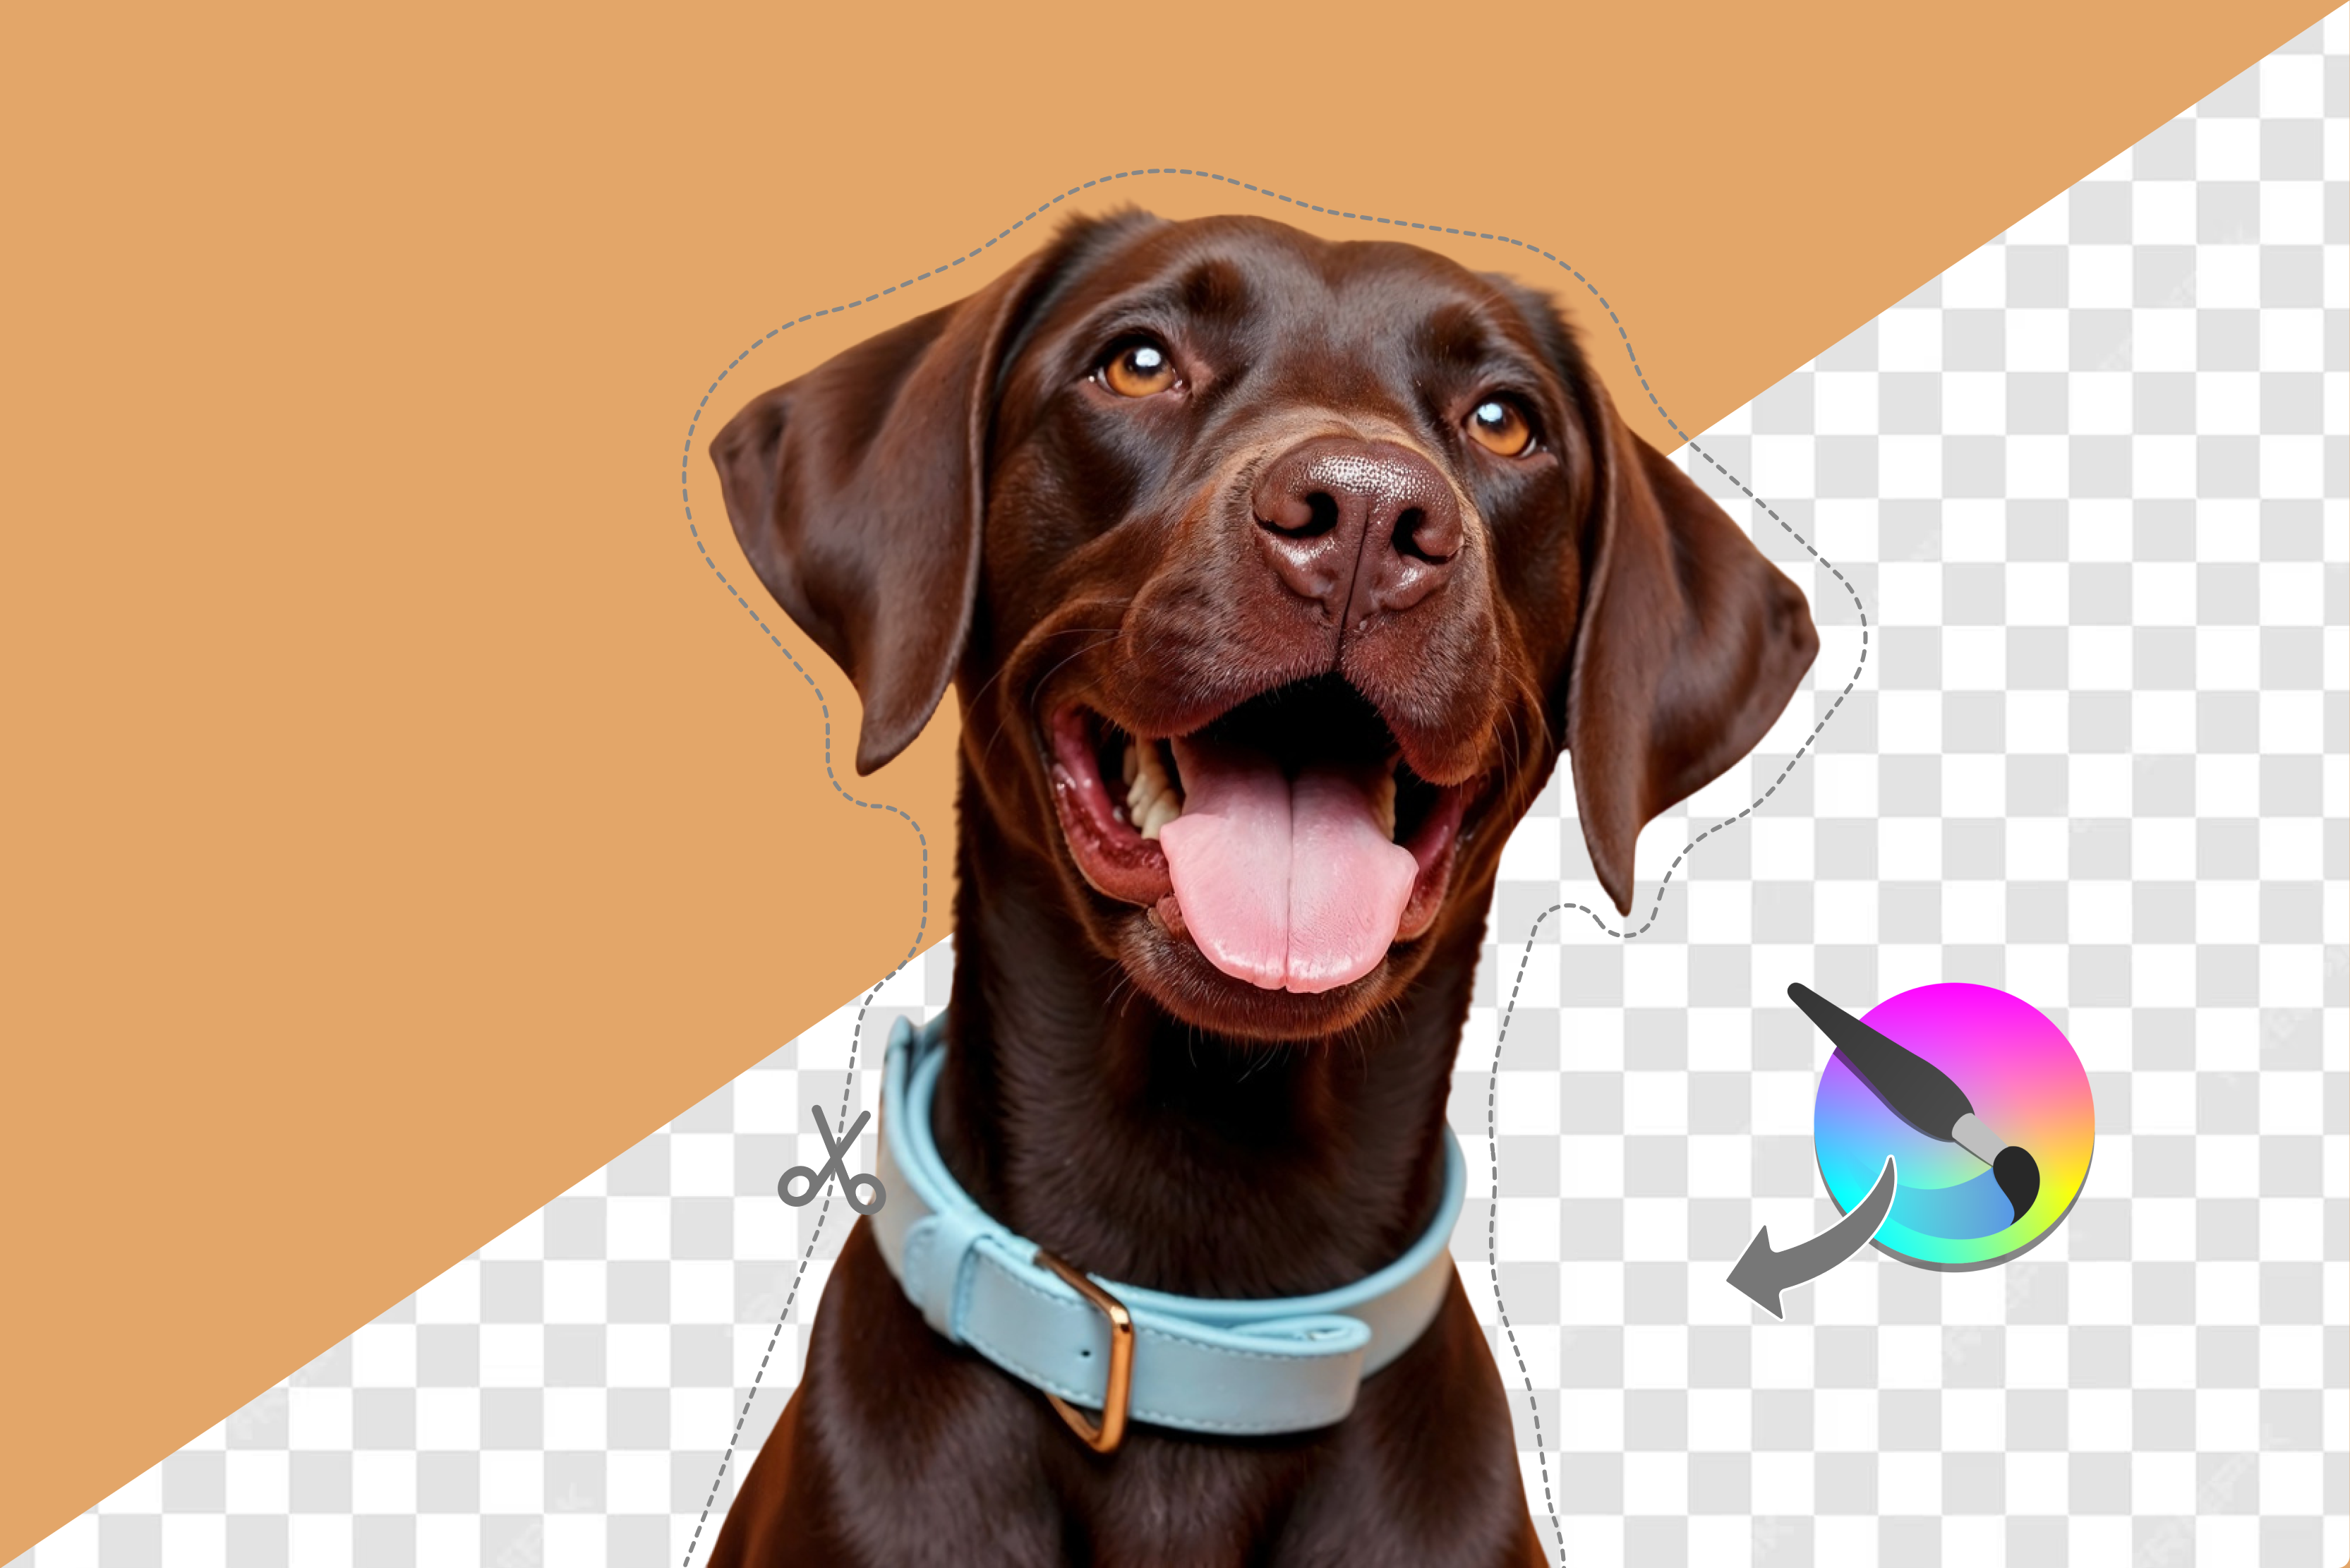
If you’re in a hurry (I usually am), start with the AI background remover. It’s a one-click tool that spots the subject of your photo—your product, a person, even your dog—and slices it cleanly from the background. No tracing, no endless erasing. The processing happens on Pixlr’s servers, so it runs smoothly even on an older laptop.
Step-by-Step Guide
Step 1: Go to the right page: Open a browser and head to pixlr.com/remove-background. No signup needed for single images.

Step 2: Upload your picture: Drag and drop or click “Open Image.” I’ve used everything from JPEGs to PNGs, and it handles them all.
Step 3: Let the AI work: In a couple of seconds, the background vanishes. You’ll see the classic gray-and-white checkerboard behind your subject—that means it’s transparent.
Step 4: Save the result: Click Download and choose PNG. That format keeps the transparency; JPEG would just add a white background back in.
Pixlr AI background remover vs. manual tools
Pixlr’s one-click AI remover is impressively fast, but even the smartest algorithm can miss a few pixels. [You could add a quick anecdote here, e.g., “When I tried it on a photo of my dog chasing a ball, it cut off part of the leash.”]
Think of a model with hair flying in the breeze, a product photographed on a patterned tablecloth, or a dimly lit picture where the subject melts into the shadows. In these cases, the AI might leave uncleaned edges or accidentally cut off part of your subject.
Why manual editing still matters
Manual work is your safety net when the automatic approach stumbles. Here’s where it really earns its keep:
- Low-resolution or grainy images: The AI tools struggle to separate fuzzy edges from the background.
- Complex or color-similar scenes: If your subject shares hues with what’s behind it, the AI can’t always tell where one ends and the other begins.
- Professional, print-ready projects: Magazines, brochures, or high-end e-commerce shots demand flawless edges that only careful handwork can guarantee.
The manual method in detail
Pixlr E provides a full suite of cutout controls. Each tool has a specialty:
Cutout Tool: Paint over areas to remove or restore details you erased by accident. Great for broad strokes and quick fixes.
Lasso Tool:
- Freehand for tracing irregular shapes.
- Polygonal for straight-edge objects like boxes or furniture.
- Magnetic for edges with strong contrast where you want the selection to “snap” into place.
Magic Wand: Click a solid-color area and adjust the Tolerance slider: low values grab only close shades; high values scoop up a wider range.
Eraser Tool: Zoom in 200–300 % and carefully shave away stray pixels or refine wispy edges like hair or feathers.
My take on the hybrid approach
Most of the time, I combine both methods. I let the AI remover handle the heavy lifting, then open the result in Pixlr E to polish the edges with the Lasso or Eraser.
[If you have a routine or tip, describe it briefly: “This cut my editing time in half when preparing 50 product shots for my Etsy store.”]
How to remove background in the Pixlr app?
Don't want to be chained to your desktop? Good news! The Pixlr mobile app is a game-changer. It puts all the essential photo editing tools right in your pocket. It works best for creators, small business owners, or anyone who needs to quickly fix a photo and share it while on the move. Know the steps below to get a better idea.
1. Downloading the app: First things first, head to the Apple App Store or Google Play Store. Just search for "Pixlr" and hit download. It's totally free.
2. Navigating the app interface: Once you open the app, you'll see a “Remove Background”.
3. Uploading from the camera roll: Tap the button, find the picture you want to work on, and tap it. That's all there is to it.
4. The Mobile-optimized AI tool: The AI will get to work, automatically detecting and removing the background for you. It's a lifesaver!
5. Saving and sharing the final image: When you’re happy with how the image looks, just tap Done or the checkmark icon. From there, you can save the new image to your phone—be sure to choose a format like PNG if you want to keep the background clear—or share it directly to social media.
How can Pixlr batch processing help with background removal?
Batch processing is the magic trick for anyone who needs to get a huge job done fast. Instead of working on one image at a time, you can process a whole bunch of them all at once.
Think of it as a super-efficient assembly line for your photos, saving you a ton of time and repetitive work. This is a game-changer for anyone dealing with dozens or even hundreds of images.
How to use Pixlr’s batch editor
Getting started is surprisingly easy. You'll first need to find and launch the Batch Editor on the Pixlr website. Once you're there, you can upload a massive number of images—even over 100 at a time!
After the images are uploaded, look for the background removal effect and apply it to all the photos in one go. When the process is complete, Pixlr will package all your freshly edited images into a single, compressed ZIP file for you to download.
Ideal use cases for batch processing
- E-commerce businesses are creating product catalogs: This feature is a lifesaver for online stores that need to prepare hundreds of product photos with clean, uniform backgrounds for their websites.
- Photographers processing a large set of portraits: Whether you're a wedding photographer or shooting headshots, you can quickly remove backgrounds from dozens of photos from a single session.
- Marketers preparing visuals for a campaign: Marketers often need a consistent look for their social media ads or email campaigns. The batch editor lets them create a series of assets with transparent backgrounds in minutes.
Common mistakes to avoid when removing backgrounds in Pixlr
Even with the best tools, it's easy to make a few common mistakes that can ruin your final cutout. This section will walk you through the most frequent errors people make and show you how to avoid them, so you can achieve a flawless result every time.
1. Using a low-quality image: Starting with a bad picture is like trying to build a house with a shaky foundation. If your image is blurry, pixelated, or just low-quality, the AI tool will have a really tough time figuring out where the subject ends and the background begins. It’s always best to use the highest-resolution image you can get your hands on.
2. Overlooking manual refinement: The AI is smart, but it's not a mind reader. It might miss a fine strand of hair or misinterpret a shadow. Don't just trust the automatic cutout and call it a day! Always go back and do a quick manual check with the "keep" and "remove" tools to make sure you have a perfectly clean edge.
3. Saving in the wrong format: This is a rookie mistake that can ruin your work. If you save your image as a JPG, you’ll lose all the transparency you just worked so hard to create. A transparent background can only be saved in a format that supports it, like a PNG. Just remember: if you need a transparent background, think PNG.
4. Not zooming in for detail: When you're editing, it’s easy to focus on the big picture and miss the small details. Always zoom in close to the edges of your subject to check for any stray pixels or missed spots. A quick zoom can prevent a lot of headaches later on.
5. Neglecting Image Preparation: While Pixlr is a great tool, you can make its job a lot easier with a little preparation. If you can, try to take your photos with a simple, contrasting background. For example, a person against a solid white or blue wall is much easier to cut out than someone standing in a busy park.
Best alternatives to Pixlr background remover tools
Sometimes the tool you're using just isn't the right fit. Maybe you need to process a ton of photos at once, or you need a tool that's better for a specific type of image.
While Pixlr is a great tool, it's always a good idea to know what other options are out there. Here's a look at some of the best background removal apps, each with its own set of strengths.
Pixelbin AI background remover
Ever been in a rush but still needed a top-quality cutout? Pixelbin's AI background remover is a real competitor. It’s built for speed and is super accurate, meaning you won’t waste time on tedious touch-ups.
The magic is in the smart AI that can handle tricky edges—like hair or fur—that other tools just can’t seem to manage. If you need a lot of clean cutouts fast, this is a fantastic choice. What really sets Pixelbin apart is the precision.
It gets all the small details right, so you don’t have to go back and fix every tiny mistake. Its one-click solution is efficient and gives you a professional-looking cutout every single time. If your work depends on creating a ton of accurate cutouts, this tool could save you a serious amount of time.
Why did I like the tool?
- One-click, AI-powered automatic removal.
- Excels at handling tricky details like hair and complex edges.
- Designed for both speed and accuracy.
- Requires minimal manual touch-up.
- Ideal for professionals who need a fast, accurate workflow.
Why choose Pixelbin background remover over Pixlr for removing the background?
Pixelbin stands out as the premier choice for removing backgrounds from Pixlr images due to several compelling reasons:
- Pin-sharp cut-outs: The AI grabs fine edges—think wisps of hair or the lace on a wedding dress—without leaving those jagged halos you sometimes see elsewhere.
- Speed that saves the day: I can drag in a folder of photos and, before I’ve finished a coffee, they’re ready to download with clean transparent backgrounds.
- Bulk editing made easy: Last month, I uploaded an entire catalog of 50 images in one go, and Pixelbin chewed through them all at once. Huge time-saver.
- Simple enough for anyone: No steep learning curve here; the interface is drag-and-drop. My teammate, who hates photo software, figured it out in minutes.
- Works everywhere I need it: I’ve used it on a laptop, my tablet during a shoot, and even on my phone when I was traveling—same consistent results.
- Flexible pricing: Whether I’m on a free trial for quick jobs or using the paid tier for a big campaign, I only pay for what I need.
Erase.bg
Sometimes, you don't need all the bells and whistles—you just need the background gone, and you need it gone now. That's exactly what Erase.bg is for. This tool is all about simplicity and speed. You upload your image, and in seconds, you get a clean cutout. No complicated menus, no advanced settings, just results.
It's a great choice if you're in a hurry and need a reliable, no-frills solution that just works. The best part about Erase.bg is how straightforward it is. You don't have to be a photo editing pro to use it.
The platform is so easy to navigate that anyone can use it, from a student making a presentation to a small business owner creating a quick social media post. Its focus on efficiency means you can process images among the faster tools available.
Why did I like the tool?
- Free, no-signup background removal.
- Works smoothly on desktop and mobile.
- Background replacement with custom images or colors.
- Maintains original image resolution.
Fotor
Fotor is way more than just a background remover; it’s a full-fledged photo editor that gives you a great mix of automation and control. Its background removal tool is a perfect example of this. You can use a one-click automatic feature for a quick job, but if the cutout isn't perfect, you’ve got a whole set of manual editing tools right there.
This is a huge plus, as it lets you handle a wide range of images, from simple to complex one. What makes Fotor a great choice is that after the initial automatic cut, you can use its manual tools to fine-tune the edges.
Why did I like the tool?
- One-click background removal.
- Edge refinement and touch-up tools.
- Works on desktop and mobile.
- Includes templates for design-ready images.
Adobe Photoshop
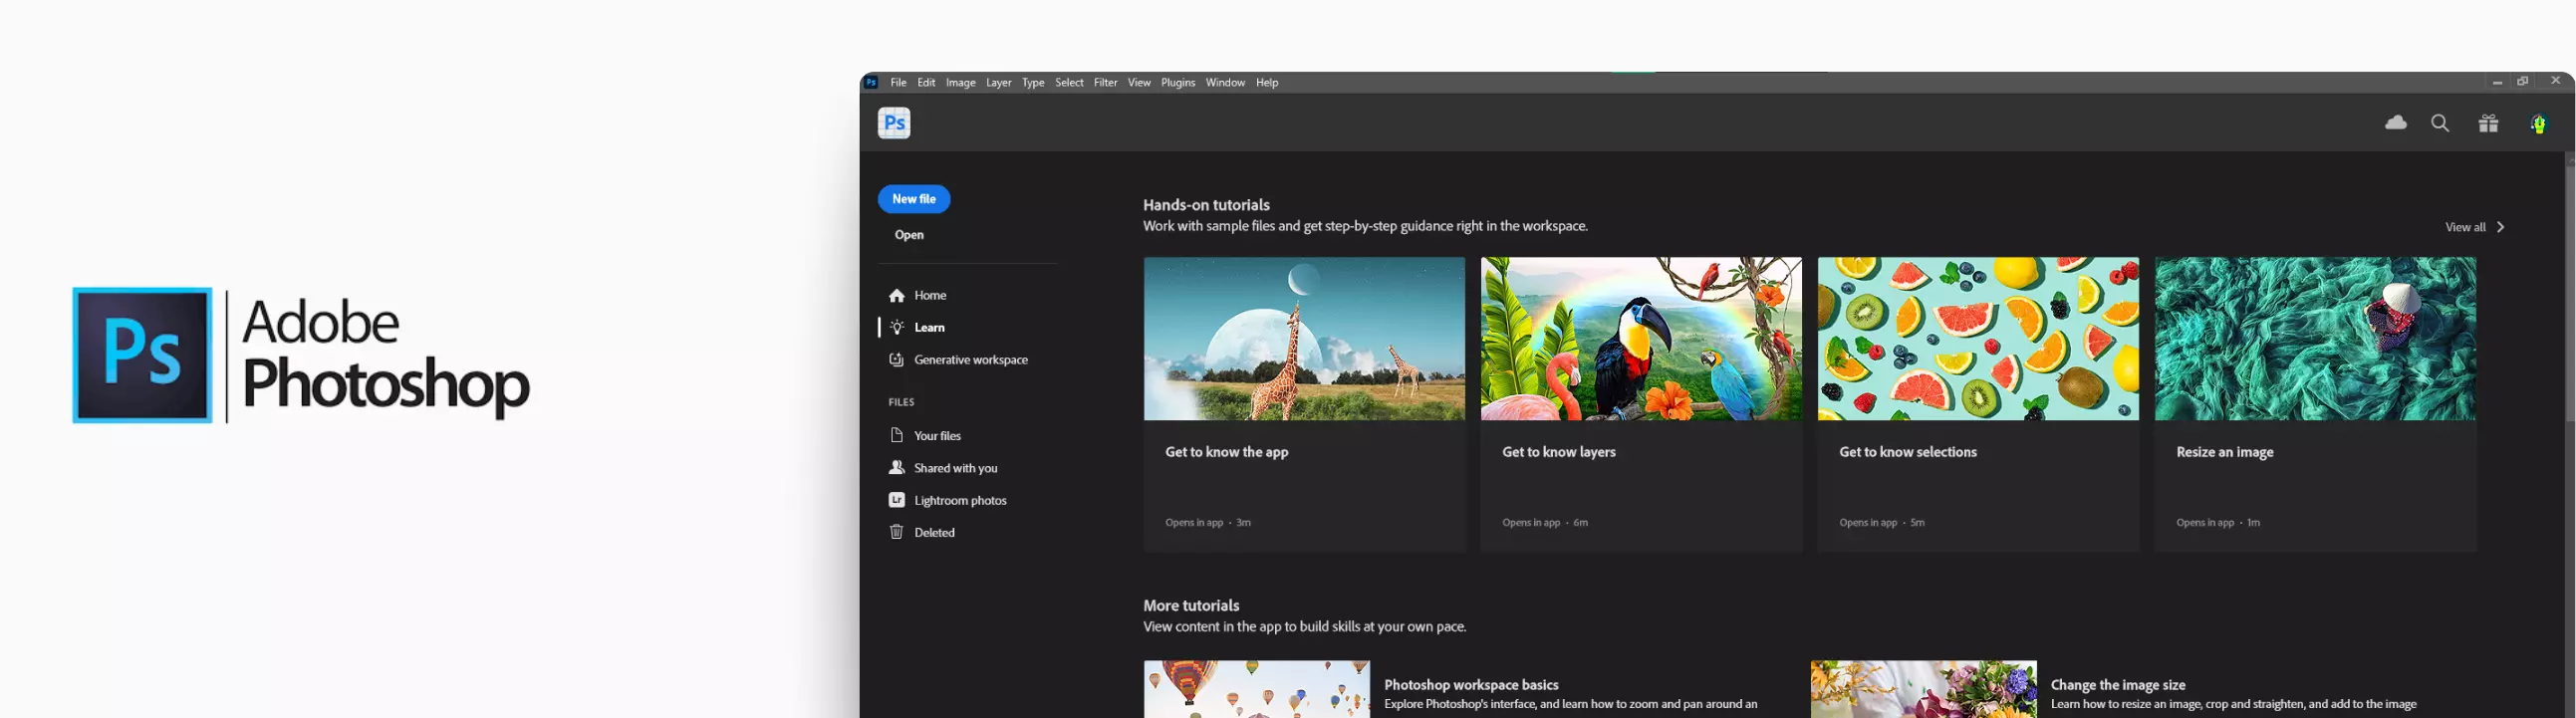
When you think about image editing, Photoshop is probably the first thing that comes to mind, and for good reason. It's the gold standard for professionals who need total control over their work. While it has a pretty steep learning curve, it offers a level of precision and power that's unmatched.
In Photoshop, you're not just removing a background; you're doing pixel-level editing with tools like the Pen tool. The Quick Selection tool and Magic Wand are great for a fast start, but the real power is in the more advanced options.
You can use things like layer masks and the Pen tool to create the most precise and detailed cutouts possible. If you're a professional who handles a lot of complex images and wants total control, Photoshop is the tool for you.
Why did I like the tool?
- Advanced AI selection with manual masking.
- Non-destructive, layer-based workflow.
- Clean transparent PNG or layered PSD export.
- Fine-edge refinement for complex details.
Canva
For a lot of people, Canva isn't just a background remover—it's their whole design studio. The best thing about Canva's background removal tool is that it's built right into the platform you're probably already using to create graphics, social media posts, and presentations.
You can get rid of a background with one click and drop the new, transparent image directly into your design without ever leaving the app. This tool is all about efficiency within the ecosystem. You don't have to switch between apps, save files, and then re-upload them.
While it might struggle with super-complex images, for most everyday design needs, it gets the job done quickly and easily. If you live in Canva for all your design projects, its background remover is an incredibly convenient feature that will save you a ton of time.
Why did I like the tool?
- Removes backgrounds in one click.
- Direct use in templates and layouts.
- Simple drag-and-drop interface.
- Collaboration tools for team projects.
Final thoughts
Pixlr makes background removal simple for quick jobs yet enough for pixel-perfect edits. From the one-click AI tool to manual control and batch processing, you can choose the workflow that fits your project and time frame.
Whether you’re preparing product photos, social media posts, or print materials, these methods keep your images sharp and professional. Now you can try Pixlr’s AI remover for quick edits that switch to manual tools when you can explore Pixelbin is an easy alternative for bulk edits, with strong AI cutouts that handle fine details well.
FAQs
Open your image in Pixlr E or use the AI Background Remover in Pixlr X. After the background is removed, choose File → Save As → PNG. PNG supports transparency, so the background will remain clear when you export.
For most images, Pixlr’s AI Background Remover is the fastest and easiest. If you need fine control—such as around hair or detailed edges—switch to Pixlr E and use the Cutout or Lasso tools for manual refinement.
Yes. Upload your JPG file to Pixlr X or E and follow the same removal steps. Just remember to save the final image as a PNG to keep the background transparent.
Common causes include a very low-resolution image, poor contrast between subject and background, or an unstable internet connection. Try uploading a higher-quality file, adjusting brightness/contrast first, or refreshing the page.
Absolutely. After removing the original background, add a new layer beneath your subject and fill it with a solid color, gradient, or another image to create a completely new backdrop.
If you’re still in the same editing session, press Ctrl + Z (Windows) or Cmd + Z (Mac) to undo. In Pixlr E, you can also use the History panel to step back multiple actions or restore the background layer if you duplicated it beforehand.