
Many professional photographers intentionally add grain to create a specific artistic look. Many clever techniques can be achieved using specific camera films, lenses, developing solutions, paper, and countless other materials.
But what is grain, and how do you add grain to a photo easily? In this guide, I’ll explain what grain is and how to add it easily. With the help of AI tools, you can add film grain to your images in an extremely realistic way, giving them some of the look and feel you see in the prints created from film.
The grain effect is a style that modern artists use to add depth, emotion, and a cinematic vibe to their digital photos. Clean digital photos frequently lack the warmth, desire, and narrative that grain adds.
It is motivated by the feel of vintage film cameras. With only a few clicks, you can restore this timeless style using AI technologies and online editors. Adding grain to your image can enhance its appearance depending on the desired style.
While there are numerous tools available for adding grain to a photo, my personal favorite is Pixelbin, as it simplifies the process. Only upload an image and wait for a few seconds; you will receive the result. In this blog, I will explain how to add grain to a photo using various AI tools, highlight key features, and share practical tips for achieving the best grain effect.
What does it mean to add grain to a photo?
Adding grain to a photo means digitally introducing fine, textured, sand-like particles, similar to traditional film noise, to the image to create a vintage, artistic, or lived-in feel.
In short, I can say that adding grain can give your photos a cool, vintage feel like photos taken with an old film camera from the 1960s. This technique reduces the perfect look of digital photos, adding texture, depth, and a nostalgic, moody, or cinematic aesthetic.
How to add grain to a photo
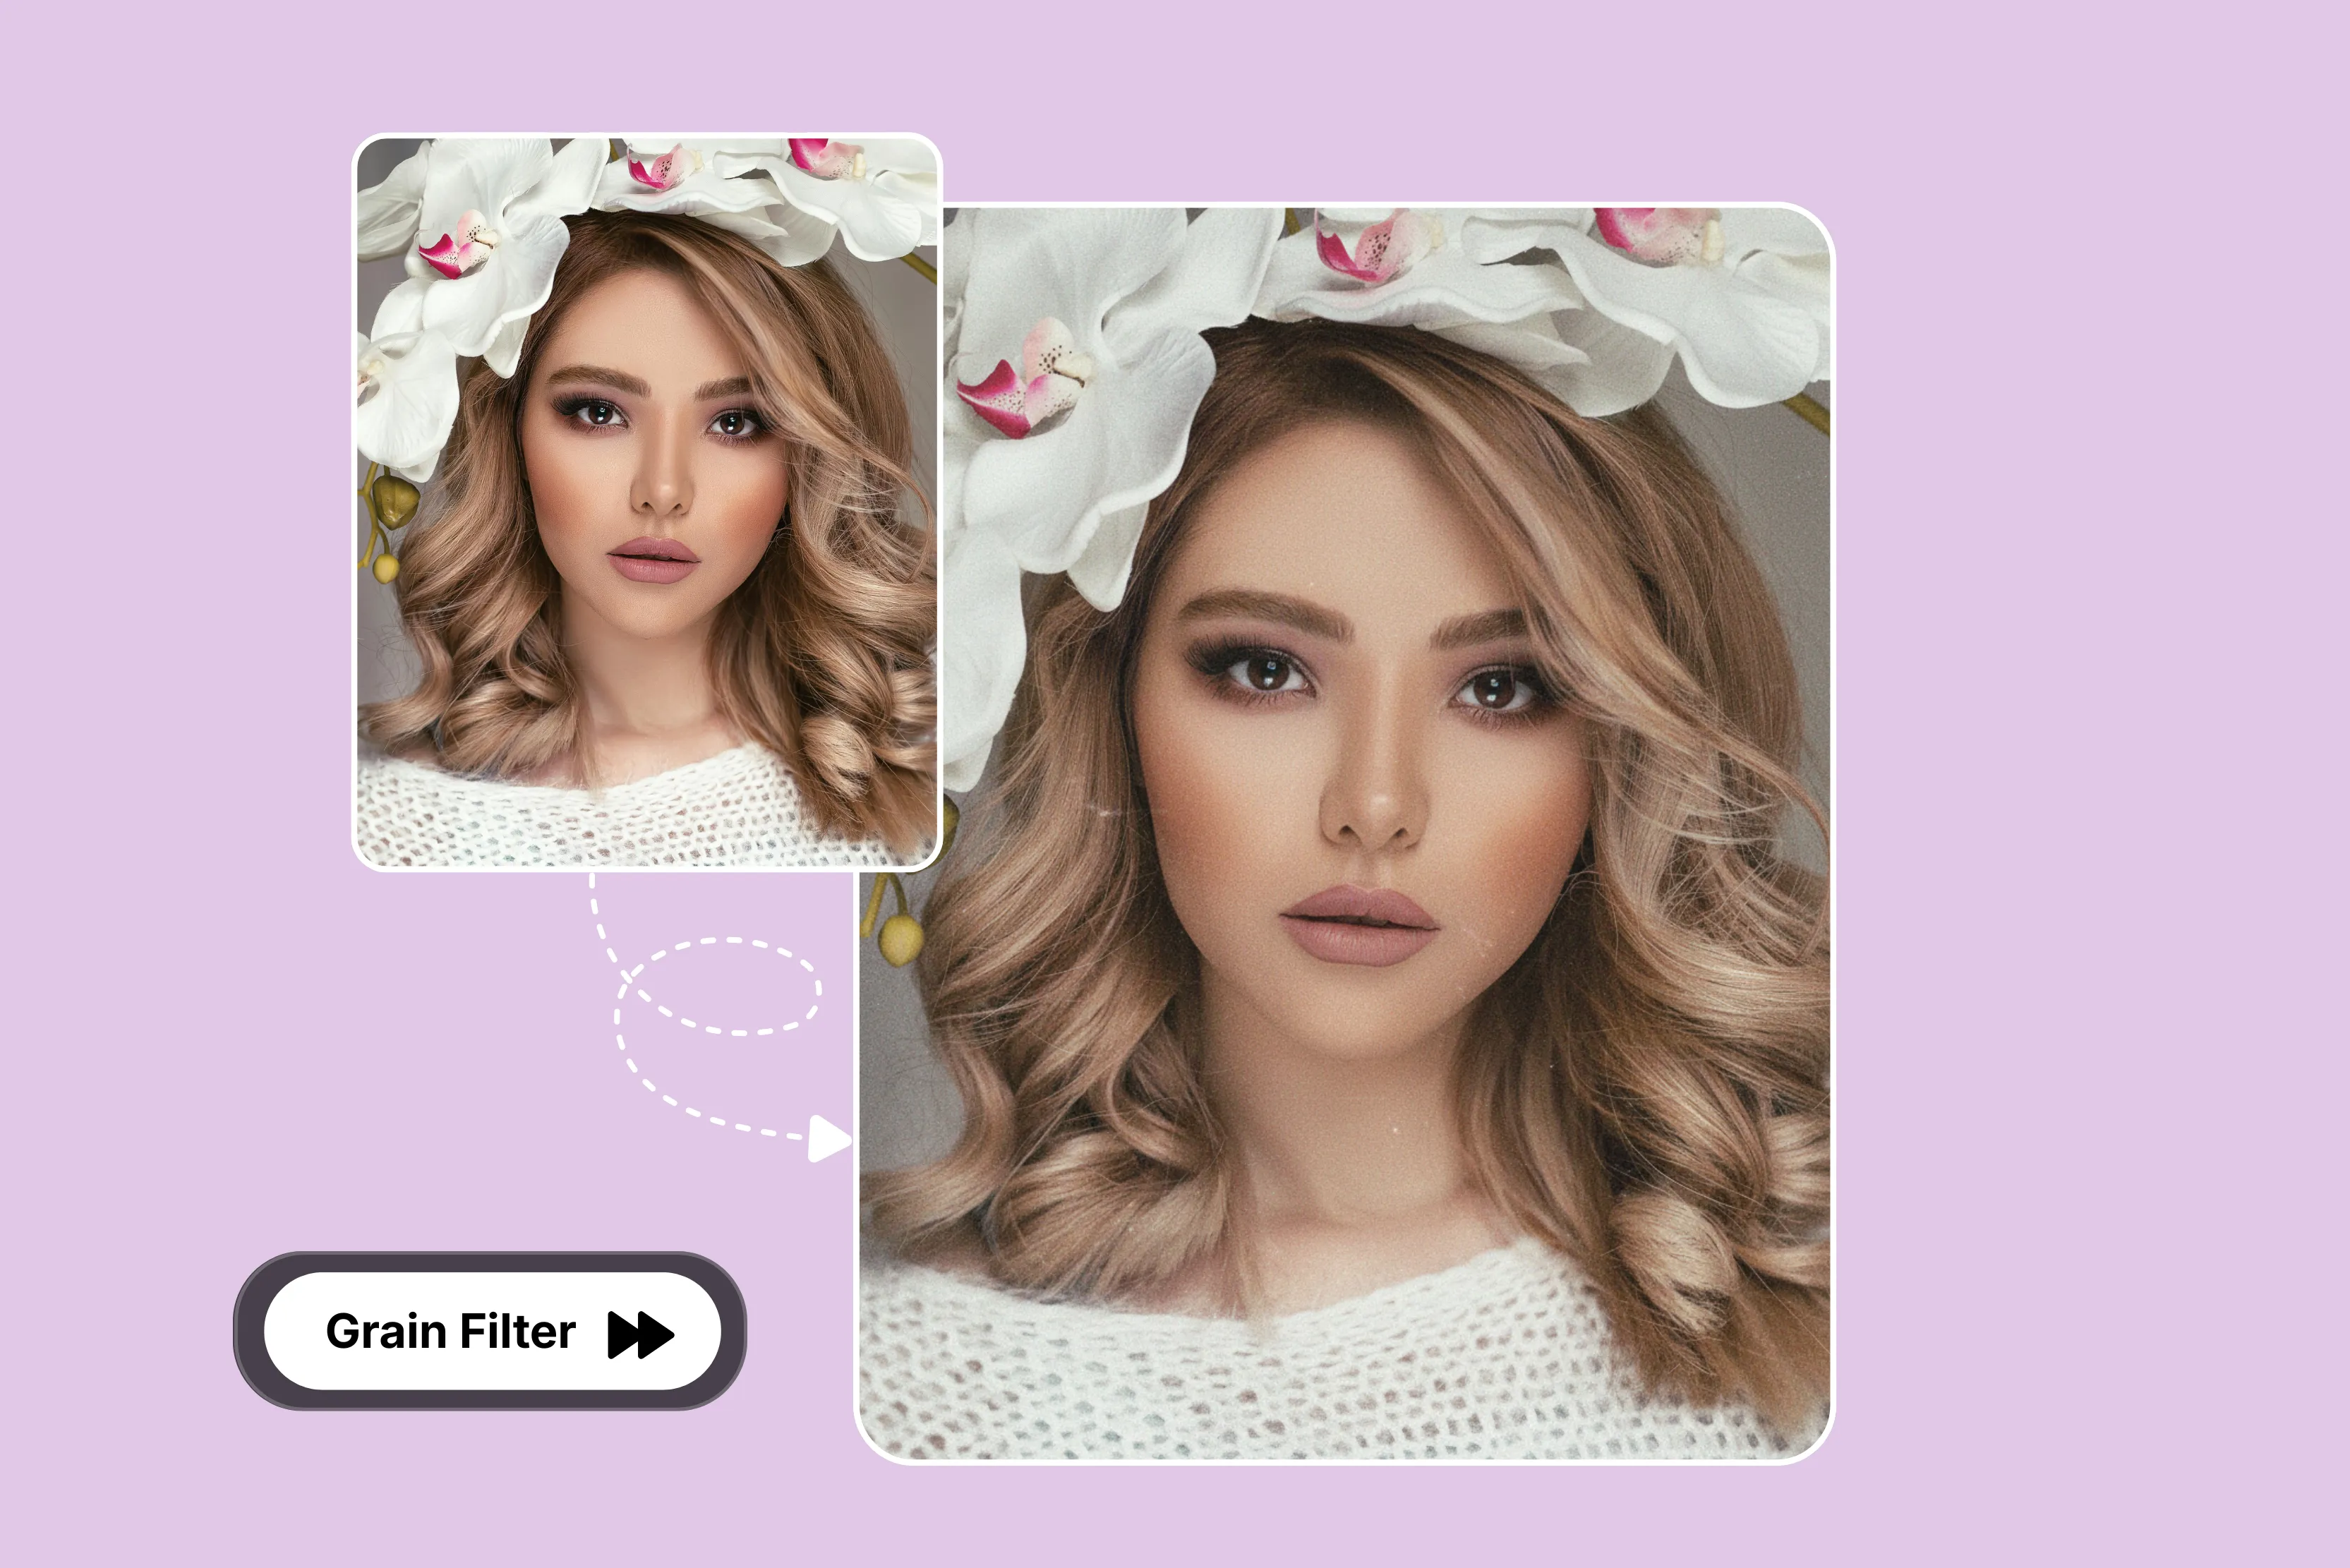
Add a grain effect to the photo using AI with the help of Pixelbin. Let's start.
Step 1: Add your image. Paste a URL or click “Upload image” to select your picture in the following formats: JPG, JPEG, PNG, WEBP.

Step 2: After uploading your photo, wait for a few seconds while Pixelbin automatically adds the grain filter to your image, without any further edits required.
Step 3: Once you have applied, you can preview and download it.
List various tools to add grain to a photo
1. Pixelbin
You can easily apply a classic film grain effect in seconds without any complex steps using Pixelbin's all-time favorite tool. You can easily paste a URL or click “Upload” to select your picture in the following formats: JPG, JPEG, PNG, and WEBP.
You can apply various types of film grain effects (modern, analog, Kodak, Fuji, cinematic, newspaper, etc.) to photos according to your preferences. The process is very simple: add your image and wait for a few seconds while Pixelbin automatically adds a grain filter to your image without the need for further edits.
You can preview the results and download them. I tested one photo, which was a too-colorful picture, and uploaded it and waited for a few seconds. I received the result and really appreciated how the grain feels organic rather than artificial, preserving details while introducing character.
Processing is fast, and previews update in real time, which makes work time easy. Overall, Pixelbin makes adding grain simple, effective, and creatively satisfying for both beginners and experienced editors.
You can easily use the Pixelbin grain filter online tool from any browser on any device, like a laptop, desktop, smartphone, tablet, etc., without downloading any software or installing a plug-in.
Features
- Ease of use
- Multiple image formats
- High-clarity outputs
- No watermark
- No signup required
- No technical knowledge required
2. Fotor
Add film grain to photos with Fotor’s free online editor; you can easily improve the overall look of your images with Fotor’s film grain feature. The film grain effect adds texture to your image and can help reduce visible color banding while contributing to a more emotional or cinematic aesthetic.
The process is very simple: click the button “Add film grain now” and upload a photo to optimize. Select the tool "Film Grain" from the left tool menu, then slide the intensity and roughness sliders left and right to adjust the film grain effect as needed, and remember to click apply.
Customize your film grain photo to perfection with Fotor and download the result. I click on the apply button after testing the tool on a picture with a roughness of 61% and an intensity of 25%.
The result was not ideal as the background appeared overly soft. This may have been due to the original image or additional applied effects rather than the grain tool itself.
However, the tools provide other features like AI upscaler, Magic Eraser, BG Remover, Image to Video, etc., according to your requirements, as there is no watermark in the image.
Features
- Ease of use
- No watermark
- No signup required
- No technical knowledge needed
3. Evoto
Adjust grain density with a slider to achieve your desired aesthetic look. You can quickly add grain to photos in seconds and adjust grainy texture levels, turning them into nostalgic, cinematic masterpieces suitable for any style of photography.
You can upload images in various formats like JPG, PNG, JPEG, or WEBP according to your choice. The tool is very easy to use to import the photo that needs to have the grain effect added and go to the color adjustments panel from the left side.
You can adjust the grain intensity, size, or roughness as needed. After editing, click “Export” to save your image to your Windows or macOS device. When I tested one of the images I uploaded, within a few seconds, I received a disappointing result: a large watermark across the entire back of the page.
It is frustrating to spend time editing a photo only to see such a large watermark on the final image. Processing is fast, and previews update in real time, which makes experimentation easy.
Features
- Ease of use
- Fast vintage style
- Support multiple formats.
- No technical knowledge needed
4. DreaminaAI
DreaminaAI is an all-in-one creative AI platform that makes photo transformation effortless when you add cinematic grain to an image. The process of adding grain to a photo while using DreminaAI is very simple without requiring manual editing.
There are various models to select, while the advanced seedream 4.0 model also supports multi-image fusion and interactive editing, allowing you complete control over the final look.
To use the tool, upload your photo and enter a prompt describing the desired effect, like "Cinematic," "Lighting," "Vintage tones," or "Added grain texture." Select the model and adjust the image setting, select the aspect ratio, and click on the generate button. Download the result.
Features
- Ease of use
- Multiple style support
- Aspect ratio
- No technical knowledge required
- No watermark
5. Picsart
Whether you want to revisit old photos or experiment with creative edits, Picsart provides an accessible way to add film grain effects. The tools support various formats where you can easily transform your digital photos into scroll-stopping, perfect works of art.
The process of using the Picsart tool is very simple: open Picsart and click on "Import Your Photo." Click on the Effects option, then select FX to open the PicsArt filters. Select one of our film filters: Film, Film 2, Film. 3.
There are many options for adjusting the settings, input shift, Output Shift, and so much more. Tap on dust and scroll through all the options until you find the overlay that you like. This step gives your photo that grain effect you’re looking for, and then click on the apply button.
See the result and download it. I experimented with one image but found the process to be excessively lengthy and time-consuming. After uploading the image and adjusting the settings, I clicked Apply and waited a few seconds for the result. The final look did not fully match my expectations.
Features
- Easy to use
- Support multiple formats
- No signup needed
Various tips for adding the grain effect
- Test various formats: To examine how the grain appears on various devices, export your finished image to several different resolutions or file types. Whether it appears on large displays, in print, or on social media, it consistently maintains an attractive and well-balanced appearance.
- Avoid overloading it: Too much grain might blur the subject and turn the image into noise rather than a beautiful piece. Make the effect mild enough that it enhances the shot’s appearance without sacrificing the quality of the image.
- Match the grain level with the image style: Select a grain level that blends in with the image aesthetic. While higher grain is better suited for historical or cinematic themes, light grain is ideal for portraiture. The effect of naturalness is preserved by maintaining consistency in texture and style.
- Blend with lighting and tone: Change the grain intensity to match the colors, shadows, and highlights in your shot. When the grain matches the illumination in the picture, it looks more natural and professional.
FAQs
Yes, you can process multiple images in one go by uploading them in bulk using Pixelbin’s grain filter API available in premium plans.
Yes, you can get the grain effect on an iPhone. There are many editing apps with vintage filters that add a film grain effect. You can choose anyone you want based on your requirements.
Adding grain to a photo creates a vintage, film-like texture. Famous methods include using tools like Pixelbin, which let you add grain easily.
Pixelbin offers a free plan that lets you add a grainy texture to your images up to 3 times a month. To redeem your 10 free credits and use the tool for more images, you must sign up and log in.
Absolutely, yes, the grain photo editor is ideal for on-set shooting; you can compare original and grainy versions side by side, refining the grain effect before finalizing your photo.
Film grain is the random physical texture made from small metallic silver particles found on processed photographic celluloid. This can vary in size, not just due to its random nature but also due to the size of the images, shrinking or increasing grains.