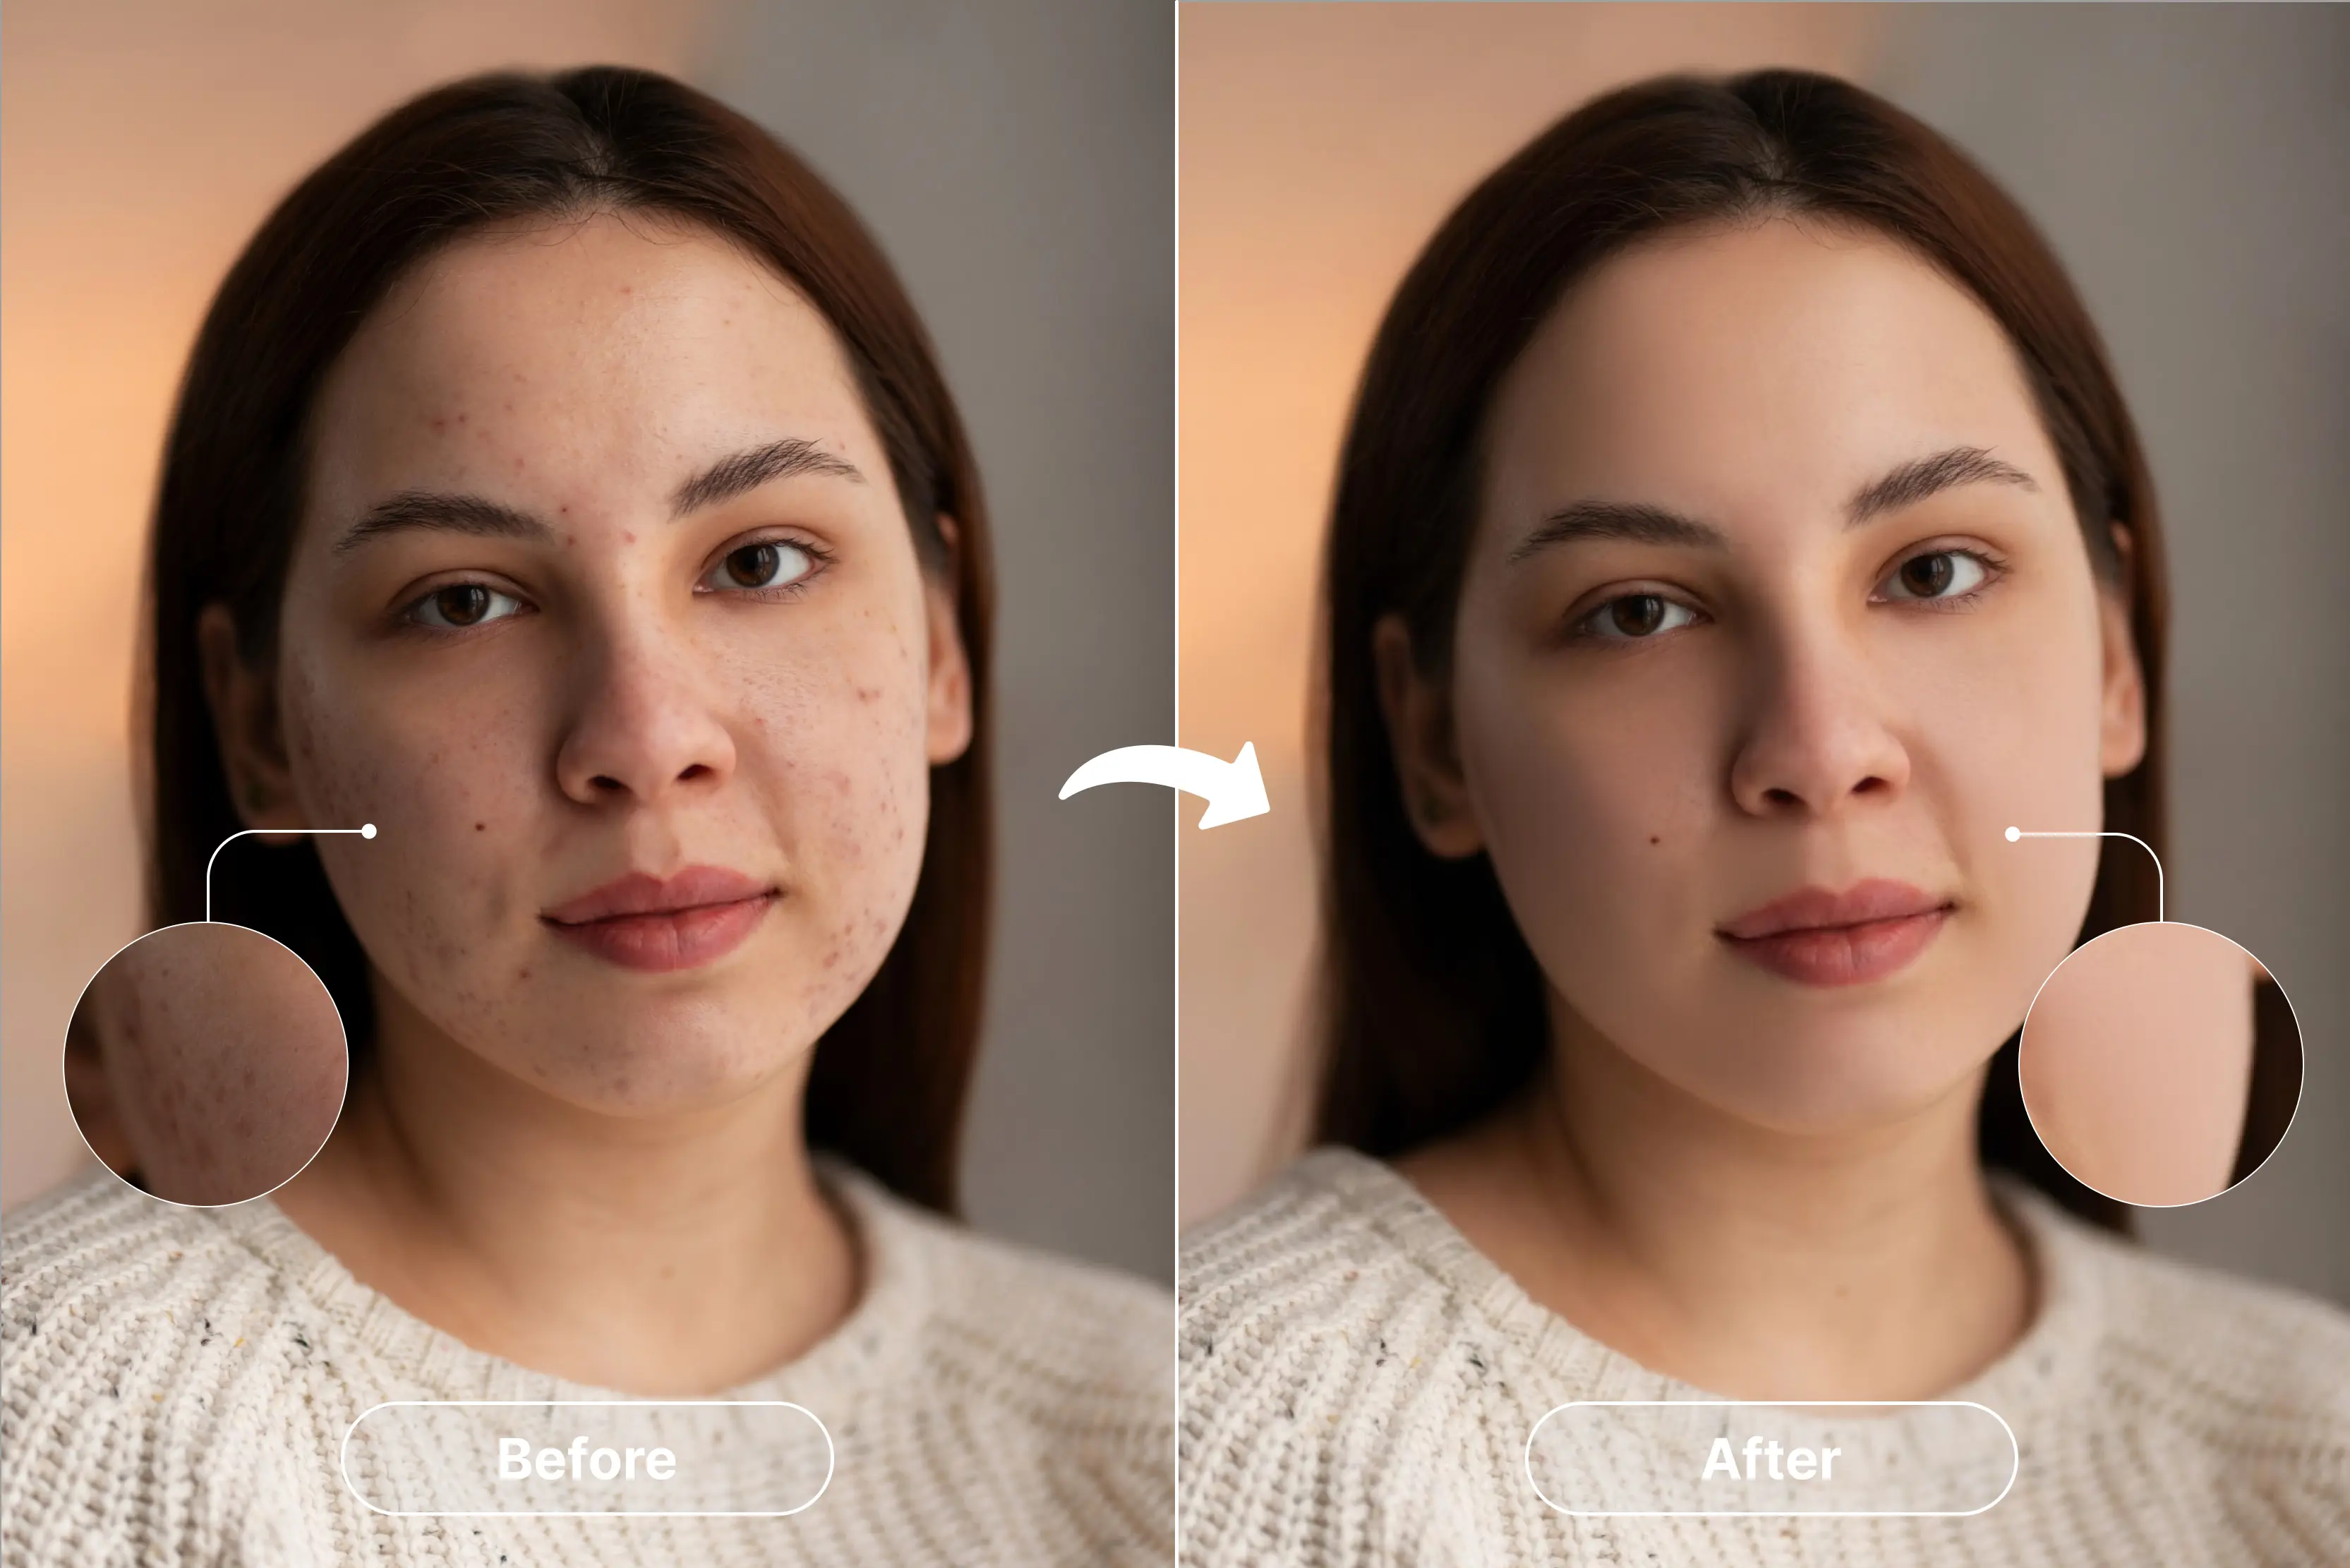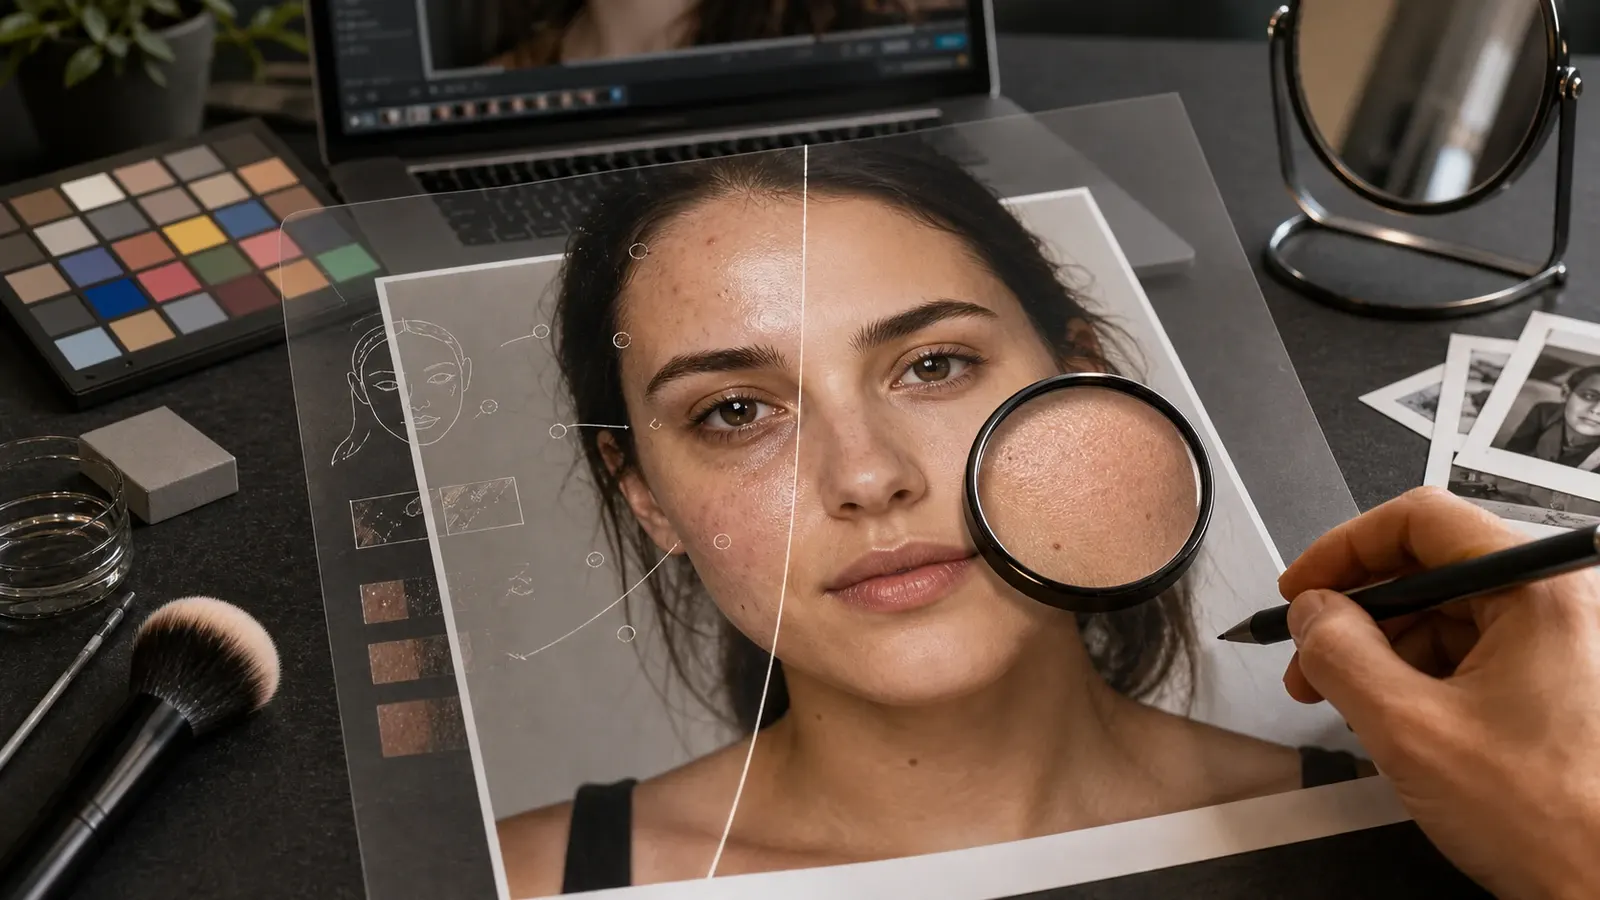
Everyone wants a cleaner portrait, but nobody wants to look fake. Most one-click retouching tools miss the mark the moment you use them.
They smooth skin too much, flatten texture, blow out highlights, and even change the shape of your face. The real goal is simple cleanup that still looks natural.
A good face retouch should remove acne, blemishes, uneven tone, and forehead shine without making you look like a plastic doll. For a quick test, Pixelbin’s AI photo retouching tool lets you try one retouch for free, then continue with credits after login.
What AI photo retouching should actually fix?
To understand how to use an AI photo retouching tool effectively, we have to establish a clear boundary between what constitutes a genuine correction and what crosses over into destructive modification. True digital restoration should never feel like a high-school essay definition of "editing." Instead, think of it as a targeted, hyper-localised correction engine.
When an experienced human editor sits down to work on a high-end portrait, they do not brush over the entire face with a broad stroke. They use a technique called frequency separation to isolate the colors of the skin from the actual texture of the skin. An advanced photo retouch AI attempts to mimic this exact professional logic by analysing the geometry of the face and separating permanent structural features from temporary visual noise.
Natural retouching vs over-retouching
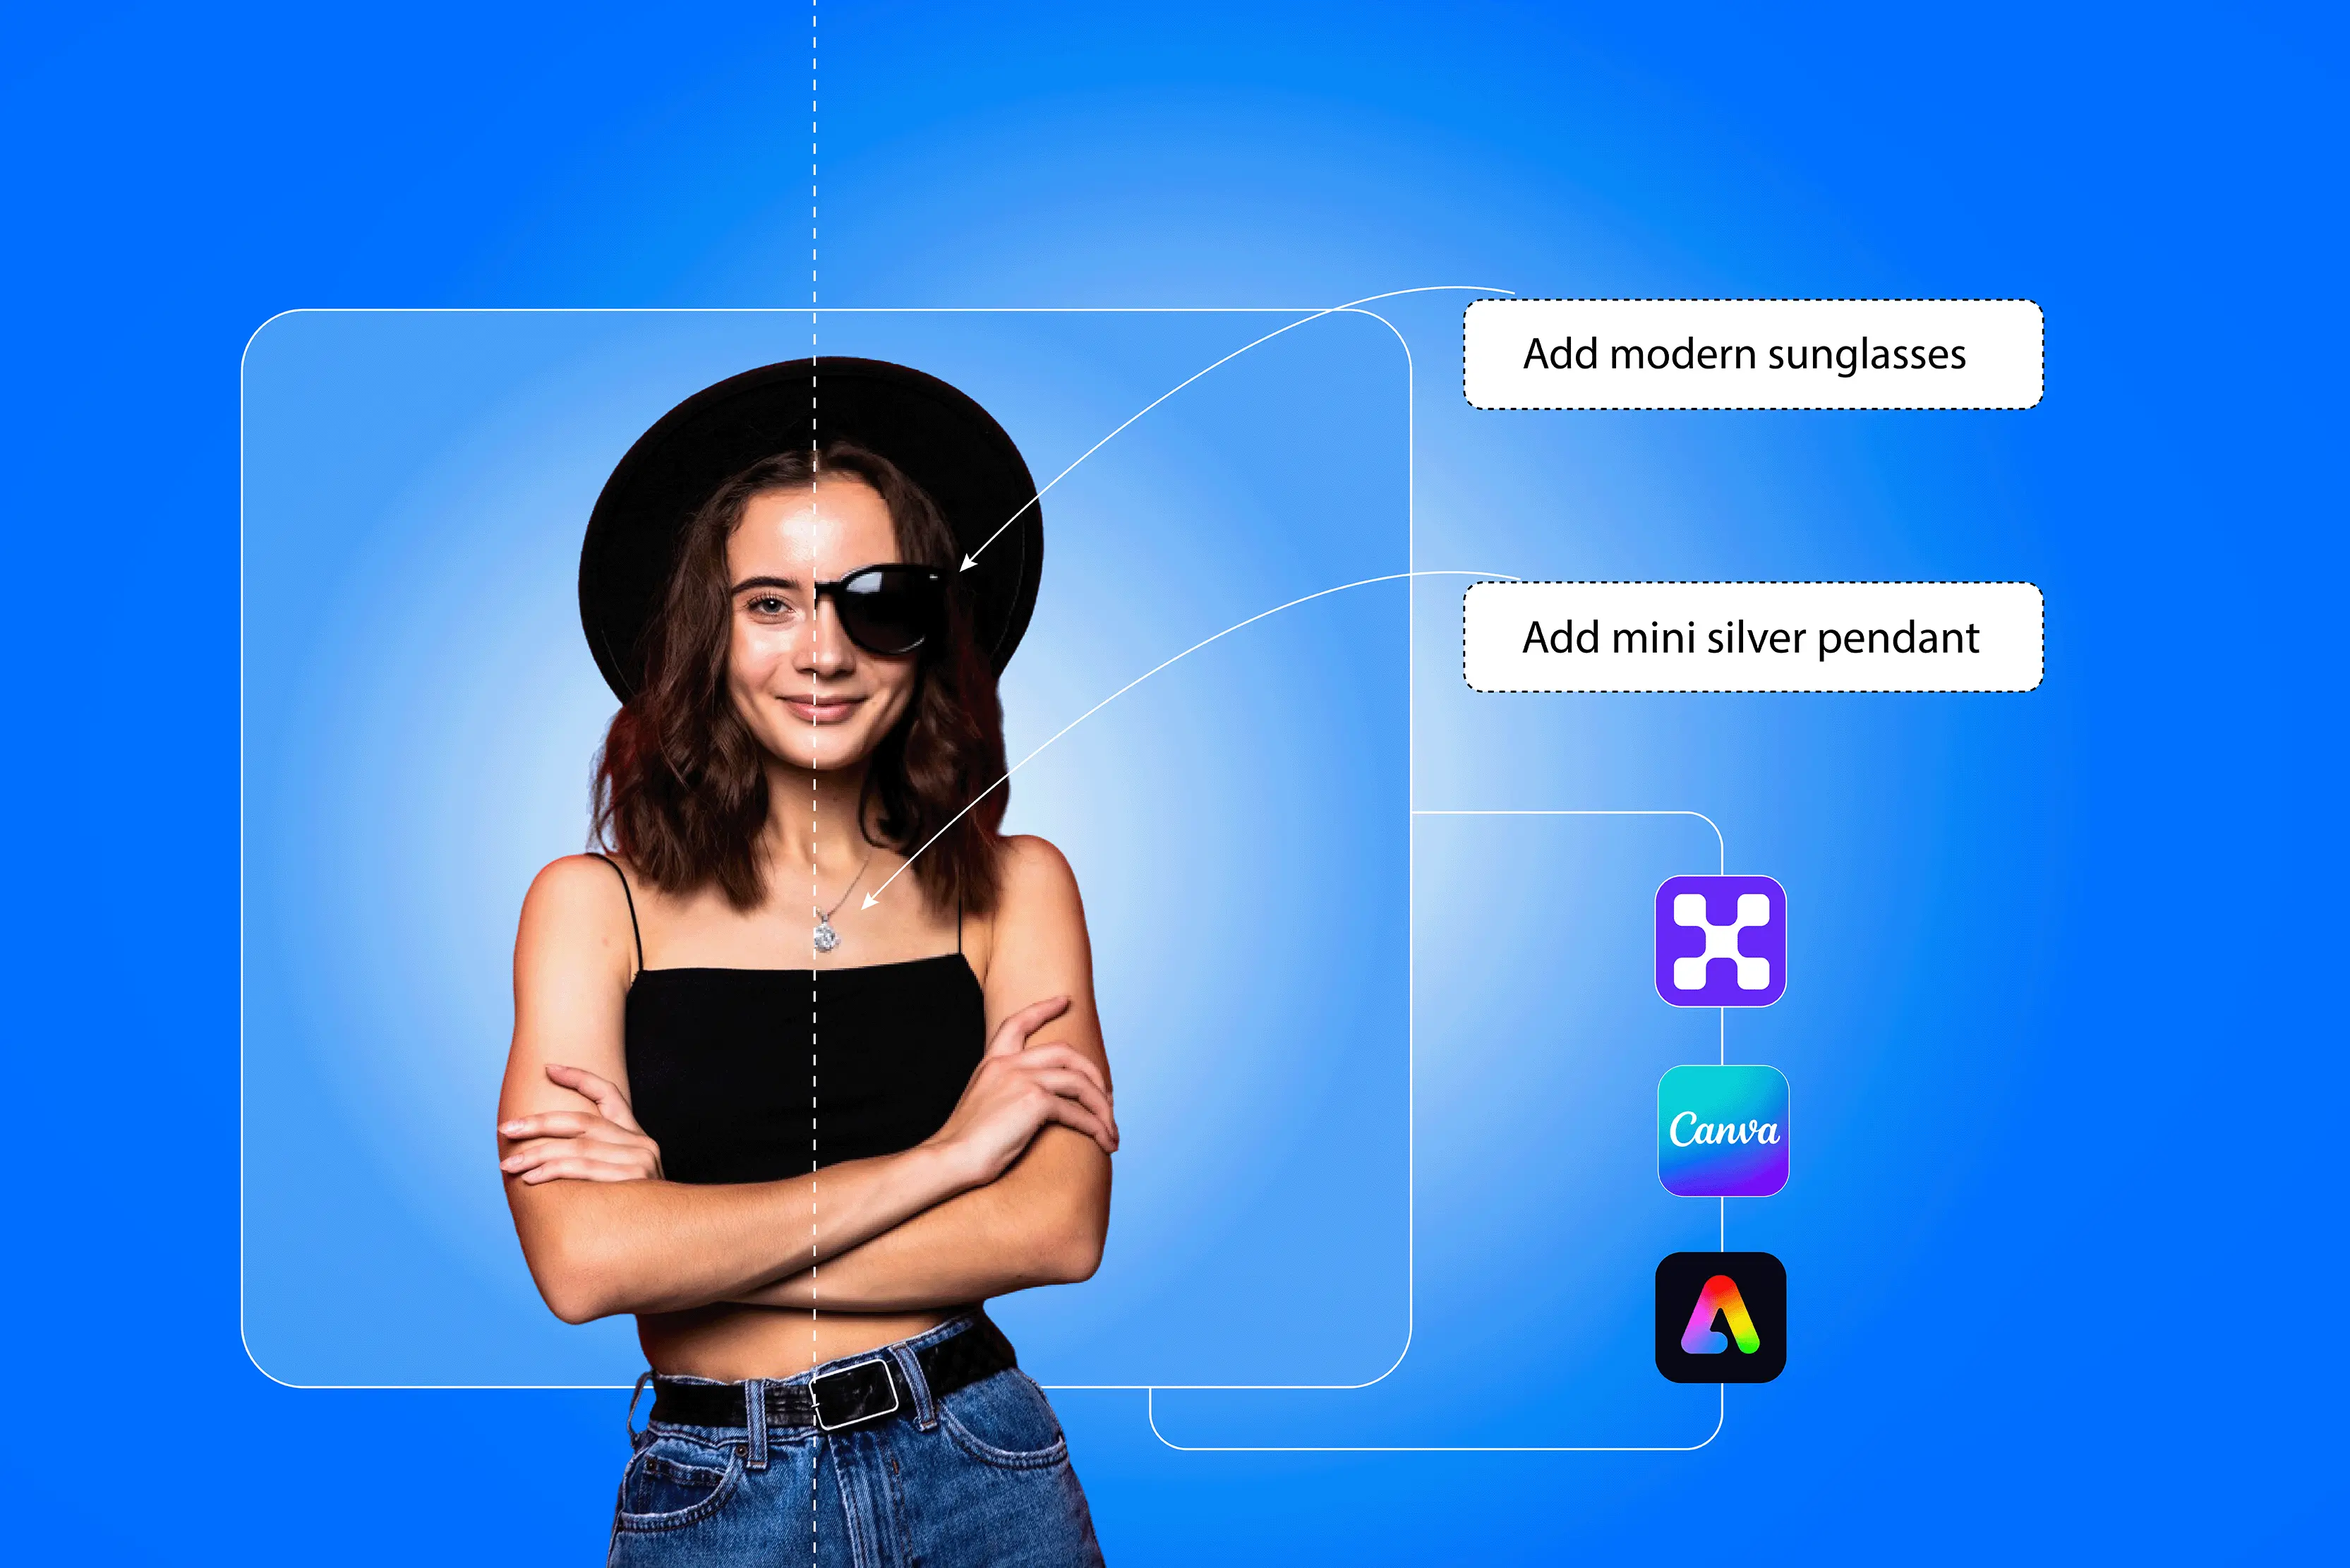
How to retouch a photo online with AI - Pixelbin
If you are ready to take your images to the next level using a modern photo retouching online free trial model, the actual technical workflow should be incredibly streamlined. You do not need to spend years mastering complex adjustment brushes, layer masks, clone stamps, or healing brushes. Modern, cloud-based tools have condensed hundreds of manual steps into a highly intuitive, multi-second sequence.
1. Upload your image:
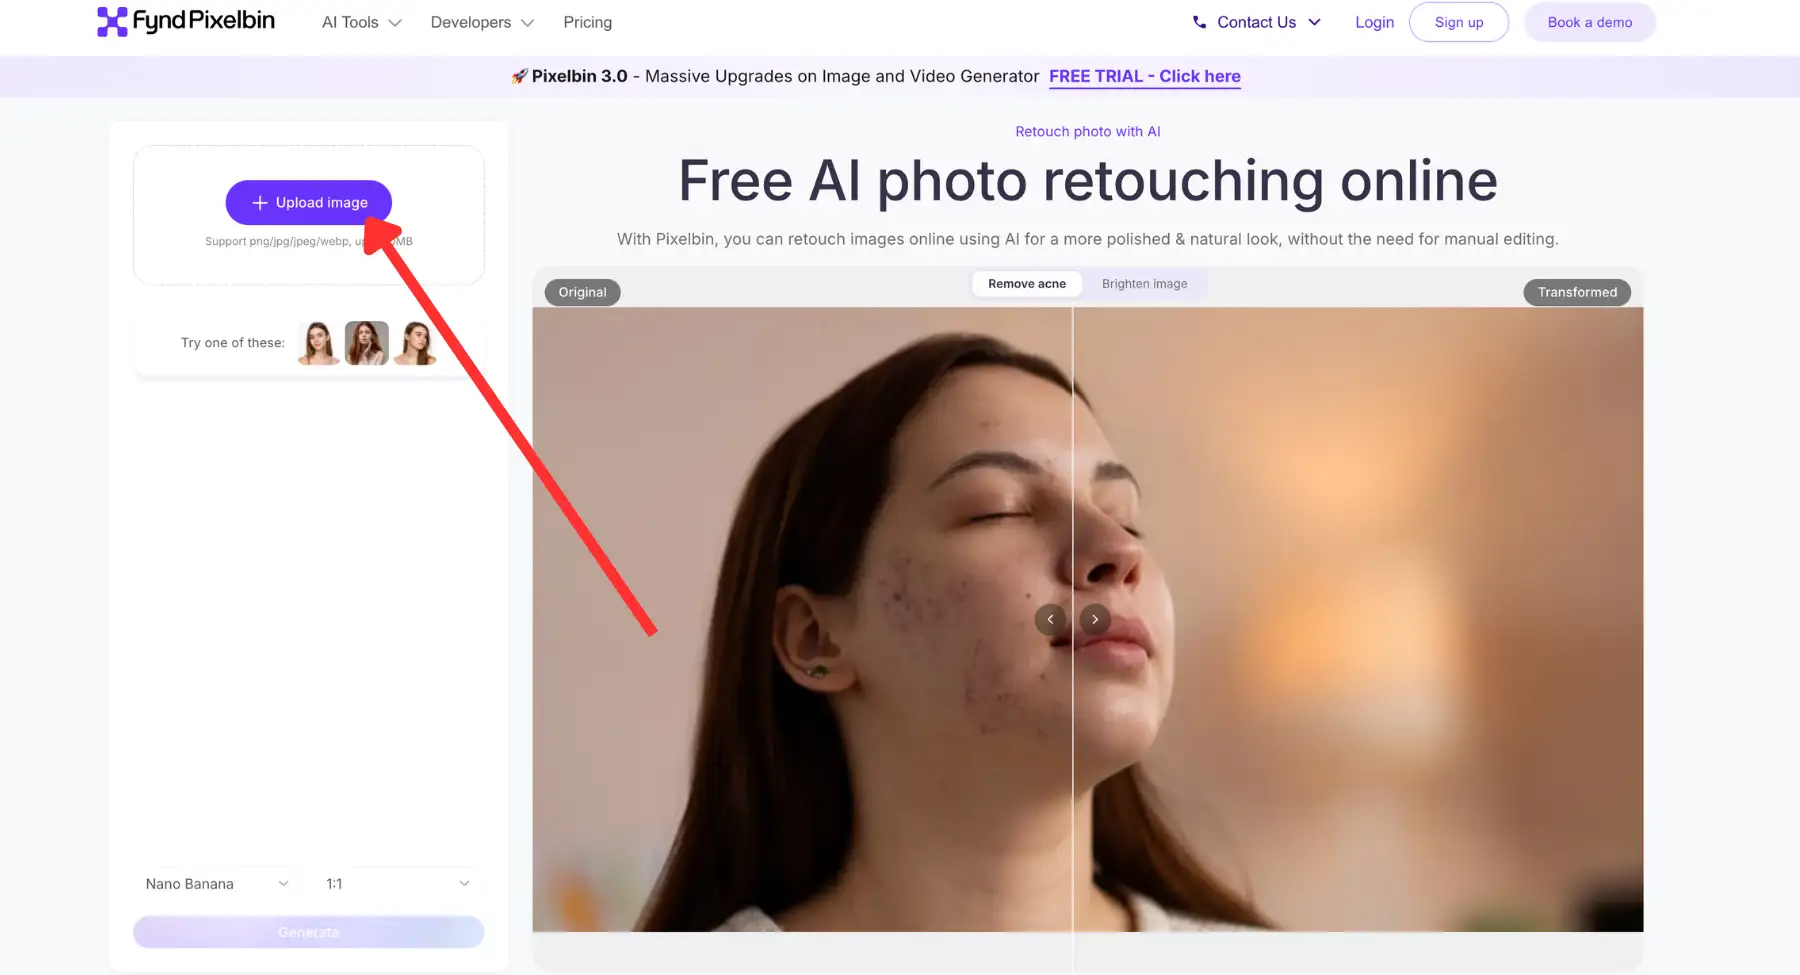
Navigate to the Pixelbin Photo Retouching tool and click Upload Image to import the portrait or product photo you wish to enhance.
2. Choose your processing engine:
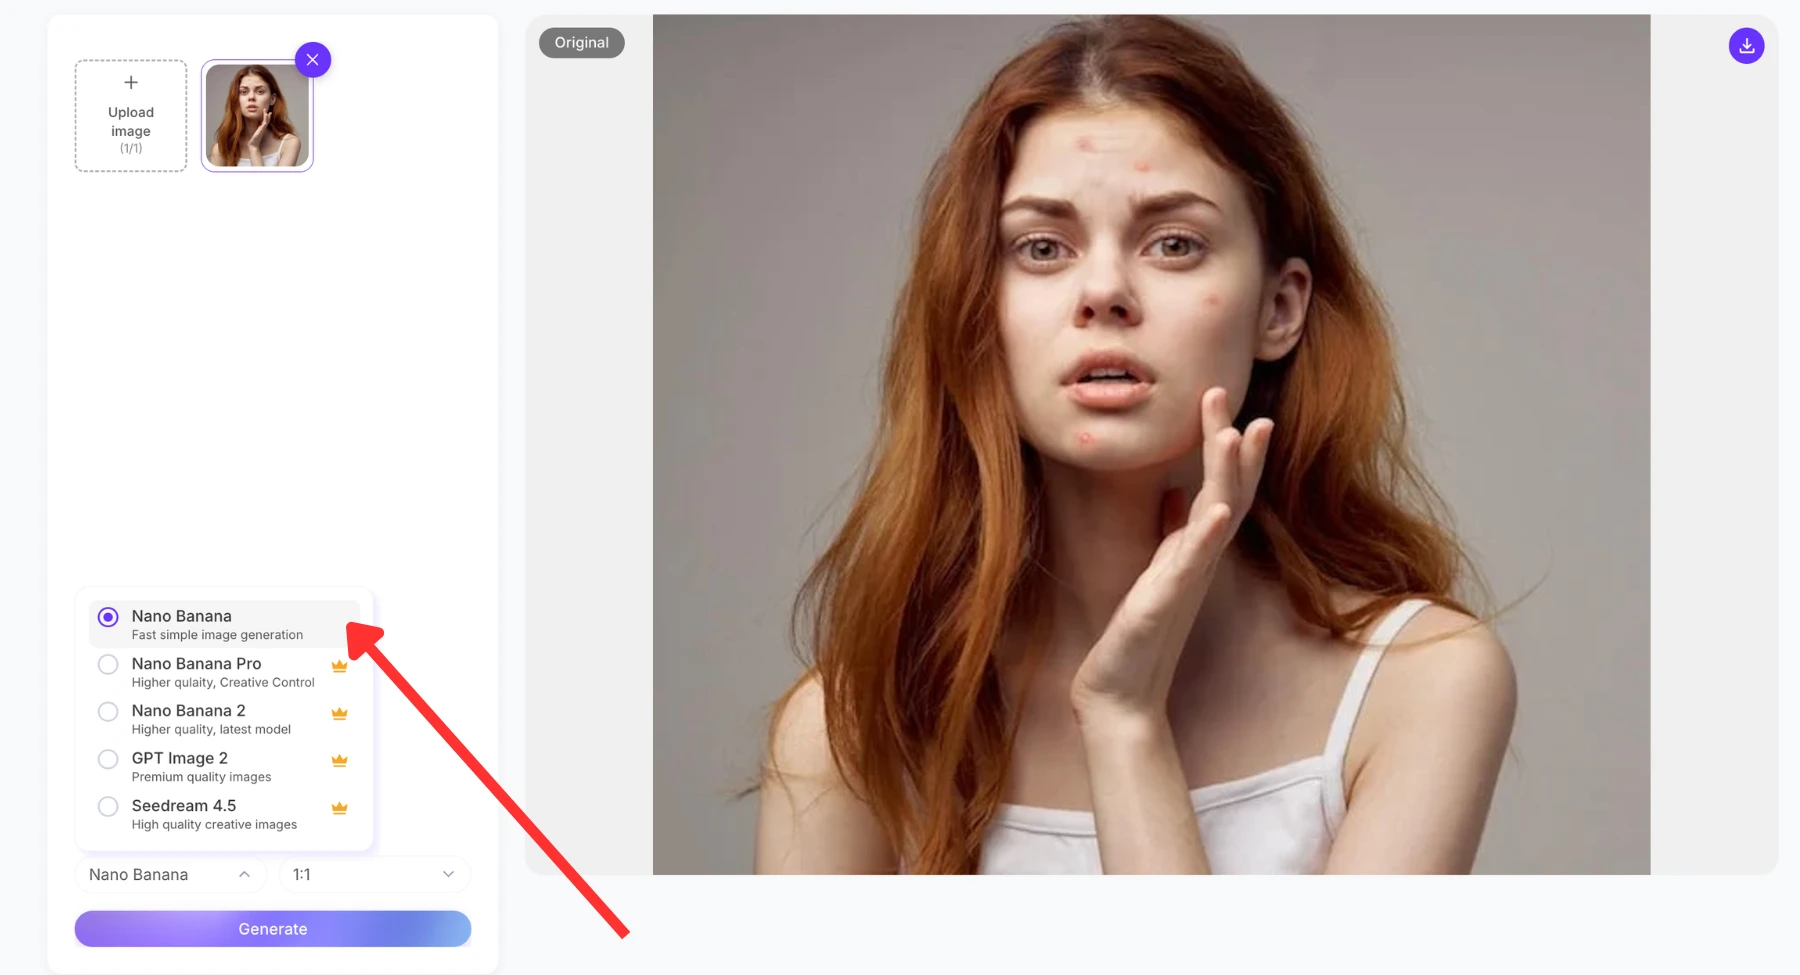
Pick the AI model (such as Nano Banana) from the dropdown. This engine is specifically optimised for smoothing skin textures, brightening lighting, and refining details naturally.
3. Refine or autodetect imperfections:
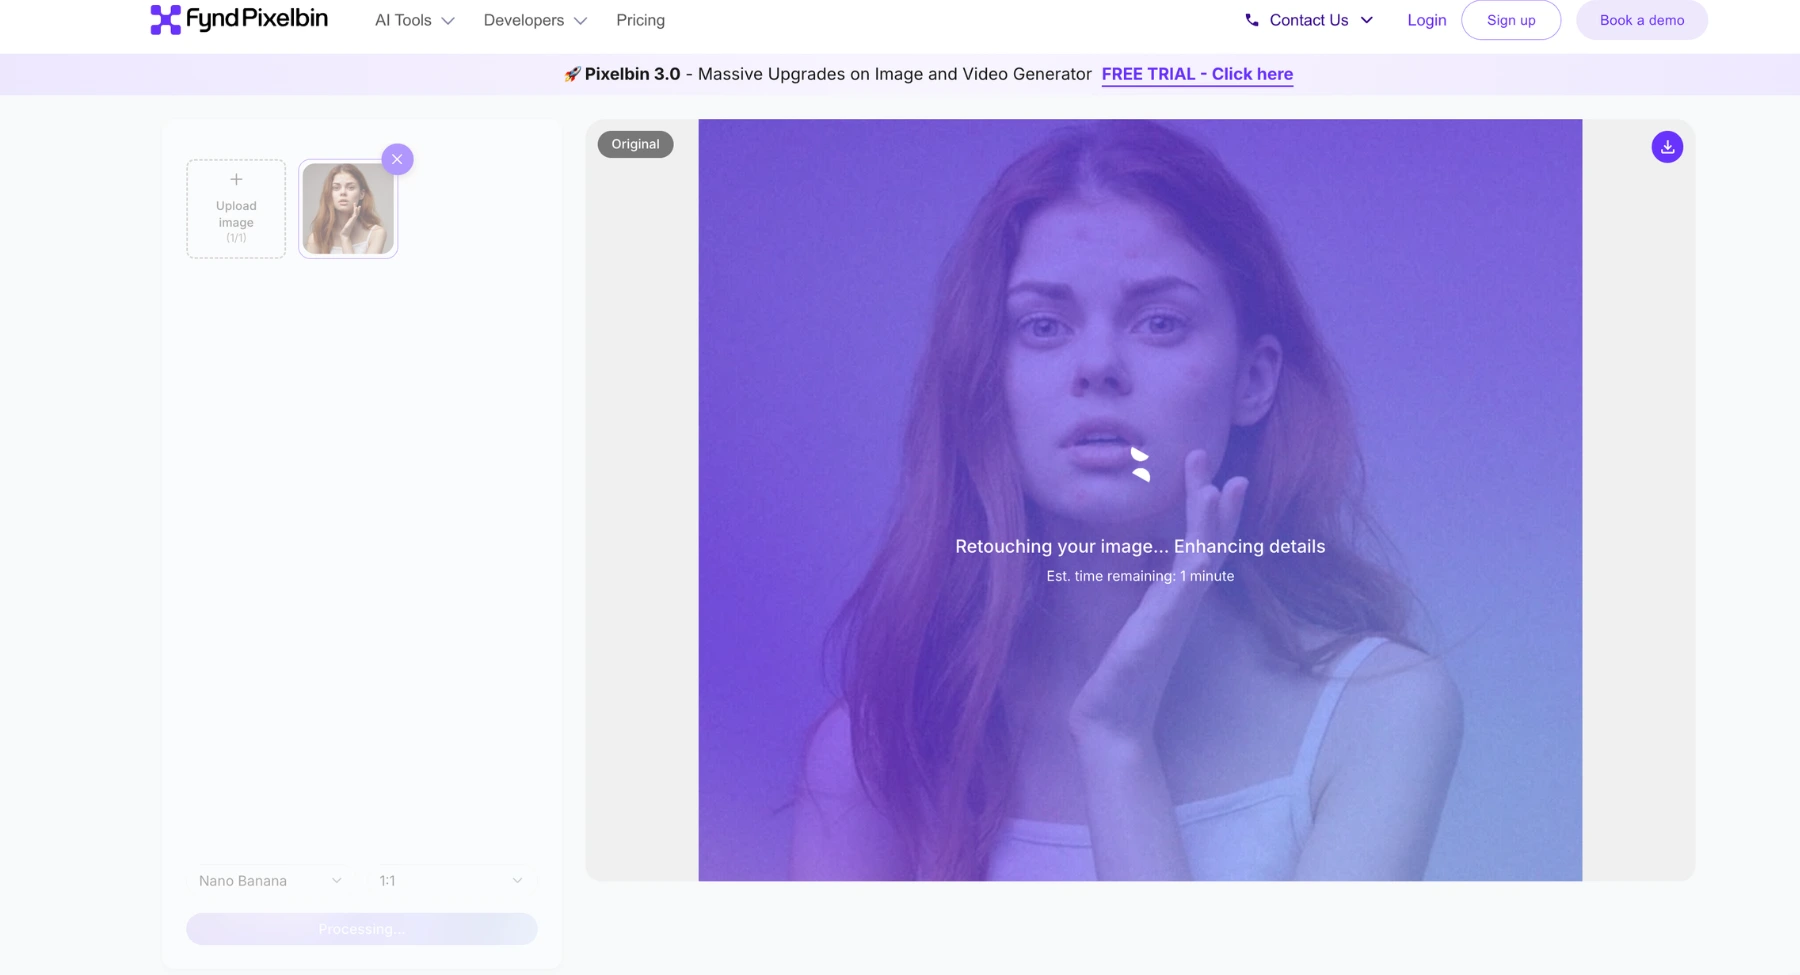
Depending on your specific needs, let the AI automatically detect and remove blemishes, or use the brush/selection tools to target specific areas for localised retouching.
4. Set output dimensions:
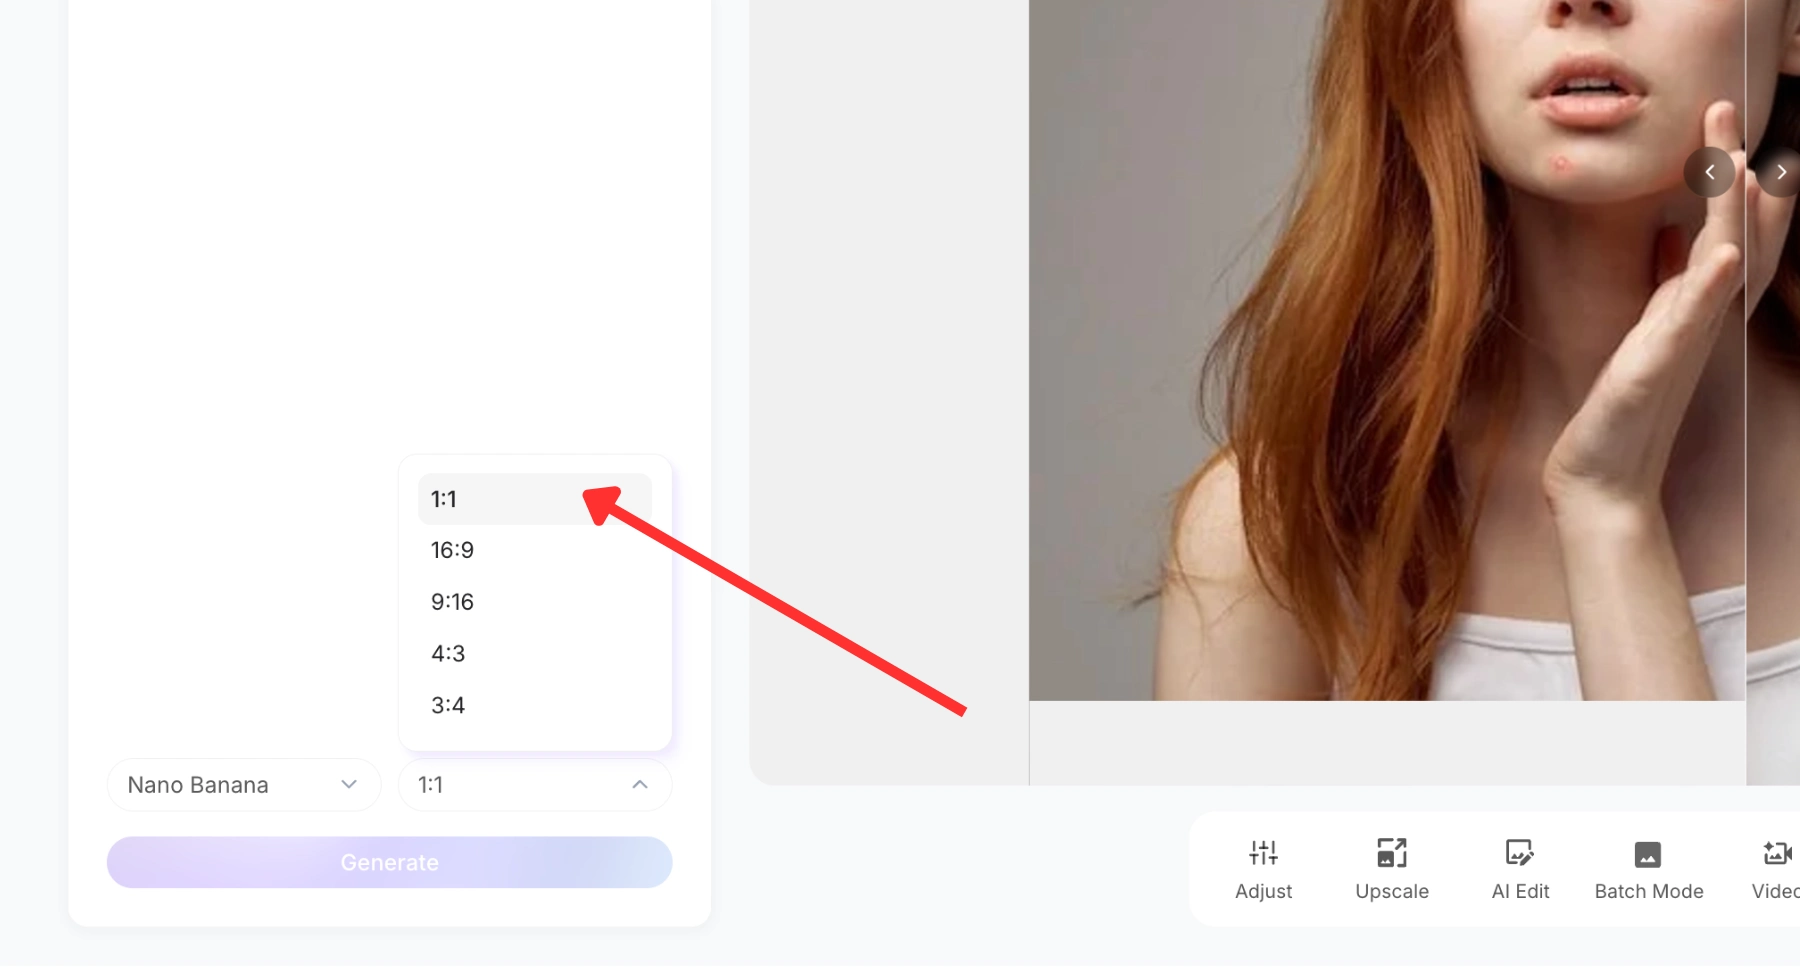
Select your desired aspect ratio (e.g., 1:1 for social media or 4:5 for portraits) to ensure the final retouched file is perfectly framed for your destination.
5. Generate and save your photo:
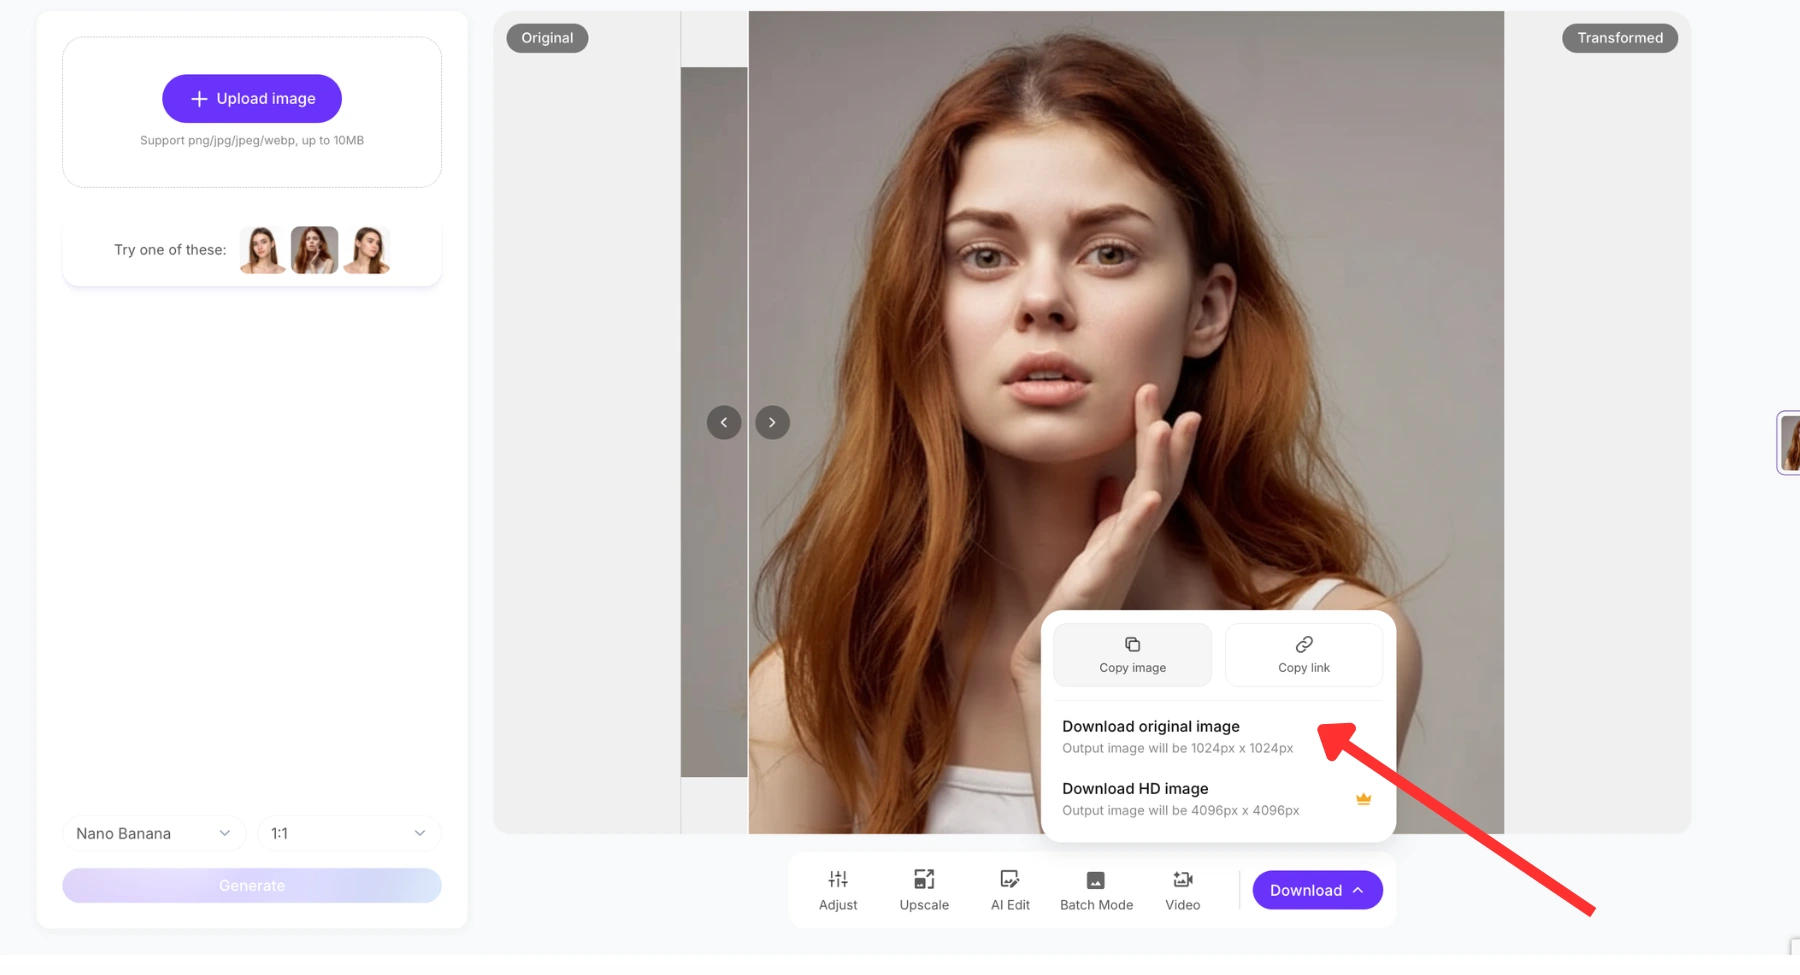
Click Generate or Retouch. Inspect the real-time before-and-after preview to ensure the edits look natural, then click Download to save your high-resolution, watermark-free file.
When to use the Pixelbin photo retouching tool?
- Temporary Acne and Surface Blemishes: Breakouts, whiteheads, hormonal acne, and sudden scratches are temporary. They are not a permanent part of your identity. A smart algorithm should cleanly isolate these micro-regions, analyze the healthy surrounding skin cells, and intelligently fill in the gap without leaving a blurry "smudge" behind.
- Redness and Uneven Skin Tone: Rosacea flare-ups, windburn, or uneven patches caused by fluctuating temperatures can ruin a great headshot. The software should balance the color channels (reds, yellows, and magentas) in the skin layer to create a smooth, unified tone while keeping the underlying structure sharp.
- Minor Dark Circles and Fatigue Lines: Late nights happen. A great AI photo touch up will gently lift the deep shadows under the lower eyelids by bringing up the exposure slightly in those specific troughs, rather than completely flattening the natural bags under the eyes, which can make a person look hollow or cartoonish.
- Harsh Shine and Oily Glare: When shooting under direct sunlight, overhead office fluorescents, or a camera flash, the skin naturally secretes oils that reflect bright, blown-out white hot spots on the forehead, nose bridge, and cheekbones. The tool should detect these specular highlights and dial back their intensity, replacing them with a matte, natural skin tone.
- Dull or Flat Ambient Lighting: Sometimes the camera sensor just misjudges the scene, leaving your portrait looking dark, cold, or underexposed. Retouching algorithms should calculate a smart lighting map of your face, subtly introducing digital fill light to mimic a professional reflector disk.
- Small Environmental Distractions: Stray dust particles, tiny specs of lint on your collar, or minor flakes of dry skin should be wiped away instantly without compromising the surrounding fabrics or skin patterns.
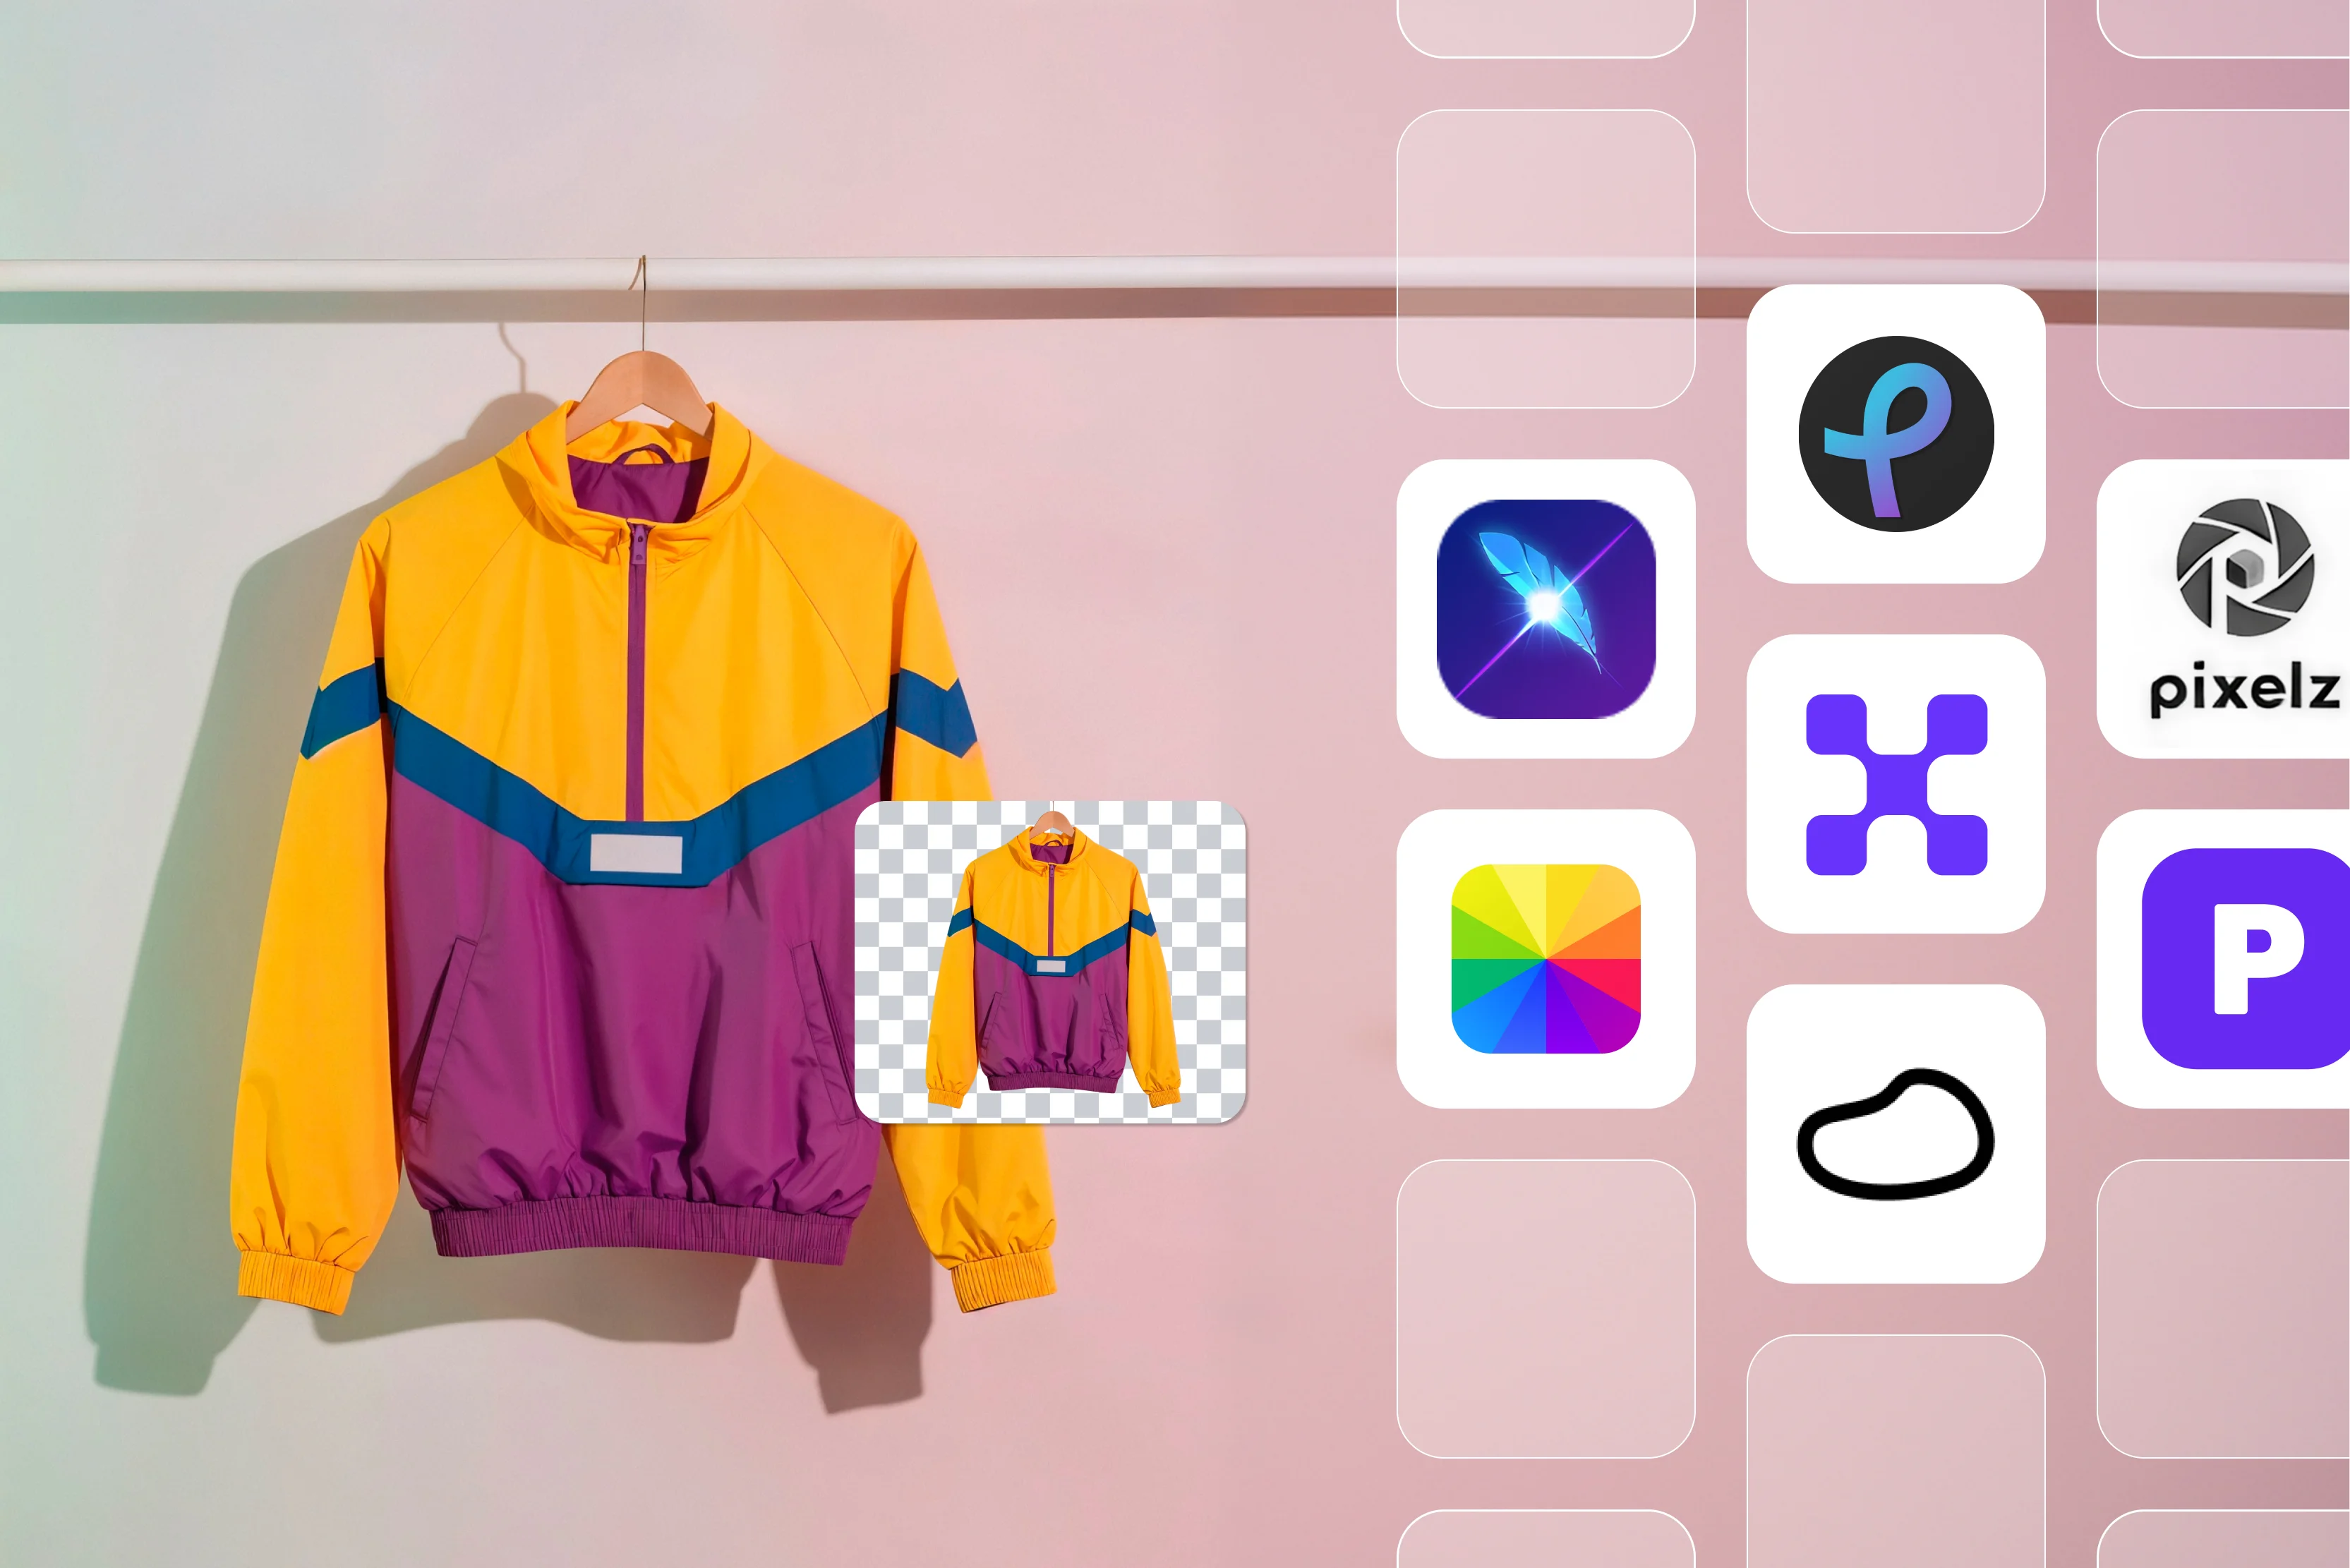
Which photos work best for AI retouching (bonus tip)
How to check if the retouched photo looks natural?
The absolute biggest mistake users make when using an automated AI photo touch-up tool is clicking "download" the very second the progress bar hits 100%, without actually performing a comprehensive quality control check. Because our eyes adapt to images very quickly, a heavily over-processed photo can look normal at a quick, distant glance. It is only when you step away for a few minutes and look at it again that you realize just how artificial it truly appears.
To protect yourself from posting an embarrassing, obviously edited profile picture or headshot, you need to train your eye to spot processing failures. Use this comprehensive quality checklist before you consider any edit finalized:
- Perform the 100% Zoom Test: Change your view scale to 100% or 1:1 pixel size. Navigate directly to the centre of the cheeks and the middle of the forehead. Do you still see tiny, individual skin pores? If the skin looks completely uniform and smooth like a glazed thing, your edit is overdone. Dial back the intensity.
- Inspect the Hairline and Eyebrow Transitions: Look closely at the exact boundaries where your skin meets your hair, eyebrows, and eyelashes. A low-grade algorithm will often blur these fine lines, making it look like your eyebrows are melting directly into your forehead. The hairs should remain completely distinct and sharp.
- Audit the Anatomical Contours: Pay close attention to the structural highlights of your face, specifically the ridge of your nose, the edge of your jawbone, and the dimples around your mouth when smiling. Ensure the software hasn't erased these vital highlights; doing so destroys your face's natural 3D depth, rendering it flat and unnatural.
- Scan for Processing Patchiness: Look across the face for any weird, unnatural transitions where one patch of skin looks highly detailed while an adjacent patch is completely blurred. A high-fidelity tool provides consistent processing across the entire visible canvas.
- Examine the Surrounding Background: Sometimes, if a tool incorporates primitive face-slimming features, it will accidentally pull the surrounding background along with it. Check the background around your head to ensure door frames, horizons, or brick walls aren't unnaturally bent or warped.
- The Rapid Toggle Comparison: Turn the "Before" toggle on and off rapidly five times in a row. Focus entirely on your expressions and identity. Do you still look like the exact same human being, just with slightly better sleep and cleaner skin? If your immediate reaction is hesitation, your edit has altered your core identity.
Privacy before you upload a portrait
- Never upload your face to a random or unverified web app without checking its credibility first.
- Your portrait is not just a normal image file; it contains sensitive personal data that deserves care.
- Look for a clear, easy-to-find privacy policy before you use any online photo retouching tool.
- Trusted platforms usually explain how your photos are processed, how they are stored, and when they are deleted.
- Choose services that mention secure cloud processing and automatic deletion after a short time.
- Avoid platforms that give no clarity about storage, training use, or third-party access.
What you should avoid
- Do not upload passports, ID cards, badges, or other official documents to generic online editors.
- Keep private family archives and highly sensitive records away from unverified web tools.
- Use online retouching only for safer files such as headshots, creative portraits, lifestyle photos, and social media images.
- Treat browser-based tools like public utilities, not private vaults.
- Store important personal files on your own encrypted device instead of depending on a web app.
Safe editing habits
- Use reputable platforms like Pixelbin with a strong track record.
- Review permissions and privacy terms before uploading anything important.
- Prefer tools that clearly say they protect data and delete files after processing.
- Keep a separate folder for photos that are safe to edit online.
- Save sensitive originals offline and only upload what you are comfortable sharing temporarily.
Smart rule to follow
- If the image is personal, legal, financial, or highly confidential, keep it offline.
- If the image is for a portrait, campaign, or social post, online retouching is usually fine.
- Good privacy habits let you use fast AI editing without putting your digital footprint at risk.
FAQs
Yes, AI photo retouching removes acne by analyzing individual pixels to isolate localized redness, swelling, and sudden skin discoloration. The software instantly clears these temporary blemishes and fills the area with natural skin textures sampled directly from healthy surrounding zones without affecting your facial structure.
Yes, you can use automated tools online for free trials. Platforms like Pixelbin allow you to experience an AI photo retouch online free workflow for your first image. You can process your portrait and export a full-resolution, unwatermarked result before purchasing account credits.
No, high-quality AI photo retouching software will not alter your natural appearance. While poor filters warp features, authentic tools focus strictly on cleanups, optimizing surface shine, brightening flat lighting, and removing temporary blemishes while keeping your core facial geometry and identity completely true to life.
Photo editing applies global adjustments to an entire image canvas, such as changing exposures, cropping frames, or altering contrast levels. Conversely, photo retouching is a localized, precise process targeting micro-details within a subject, including blemish removal, smoothing skin texture, and correcting surface glare.
Yes, AI tools provide excellent, natural results for corporate headshots, real estate portraits, and commercial e-commerce images requiring rapid turnaround times. However, elite fashion editorials or high-end beauty campaigns still rely on manual photo retouching services for absolute, pixel-level creative control and artistic consistency.
High-resolution, uncompressed files featuring sharp, clear focus directly on the subject’s eyes deliver the best results. Balanced, natural daylight or professional studio lighting provides the precise pixel data needed for a photo retouch ai tool to seamlessly distinguish between unwanted skin blemishes and organic texture.
To avoid over-smoothed skin, choose an advanced ai photo touch up tool that utilizes separate texture layers. Always look closely at the before-and-after live preview screen, zoom into the cheeks and forehead at 100% magnification, and verify that your natural pores remain crisply visible.