
Ever tried zooming into a photo only to be greeted by a blur of pixels? Yeah, me too — so many times that I forgot the count as well. Whether it's an old vacation photo, a blurry screenshot, or a low-res image you want to repurpose for a YouTube thumbnail, low-quality images are everywhere.
That’s where 4K image upscaling comes into play, especially when powered by AI. In this blog, I’ll walk you through what 4K image upscaling is, why it matters more than ever today, especially with AI in the picture, and how you can use a range of tools to know how to upscale an image to 4K resolution easily.
I’ve personally tested AI image upscalers, such as Pixelbin and Upscale.media, Fotor, and more — and I’ll show you how to upscale images over there, talk about the features, and more. If you’ve been wondering how to upscale image quality without turning it into a pixelated mess, stick around — this one’s for you.
Why does 4K resolution matter in AI image upscaling?
4K image resolution refers to an image that has a resolution of approximately 3840 pixels x 2160 pixels. That’s about four times the resolution of standard Full HD (1080p). For AI, upscale means adding sharper details, increasing depth, and removing blurry spots.
Traditional Vs AI Upscaling
Traditional upscaling methods stretch the existing pixels by enlarging the image, which leads to a pixelated image. AI upscaling uses automated algorithms to resample an image by adding sharpness and clarifying the image.
- Traditional = Stretched Pixels
- AI = Add pixels, based on learned patterns
Benefits of 4K image upscaling
- Retains the image texture.
- Enhanced professional use.
- Better quality visuals for website content, YouTube thumbnails, and social media posts.
- Improves the usability of low-resolution images.
How to Upscale an Image to 4K Resolution Using AI Tools
Alright, now that you understand why upscaling is important in 4K resolution, let’s dive into the tools and learn how to upscale an image to 4K. I tested and compared 8 top-ranked tools on different parameters to help you find the best one. The tools are listed below;
- AI image Upscaler Pixelbin
- Upscale.media
- Fotor
- iLoveIMG
- PhotoGrid
- Img.Upscaler
- AI Ease
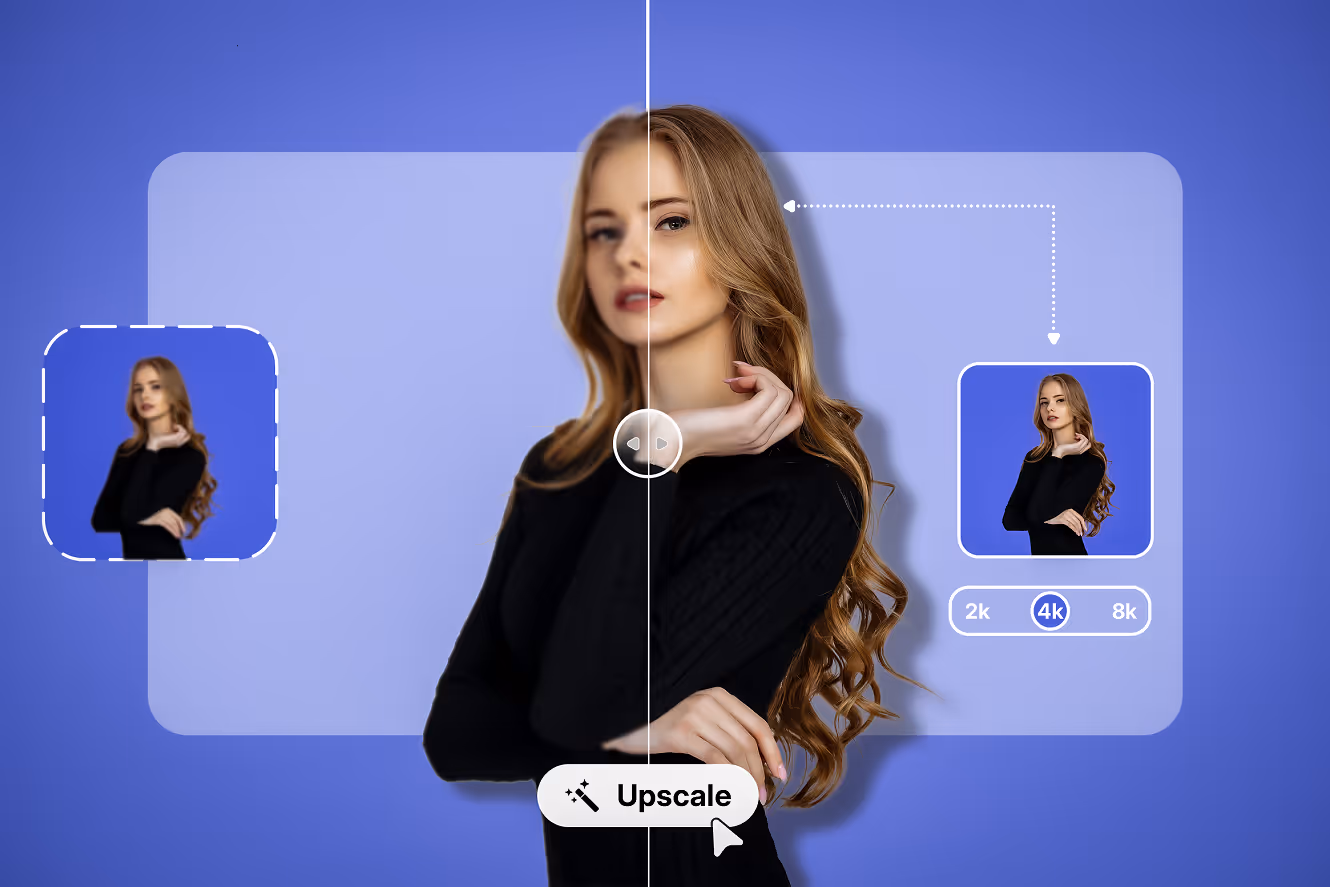
1. AI image upscaler by Pixelbin
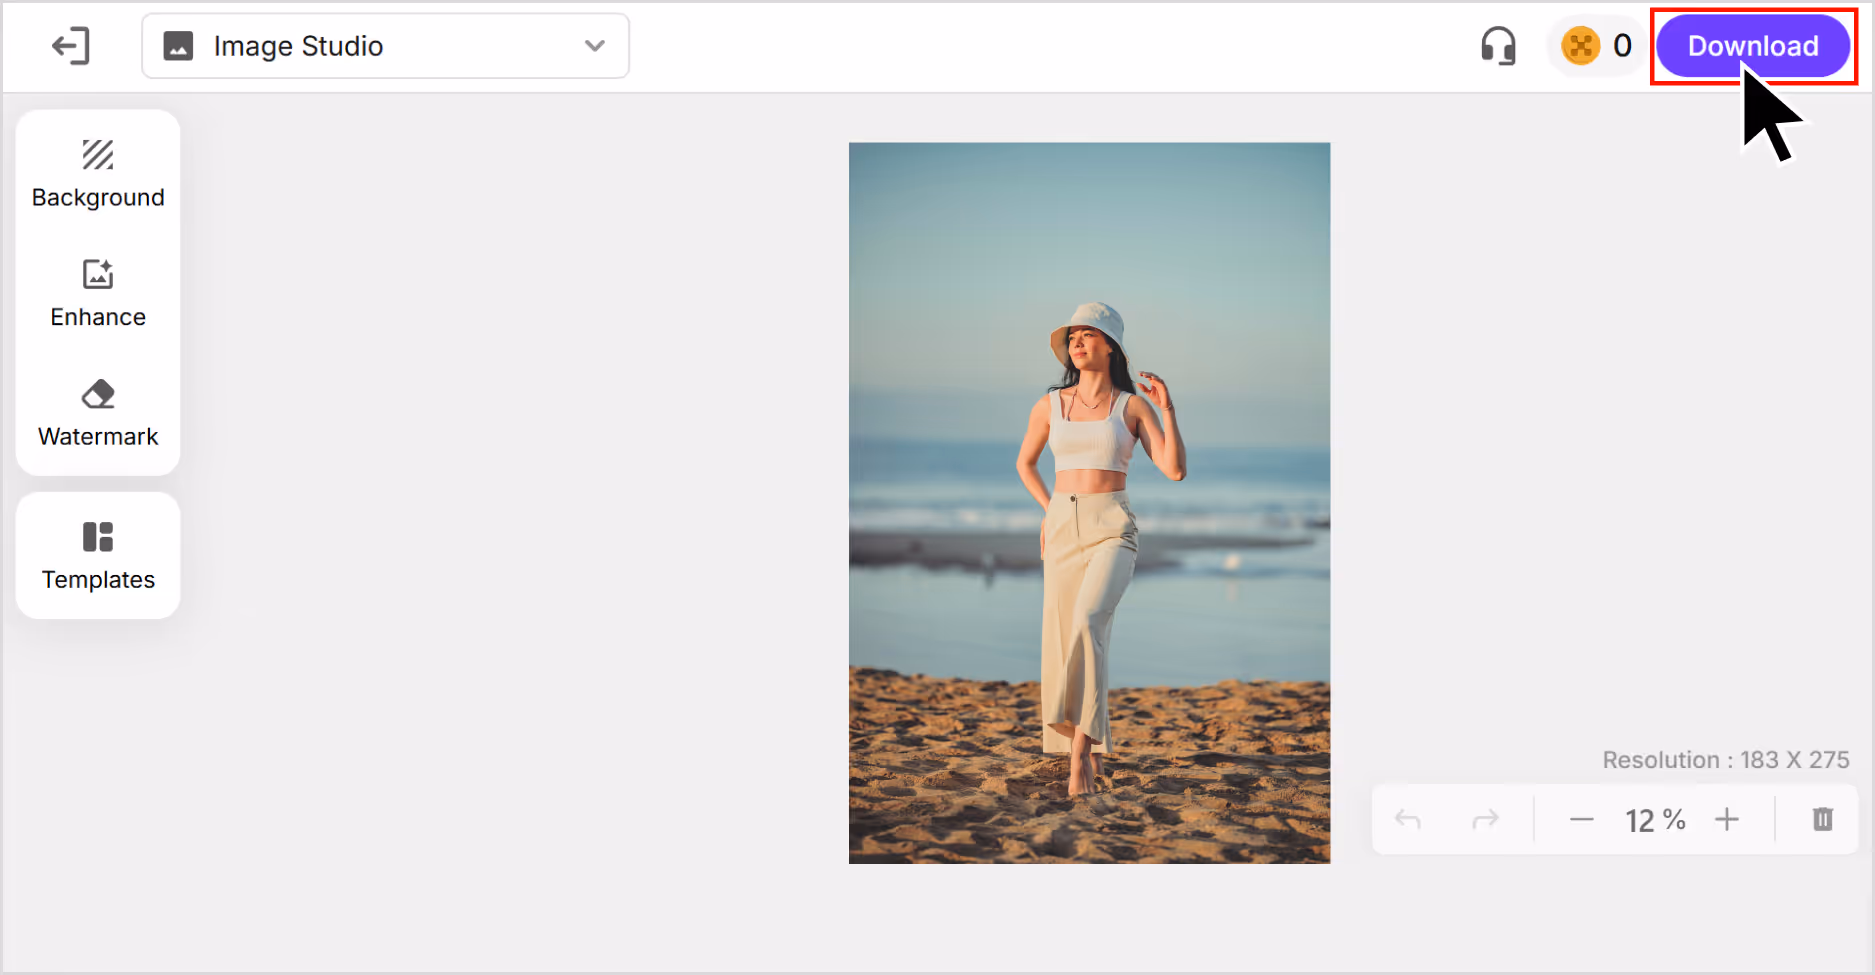
Whenever I need to upscale a low-resolution image using AI, I usually stick to Pixelbin. This time, I tested it on an image that was just 275x183 pixels—very small and blurry. After testing it through Pixelbin, the result was impressively sharp and detailed.
You can choose between 2x, 4x, and even 8x upscaling. I went for the 4x option, which took the image resolution to 1170x732. What I liked about the tool;
- The output held up—no smudging, no loss of detail.
- Pixelbin gives you free credits when you sign up, so you don’t need to pay just to try it.
- It’s fast, intuitive, and doesn’t require any advanced skills.
- You can use it one image at a time or process a batch of images
- There’s also an API, in case you want to plug it into a workflow.
How to upscale an image to 4K resolution in Pixelbin?
Step 1: Head over to Pixelbin.
Step 2: Upload your image by selecting it from your device or simply pasting the image URL. As batch processing is a feature, you can add up to 10 images at a time.
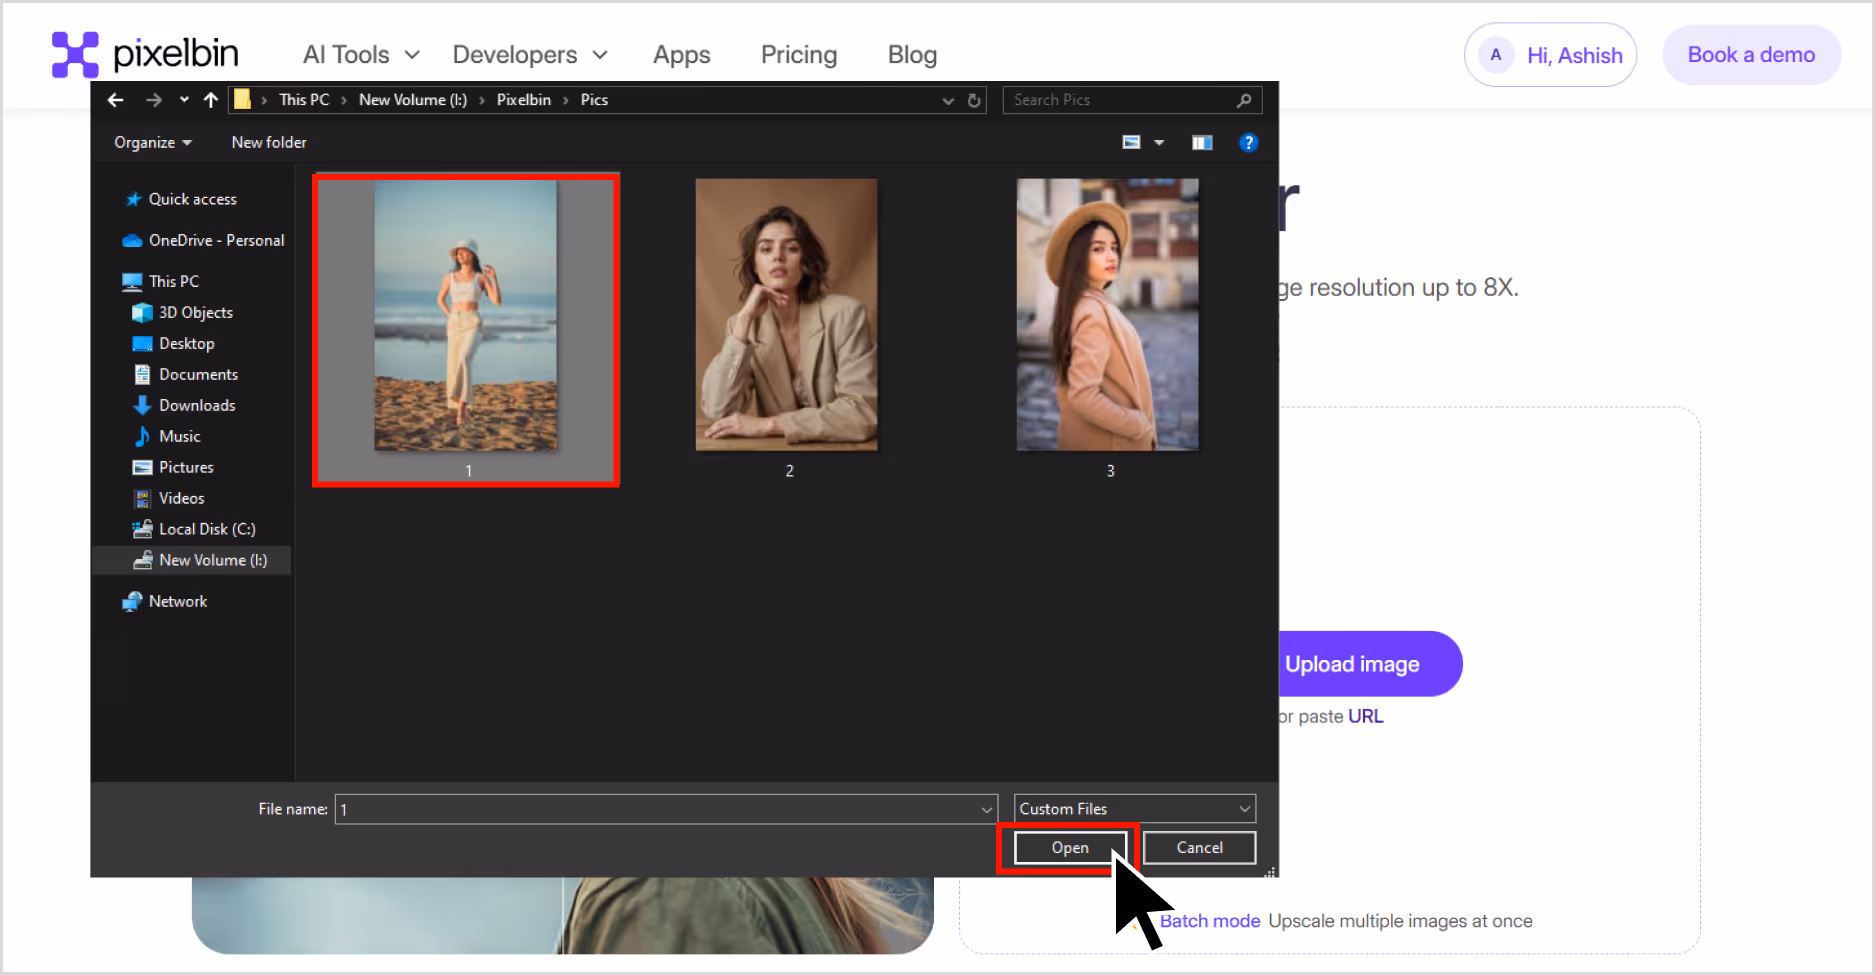
Step 3: Choose your image upscale size—2x, 4x, or 8x. To get a 4K image upscaling. Choose on 4X image scale size, my image size is upscaled to 1100x732 pixels. You can also resize, crop, adjust the image, and rotate.
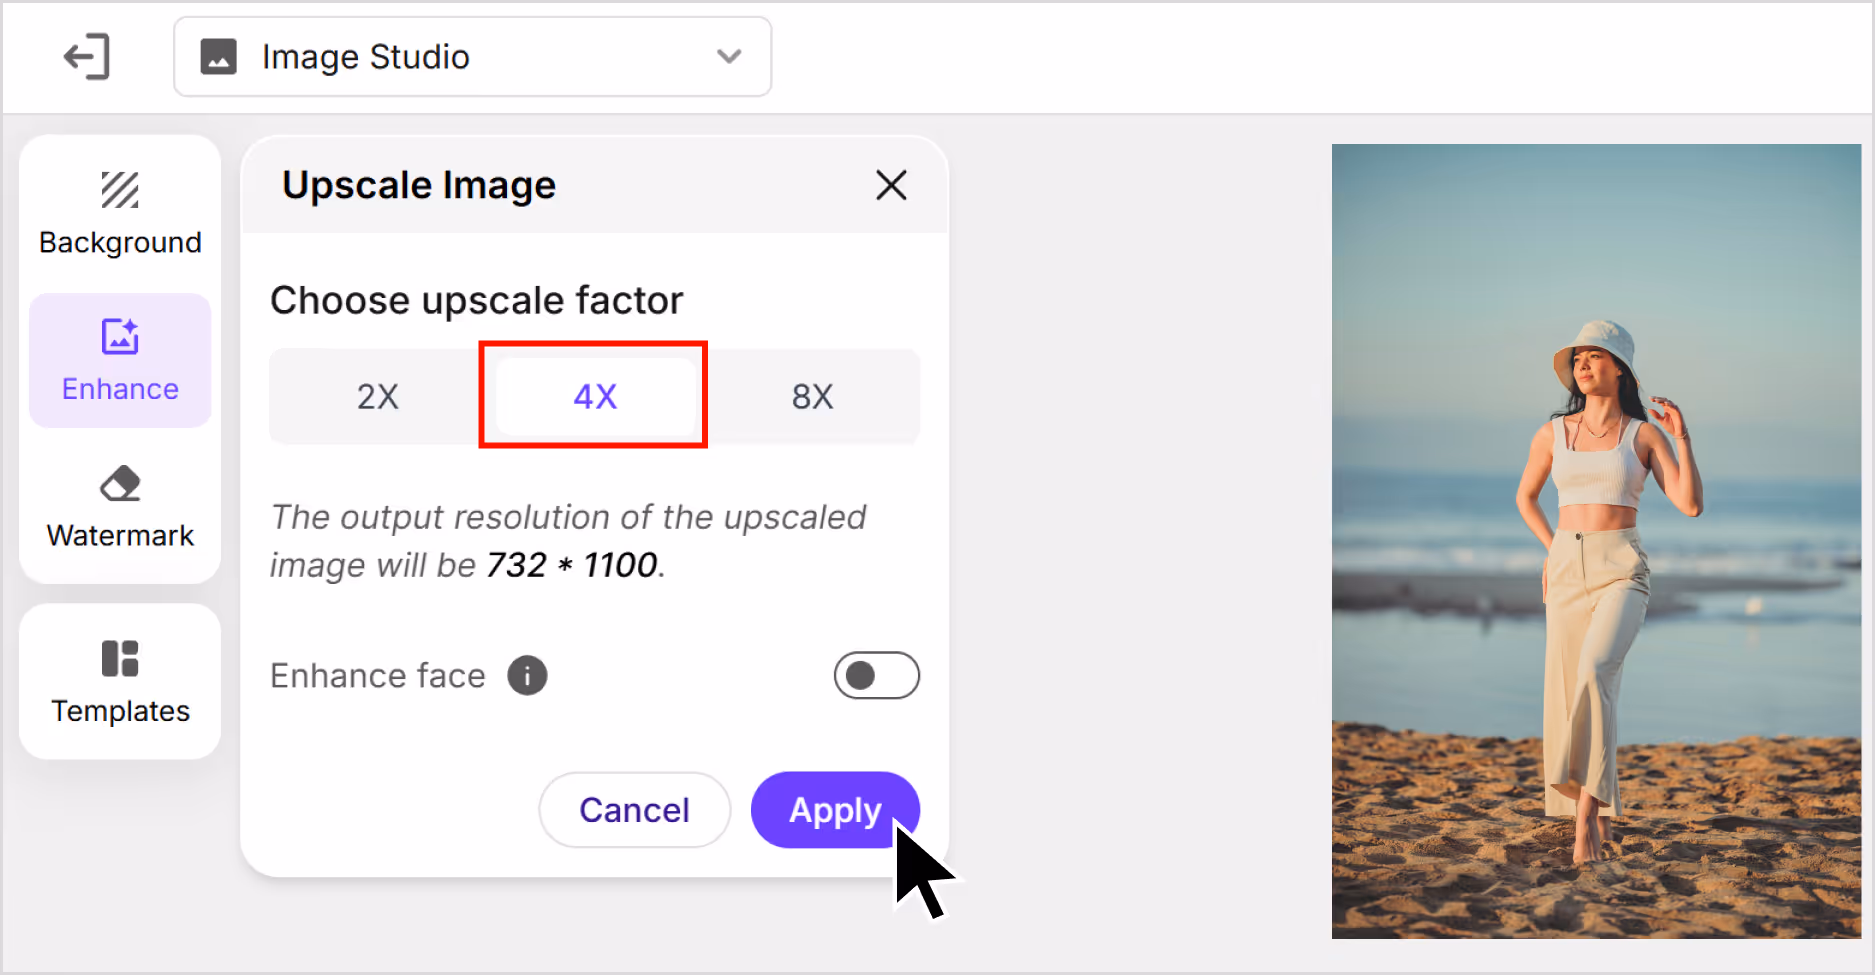
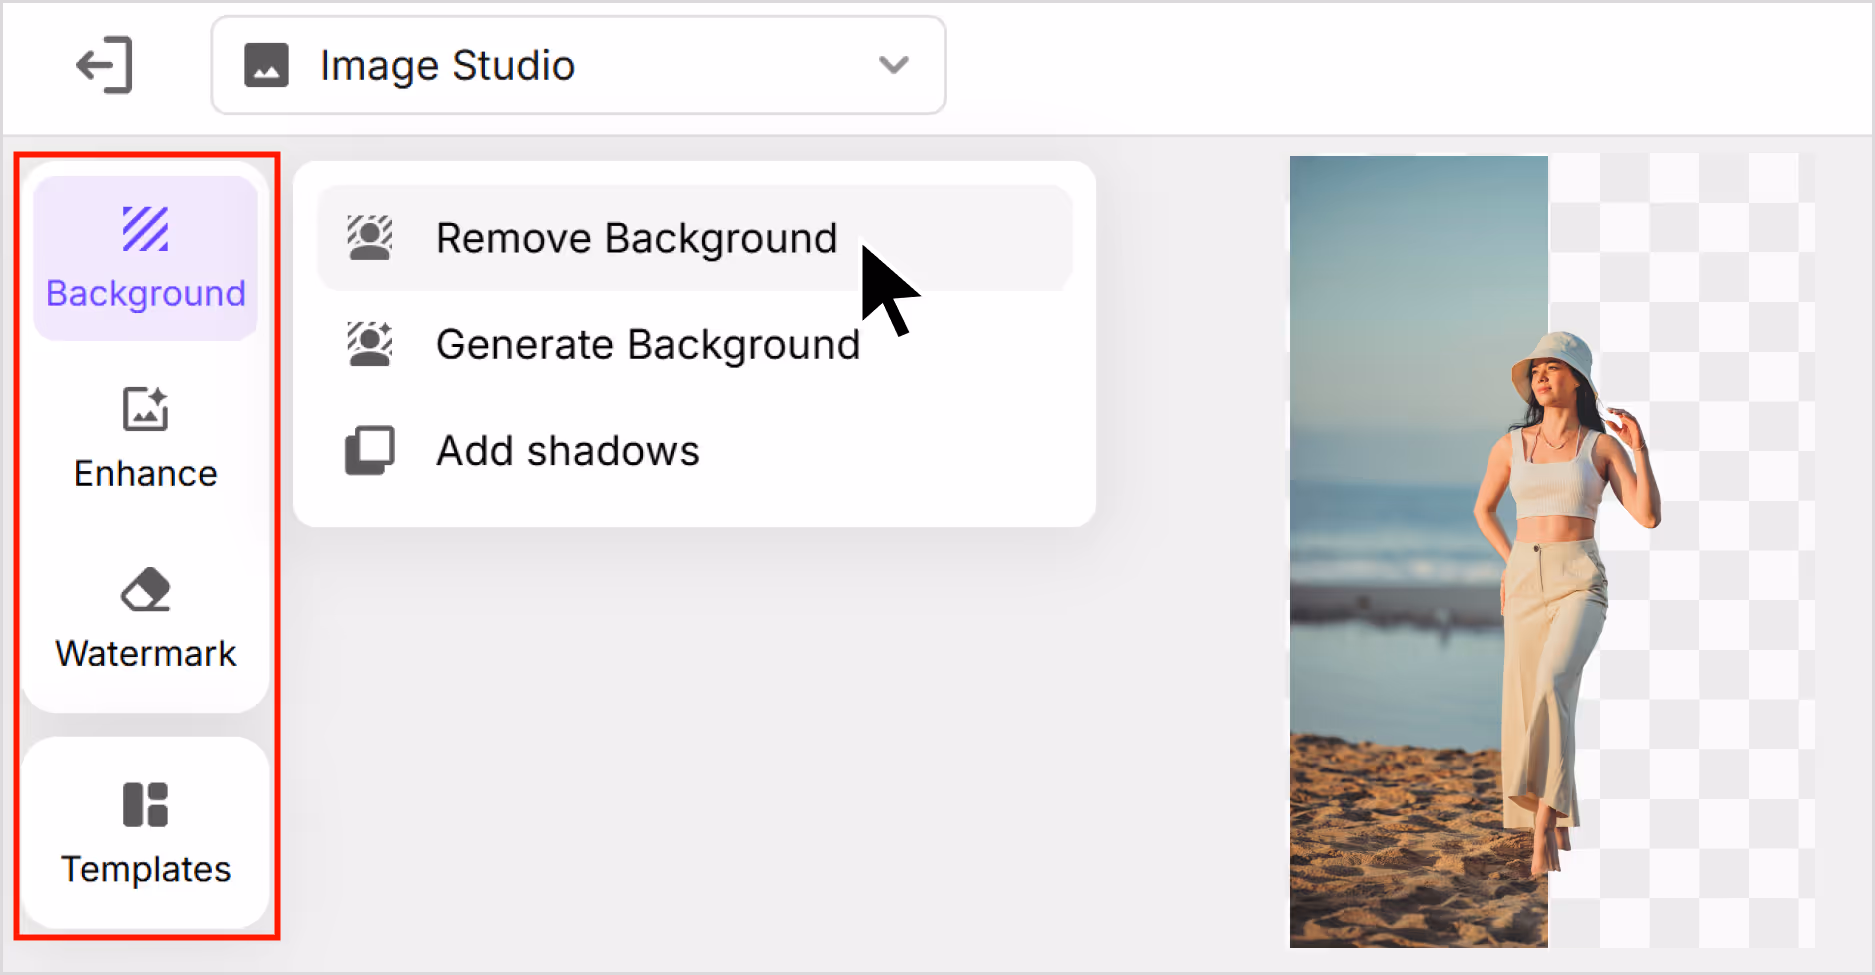
Step 4: You can also remove or change the background, add new templates, and remove the watermark.
Step 5: Preview the image and select Download to save the image in SD or HD resolution.
2. Upscale.media
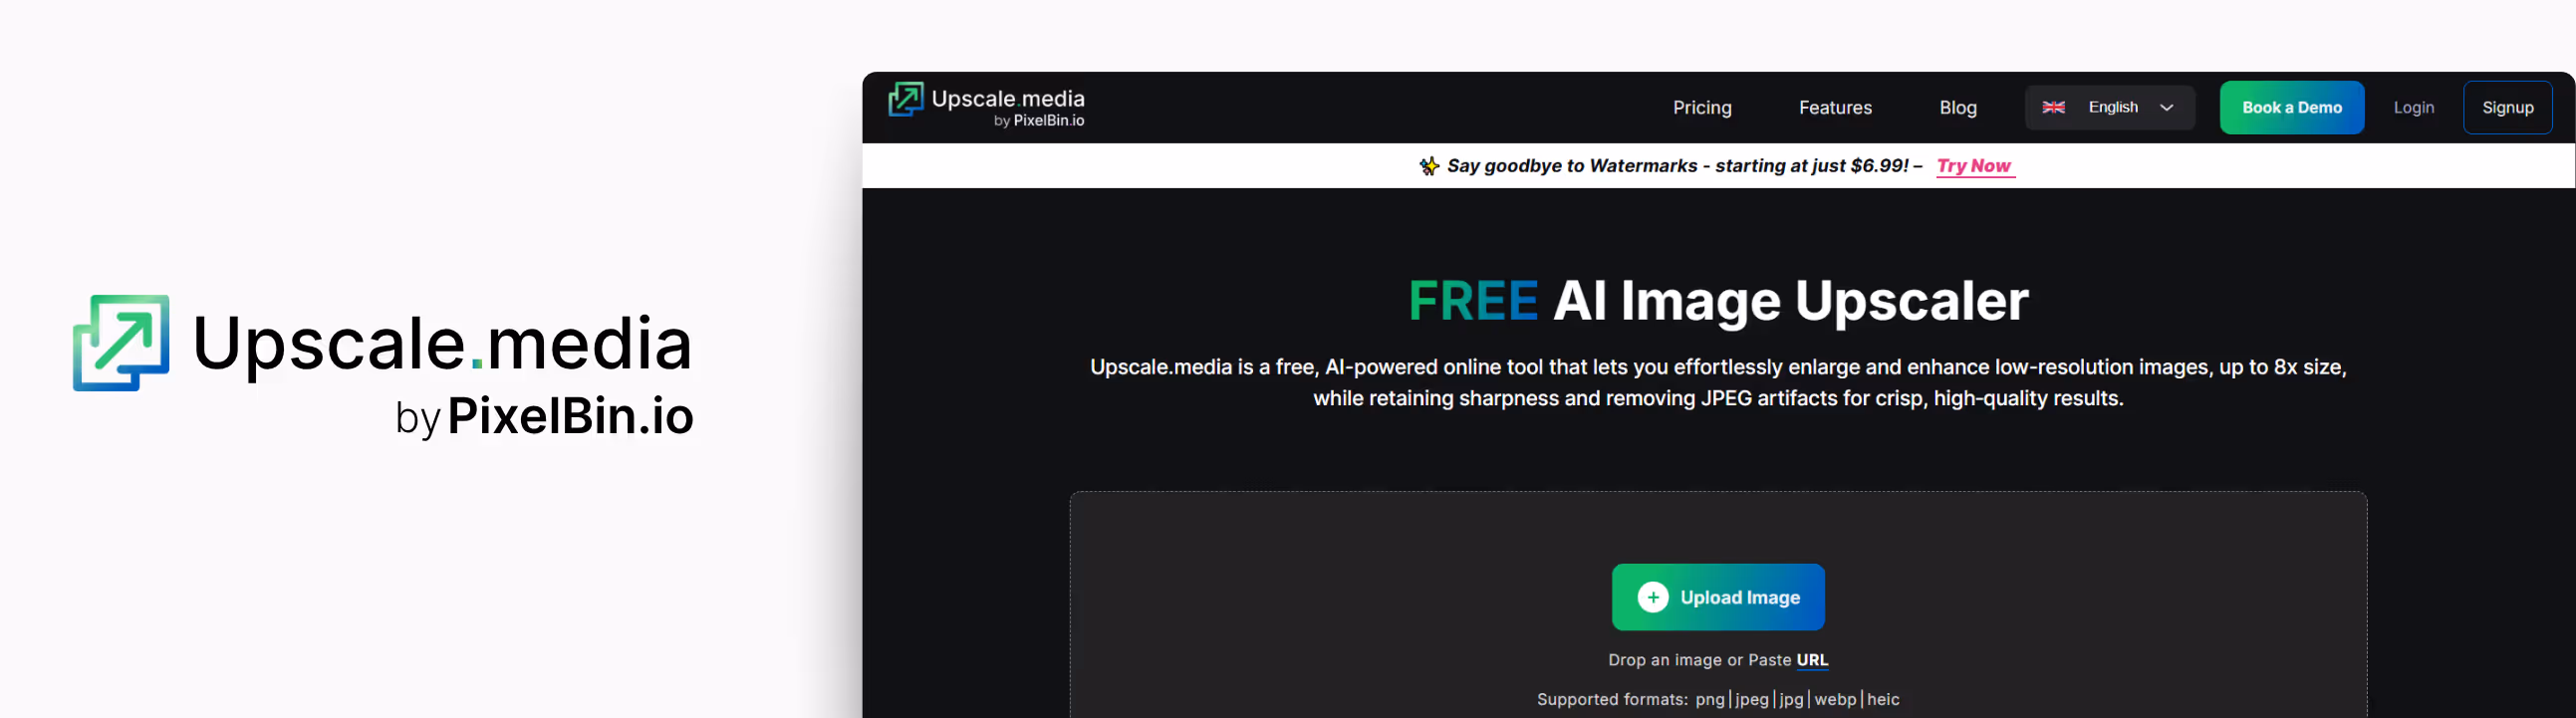
If you're looking for a simple and fast AI tool to upscale images without losing quality, Upscale.media is worth trying. I tested it using a low-resolution image of 275x183 pixels.
After running it through Upscale.media, I was awestruck. The clarity improved, and the noise reduction kicked in well. Edges looked cleaner, details sharper, and that washed-out blur was mostly gone. You can upscale images by 2x or 4x for free, using 4x bumped my photo up to 1100x732 pixels.
If you’re wondering what comes after 4K, it’s 8K—though for everyday use, 4K is usually more than enough. Upscale.media even offers up to 8x upscaling for free. What I liked about the tool;
- You don’t need to sign up or install anything—just drag and drop the image.
It’s quick—my result came through in seconds. - AI noise reduction works automatically, which cleans up the grains.
The interface is clean and beginner-friendly.
How to upscale an image to 4K resolution in Upscale.media?
Step 1: Go to Upscale.media
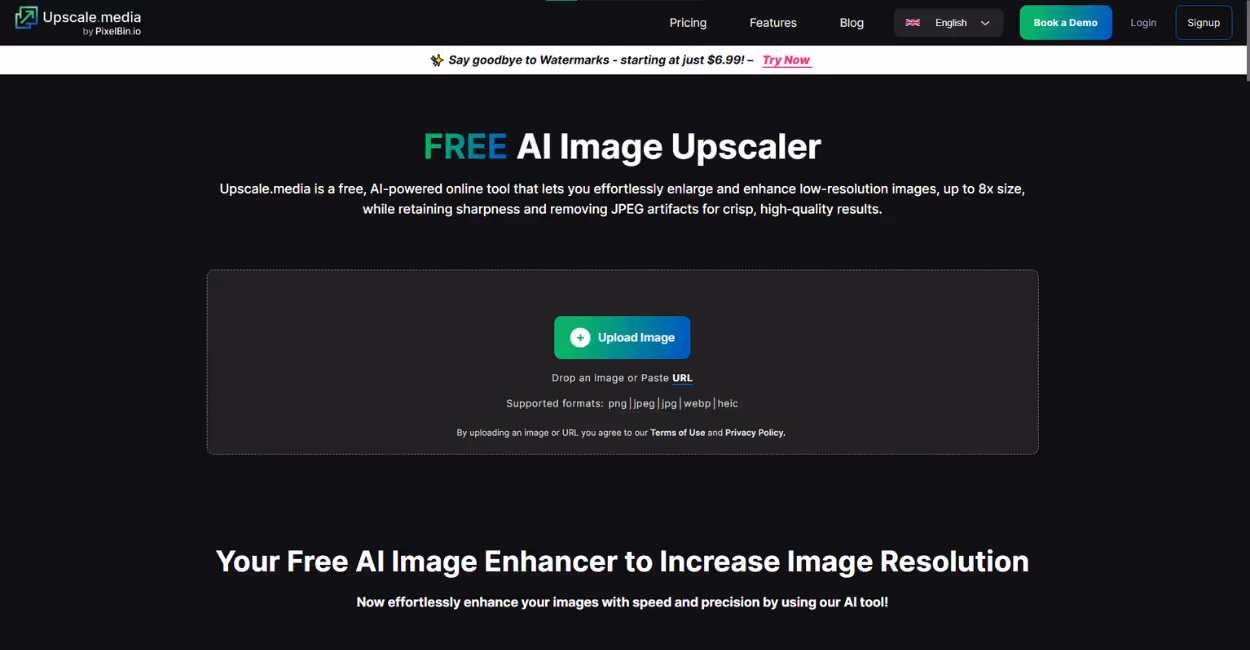
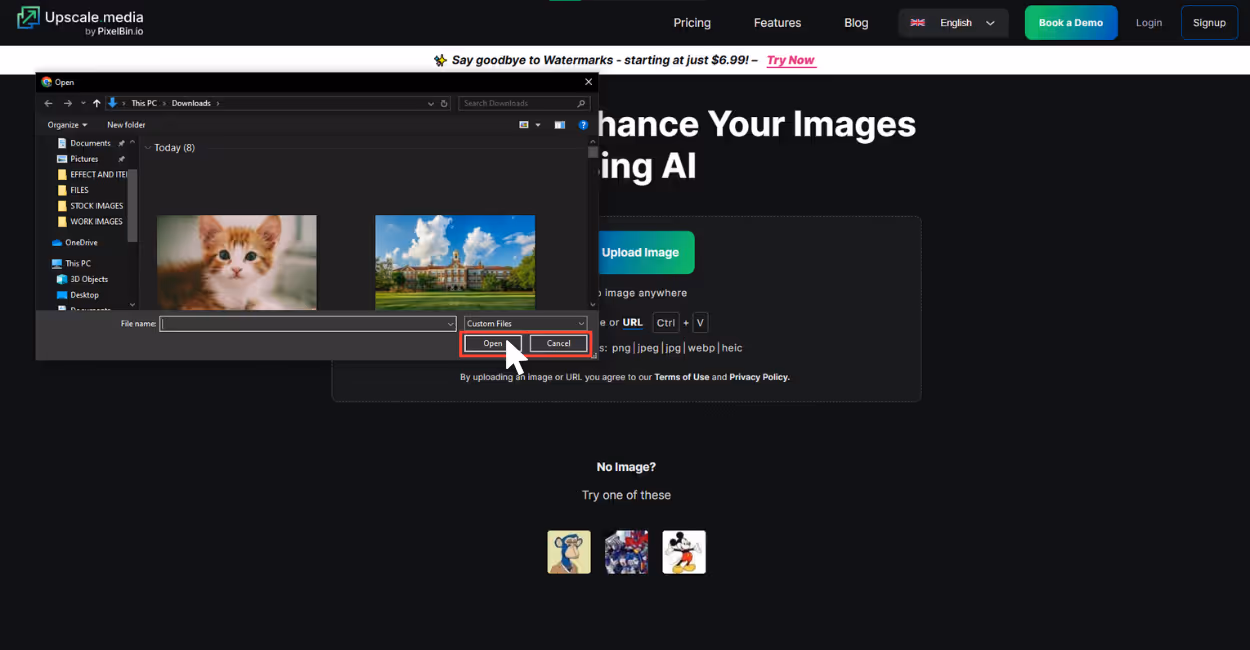
Step 2: Click on “Upload image” and add images in JPG, PNG, or JPEG formats. You can also paste the image URL.
Step 3: Upscale.media works in automated mode after you upload the image. Simply adjust the scale according to your need from 1x, 2x, 4x and 8x image scale factor. To upscale the image to 4K resolution, you have to select a 4x image scale size.
Step 4: Download the image by clicking on the “Download” chip, and you are done.
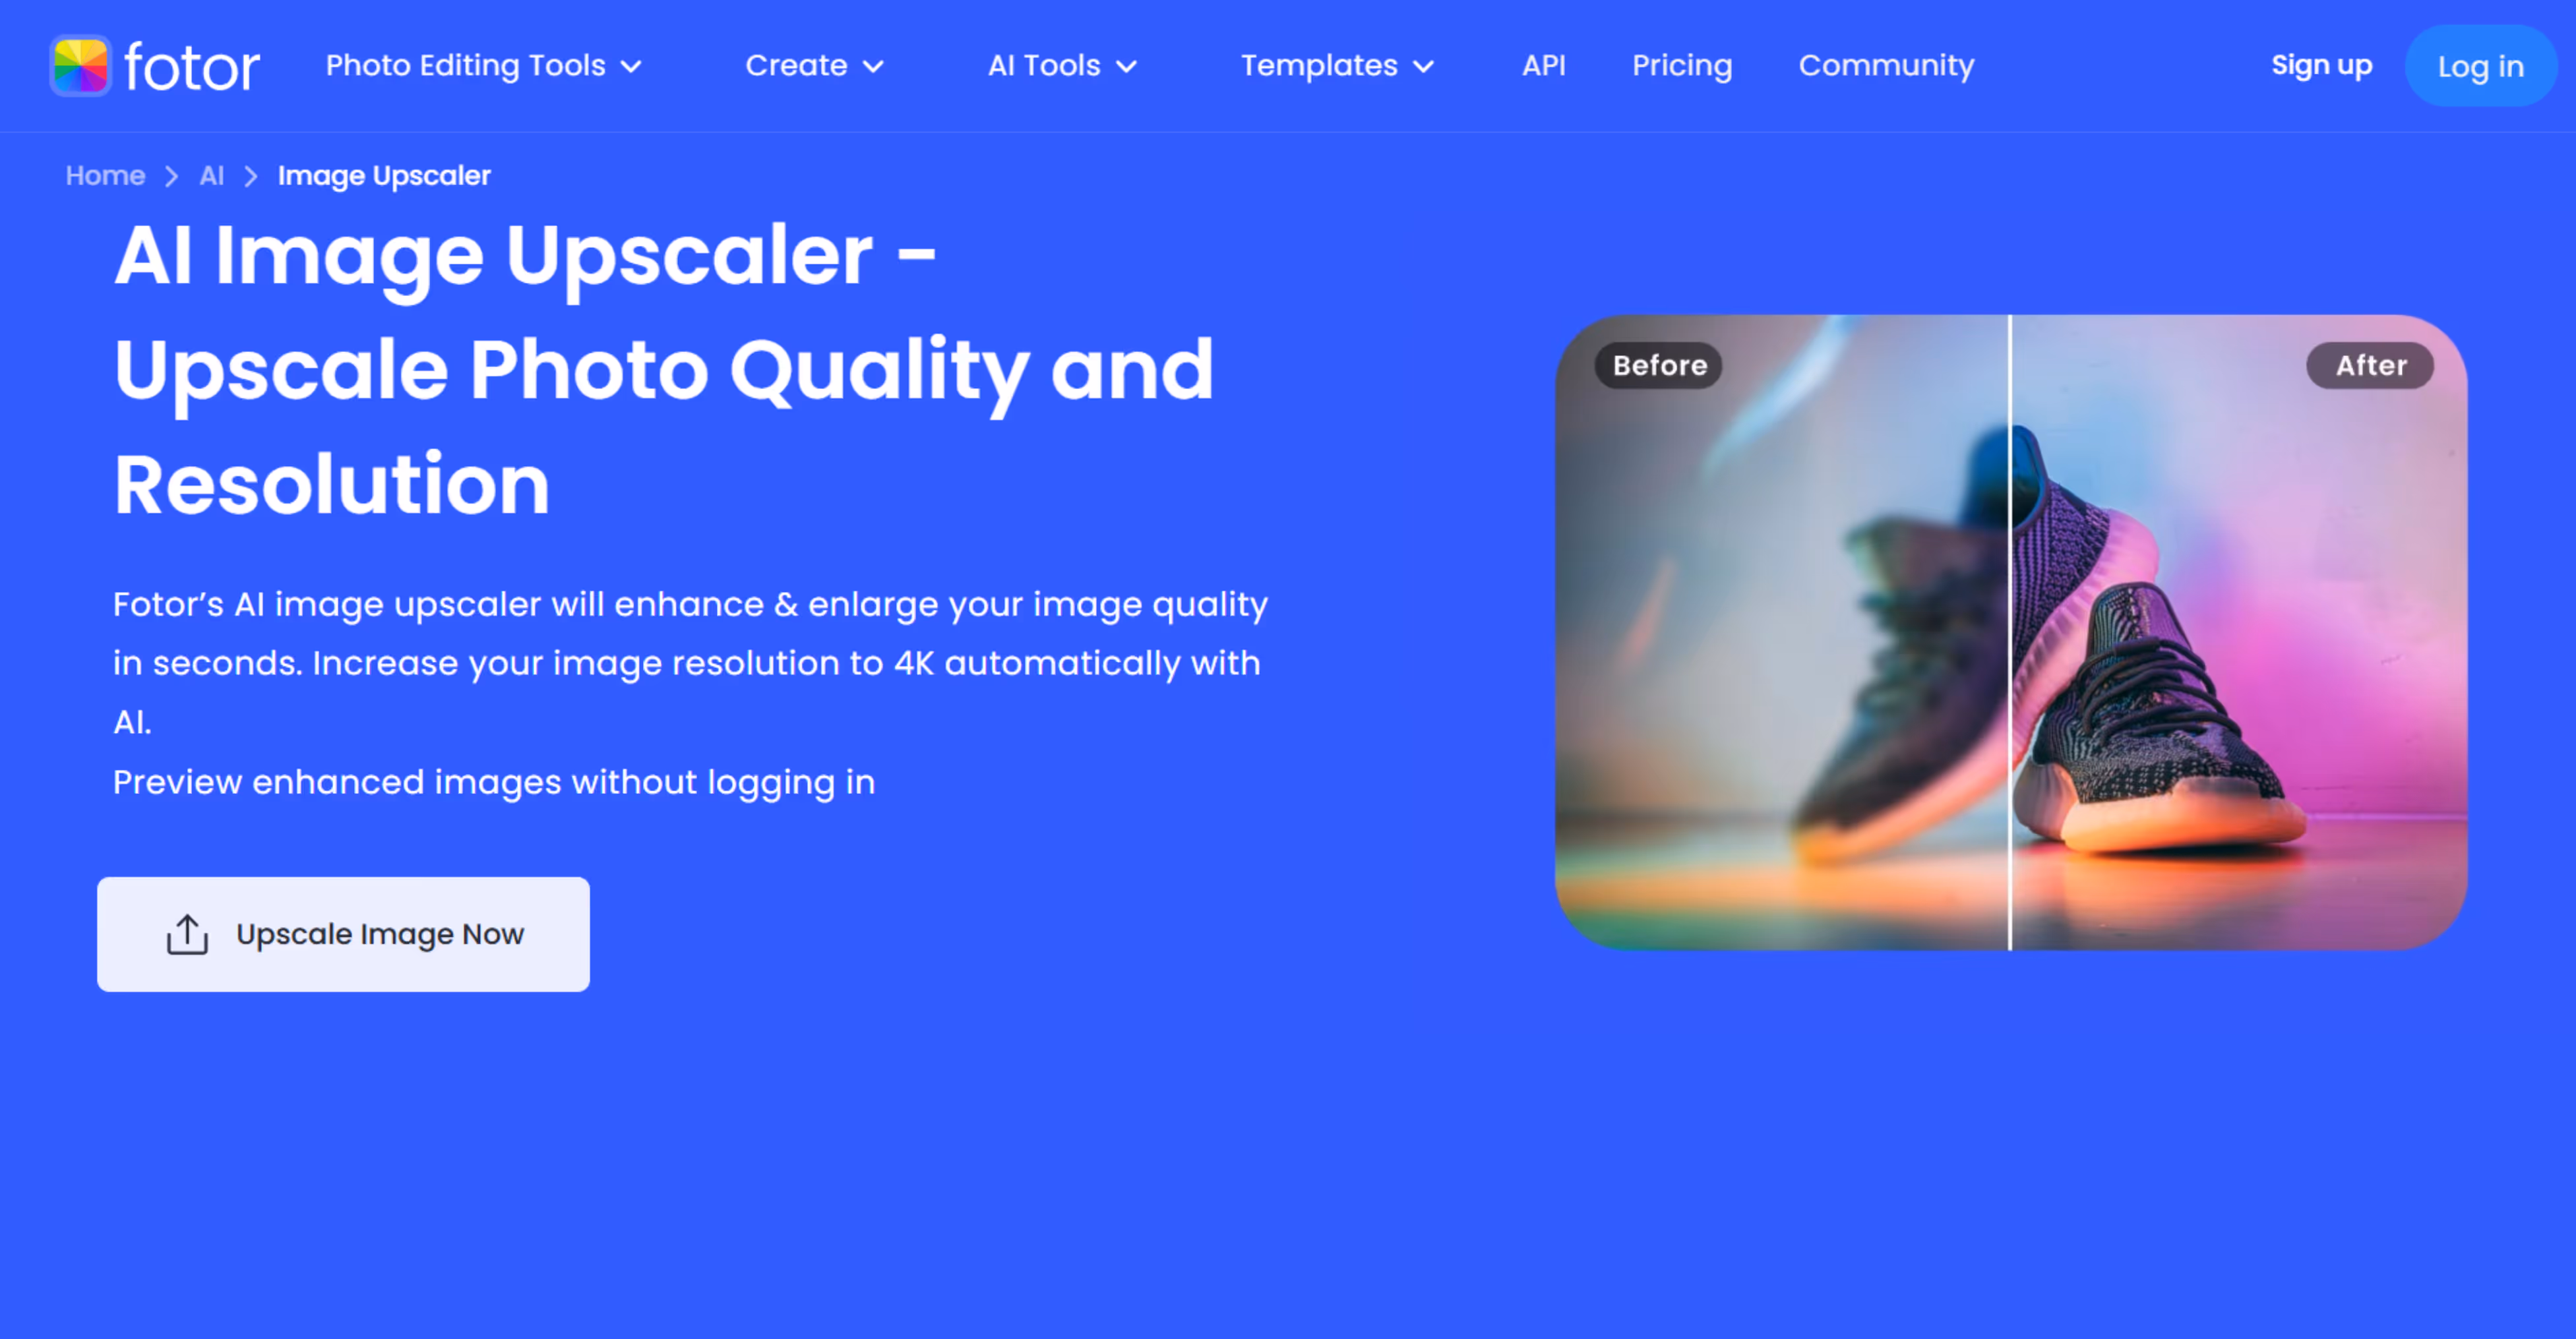
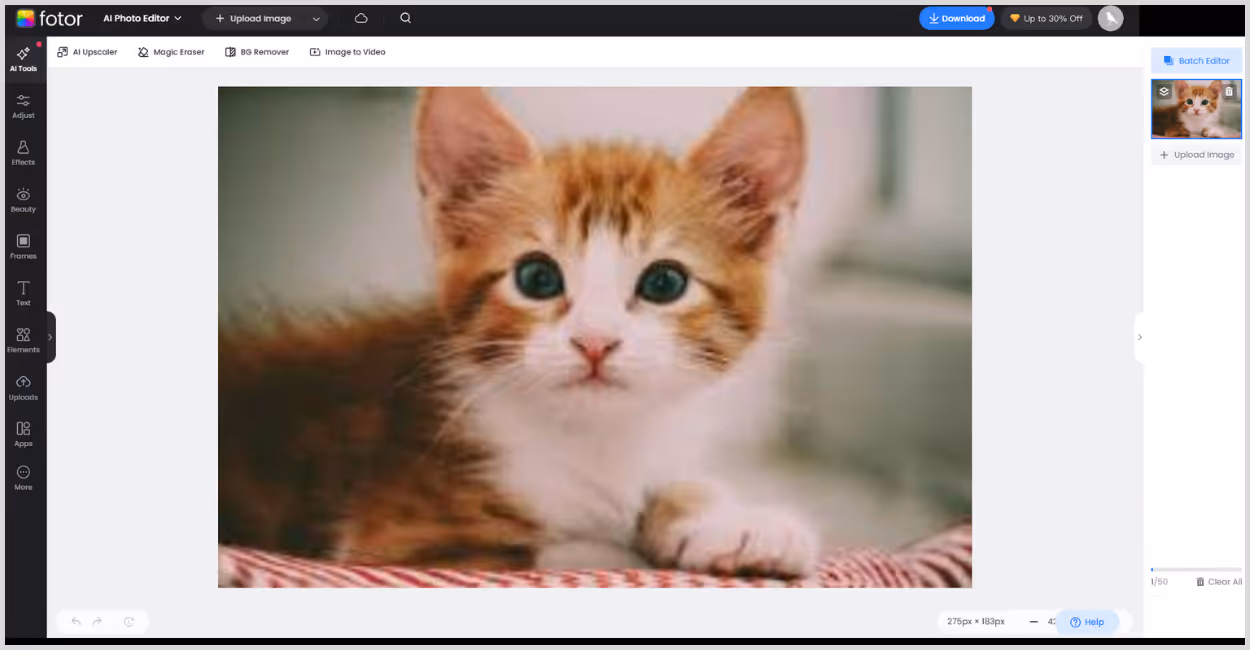
3. Fotor
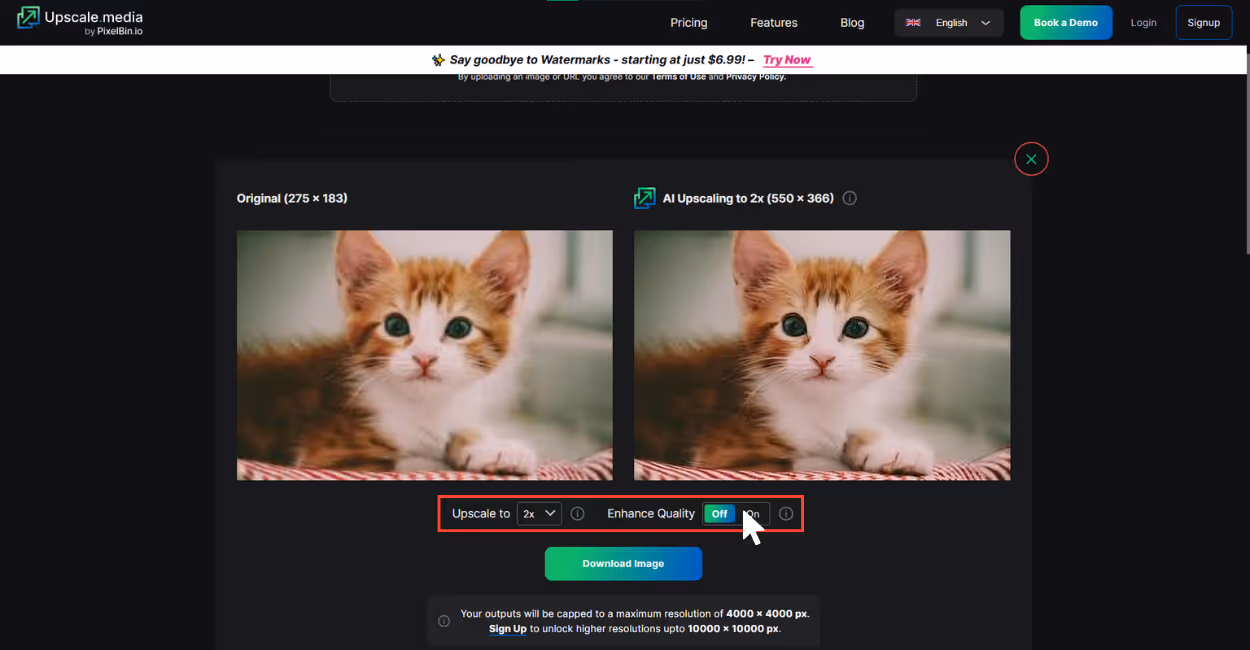
If you’re after a quick, no-fuss way to upscale images without quality loss, Fotor’s AI Image Upscaler is another solid option. I tested it using a single image that was 275x183 pixels—a slightly blurry shot with soft edges and poor sharpness.
After running it through Fotor, the upscaled image appeared noticeable. The sharpness improved, and textures improved without distortions. The tool supports upscaling up to 8x, but only 2x is a part of the free plan. After using that, my image went up to at full scale of 550x366 pixels.
I tested just one image to see how well it performed, and I’d say Fotor holds its own, especially for casual users or quick fixes where you want clarity without diving into complex editing tools. What I liked about the tool;
- You can upscale with a single click—no advanced settings or inputs needed.
- It includes built-in noise reduction, which helps reduce visual grain.
- There’s a preview window, so you can compare before and after before downloading.
- It processes quickly, even at higher scales.
How to upscale an image to 4K resolution in Fotor?
Step 1: Go to Fotor.
Step 2: Click to “Upscale Image now”.

Step 3: Upload your image – I used a JPG that was 275x183 pixels.
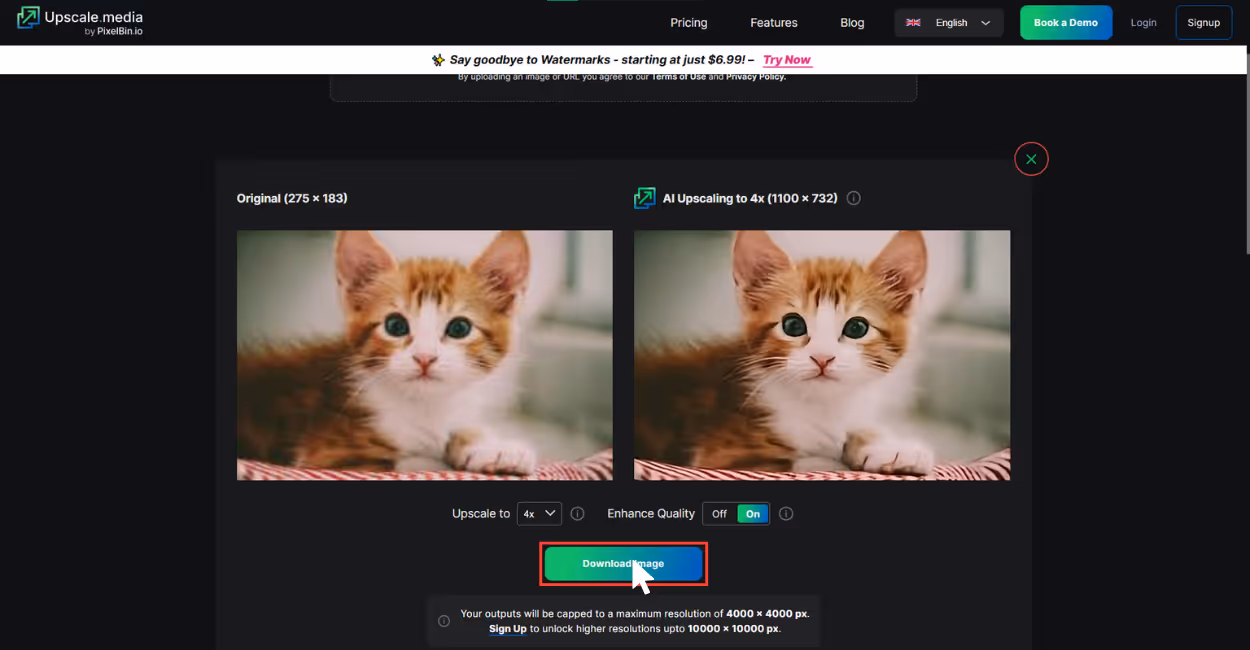
Step 4: Choose the upscale factor, usually 2x is for free, and 4x or 8x are a part of the premium plan. For testing the tool, I used 2x, and my image went to 550x366 pixels.
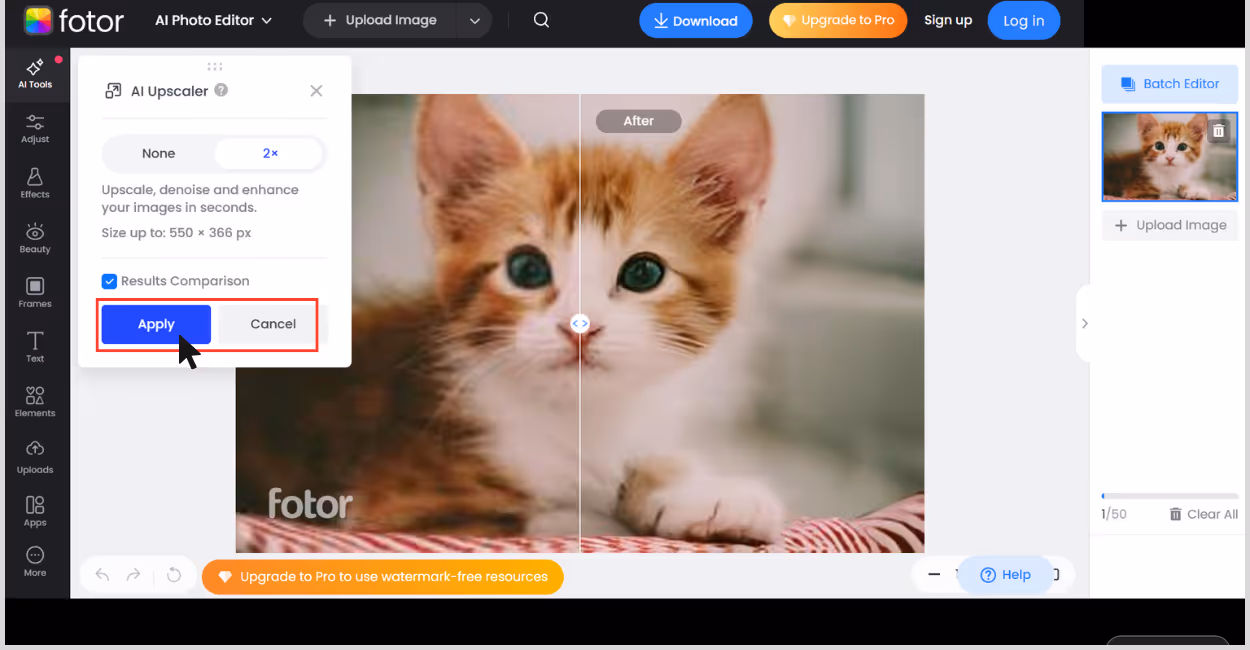
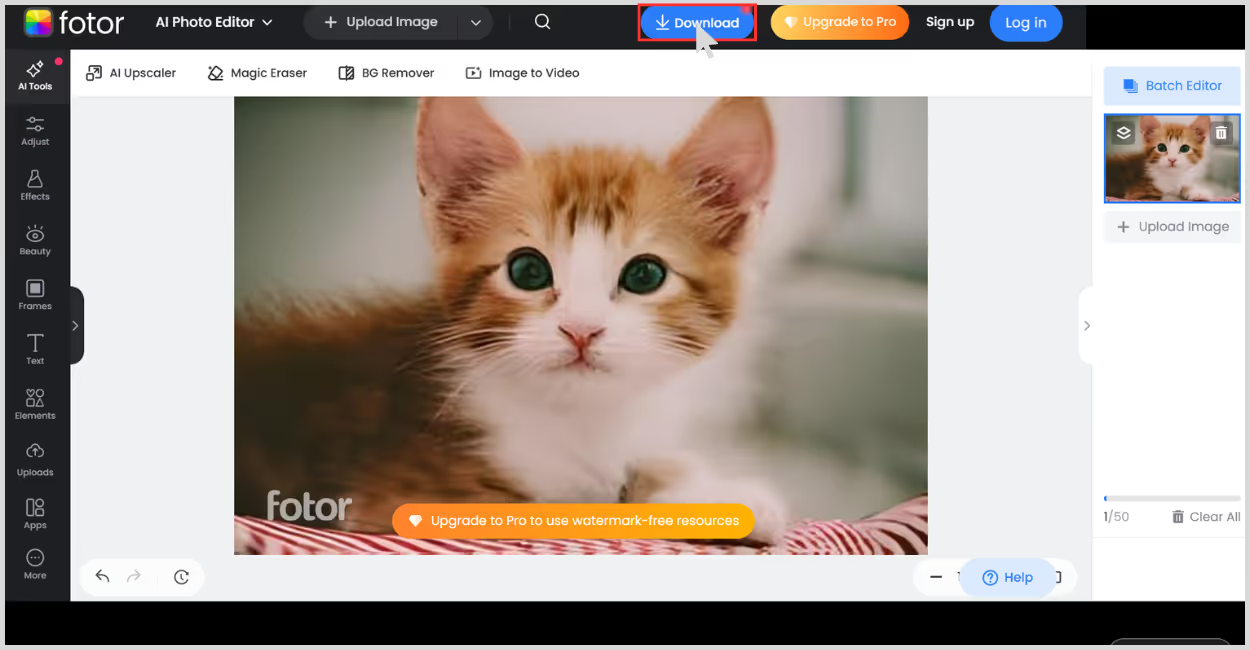
Step 5: Wait for the processing time, once done, preview and download.
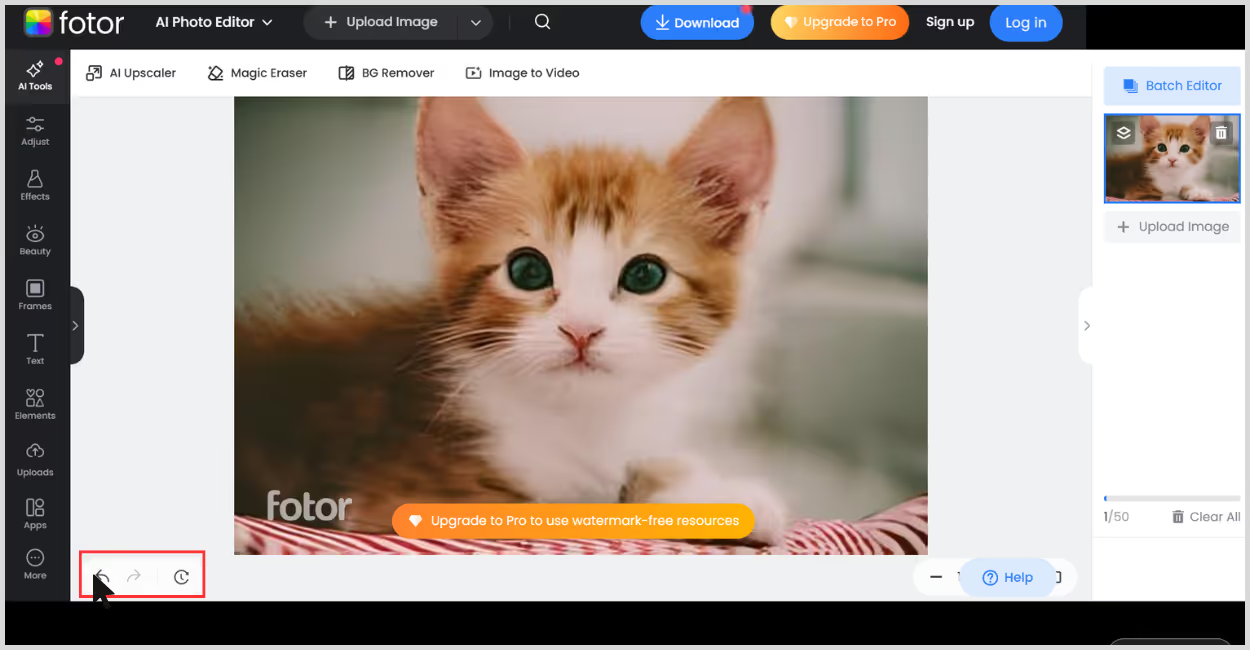
Step 6: You can use the before and after sliders to compare.
4. iLoveIMG
If you’re looking for a basic, no-login-needed AI tool to upscale an image to 4K, ILoveIMG’s Image Upscaler is one of the best. I tested it on a 275x183 pixels image—an old JPEG with some visible compression artifacts and soft edges.
After running it through the tool, I chose the 4x upscale, which brought it up to 1100x732 pixels. The clarity improved a lot—edges were cleaner, the image looked less pixelated, and some finer details stood out better. What I liked about the tool;
- No sign-up or account needed—you can get started instantly.
- Super clean interface, with just the basics.
- Fast results—my image processed in under 10 seconds.
- Decent quality boost, especially for compressed or pixelated images.
- Free to use, with no watermark on the download.
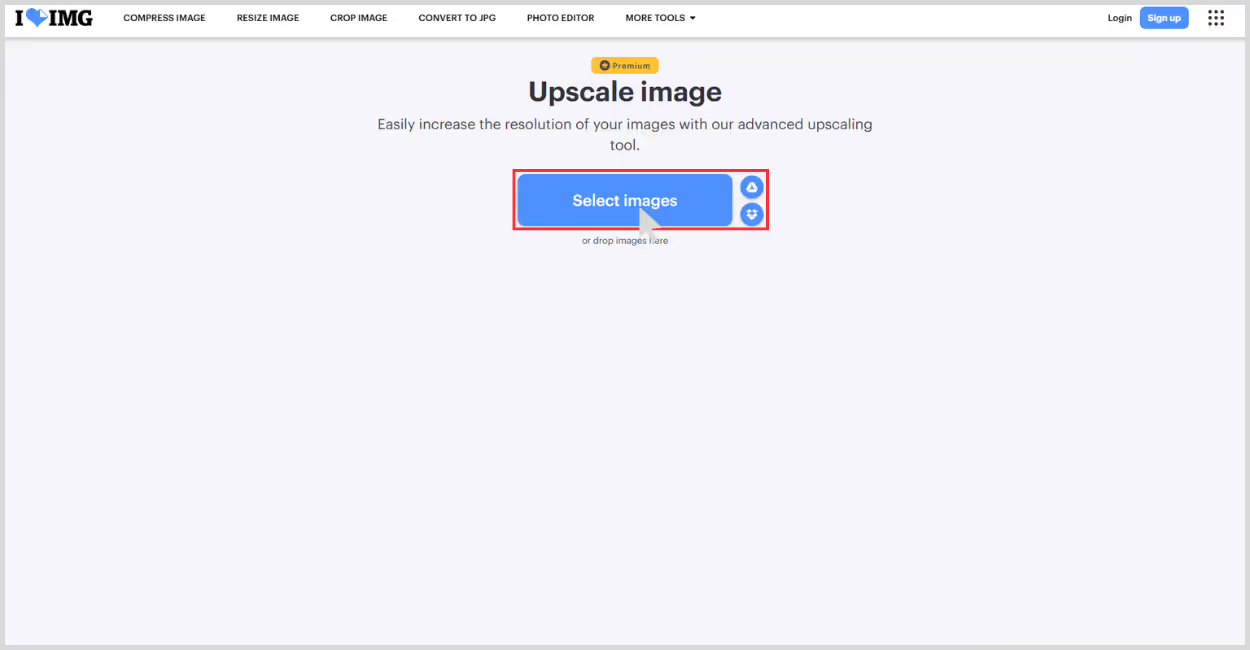
How to upscale an image to 4K resolution in iLoveIMG?
Step 1: Go to iLoveIMG
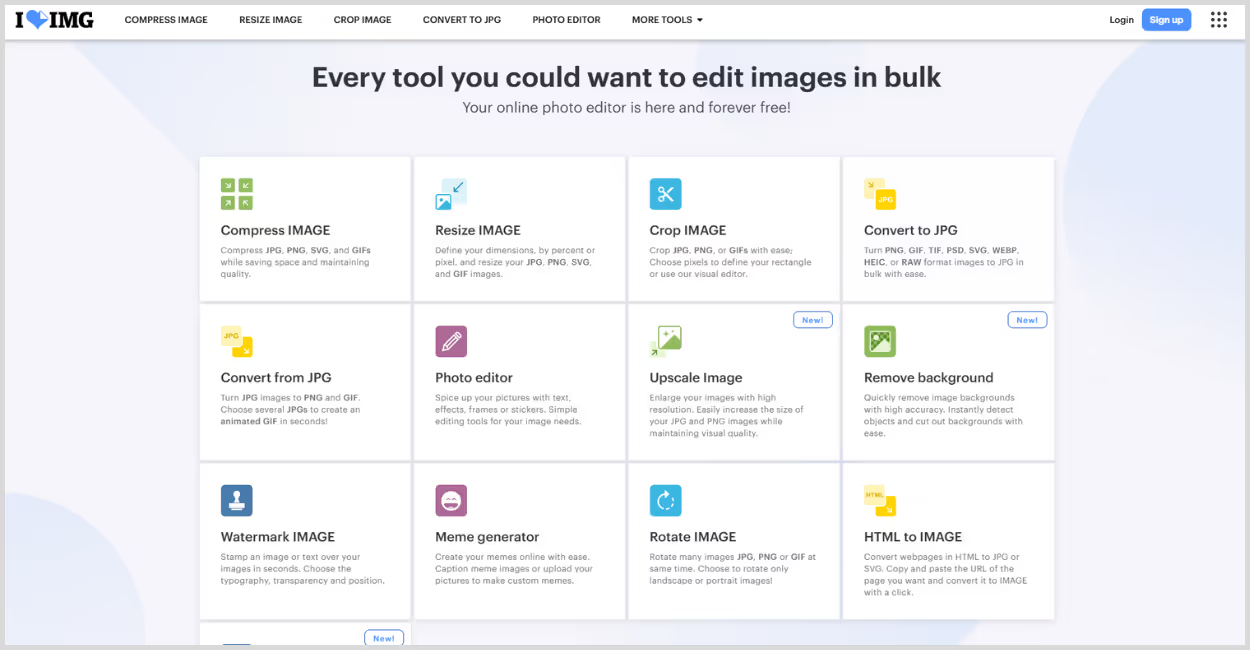
Step 2: Select “Upscale image option.”

Step 3: Click “Select Image”– or drag and drop your image into the box.
Step 4: Choose the Upscale Factor– Options: 2x or 4x. I have used 4x to upscale the image to 4K resolution.
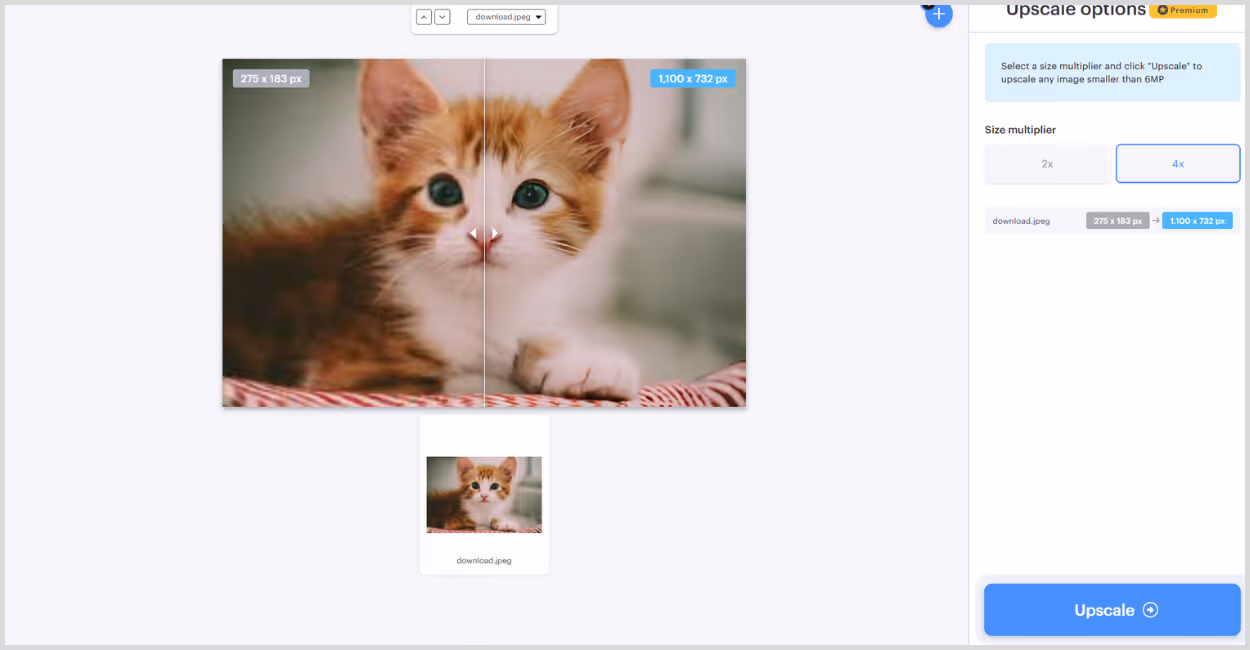
Step 5: Click “Upscale”, once the image is ready, you can preview the results by moving the before and after sliders.

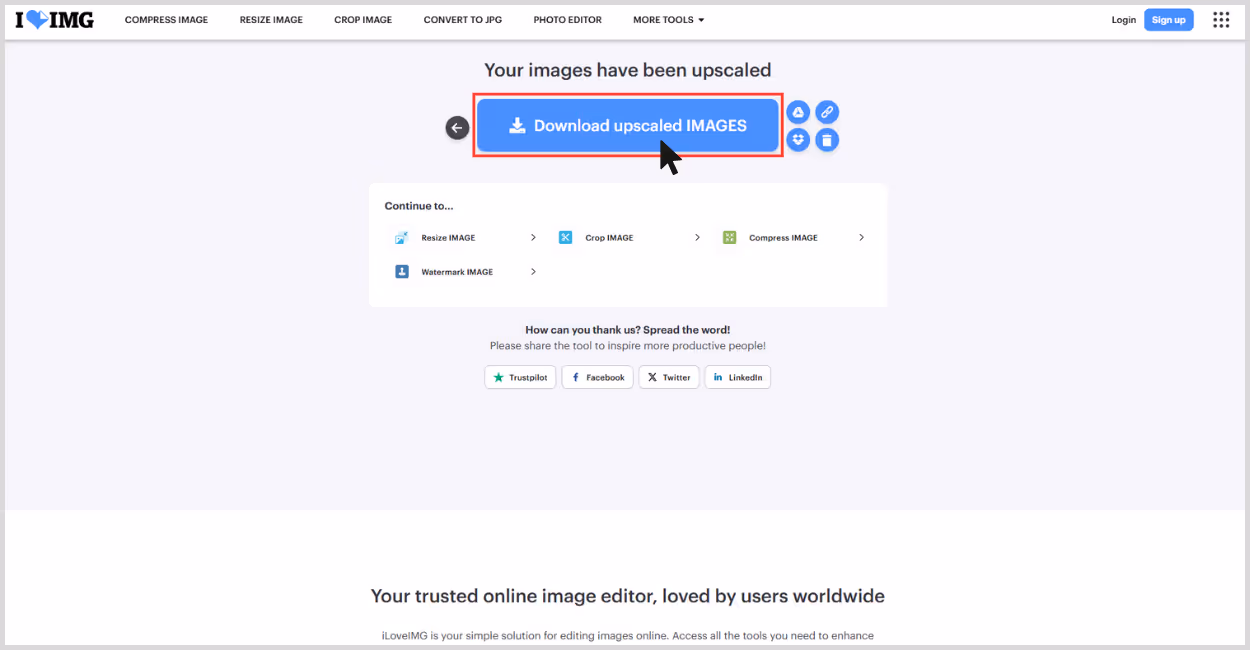
Step 6: Download the Result– It auto-generates a download link, no login required.
5. PhotoGrid

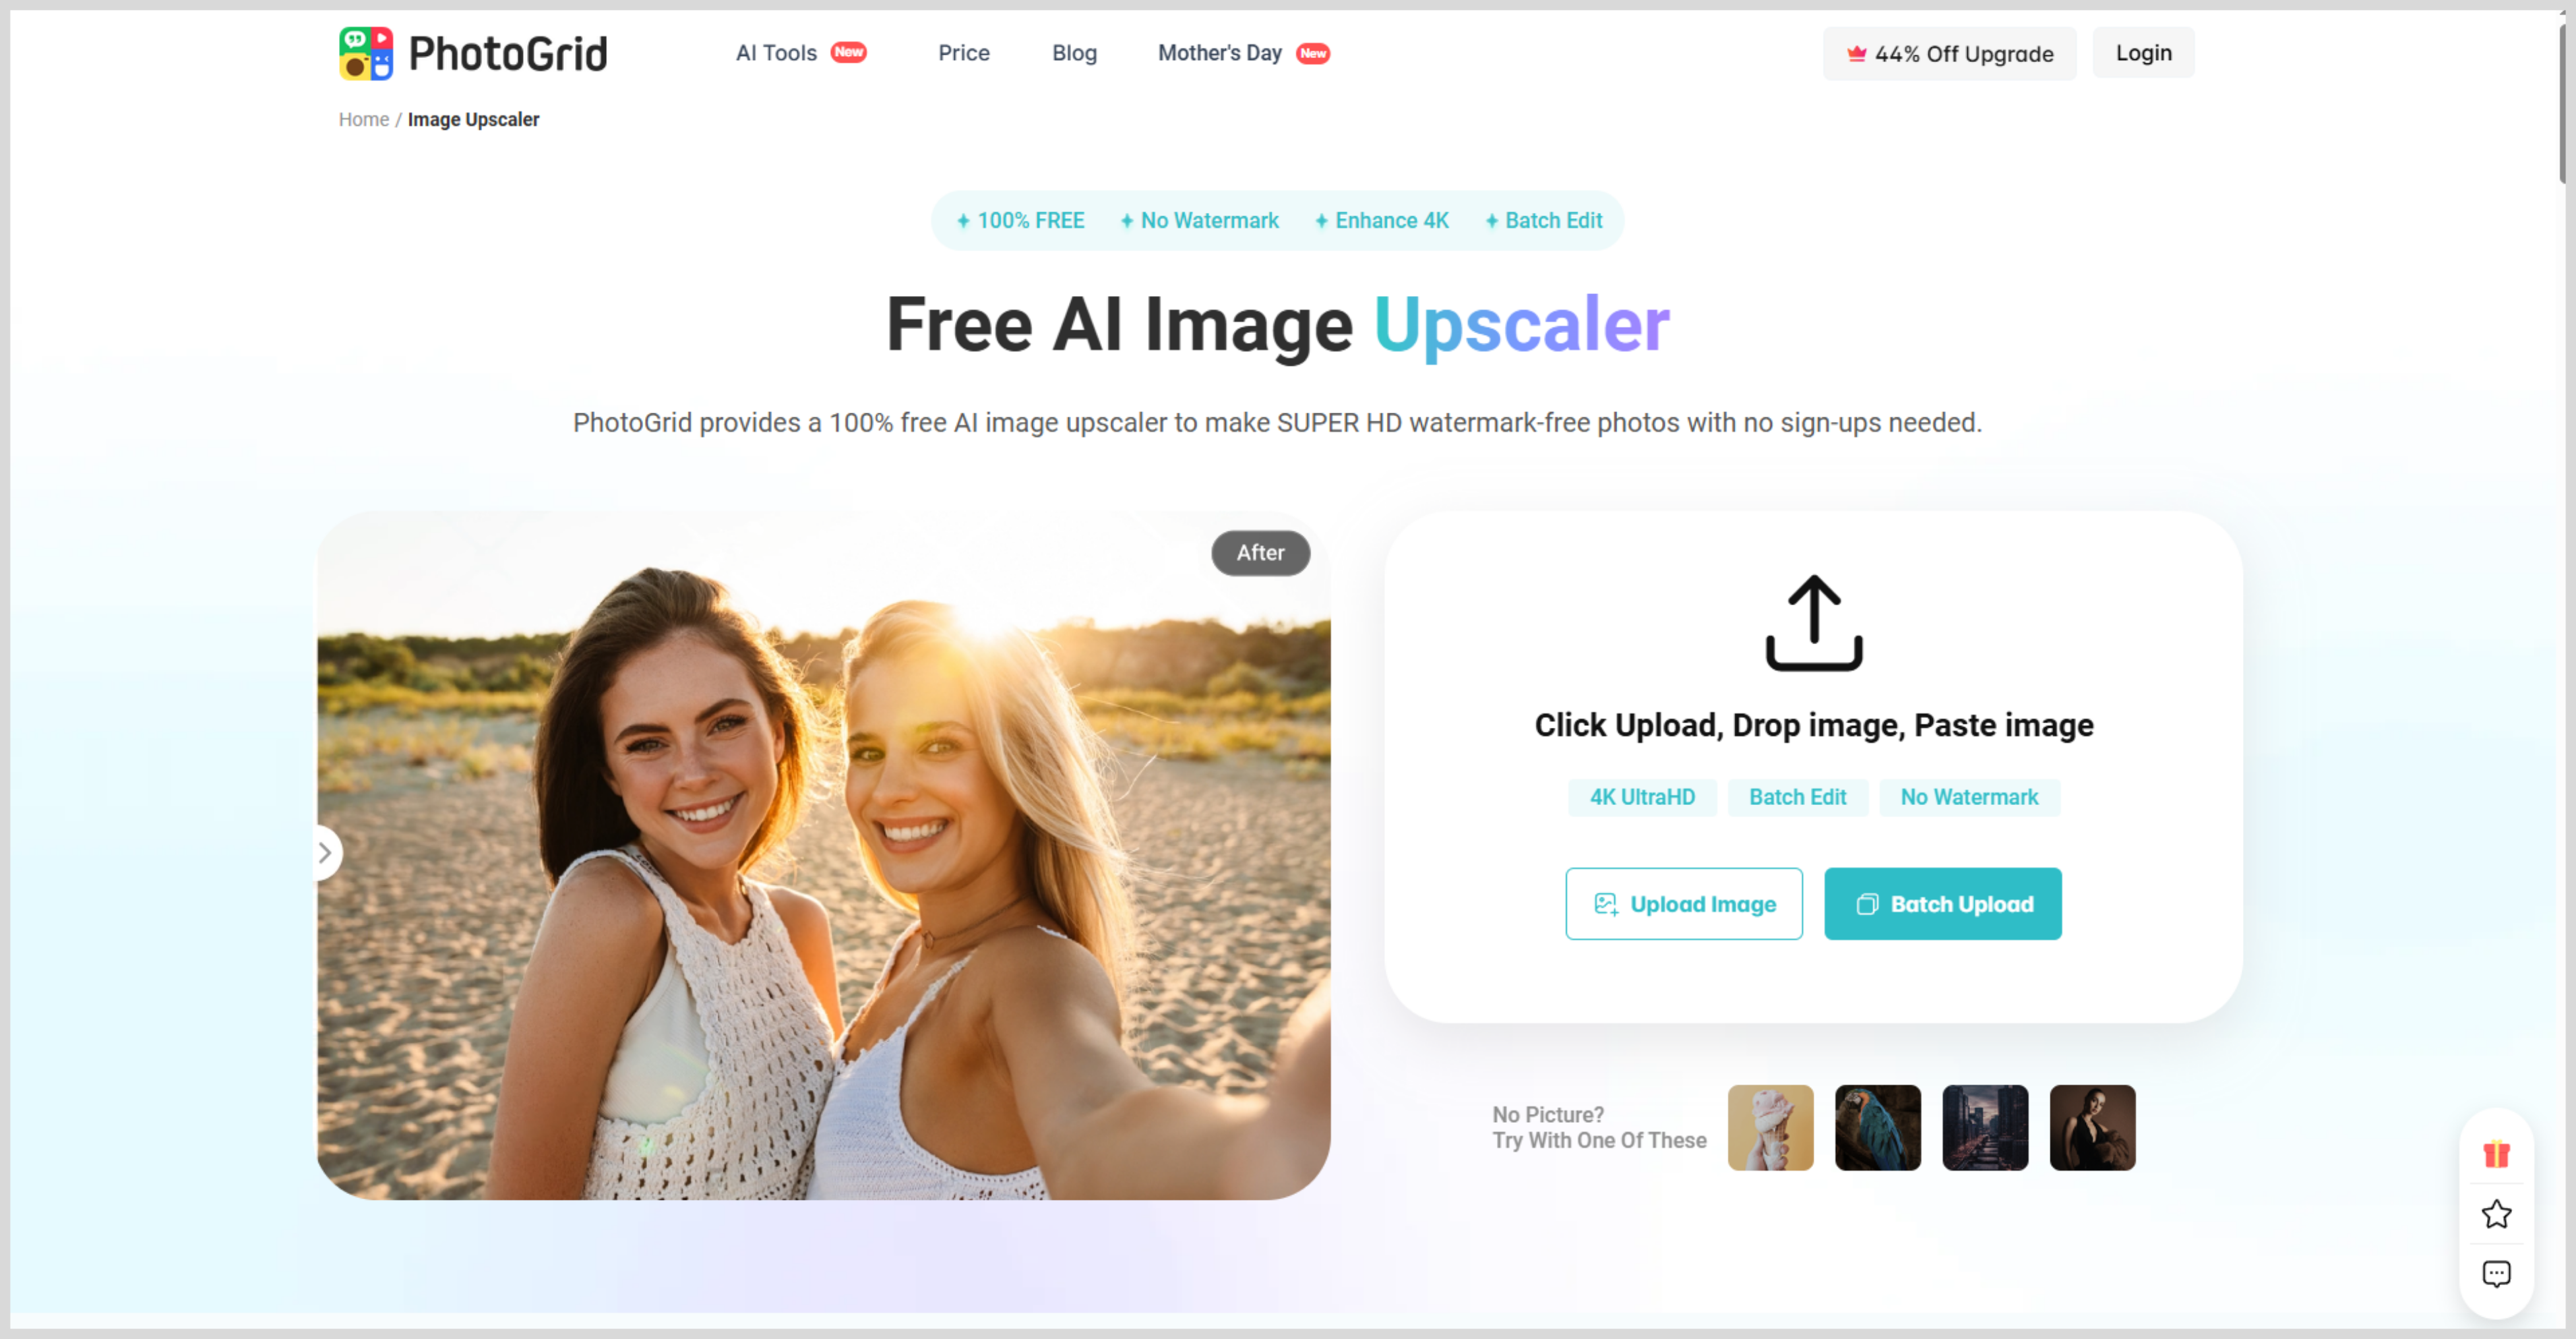
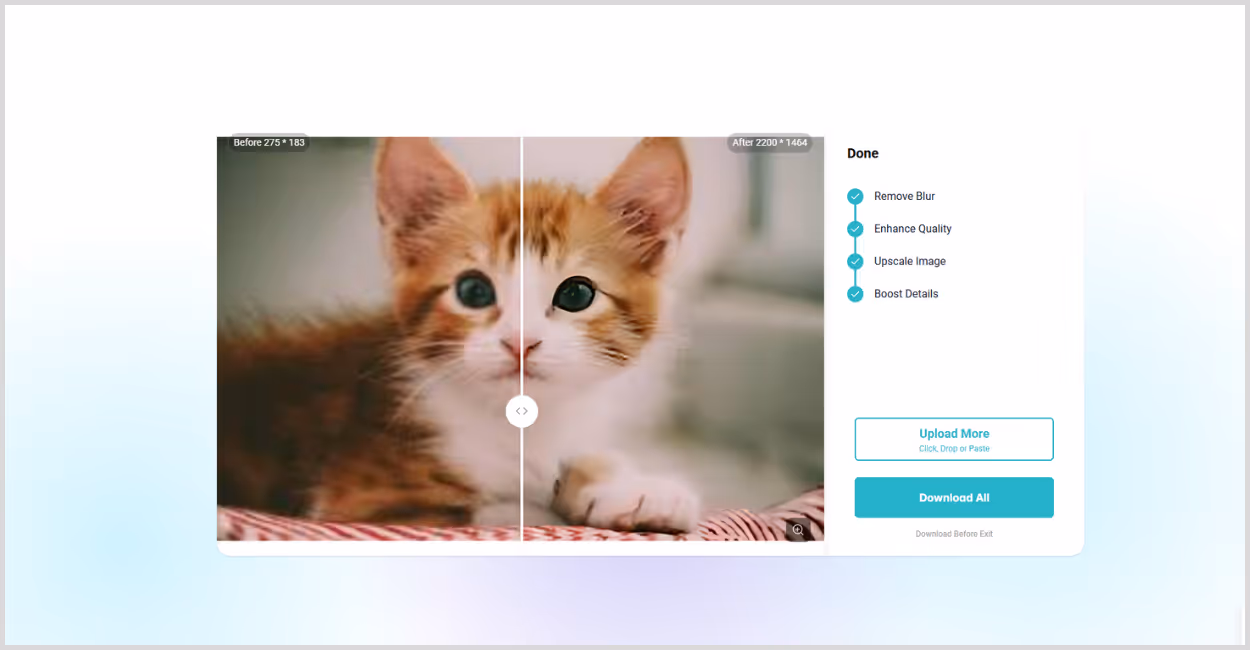
PhotoGrid’s AI Image Upscaler is a simple, web-based tool designed to upscale small or blurry images with minimal effort. I tested it on a 275x183 pixels image that was slightly blurred and lacked detail, especially around the edges.
This tool automates 4K image upscaling; no selection of image scale is required. And the image went to 2200x1464 pixels. The result looked cleaner, especially in the edges, removed the blurry spots, and sharpened as much as required. What I liked about the tool;
- No sign-up required.
- Simple, easy-to-understand interface with no unnecessary steps.
- No selection of image scale required.
- Free to use, and the image can be downloaded without watermarks.
How to upscale an image to 4K resolution in PhotoGrid?
Step 1: Go to PhotoGrid.
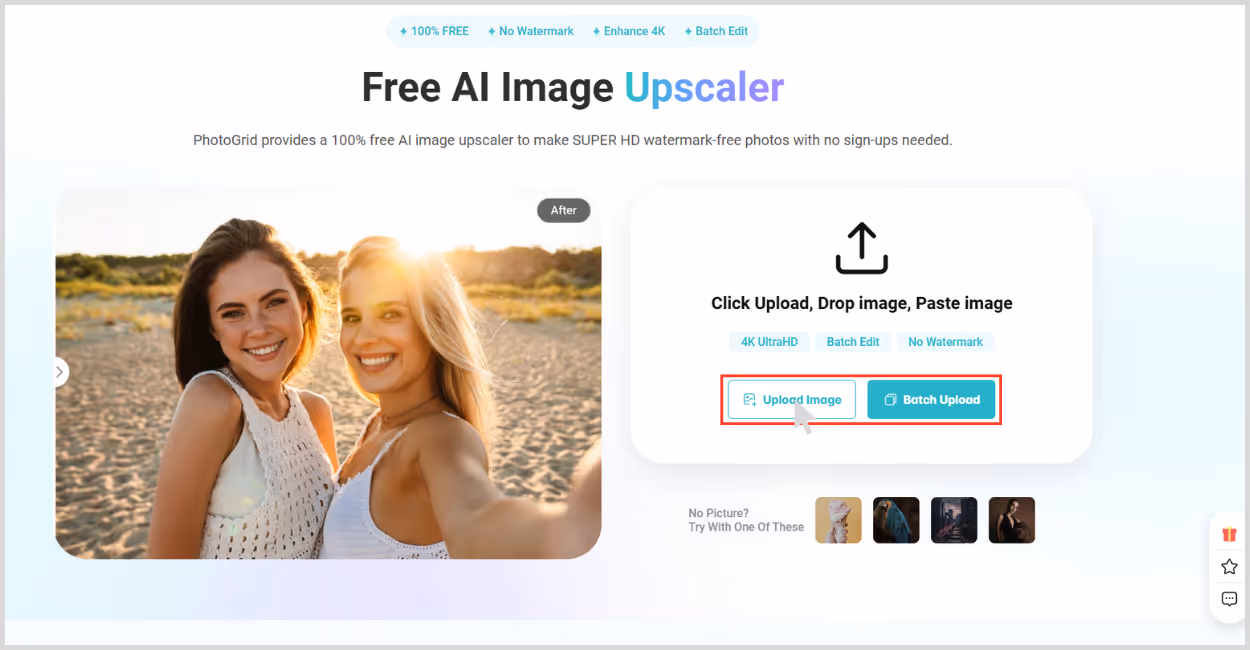
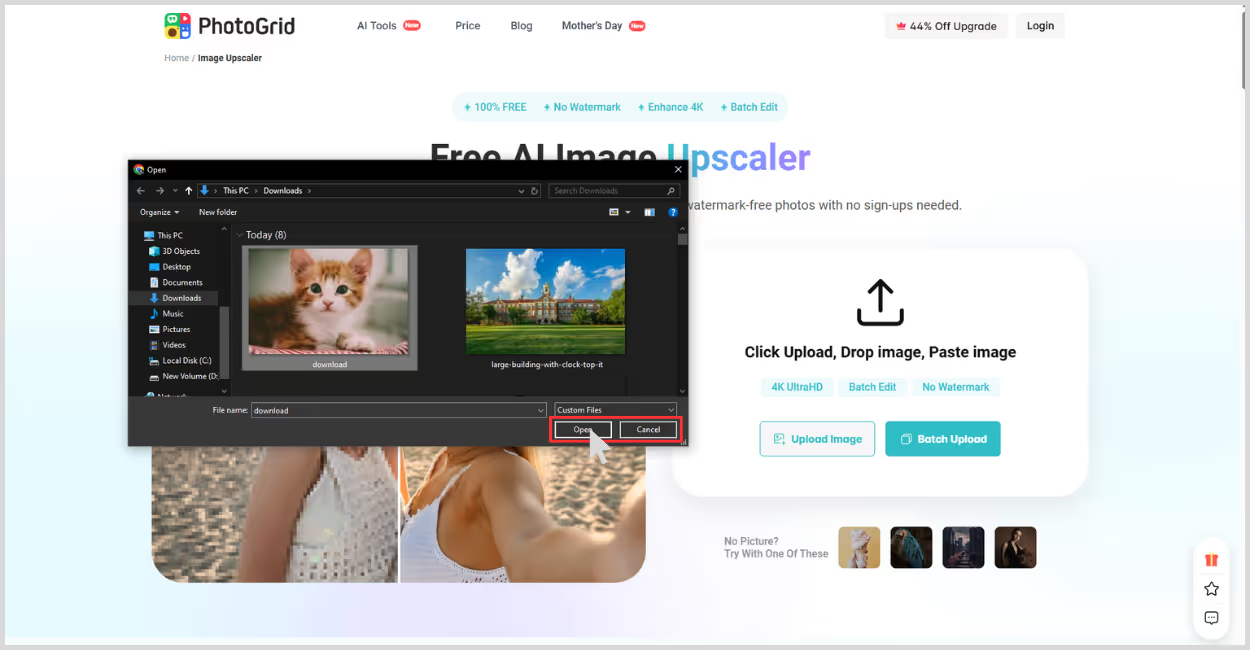
Step 2: Click “Upload Image” and choose the file you want to upscale. You don’t have to select any image scale factors, as it automatically upscales the image to 4K resolution.
Step 3: Wait for processing – it takes just a few seconds.
Step 4: Preview the result – you’ll see the upscaled image directly.
Step 5: Download the image – a free download is available without any watermark.

6. Img.Upscaler
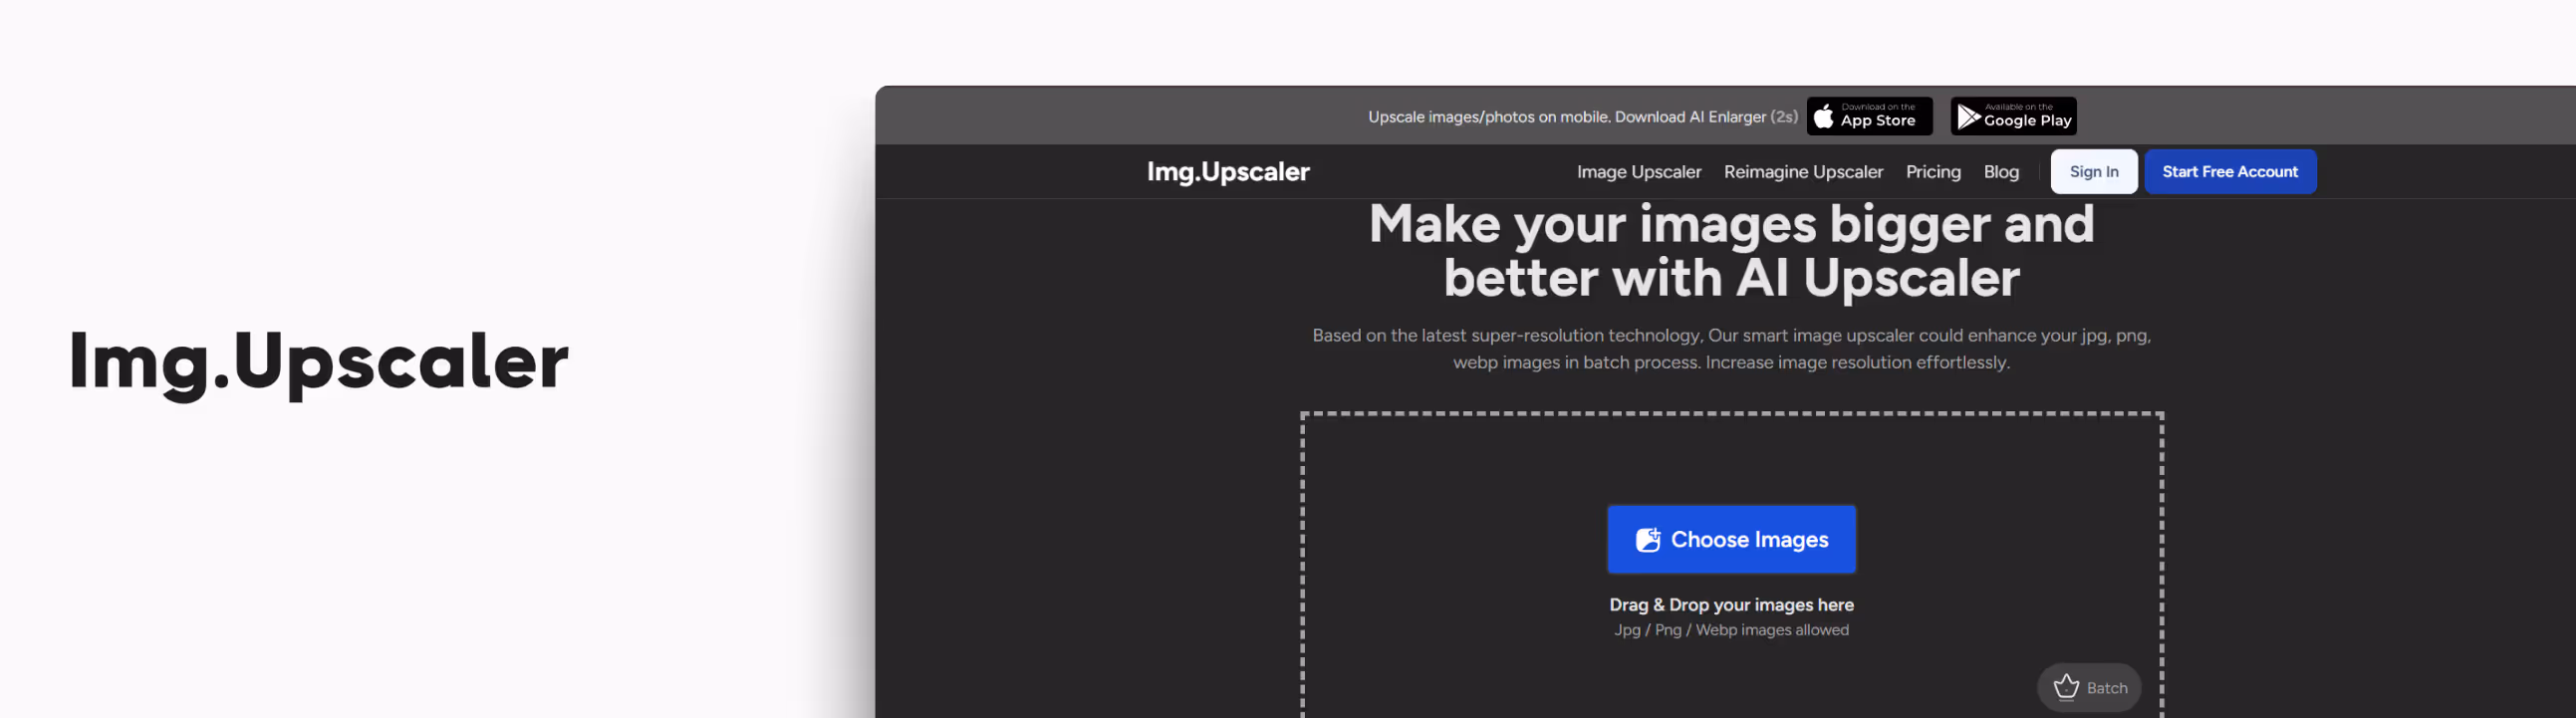
If you're new to AI image upscaling and just want quick, clean results, Img.Upscaler is a solid option. I tried it on a single image that was 275x183 pixels—a small sized cat’s image with blurred edges.
One of the first things I noticed was how clean and minimal the UI is. No clutter, no confusion, straight path to getting your image enhanced. Even better, they support batch processing on premium plans, which is a nice bonus if you’re a developer or part of a team that handles lots of images.
I went for the 4x upscale, and the result was impressive. My image was upscaled to 1100x732 pixels, and the final version looked noticeably sharper, with clearer textures and reduced noise. What I liked about the tool;
- Beginner-friendly interface — just upload and go.
- No login required for basic use.
- Supports JPG, PNG, and WEBP formats.
- The free tier includes 2x and 4x upscaling, which is great for casual use.
- The output looked crisp without over-sharpening or weird artifacts.
- Batch processing support for teams or developers (with premium plans).
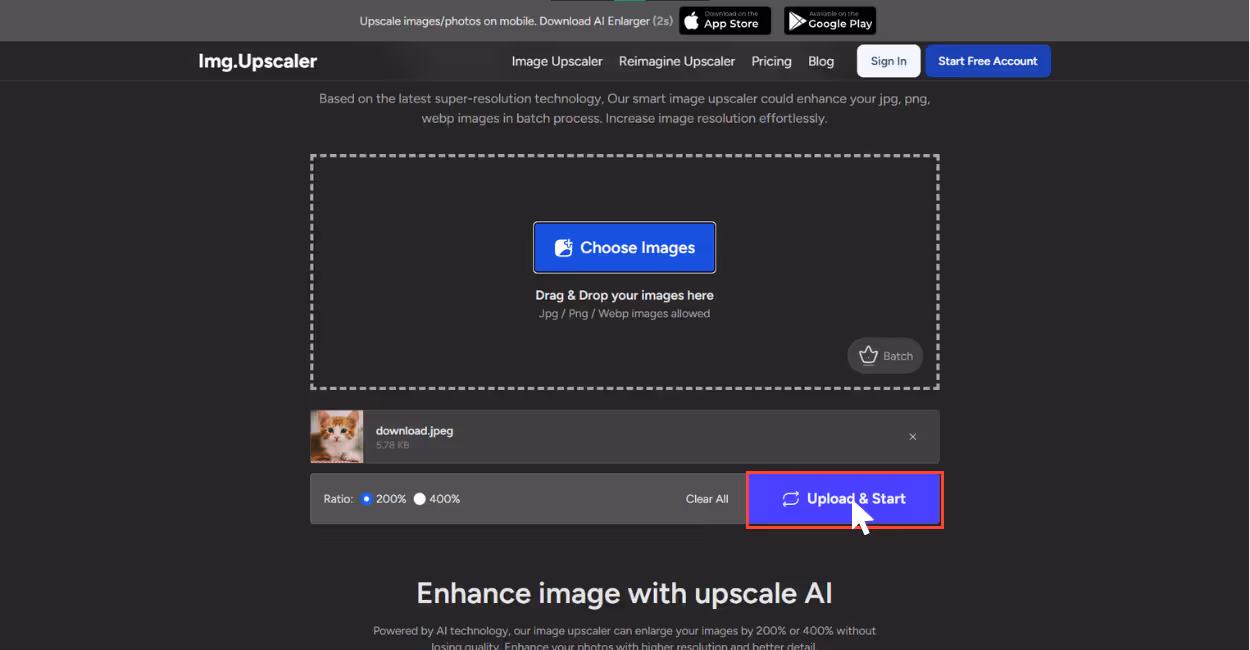
How to upscale an image to 4K resolution in Img.Upscaler?
Step 1: Go to Img.Upscaler
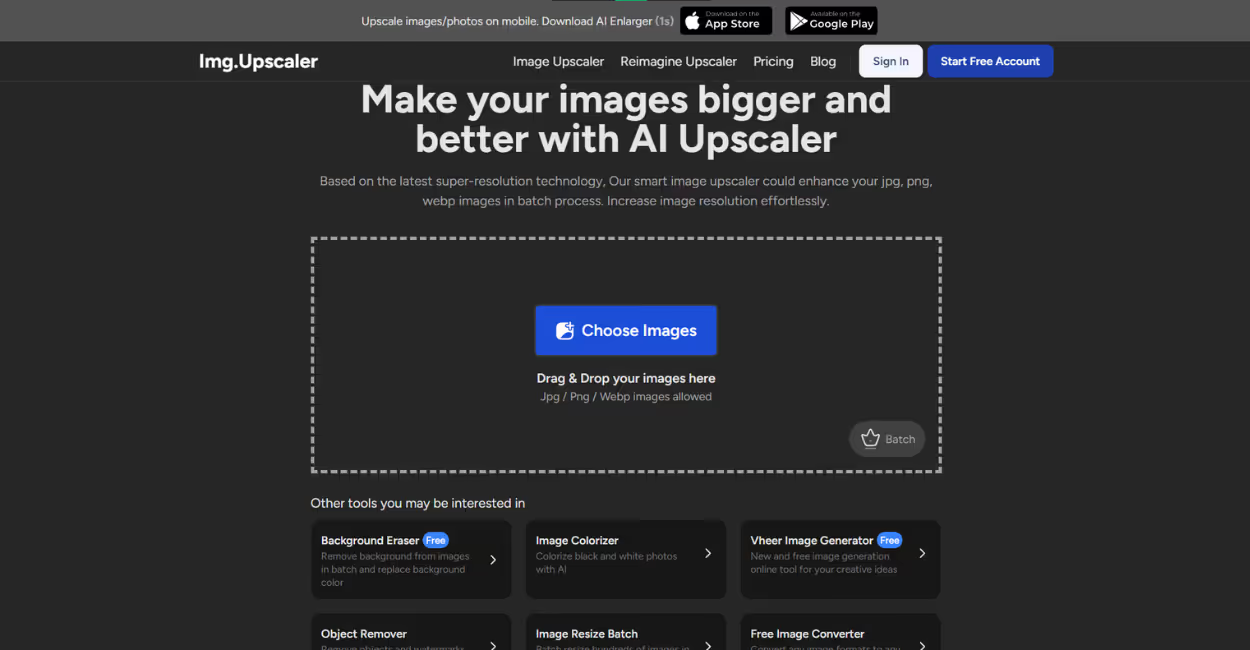
Step 2: Click the blue "Choose Image" button — or drag and drop your file. Select the 400% ratio to upscale image to 4K.
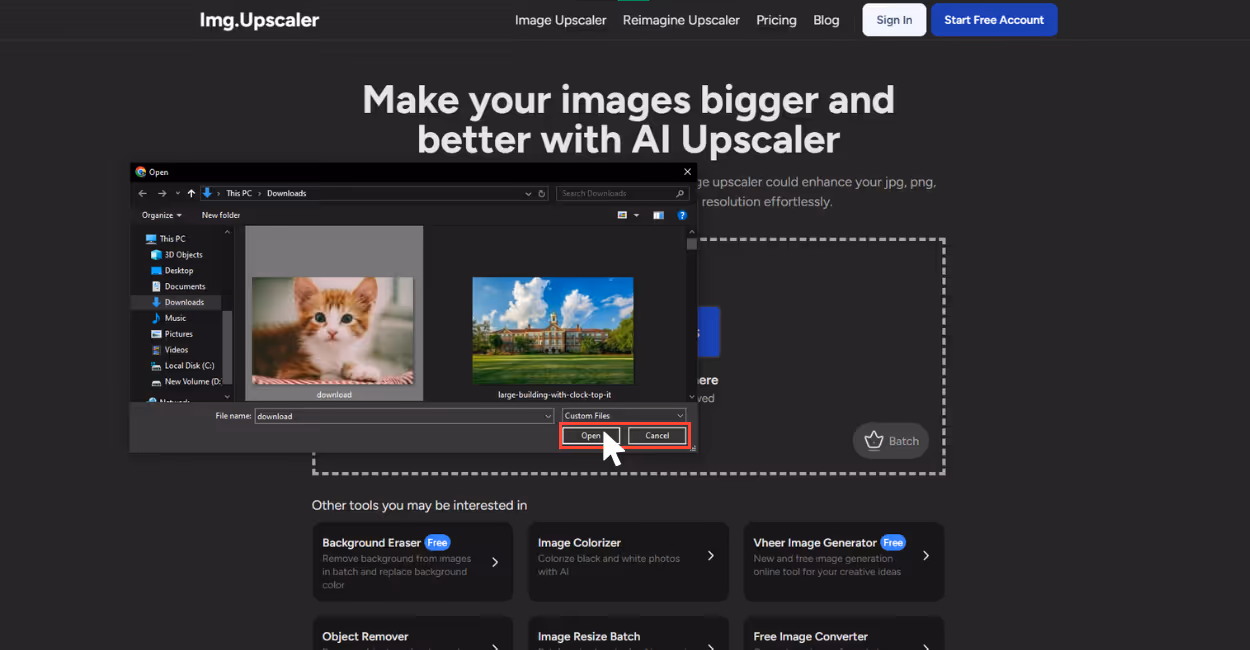
Step 3: Once your image is uploaded, click on “upload & start,” the AI automatically starts processing.
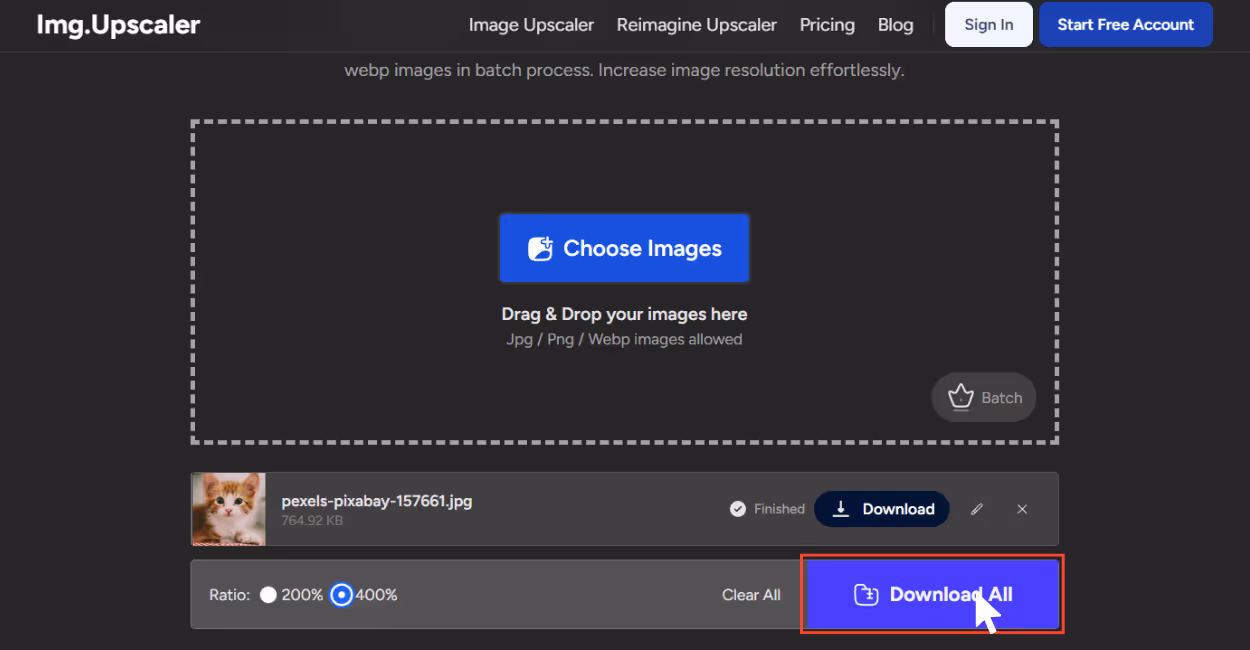
Step 4: After a few seconds, your upscaled image will be ready to download. You can also change the adjustments, crop the image by simply selecting on the pencil icon. Once done click to “Download all”.
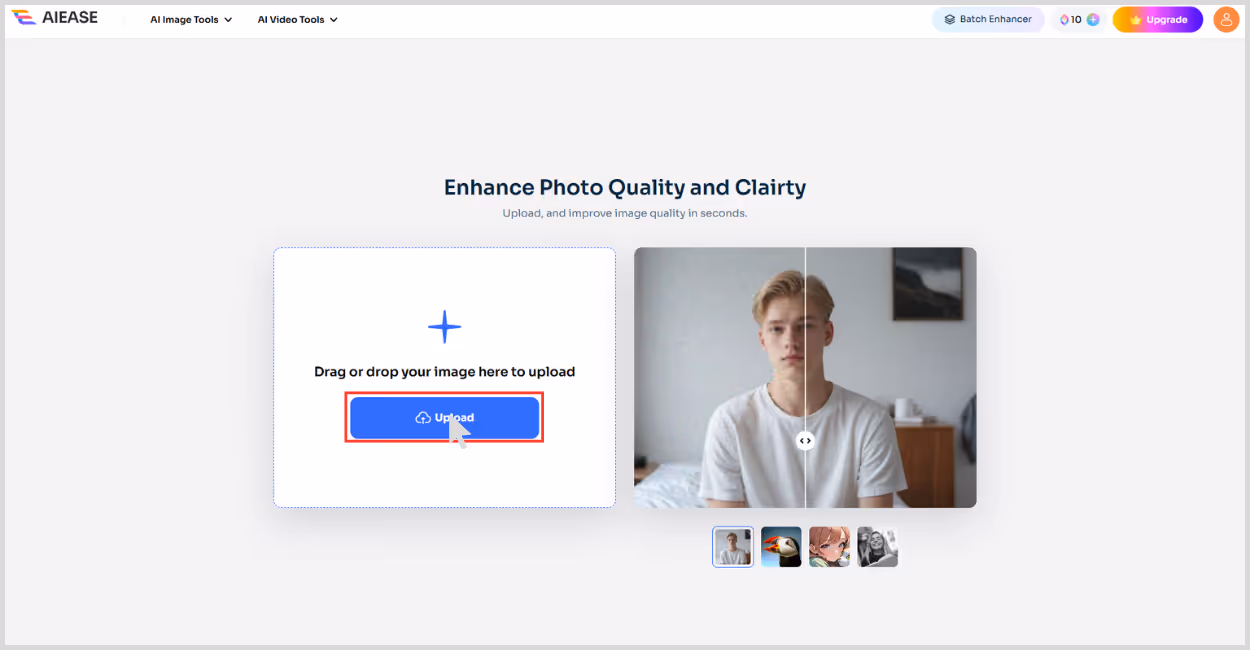
7. AIEase
If you're looking for an AI tool focused specifically on upscaling images to 4K, AI Ease's 4K Image Upscaler might be the right tool you need. I tested it with a single image of 275x183 pixels that lacked detail and sharpness.
As it's a 4K upscaler, you don’t have to select the image scale size. The tool upscaled the image to 3840x2160 pixels, hitting that true 4K resolution mark. Edges were smoother and came out much clearer, and overall, the photo ended up havinga professional finishing.
What stood out to me was how the tool balances sharpness and other effects as well as maintaining noise reduction. Many upscale tools overdo sharpening, but this one delivered natural results, surprisingly clean. What I liked about the tool;
- Simply focus on 4K upscaling.
- No registration required for basic use.
- Supports JPG and PNG formats.
- Delivers natural-looking clarity.
- Beginner-friendly UI.
How to upscale an image to 4K resolution in AIEase?
Step 1: Go to AI Ease 4K Image Upscaler.
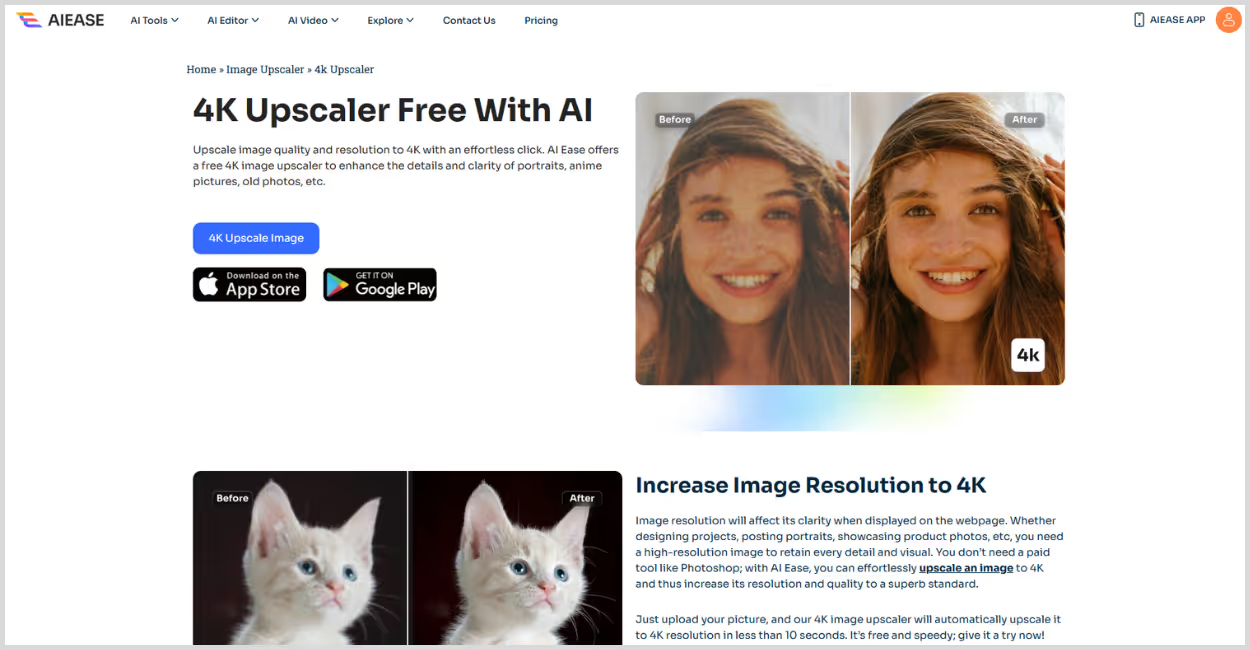
Step 2: Click “Upload Image” – and select the image you want to upscale.
Step 3: The tool will start processing automatically — wait a few seconds.
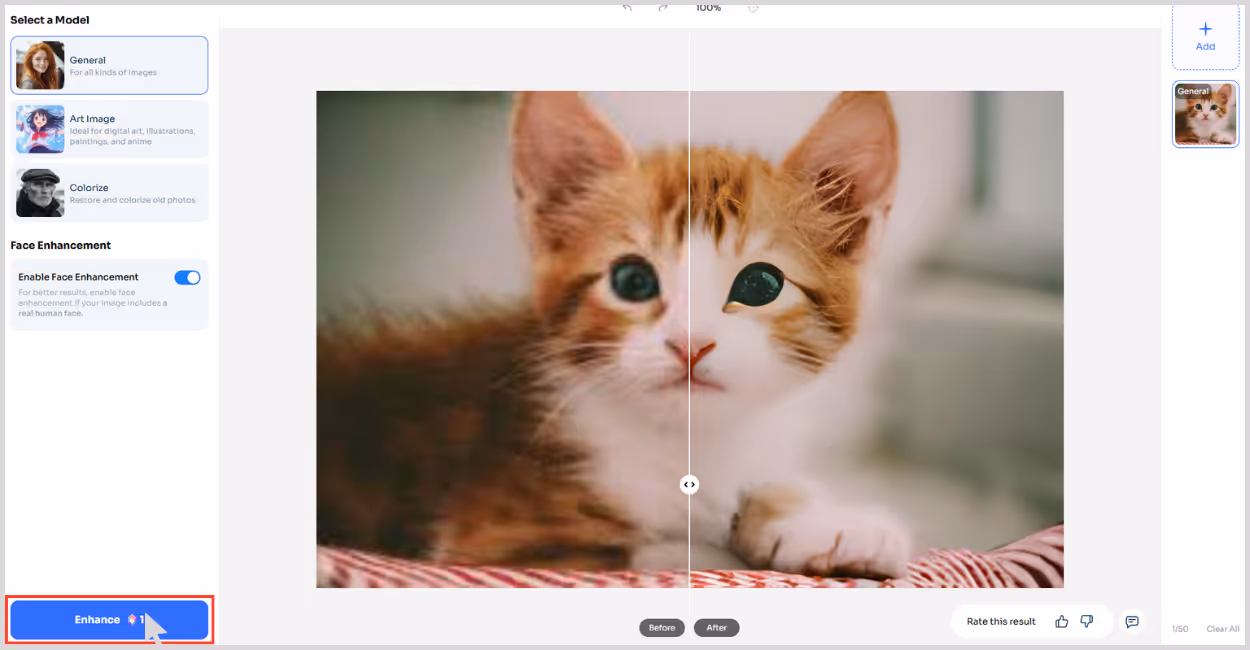
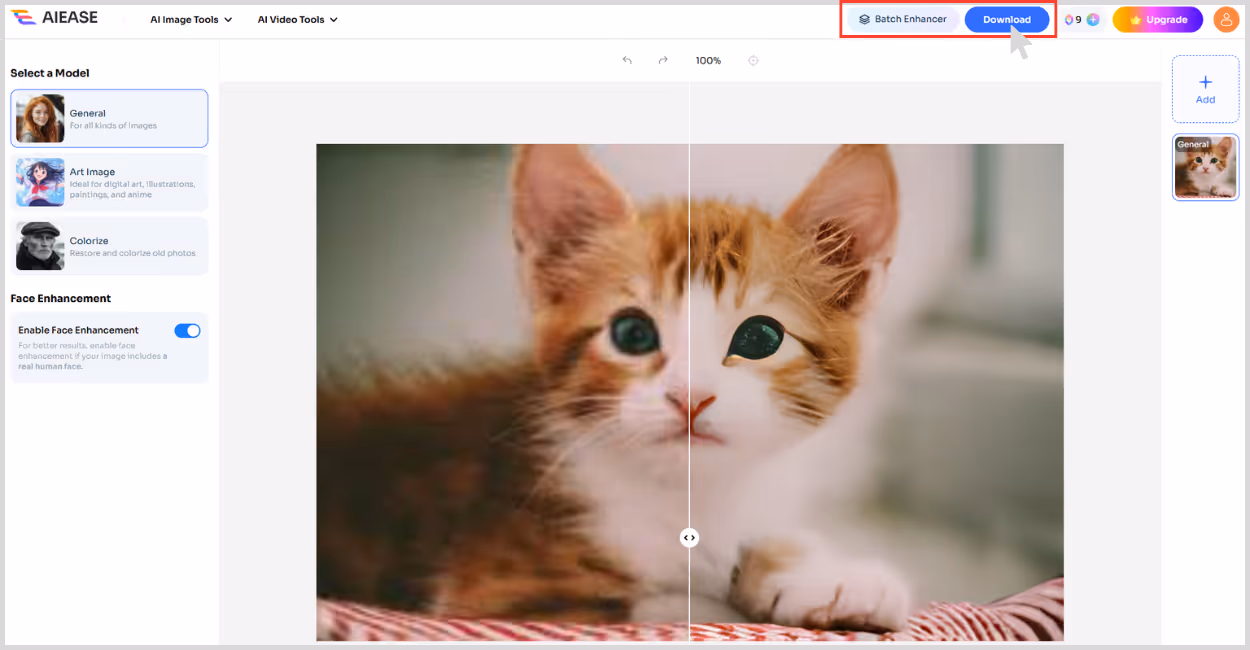
Step 4: Once complete, preview the upscaled result, and download the image. To show how my picture turned out I have provided the before and after results.
Tips to get better results while upscaling an image to 4k
Upscaling an image to 4K sounds exciting — and it is — but if you want the results to actually look 4K and not simply adding some pixels, few small choices can make a big difference. Here are some must-know tips I’ve learned along the way:
- Start with a low-quality image - If your original image is blurry, dark, or pixelated, the AI can only do so much to upscale an image to 4K. Start with something like a small but clean photo. While a smartphone shot in low light may still upscale better than a heavily compressed web image, it's usually best to avoid blurry or dark images for the sharpest 4K results.
- Avoid using a screenshot image - Screenshots usually have poor dots per inch and capture on-screen pixels rather than actual image data. If you’re trying to upscale a screenshot, you’re likely to end up with fuzzy results.
- Preview the before-and-after result - Most tools offer a preview before download — use it! Zoom in or select the slider to see how the AI handled fine details. Some tools might generate glitches, and it’s easier to catch them before you hit download.
- Pick the right tool for image upscaling - Not all AI upscalers are built the same. Some are better with face enhancements and while others excel at landscape or portrait shots. If one tool gives you weird results, try another.
Final thoughts
To wrap it up, if you're looking for the best AI image upscaler to 4K resolution, Pixelbin offers the most well-rounded experience in terms of output quality, speed, and reliability. For beginners as well as professionals, I recommend Pixelbin as an AI tool to upscale images.
It's one of the simplest, fastest, and most user-friendly tools that provide the best results. Every aforementioned tool excels in its own way, like Fotor, Img.Upscaler, but ultimately, the right selection of an AI tool depends on your workload. For a reliable choice, Pixelbin is the tool to make your images stand out.
FAQs
It means increasing the pixel size to 3840x2160 pixels, often using AI to add realistic details to the image.
The best way to upscale an image to 4K is by using Pixelbin, as it's one of the simplest methods and ensures that you retain the image's quality.
Yes, Pixelbin is one of the best free AI upscalers where you can avail 2x, 4x, and 8x image scale sizes with sign-up credits.
Generally, yes. But avoid uploading sensitive or private images unless the tool clearly mentions privacy protection.
AI upscaling enhances quality by predicting and recreating lost pixel details, unlike traditional methods, which just enlarge the image.
Use AI tools that support lossless formats, such as PNG (e.g., Pixelbin or Upscale.media), and avoid compressing the image after download.

.webp)
%20(1).webp)