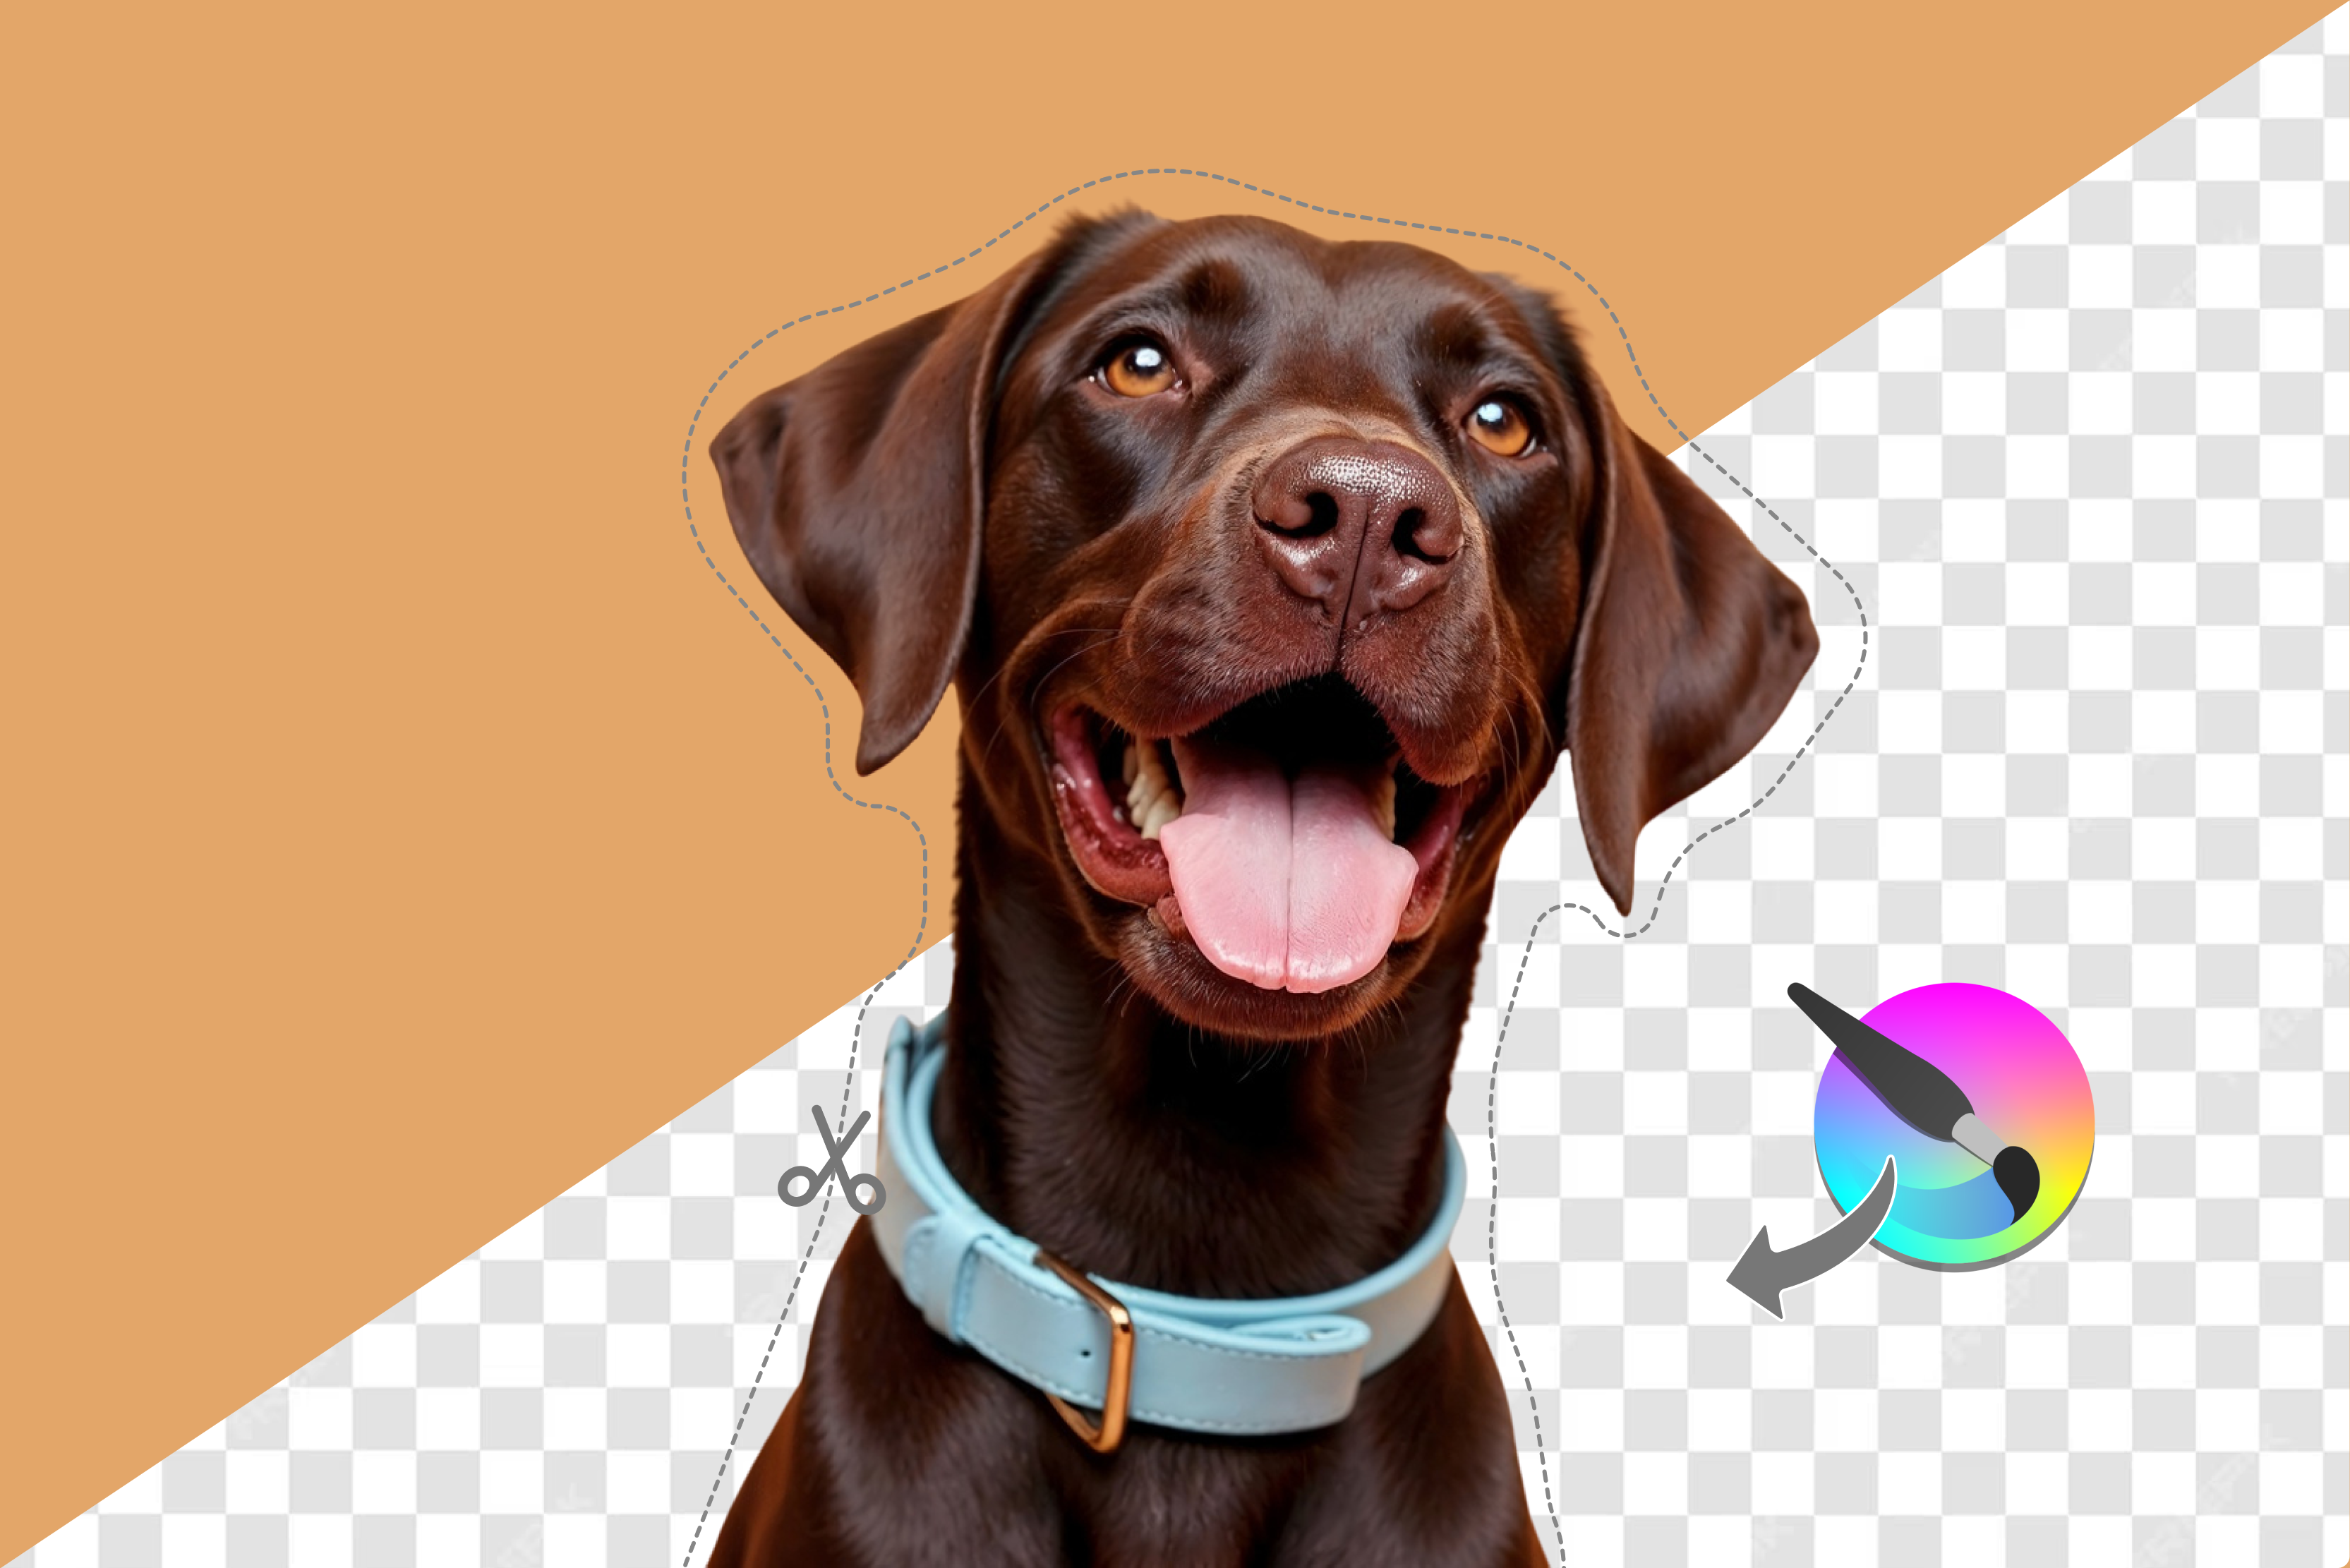
If you’ve ever worked on a design project, you know how much difference a clean background can make. It’s one of those things that seems small, but it completely changes how your final piece looks.
Whether you’re designing a logo, editing product photos, or creating something for print, removing the background helps everything look sharper and more professional. A clean cutout just gives your work that extra polish. CorelDRAW has been around for years, and there’s a reason so many designers still stick with it.
It’s reliable, flexible, and works well whether you’re playing with vectors or editing bitmap images. What’s great about it is that it doesn’t matter if you’re a beginner or a pro—you can still get the results you want without feeling overwhelmed.
In this post, I’ll walk you through a few easy ways to remove a background in CorelDRAW. Some methods are super simple and perfect if you’re just starting, while others are more advanced and give you precise, professional-level results. I’ll also share a few personal tips that can help you work faster.
What is background removal in CorelDRAW?
When you’re working in CorelDRAW, removing a background basically means cutting out the main subject of your image and removing everything that is unwanted in the background or the whole background.
It’s the process of making the important part stand out—maybe turning the background transparent, or just isolating the subject so you can place it on something new. Sometimes it’s quick and simple, like clearing a plain color behind a logo. Other times, it’s a bit more detailed, like separating a product or person from a complex photo.
Unlike raster-first apps (e.g., Photoshop), CorelDRAW is vector-first but still handles placed bitmaps. That gives you a lot more flexibility. When working with vector graphics, you’ll mainly depend on drawing and node-editing tools to fine-tune shapes and outlines. This lets you control the corners of the image.
When working with bitmap images, you might use pixel-based tools—like the eraser or selection tools—or convert the bitmap into a vector image to clean the background faster. The best thing about working this way is that you can choose what's needed for your project. Vector-based removal keeps your graphics crisp at any size, while bitmap editing gives you control over textures and fine details.
CorelDRAW makes it easy to jump between both worlds without having to switch to another program. That flexibility is what makes it such a dependable tool for designers who want precise, professional-looking results without a lot of extra steps.
Preparing your image for background removal in CorelDRAW
First, take a good look at your image. Pick something where the main subject stands out clearly—if it’s too busy or blends into the background, it’s going to be a pain to work with.
Try to use pictures where the edges are easy to see. If the subject has clear lines and the colors are different from the background, it will make your life a lot easier. Once you’ve picked your image, open it in CorelDRAW.
Don’t worry about making it perfect yet—just make sure it’s big enough so you can see all the details. Spending a little time here will save you from struggling later when you actually remove the background from an image.
How to Remove Background in CorelDRAW
CorelDRAW has a few ways to do this, depending on whether you want to work fast or get into the details. You can use tracing, edit bitmaps, or just do it by hand. Each method has its own benefits, so you can pick what feels easiest.
Method 1: Using PowerTRACE to convert a Bitmap to a Vector
PowerTRACE is easier for you if you want to turn a bitmap into a vector. After it’s a vector, you can clean the background from the image that you do not want to keep.
Step-by-Step Guide:
Step 1: Bring the bitmap into CorelDRAW.
Step 2: Right-click it and choose Outline Trace > High Quality Image.
Step 3: Adjust the settings until the image isn’t too messy but keeps enough detail.
Step 4: Hit Remove Background. Let CorelDRAW guess the background, or pick the color yourself.
Step 5: Look at the preview. Make sure only the part you want is left.
Step 6: Click OK, Now your bitmap is a vector without the background.
Step 7: Ungroup and tweak things if something looks off.
Method 2: Using Cutout Lab for harder backgrounds
If the background is tricky—like hair or small edges—Cutout Lab in PHOTO-PAINT is useful.
Step-by-Step Guide:
In CorelDRAW, select the image and click Edit Bitmap. It opens in PHOTO-PAINT.
Step 1: Go to Image and then click on Cutout Lab.
Step 2: Roughly highlight the part you want to keep. You can make the line thicker or thinner for more control.
Step 3: Use Inside Fill to define the keep area, preview, then use Add/Remove Detail (or the Cutout Layer eraser) to refine. After exiting Cutout Lab, use the Eraser or Smart Selection Mask to clean up.
Step 4: Zoom in and tidy up the edges.
Step 5: Click OK, save, and close PHOTO-PAINT. CorelDRAW will update the image without the background.
Method 3: Manual editing with the Shape Tool
If you want full control, the Shape Tool lets you edit the vector path node by node.
Step-by-Step Guide:
Step 1: Turn the image into a vector using PowerTRACE or trace it manually.
Step 2: Select it and pick the Shape Tool.
Step 3: Click nodes to move or delete them, shaping the outline how you want.
Step 4: Add nodes where you need more control.
Step 5: Use the curve handles to smooth the edges.
Step 6: It takes a bit longer but gives you precise results.
Method 4: Cleaning up with the eraser tool
Even after tracing or using Cutout Lab, small bits may remain. The Eraser Tool is good for cleaning those.
Step-by-Step Guide:
Step 1: Select your image or vector.
Step 2: Pick the Eraser Tool from the toolbar.
Step 3: Change the brush size and hardness depending on the area.
Step 4: Drag over leftover pieces or rough edges.
Step 5: Use a hard brush for sharp lines and a soft brush for smoother edges.
Step 6: Keep going until the background is completely gone.
Tip: Mix methods if needed. Start with PowerTRACE for the main shape, then clean edges with the Eraser Tool or Shape Tool. That way, you get the cleanest result without spending forever on tiny details.
Pro tips for efficient background removal in CorelDRAW
1. Work with layers
Always start by organizing your work. Put your image, edits, and extra touches on different layers. It makes life easier when you need to hide, adjust, or fix something later. Think of it like stacking clear sheets on top of each other—you can change one without messing up the rest.
2. Zoom right in
Don’t try to do all the cleanup from far out. Zoom in close so you can see every edge and corner clearly. The tighter you zoom, the better your results will look. It’s usually those little spots you miss that make a design look sloppy, so take your time there.
3. Use more than one tool
Start with PowerTRACE or the quick selection tools to knock out most of the background. Once that’s done, switch to the Shape tool or the Eraser for detailed work. You’ll get much cleaner edges that way. No single tool does it all—mixing them gives you the best control.
4. Save often
Seriously—save after every big change. Make separate versions so you can always go back if something goes wrong. Losing progress after hours of work is the worst feeling, and a few extra saves can save your day.
Best alternatives to remove the background from an image
CorelDRAW provides professional tools like PowerTRACE and PHOTO-PAINT’s Cutout Lab that deliver cleaner background removal with customizable edge refinement.
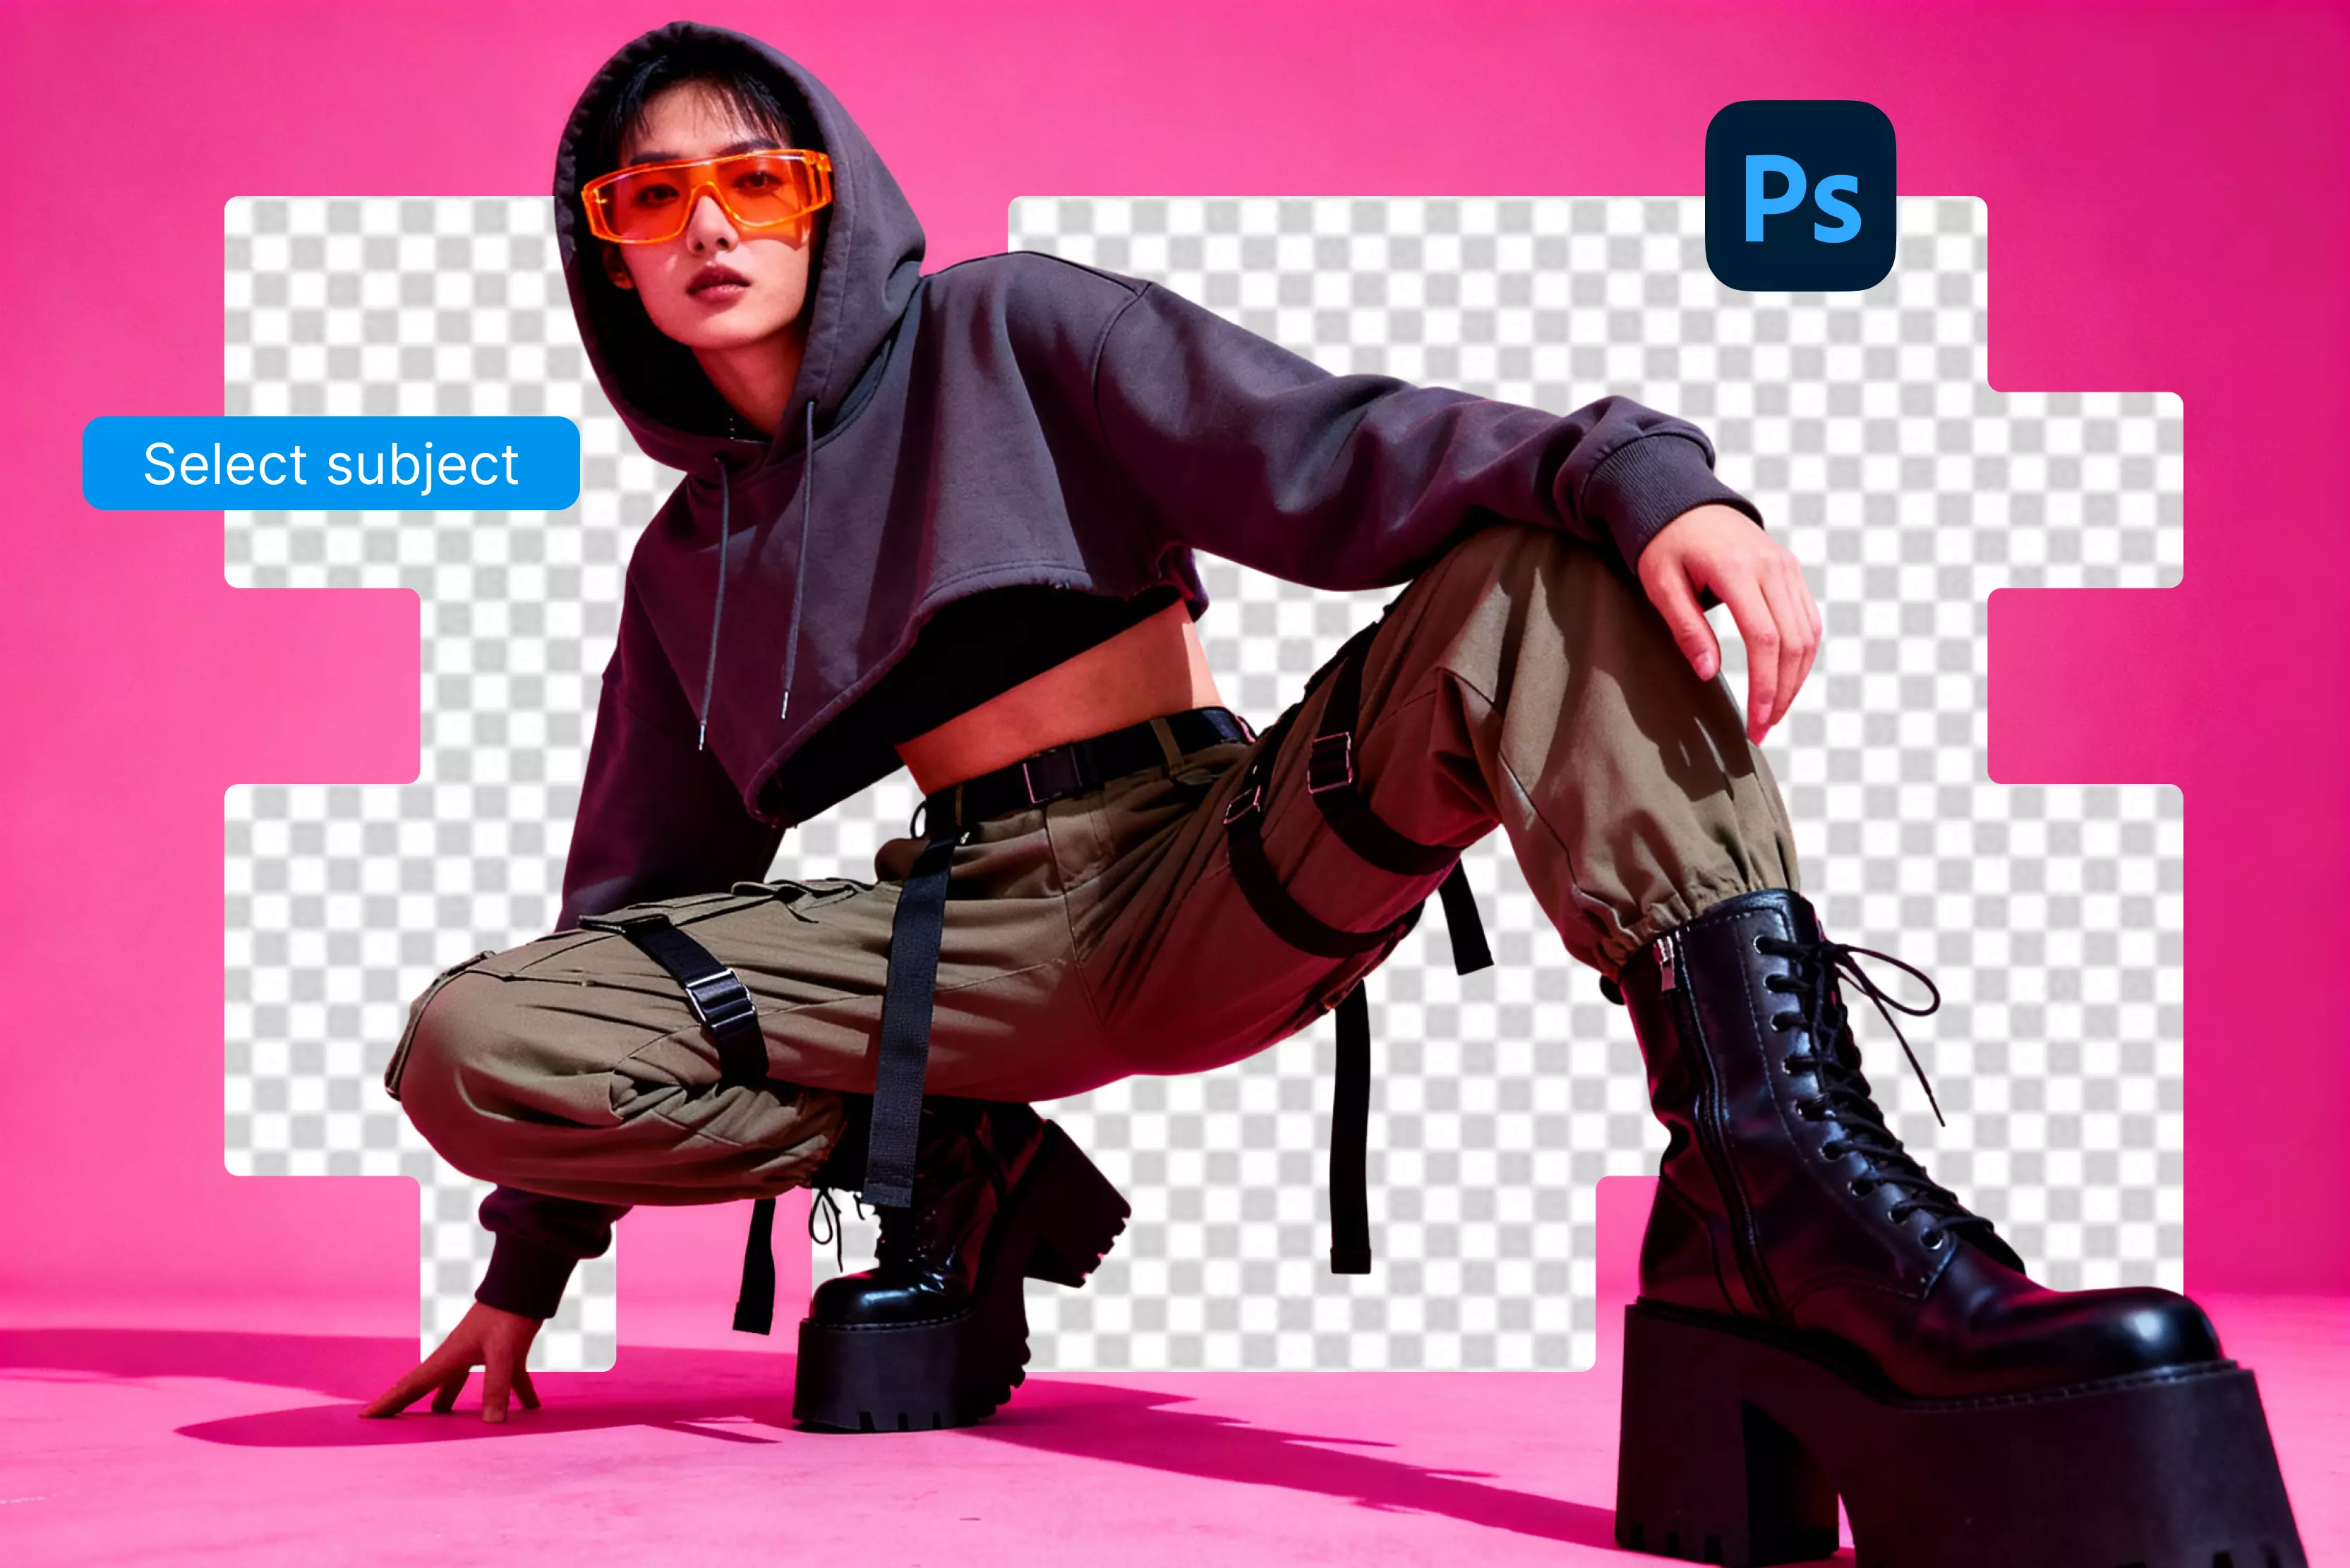
If you want faster, cleaner results, there are better options. These tools remove background from pictures more accurately, save time, and even add extra editing features that Paint doesn’t offer.
1. Pixelbin background remover

Pixelbin is a handy tool if you deal with a lot of images and need clean background removal. It doesn’t give you those rough, cut-out edges that make pictures look fake. The results come out smooth and sharp, even when you’re working with high-resolution photos.
I’ve seen it work well for product shots, marketing images, and social posts—anything that needs a neat, professional finish without spending too much time editing. What really helps is how simple it is to use.
You can remove backgrounds in batches, which is a lifesaver when you’ve got hundreds of photos to process. It runs automatically, but the quality doesn’t drop. Whether you’re a business owner, a designer, or just someone trying to save time, Pixelbin gets the job done without the hassle.
Why did I like it?
- Bulk background removal with accurate results.
- Keeps subjects sharp and detailed.
- Supports automation with API integration.
- Works smoothly with large, high-resolution files.
2. Erase.bg
Erase.bg is super simple to use. You just upload a photo, and the background is gone in a few seconds. It doesn’t leave weird edges or make the picture look fake. You don’t need to know anything about photo editing.
It saves a lot of time, especially if you’re making profile pictures, resumes, or product shots. Everything is clear and easy—no complicated menus or hidden buttons. Once it’s done, you just download your clean image. The quick results make your photos look nice without any extra work.
Why did I like it?
- Instant background removal with a single upload.
- Works well for portraits and casual photos.
- No editing experience required.
- Free plan available for light use.
3. Fotor
Fotor makes removing backgrounds simple and lets you touch up your photos right after. Once the background is gone, you can fix edges, brighten the image, or retouch the subject without switching programs. Everything happens in one place, so it saves time and keeps things straightforward.
You don’t need to be a skilled professional—anyone can use it. It’s one of the best if you want clean backgrounds and a little extra editing without fuss. Simply upload your photo, make your adjustments, and download the finished image. Fotor keeps the process easy from start to finish.
Why did I like it?
- One-click background removal.
- Edge refinement and touch-up tools.
- Works on desktop and mobile.
- Includes templates for design-ready images
4. Canva
Canva’s background remover is built right into its design platform, so you can quickly cut out a subject and drop it into any layout. Once the background is gone, you can use the image straight away in posters, presentations, social media posts, or other designs without switching apps.
It’s easy to use, even if you don’t have any design experience. Everything happens in one place, which saves time and keeps things simple. Just remove the background, move your image where you want, and finish your design. Canva makes the process fast and straightforward.
Why did I like it?
- Removes backgrounds in one click.
- Direct use in templates and layouts.
- Simple drag-and-drop interface.
- Collaboration tools for team projects.
Final thoughts
CorelDRAW has a powerful set of tools for background removal, letting you work seamlessly with both vector and bitmap images. You can choose between fast automated options or detailed manual edits, depending on the project.
Trying different approaches, like automated tracing, careful manual removal, or online AI tools, helps you get the best results while improving speed and accuracy over time.
For a simple AI alternative, Pixelbin Background Remover is one of the best. It makes background removal simple by maintaining quality, giving you clean images ready for all purposes.
FAQs
Yes, CorelDRAW handles both formats. Use PowerTRACE and Shape tools for vectors, and Cutout Lab or Eraser Tool for bitmaps.
The "Best" depends on the image type. PowerTRACE is ideal for logos and illustrations. For photos with complex edges, try the Cutout Lab in PHOTO-PAINT.
Use the Cutout Lab or combine manual drawing tools (Freehand/Bézier) and the Eraser Tool for fine-tuning edges.
Yes, but bitmap-heavy projects may benefit from integrating Corel PHOTO-PAINT for enhanced pixel-level editing.
PNG, TIFF, and SVG support transparency. Always check your export settings to include alpha/transparency channels.
Yes! Zoom (Z), Freehand (F5), Undo (Ctrl+Z), Redo (Ctrl+Shift+Z), and various selection tools have shortcut keys, speeding up your workflow dramatically.