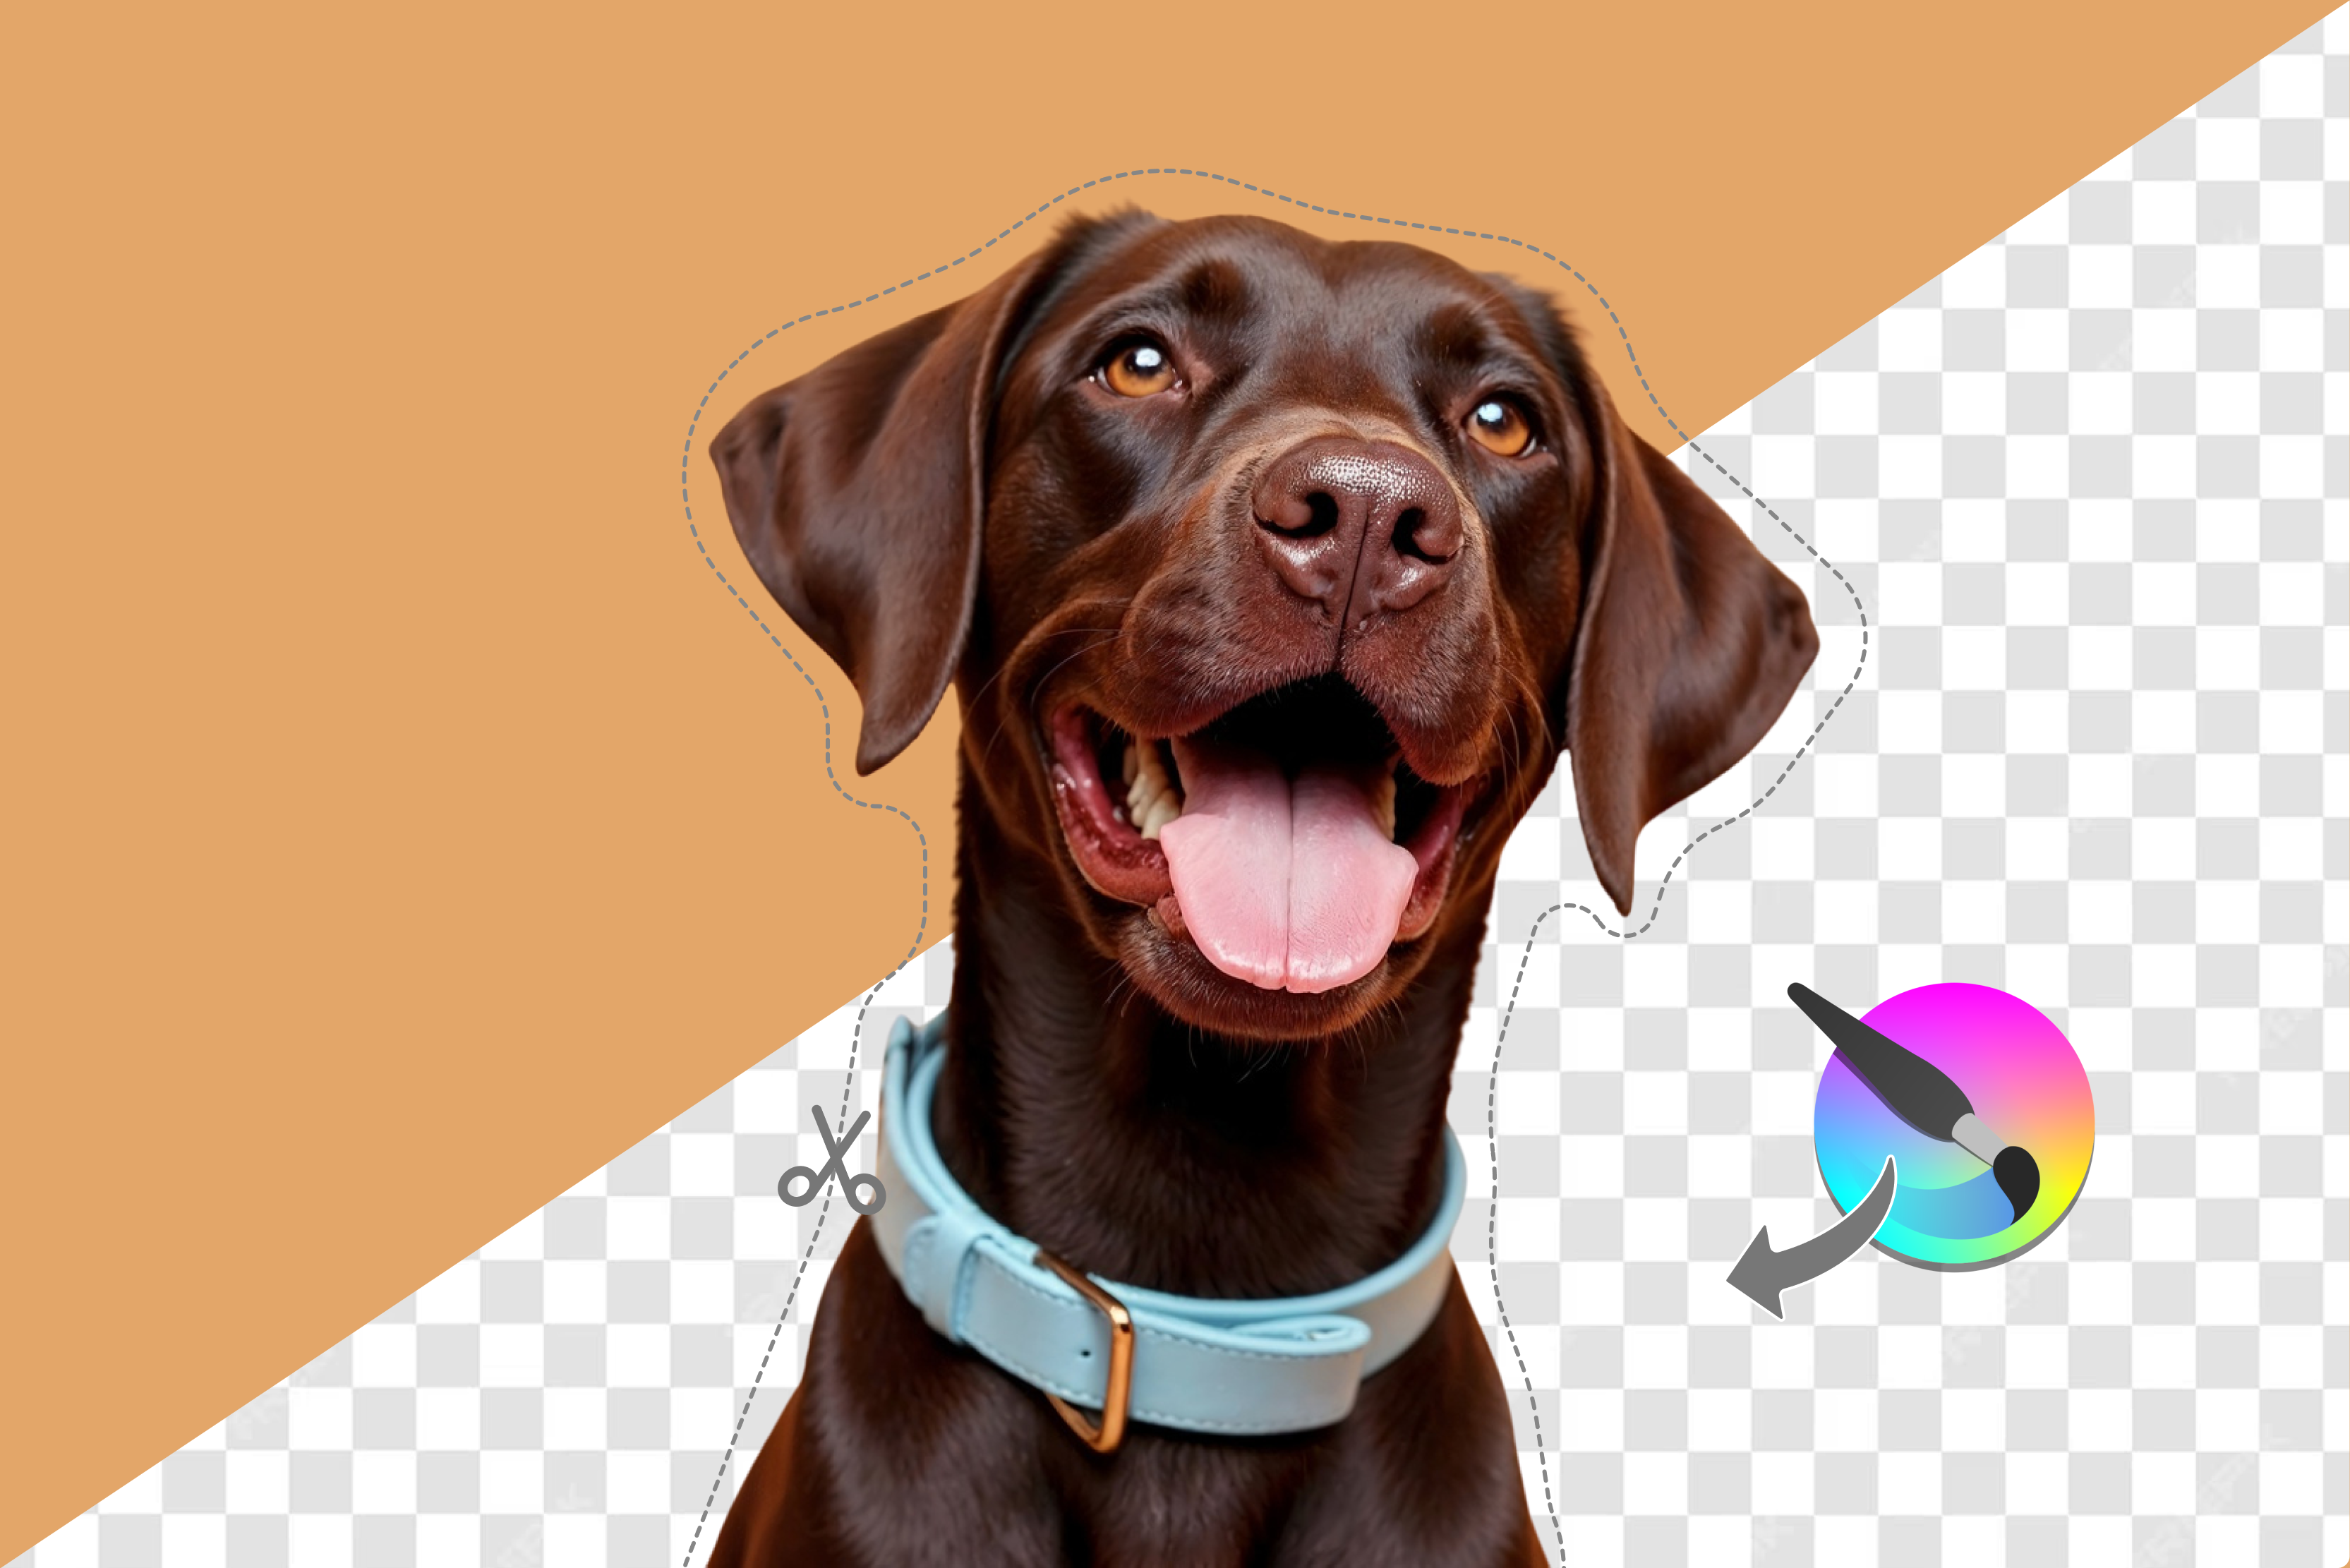


When I first got into writing content, one of the things that constantly tripped me up was removing backgrounds from photos to use in my articles. It always looked like some mysterious skill only seasoned designers knew, and I remember thinking I’d never get the hang of it.
But once I switched to Affinity Designer, I realized it’s actually a lot easier than it looks. If you’re trying to create clean product shots, polished marketing graphics, or even just tidy up your digital artwork, learning how to knock out a background is honestly a lifesaver.
And the cool thing about Affinity Designer is that it blends vector and pixel tools, so you get a ton of flexibility no matter what kind of image you’re working with. There are several different ways to remove a background from quick selections to more precise masking.
Some tools are super simple and take a bit more finesse, like Pixelbin background remover, and the iPad version has its own tricks, too. I’ll walk you through all of them so you can pick whichever method fits your project. By the time you’re done, you’ll know exactly how to cut out backgrounds cleanly and confidently — no confusing jargon or overcomplicated steps.
What is Affinity Designer by Canva?
Affinity Designer is a fast and highly usable vector graphics program that many graphic designers use as an alternative to Adobe Illustrator.
It runs on Windows, macOS, and the iPad, and the experience feels consistent no matter which device you’re on. One of its best features is the ability to switch between vector and pixel work with a single click, letting you sketch, refine, and add texture without leaving the app.
Because it’s powerful, flexible, and doesn’t rely on a subscription, it’s become a go-to tool for illustrators, graphic designers, and anyone who wants professional results without the ongoing cost of Adobe’s software.
Key features of Affinity Designer
Affinity Designer boasts powerful features catered to professional workflows across vector and raster design.
Key capabilities include:
- Vector and raster personas allow precise shape creation and pixel-level edits.
- Advanced tools such as the Pen Tool for accurate vector paths, comprehensive Node Editing, and Boolean operations for shape manipulation.
- Sophisticated typography controls and robust color management supporting CMYK, LAB, and RGB workflows.
- Real-time performance, responsive UI, and hardware acceleration ensure smooth operation even with complex projects.
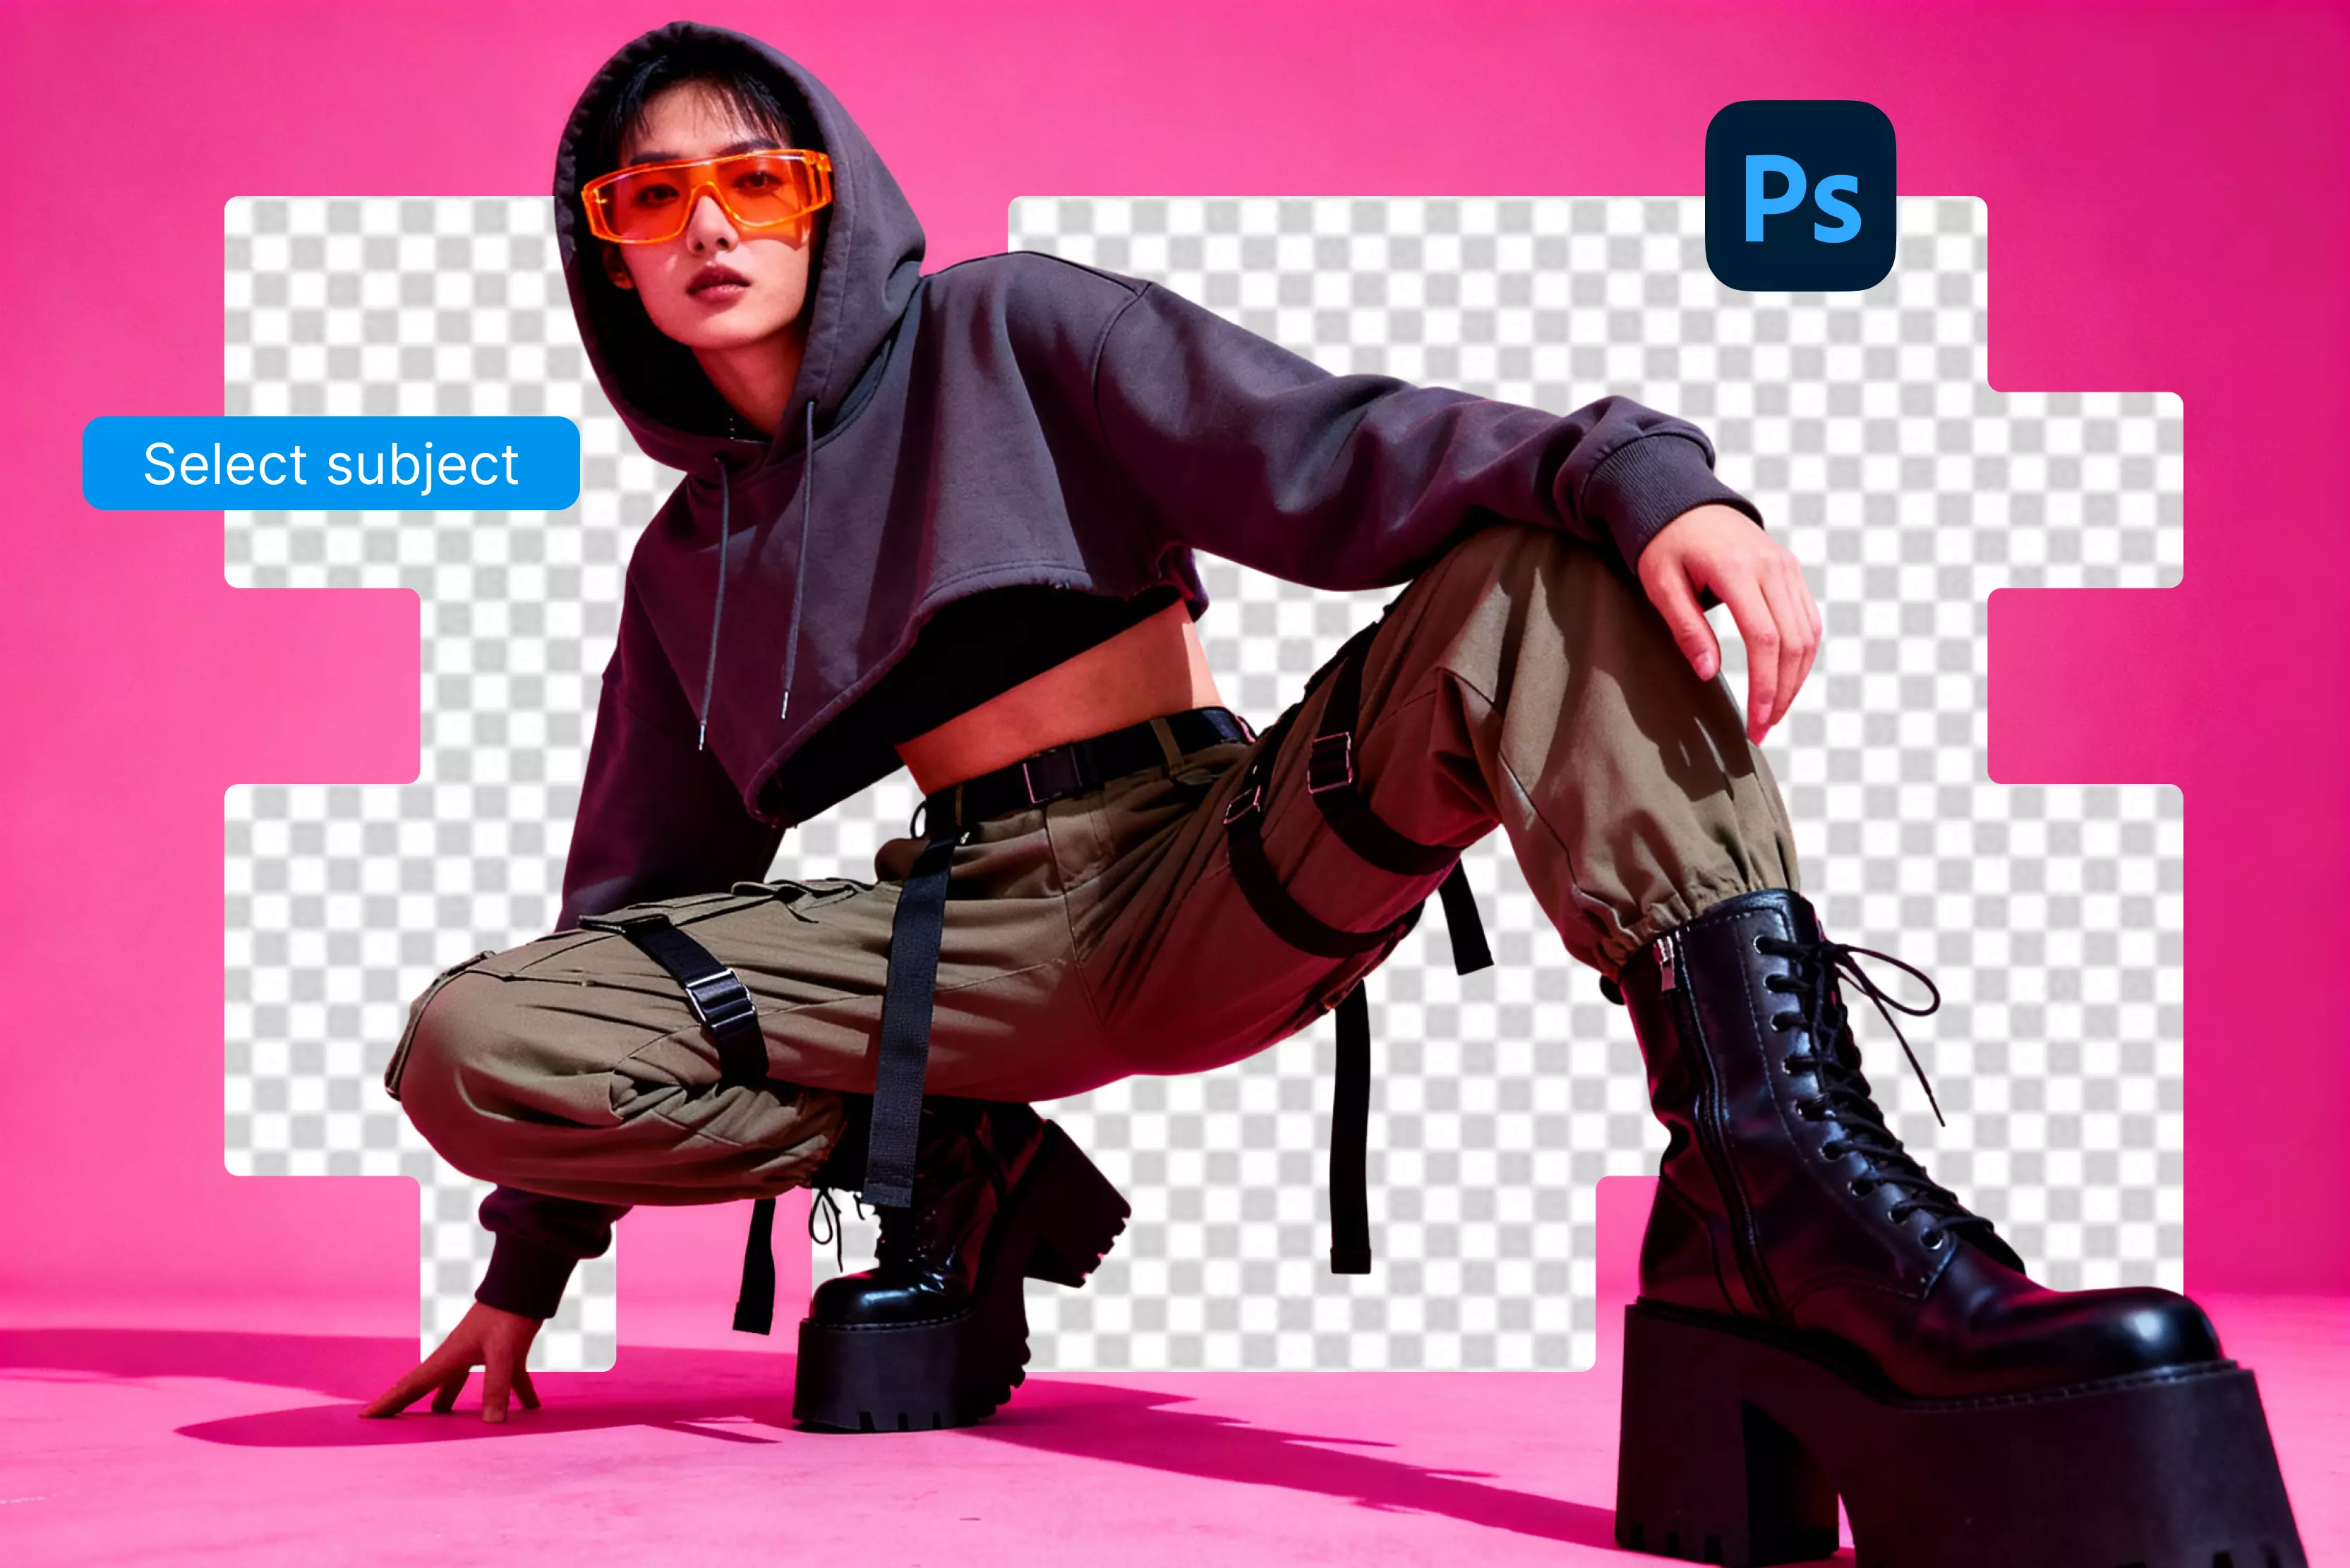
Top methods to remove background in Affinity Designer (Tested 5 methods)
Removing backgrounds in Affinity Designer can be done in several ways. I tested five reliable methods to see which ones work best for different images and editing needs.
Method 1: Pixel Persona Selection Brush tool
When you need to remove a background in Affinity Designer, the Pixel Persona Selection Brush tool is usually the one that gives you the most control. Instead of relying on automatic selection tools, you’re basically painting your selection by hand, which makes a huge difference when you’re working around tricky areas like hair strands, fuzzy textures, or anything with uneven edges.
It’s the method I tend to come back to because it feels intuitive and lets you correct small details as you go. Switching over to Pixel Persona changes the whole workspace into something closer to a traditional pixel editor.
From there, you can brush over the parts you want to keep or remove, and fine-tune the edges so they look smooth and natural rather than jagged. Once you’ve removed the background, you can either delete it or place it into a mask to replace. It’s a simple tool for both photographers and digital artists.
Steps to know:
- Switch to Pixel Persona in Affinity Designer.
- Select the Selection Brush Tool from the toolbar.
- Adjust brush size using bracket keys or the slider.
- Paint over the subject or background to create a selection.
- Use the Add/Subtract selection modes to refine areas.
- Click “Refine Selection” to smooth or feather edges.
- Once satisfied, press Delete to remove the background or create a mask.
- Switch back to Designer Persona to continue vector work.
Method 2: Flood Select tool
The Flood Select Tool is usually what I reach for when I just want the background gone fast, especially if it’s something simple like plain white or black. It grabs areas of similar color that are touching each other, so it works really well on images that don’t have a lot going on in the background.
It’s basically the “click once and let it do its thing” option if you don’t feel like getting into all the detailed tracing. What I like about it is how dead-simple it is. You click the background and—boom—it highlights most of it right away.
If the selection looks a little off, you can tweak the tolerance slider to make it grab more or less of that color. It saves a ton of time when you’re working on things like product photos, quick social posts, or banners where the backdrop is clean and shouldn’t take forever to remove.
Steps to know:
- Select the Flood Select Tool from the toolbar.
- Click on the background color you want to remove.
- Adjust the tolerance slider to widen or narrow the color range.
- Use “Add” or “Subtract” options to perfect the selection.
- Press Delete or apply a mask to remove the selected background.
- Deselect (Cmd/Ctrl + D) and save your work.
Method 3: Sample Color tool
The Sample Color tool is great when you’re trying to get rid of a background that’s mostly one color, even if it isn’t perfectly flat. Maybe the backdrop has some soft shadows or a bit of uneven lighting—this tool still handles it pretty well. It’s kind of the middle ground between quick auto-selections and fully manual tracing.
To use it, switch over to Pixel Persona and pick the Sample Color tool, then click somewhere on the background to tell Affinity which color you want to target. After that, you can slide the tolerance up or down to pull in more or less of the surrounding tones.
If it grabs too much, you can remove some areas; if it misses spots, you can add them back in. Once everything looks clean, you can either delete the background or mask it, depending on the workflow.
Steps to Know:
- Go to Pixel Persona and grab the Sample Color Tool.
- Click on the background color to sample it.
- Adjust the tolerance to capture varying shades of the color.
- Add to or subtract from the selection for accuracy.
- Delete or mask the background color selection.
- Refine edges if needed with a feather or smoothing.
Method 4: Vector masking with the Pen tool
If you need really clean, accurate results, vector masking with the Pen Tool is usually the way to go. It’s a bit more practical, but you get full control over every edge. You’re basically drawing your own outline around the subject, and the mask hides the background without actually deleting anything, which is great if you want to go back and tweak things later.
Start by switching over to the Designer Persona, then grab the Pen Tool and place anchor points around the subject, shaping the path as you go. Take your time with the curves so the outline looks smooth.
When you’re done, turn that path into a clipping mask or a layer mask attached to the image. The background gets hidden, your subject stays clean, and you can re-edit the points whenever you need to.
Steps to know:
- Switch to Designer Persona for vector editing.
- Select the Pen Tool or Curves tool.
- Click to create anchor points outlining your subject.
- Close the path to complete the selection shape.
- Right-click and choose “Create Mask” or “Create Clipping Mask.”
- Adjust or edit the vector path for precise control.
- Hide or remove the background by applying the mask.
Method 5: Eraser tool in Pixel Persona
Honestly, no matter how good the automatic selection tools are, they sometimes just miss tiny bits—especially if the background is messy or the subject has lots of little details.
That’s when I grab the Eraser Tool in Pixel Persona. It’s super handy for cleaning up those leftover pixels by hand, and it’s a lifesaver for tricky stuff like stray hairs or textured edges that automatic selections always seem to mess up.
Pixel Persona is great for this because you’re working right at the pixel level. You can erase exactly what you want by making sure you are on a raster layer without messing anything else up.
The brush size and softness sliders are a lifesaver too—you can blast through large areas or slow down for the fiddly bits. For me, the Eraser Tool is usually the last step in the cleanup process. It’s what turns a rough, messy selection into something that actually looks clean and polished.
Steps to know:
- Switch to Pixel Persona to enable pixel editing.
- Select the Eraser Tool from the toolbar.
- Adjust brush size and hardness according to the detail level needed.
- Carefully paint over the background pixels you want to remove.
- Zoom in to clean up complex or detailed edges.
- Use smaller brush sizes for intricate areas and larger sizes for broad background strokes.
- Undo mistakes immediately with Cmd/Ctrl + Z.
- Once satisfied, switch back to Designer Persona or proceed to save/export your image.
Most searched queries about how to remove the background in Affinity Designer
People search for all kinds of ways to remove backgrounds in Affinity Designer, so I gathered the most common questions and put together clear, simple answers based on real use.
Method 6: Remove background Affinity Designer 2
Affinity Designer 2 makes background removal a lot smoother than before. They’ve added smarter selection tools and made the vector and pixel workflows play nicer together.
That means you can grab your subject more accurately without spending forever tweaking the edges, even when the image has gradients or tricky shadows. Personally, I’ve been using the updated Select Brush and Luminosity Mask a lot—they’re great for getting detailed selections without too much extra work.
The performance improvements are noticeable, too. Whether you’re trying to remove a simple solid-color background or dealing with a multi-layered, complicated image, Affinity Designer 2 just makes the whole process less frustrating. Overall, it’s a lot faster and gives you tighter control over your designs, which is a huge help when you’re trying to get things looking just right.
Steps to know:
- Open your image in Affinity Designer 2.
- Switch to Pixel Persona for pixel-based editing if necessary.
- Use the updated Selection Brush Tool to paint over the subject or background.
- Utilize the Luminosity Mask feature to select areas based on brightness, ideal for complex backgrounds.
- Refine your selection with edge smoothing, feathering, or the Refine Edge brush.
- Convert your selection to a mask for non-destructive background removal.
- Adjust mask and layer properties to perfect the isolation.
- Export the image with transparency (PNG) or continue refining in vector persona.
Method 7: Remove white background Affinity Designer
Taking out a white background in Affinity Designer is something I do all the time, especially for product shots or graphics that need a transparent or colored backdrop. The good thing about white is that it’s usually pretty easy to remove because it’s consistent and contrasts nicely with most subjects.
I usually combine color-based tools with a little manual refinement to make sure the edges stay crisp—nothing worse than a sneaky white halo around your subject. Flood Select and Sample Color are my go-to tools here.
They let you grab large areas fast but still give you control, so it doesn’t look sloppy. After that, hopping into Pixel Persona to tidy up the mask really makes a difference. With a bit of patience, you can isolate your subject cleanly and either remove or replace the white background, giving you a lot more flexibility for your designs.
Steps to know:
- Open the image in Affinity Designer.
- Select the Flood Select tool to click on the white background.
- Adjust the tolerance slider to include all white areas.
- Use “Add” or “Subtract” selection modes to perfect the selection.
- Delete or mask out the white background.
- For more precision, switch to Pixel Persona and refine the edges.
- Use the Sample Color tool to select any missed white areas.
- Export your image as PNG to preserve transparency.
Method 8: Remove black background Affinity Designer
Removing a black background in Affinity Designer can be a bit tricky, mainly because dark areas sometimes blend right into your subject and make selections messy. But honestly, it’s totally doable once you know a few tricks. I usually go for luminosity masks and experiment with blend modes like Screen or Lighten—they help pull the subject out without giving you those harsh, fake-looking edges.
For the really stubborn bits, I’ll use vector paths as masks to clean up areas that simple selections just can’t handle. The nice thing about Affinity Designer is that you can mix and match these methods. If you want things super polished, you can take your time and tweak until it looks just right.
Steps to know:
- Open your image in Affinity Designer.
- Switch to Pixel Persona for pixel editing.
- Create a Luminosity Mask based on the black background tone.
- Apply blend modes like Screen or Lighten to suppress black areas.
- Alternatively, use the Flood Select or Sample Color tools targeting black.
- Create vector masks around the subject for non-destructive cleanup.
- Refine edges using feather and smoothing options in masks.
- Export your image in a format that supports transparency (PNG).
How to remove the background of an image in Affinity Designer on iPad (Bonus Tip)
If you have an iPad, then working on Affinity Designer is pretty amazing—it packs all the vector and pixel power of the desktop version into a touch-friendly setup. Background removal on the iPad feels a bit different because you’re working with fingers or an Apple Pencil, but honestly, that makes it super flexible.
The core ideas are the same as on desktop, but you do have to get used to a smaller screen and slightly different tool layouts. Personally, I love using Pixel Persona on the iPad—it gives you fine control at the pixel level while still letting you take advantage of smart selection tools for precise cleanups.
Steps to remove background in Affinity Designer on iPad
- Open your image in Affinity Designer on iPad.
- Switch to Pixel Persona using the persona toolbar at the top.
- Use the Selection Brush tool to paint over the subject or background via touch or Apple Pencil.
- Adjust brush size and tolerance from the context toolbar for accuracy.
- Utilize the Sample Color tool to pick and remove specific colors.
- Refine your selection by adding or subtracting areas as needed.
- Delete or mask the selected background pixels.
- Export the image with a transparent background through “Export” and choose PNG format.
- Save and sync your work to the cloud for seamless access across devices.
Advanced troubleshooting tips to remove the background in Affinity Designer
- Feather your selections to soften rough or jagged edges, making transitions look smooth and natural.
- Turn on anti-aliasing to smooth selection borders and prevent that blocky, pixelated look.
- Zoom in closely when refining selections at the pixel level—it helps catch tiny stray bits you might otherwise miss.
- Mix and match selection tools for tricky images, especially when backgrounds are complex or detailed.
- Check that all layers are visible and unlocked so nothing hidden sneaks back into your final image.
- Use Undo or the History panel right away if a mistake happens—you don’t want to redo work unnecessarily.
- Rasterize complex vector elements if your device starts lagging, making editing smoother and faster.
- Restart the app or device if things become unresponsive—it’s a simple fix that often helps.
- Prefer masks instead of deleting to keep a flexible, non-destructive workflow you can adjust later.
- Export at high resolution to keep edges crisp and maintain transparency when saving your final image.
Best alternative to Affinity Designer to remove background from an image - Pixelbin AI Background Remover
If you want to get rid of a background fast without fiddling with layers, masks in Affinity Designer, or complicated software, Pixelbin AI Background Remover is a really simple option. It works online, handles both images and videos, and doesn’t need much setup at all.
With the premium plans, you can remove backgrounds in batches, which is a huge time-saver if you’ve got hundreds of photos to process.
Everything runs automatically, but the quality stays sharp and professional. Whether you’re a business owner, designer, or just someone looking to save time, Pixelbin AI Background Remover gets the job done quickly.
How to use Pixelbin for background removal
Step 1: Go to Pixelbin and open the background remover tool.
Step 2: Upload your image by dragging and dropping it into the upload area or browsing your device to select the file. Supported formats include PNG, JPG, JPEG, WEBP, and HEIC.
Step 3: The AI automatically detects the subject and removes the background instantly using advanced algorithms, preserving details such as fine edges, textures, and shadows.
Step 4: Once satisfied, download the high-resolution image with a transparent background, ready for eCommerce, marketing, social media, or creative projects.
Why did I like it?
- Uses advanced AI to automatically remove backgrounds accurately.
- One-click process for quick and easy background removal.
- Supports popular image formats like JPEG, PNG, and TIFF.
- Exports images with transparent backgrounds (PNG).
- Allows edge refinement with feathering and smoothing options.
- Can process multiple images at once with the batch feature.
- Fully online, no software installation needed.
- Simple and user-friendly interface with instant preview.
- Ensures privacy by securely processing and deleting images.
- Supports automation with API integration.
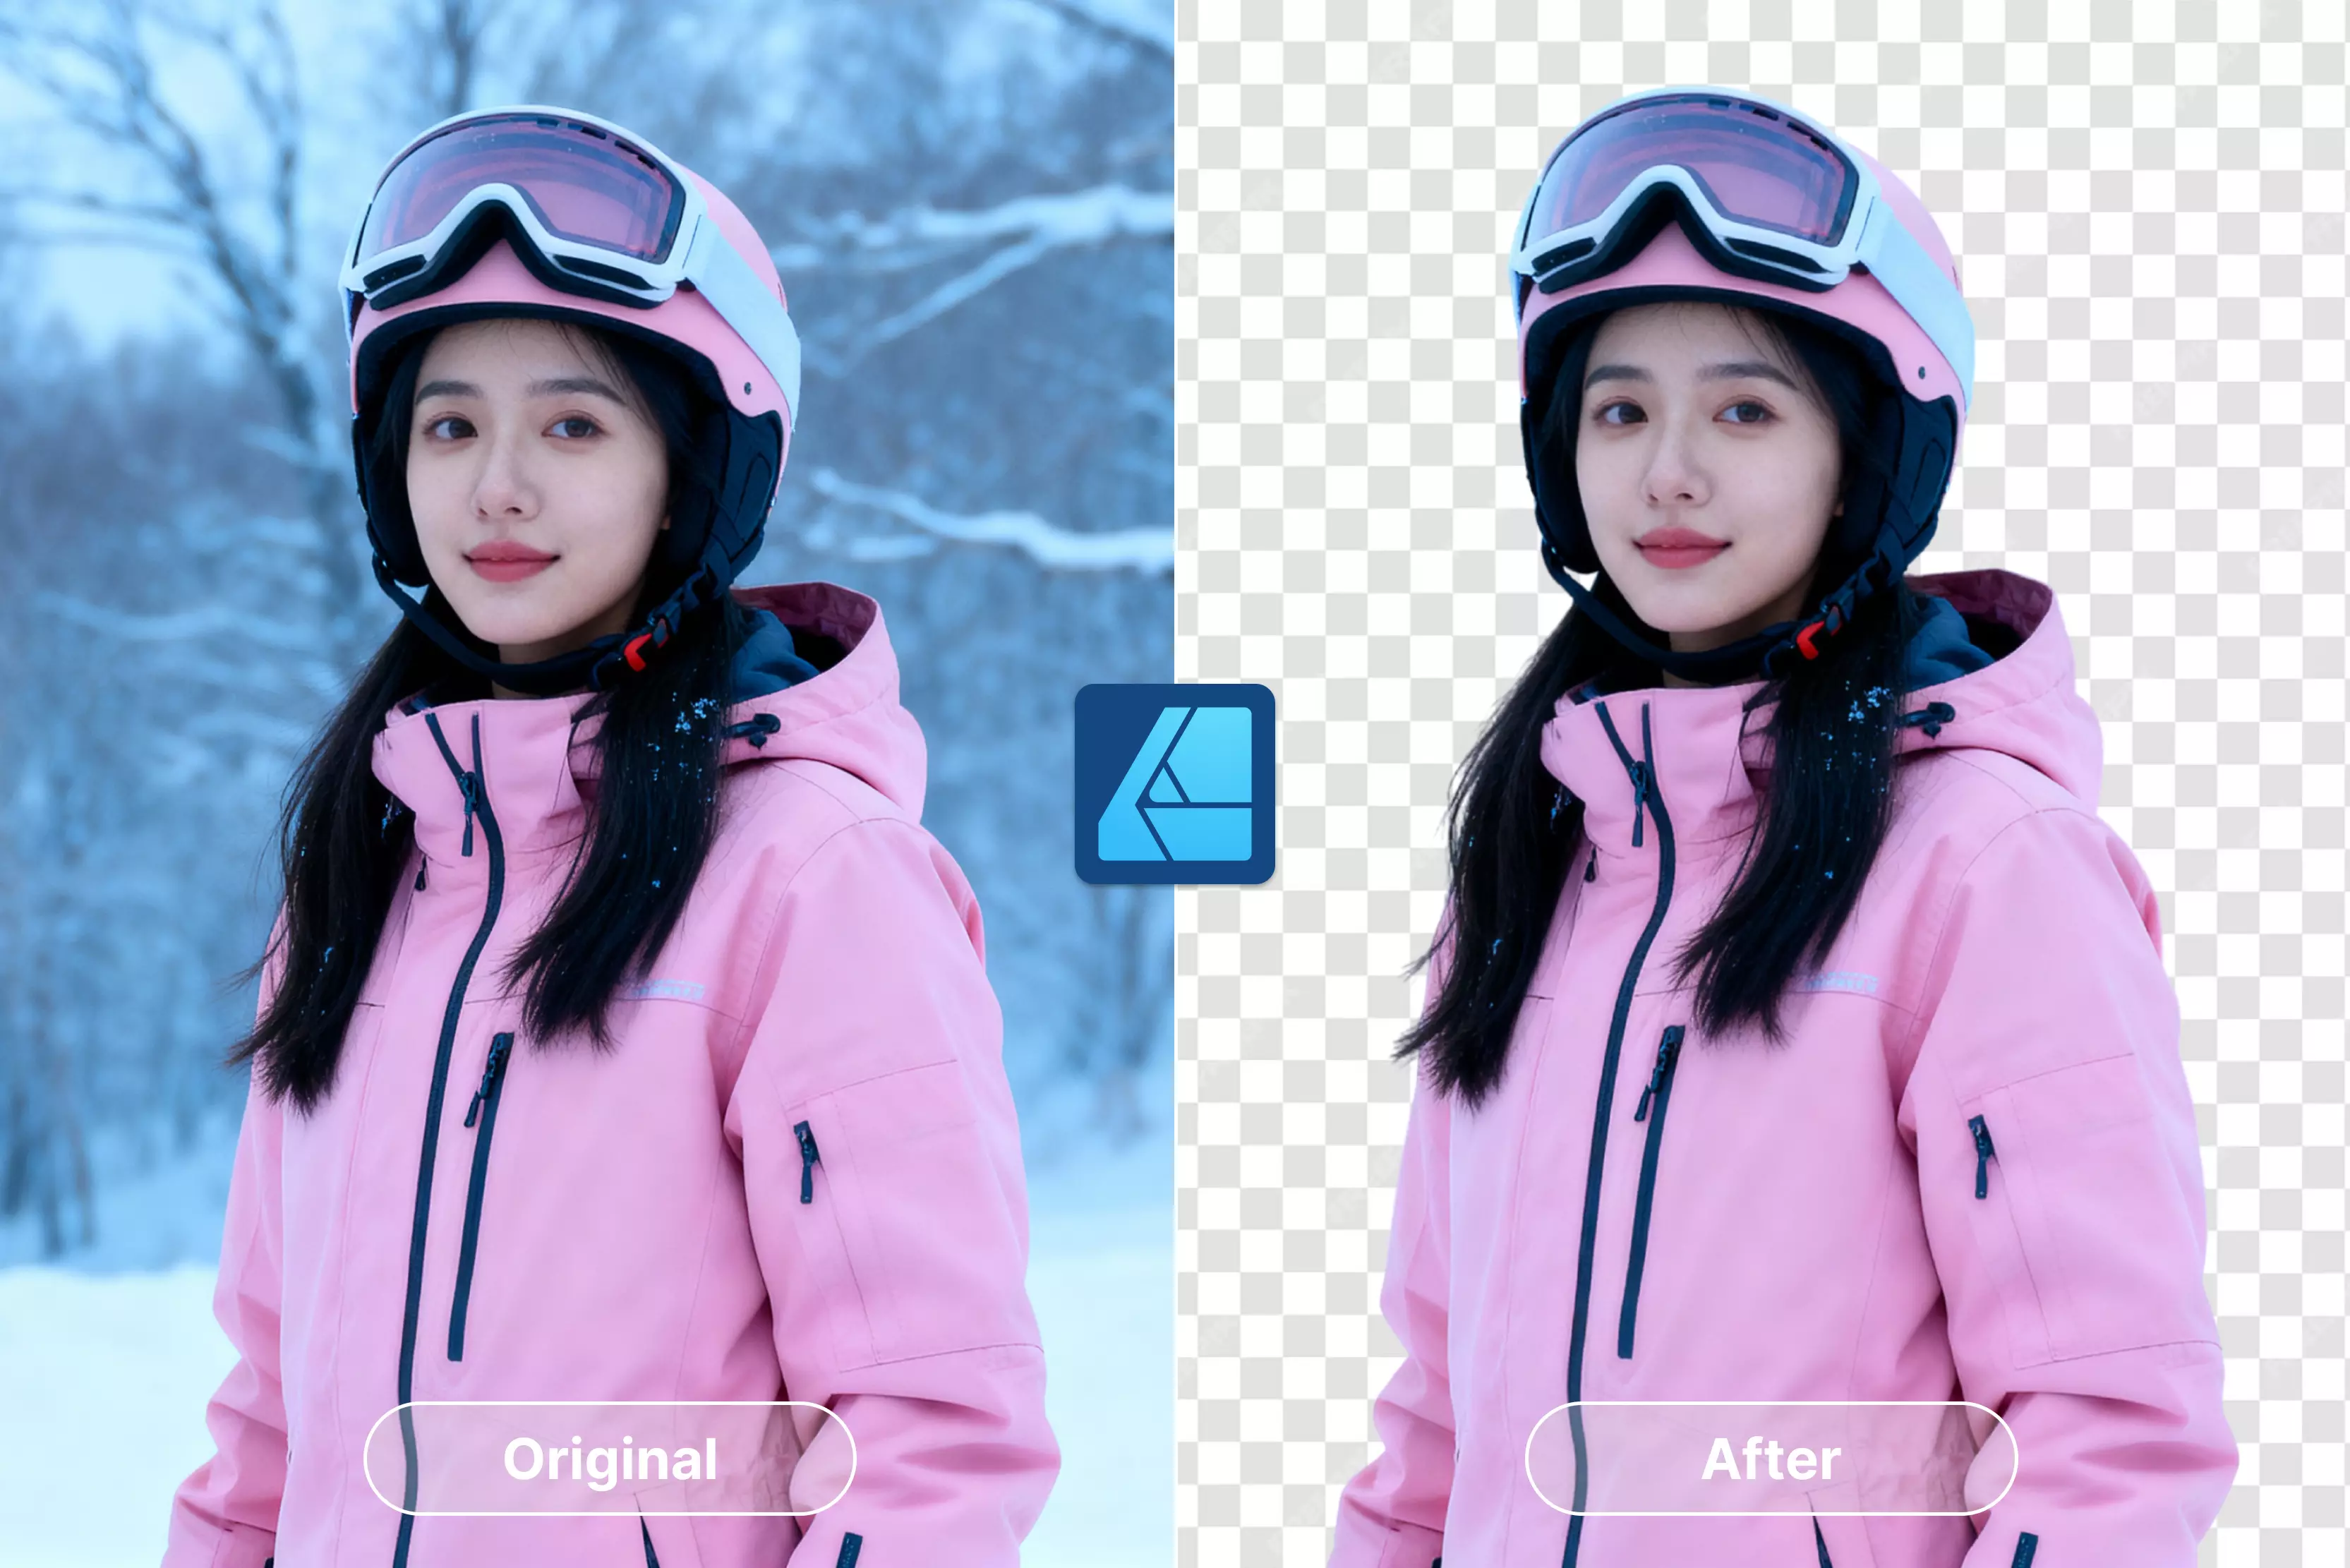
Final thoughts
A big part of making professional pictures is getting rid of backgrounds. You can use both vector and pixel tools in Affinity Designer to get clear results. The built-in selection tools make it easy to get rid of black, white or solid backgrounds. If you want to isolate your image more precisely, the Pen Tool, masks, or Pixel Persona can help.
If you have a lot of pictures, using an AI tool like Pixelbin can save you a lot of time. It's a good idea to keep your files with layers so you can change them later and export them in high quality.
FAQs
Switch to Pixel Persona on your iPad, use the Smart Selection Brush or Sample Color tools to select the background, then delete or mask it. Adjust brush size and tolerance for precision. Export as PNG to keep transparency.
Use the Flood Select tool to click on the white background, adjust the tolerance slider to capture all white areas, and delete or mask the selection for quick background removal.
Sample Color lets you pick specific background colors to select and remove, good for varying tones. Flood Select selects contiguous areas of similar color for fast removal. Refine selections by adding or subtracting colors as needed.
Yes, use the Sample Color or Flood Select tools targeting the black or chosen color. For black backgrounds, luminosity masks or blend modes like Screen can also help remove black areas effectively.
Export your image as PNG format, ensuring the “Area” or “Background” option is set to transparent. This preserves the background removal for use in web or other applications.
Use Pixel Persona for pixel-based, detailed background removal and editing. Designer Persona is best for vector masking and precise path-based removal. Combining both offers maximum control.