.webp)

Summary
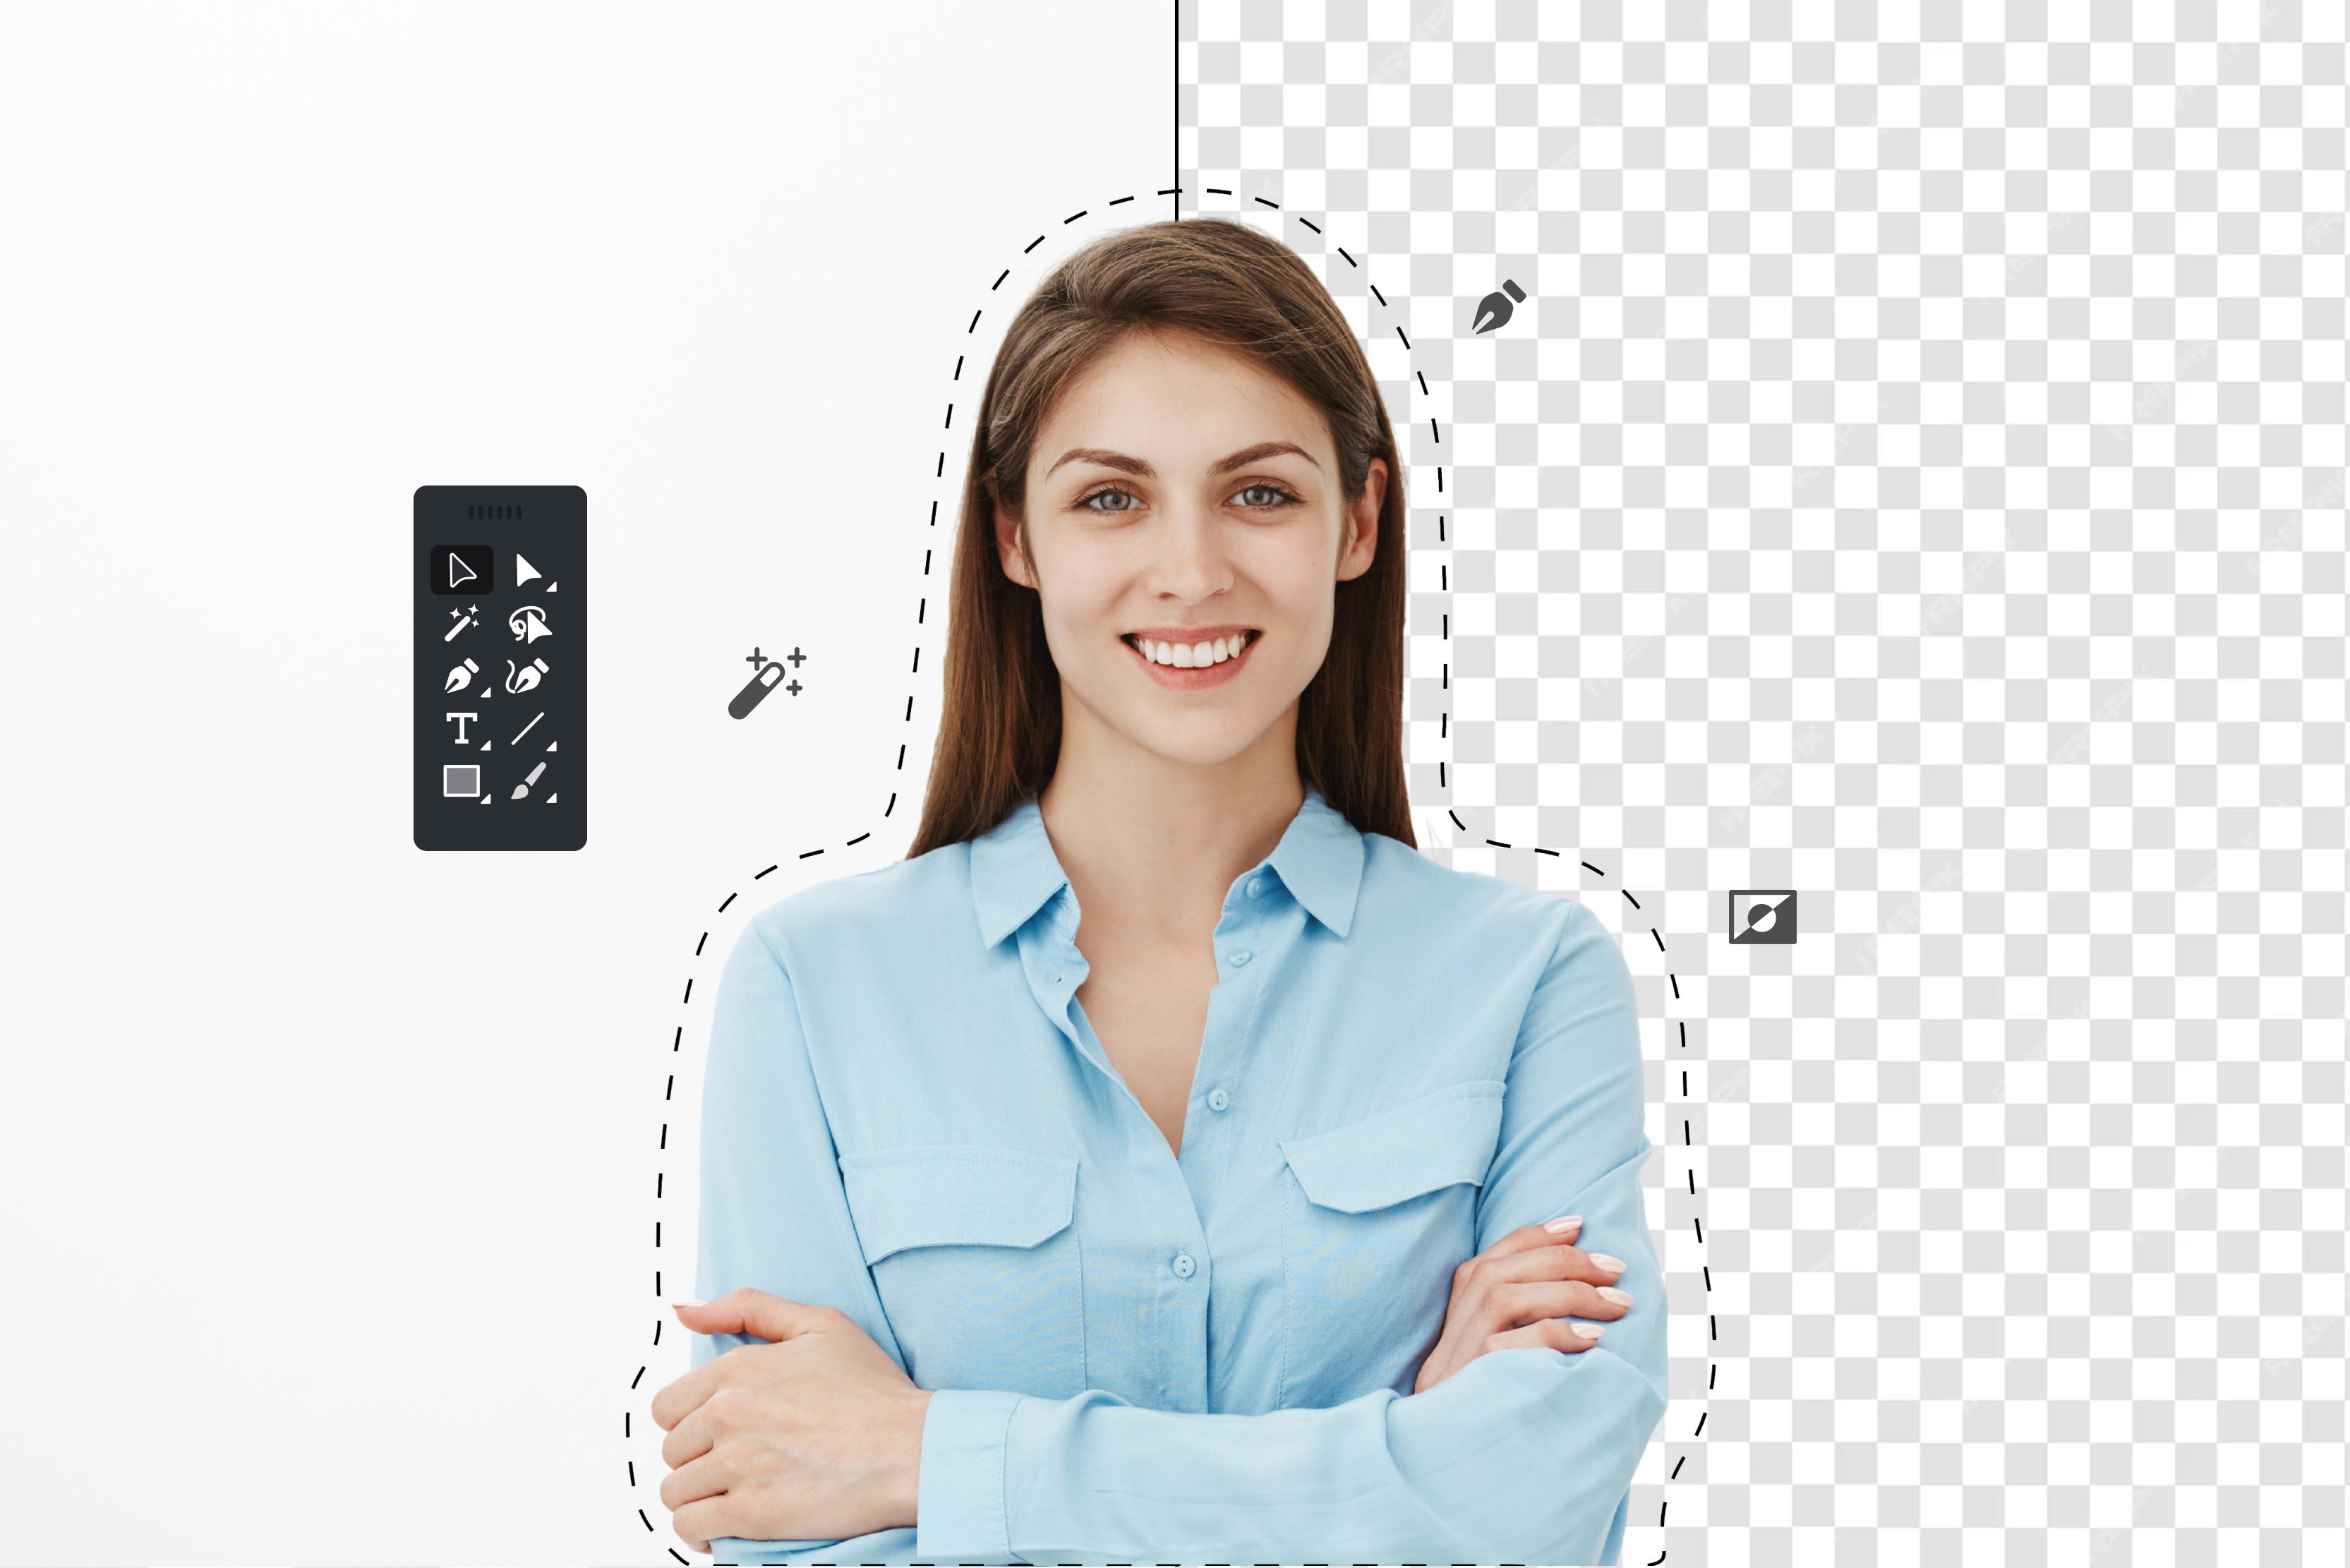
An image background remover isolates the main subject of a photograph by cleanly deleting the background to create a transparent cutout. Advanced AI background erasers can automatically detect complex subjects, generate custom backdrops from text prompts, process images in bulk, and prepare graphics for e-commerce, social media, print, or design. The best results come from choosing the right removal method whether using swift automated web tools or manual precise masking while ensuring you export files in formats like PNG to preserve perfect edge transparency.
Introduction
Look at any online store or ad that actually grabs you, and you'll notice the same thing: clean, clutter-free images. Online, your photo is your storefront, a messy background and people click away before reading a word of your copy.
A busy backdrop drags attention away from what matters. Strip out that dull location or harsh shadow, and the same shot suddenly feels sharp, professional, ready for any layout. Cutting out subjects used to mean hours tracing edges by hand. Not anymore. Whether you still edit manually or let a smart tool do it in seconds, this skill saves time and keeps your visuals consistent.
This guide talks about everything you need to know about removing backgrounds with traditional ways and talking about AI tools like Pixelbin's background remover, how it removes the background in one-click upload, and it isolates your subject instantly.
What is image background removal?
Background removal means separating the main subject of a photo from everything behind it the room, the wall, the messy desk, whatever's back there and getting rid of it. What's left is just your subject, floating free, ready to go on any background you want (or no background at all).
You've seen this everywhere: product photos on Amazon with plain white backgrounds, profile pictures cut out for a company website, or that Instagram post where someone's clearly standing in front of a beach that never actually existed behind them.
The alpha channel concept
To master this process, you need to know how digital photos handle invisible layers. Every standard image on your screen is built from a grid of pixels combining Red, Green, and Blue light in the RGB spectrum.
When you use a background remover to erase a setting, the editing software inserts a hidden fourth layer called the Alpha Channel. This channel doesn't control color; instead, it serves as a transparency map for the image. It assigns a visibility percentage to every single pixel. A full opacity score keeps the pixel solid, while a zero score makes it perfectly see-through. Managing this specific data stream is how a transparent PNG maker drops out a backdrop without messing up the colors or sharpness of your main subject.
Why remove backgrounds from pictures? (use cases)
E-commerce & product photography
Online shoppers cannot touch or try out products, so your photos have to do all the selling. Using a fast automatic background remover helps online retailers instantly clear out warehouse clutter and poor studio lighting.
Running your catalog through a clean editing pipeline lets you change image background to white, giving your store a unified, trustworthy look. This clean presentation is a strict requirement for selling on major global platforms like Amazon and eBay. A solid white backdrop keeps all the attention on the item itself, which helps lower return rates and boost sales.
Professional branding & headshots
Your personal profile photo serves as your digital handshake on sites like LinkedIn. A profile picture taken in a busy restaurant or a dim room can make a poor impression on recruiters.
Using an ai background eraser fixes this instantly by swapping out messy settings for soft studio gradients or professional office backdrops. This quick adjustment gives your profile a polished look without the expense of a professional photoshoot.
Marketing & graphic design
Graphic artists need to layer text, shapes, and products together to build ad banners, social posts, and print media. Working with images that have unchangeable, baked-in backgrounds limits a designer's options.
Isolating your main assets with a reliable image background remover gives you total design freedom. Designers can easily place clean subject cutouts over custom brand colors, textures, or typography, making sure the final promotional graphic stays clean and readable.
Personal use & social media
The rise of creator platforms has made background editing tools incredibly popular for everyday projects. Whether you are designing a standout YouTube thumbnail, building custom digital stickers, or editing an Instagram story, knowing how to make a picture background transparent is an invaluable skill. These tools give creators a quick, accessible way to remix casual photos and upgrade their personal content.
Types of backgrounds
Level 1: solid/studio backgrounds (easy)
Solid backgrounds are simplest to work with think studio green screens or plain white paper. Since the subject doesn't share colors with the backdrop, edges are obvious. Any basic remover handles these in one click, no manual work needed.
Level 2: soft/blurred backgrounds (medium)
These come from Portrait Mode shots, where the background blurs while the subject stays sharp. That blur creates a tricky blend zone between foreground and background pixels. Old color tools struggle here, but AI models handle depth differences well, separating sharp subjects from soft blur easily.
Level 3: busy/cluttered backgrounds (hard)
These involve chaotic scenes sidewalks, trees, cars, mixed lighting. The subject often shares colors and textures with its surroundings, making separation tough. Handling these well requires advanced AI segmentation, or careful manual tracing, to preserve fine details while removing clutter.
How does background removal actually work?
Color & contrast detection
Before automation took over, editing software leaned entirely on basic math comparing colors and calling it a day. Tools like the classic Magic Wand in Photoshop work by scanning an image and grouping together neighbouring pixels that share a similar color. Photograph someone in a bright red shirt standing against a plain white wall, and this method works great. The color jump between subject and background is obvious, so the tool can "see" the line clearly.
The problem shows up the moment the contrast drops. Put that same person in a beige sweater against a light grey wall, or add some heavy shadows into the mix, and the tool basically gives up. It can't find a clean boundary anymore, which means you're stuck fixing jagged edges by hand, pixel by pixel.
Edge detection
As things progressed, developers came up with edge-detection filters — smarter formulas that track sudden brightness changes rather than just flat colors. Basically, the software watches for spots where light shifts fast across a small area and flags that as the edge of an object.
This works nicely for anything with clean, straight lines, think laptops, boxes, furniture. But it falls apart on anything soft or irregular. Curly hair, flowy fabric, glass with reflections — all of it tends to come out looking rough and jagged around the edges.
AI tools
This is where things changed completely. Modern tools use deep learning models trained on millions of images, which allows something called semantic segmentation. In plain English: the software doesn't just look at colors or edges anymore; it actually understands what it's looking at.
It recognizes that a shoe is a shoe, a dog is a dog, a face is a face, and it knows roughly how each of those things is shaped. This means it can make smart calls around tricky details like loose hair strands or soft shadows, things older tools always struggled with.
How to remove backgrounds in the traditional way
Before AI tools took over, removing a background meant rolling up your sleeves and doing it manually. Two paths existed: paid professional software like Photoshop, or free alternatives that got the job done without costing a rupee. Both approaches still work today, and understanding them helps you appreciate why automated tools became so popular in the first place.
Using Adobe Photoshop
Removing background in Photoshop remains the industry standard for designers who want complete control over every pixel. Depending on how complex your image is, there are three main workflows to choose from:
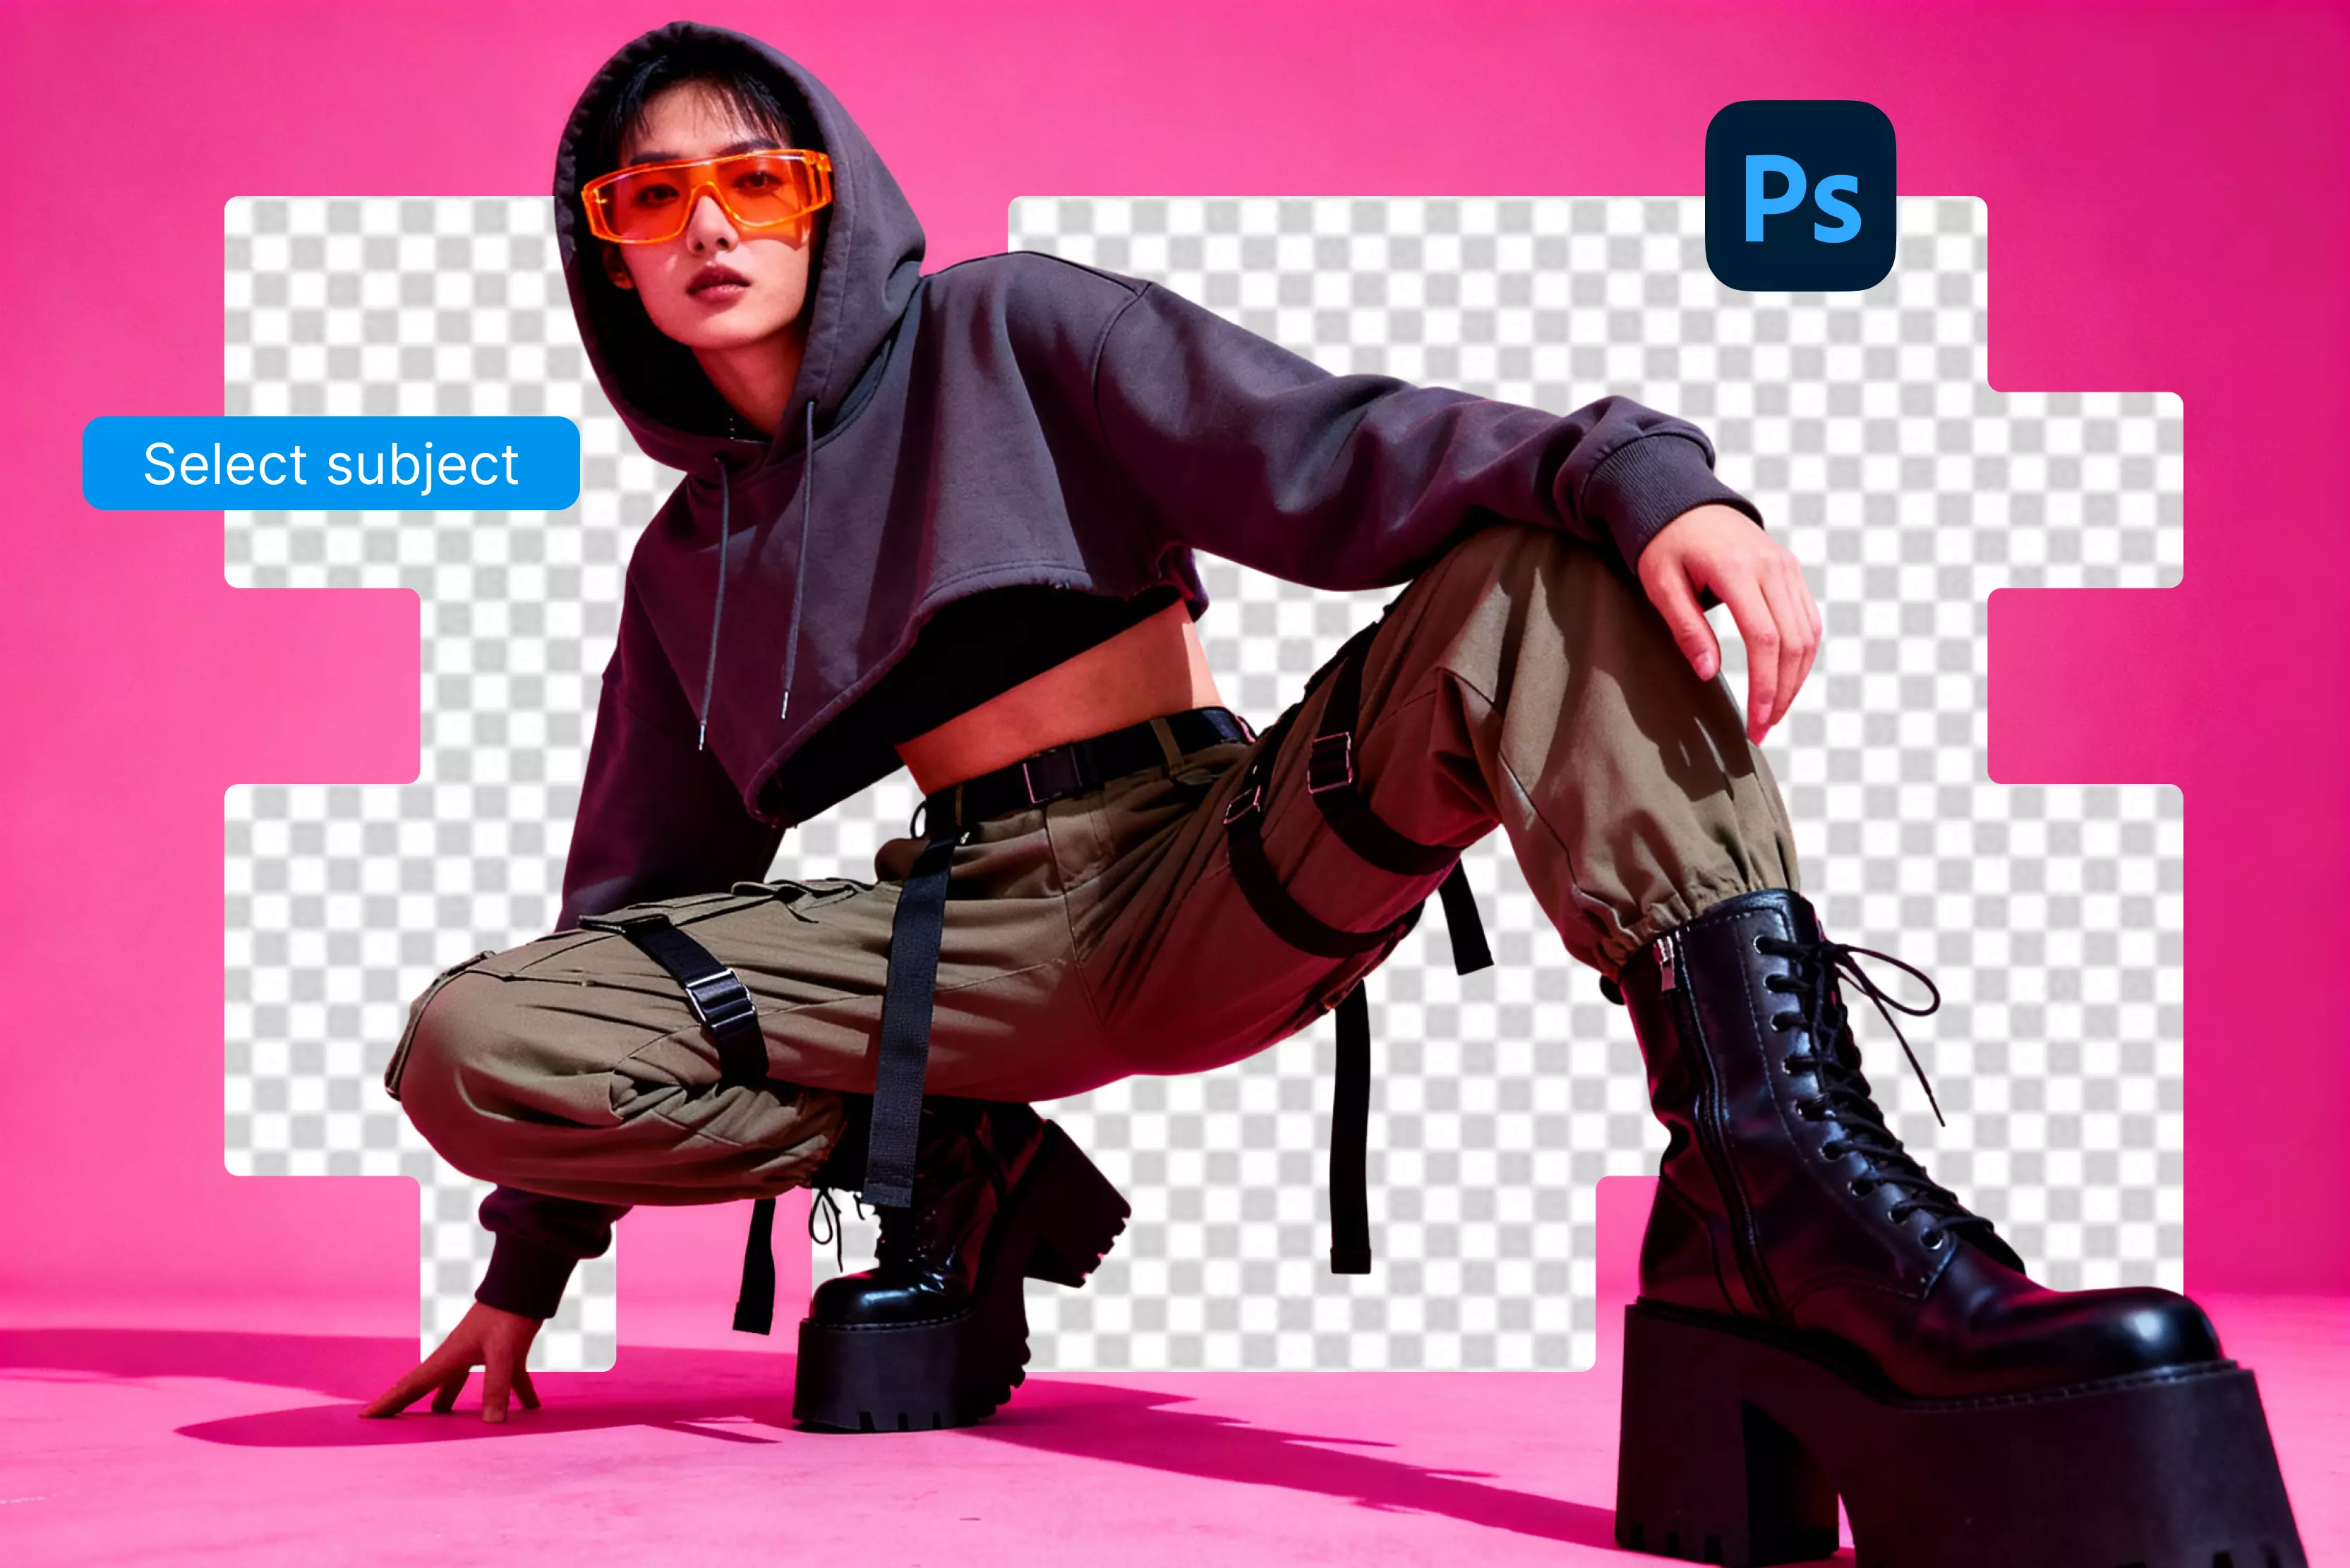
- Quick edits (high contrast photos): Go to Select > Subject. Photoshop runs an internal script that automatically detects your subject's edges. Once the selection appears, click the Layer Mask button, and the background hides instantly.
- Tricky details (hair, fur, sheer fabric): Open the Select and Mask Workspace and use the Refine Edge Brush Tool. Paint along fuzzy borders, and Photoshop calculates color differences within your brush stroke, removing background noise while preserving fine strands.
- Commercial-grade precision (jewelry, glass, reflective items): Use the Pen Tool (P). Manually plot anchor points along your subject's exact border, drawing smooth curves around every curve and edge.
Once you close the path, convert it into an active selection and apply a mask. This method takes the longest, but it delivers the cleanest results on sharp, reflective, or highly detailed subjects the kind of precision commercial photography demands.
Using free alternatives (GIMP & Paint)
Not everyone wants to pay for a Photoshop subscription, and thankfully, free tools can handle plenty of background removal tasks too.
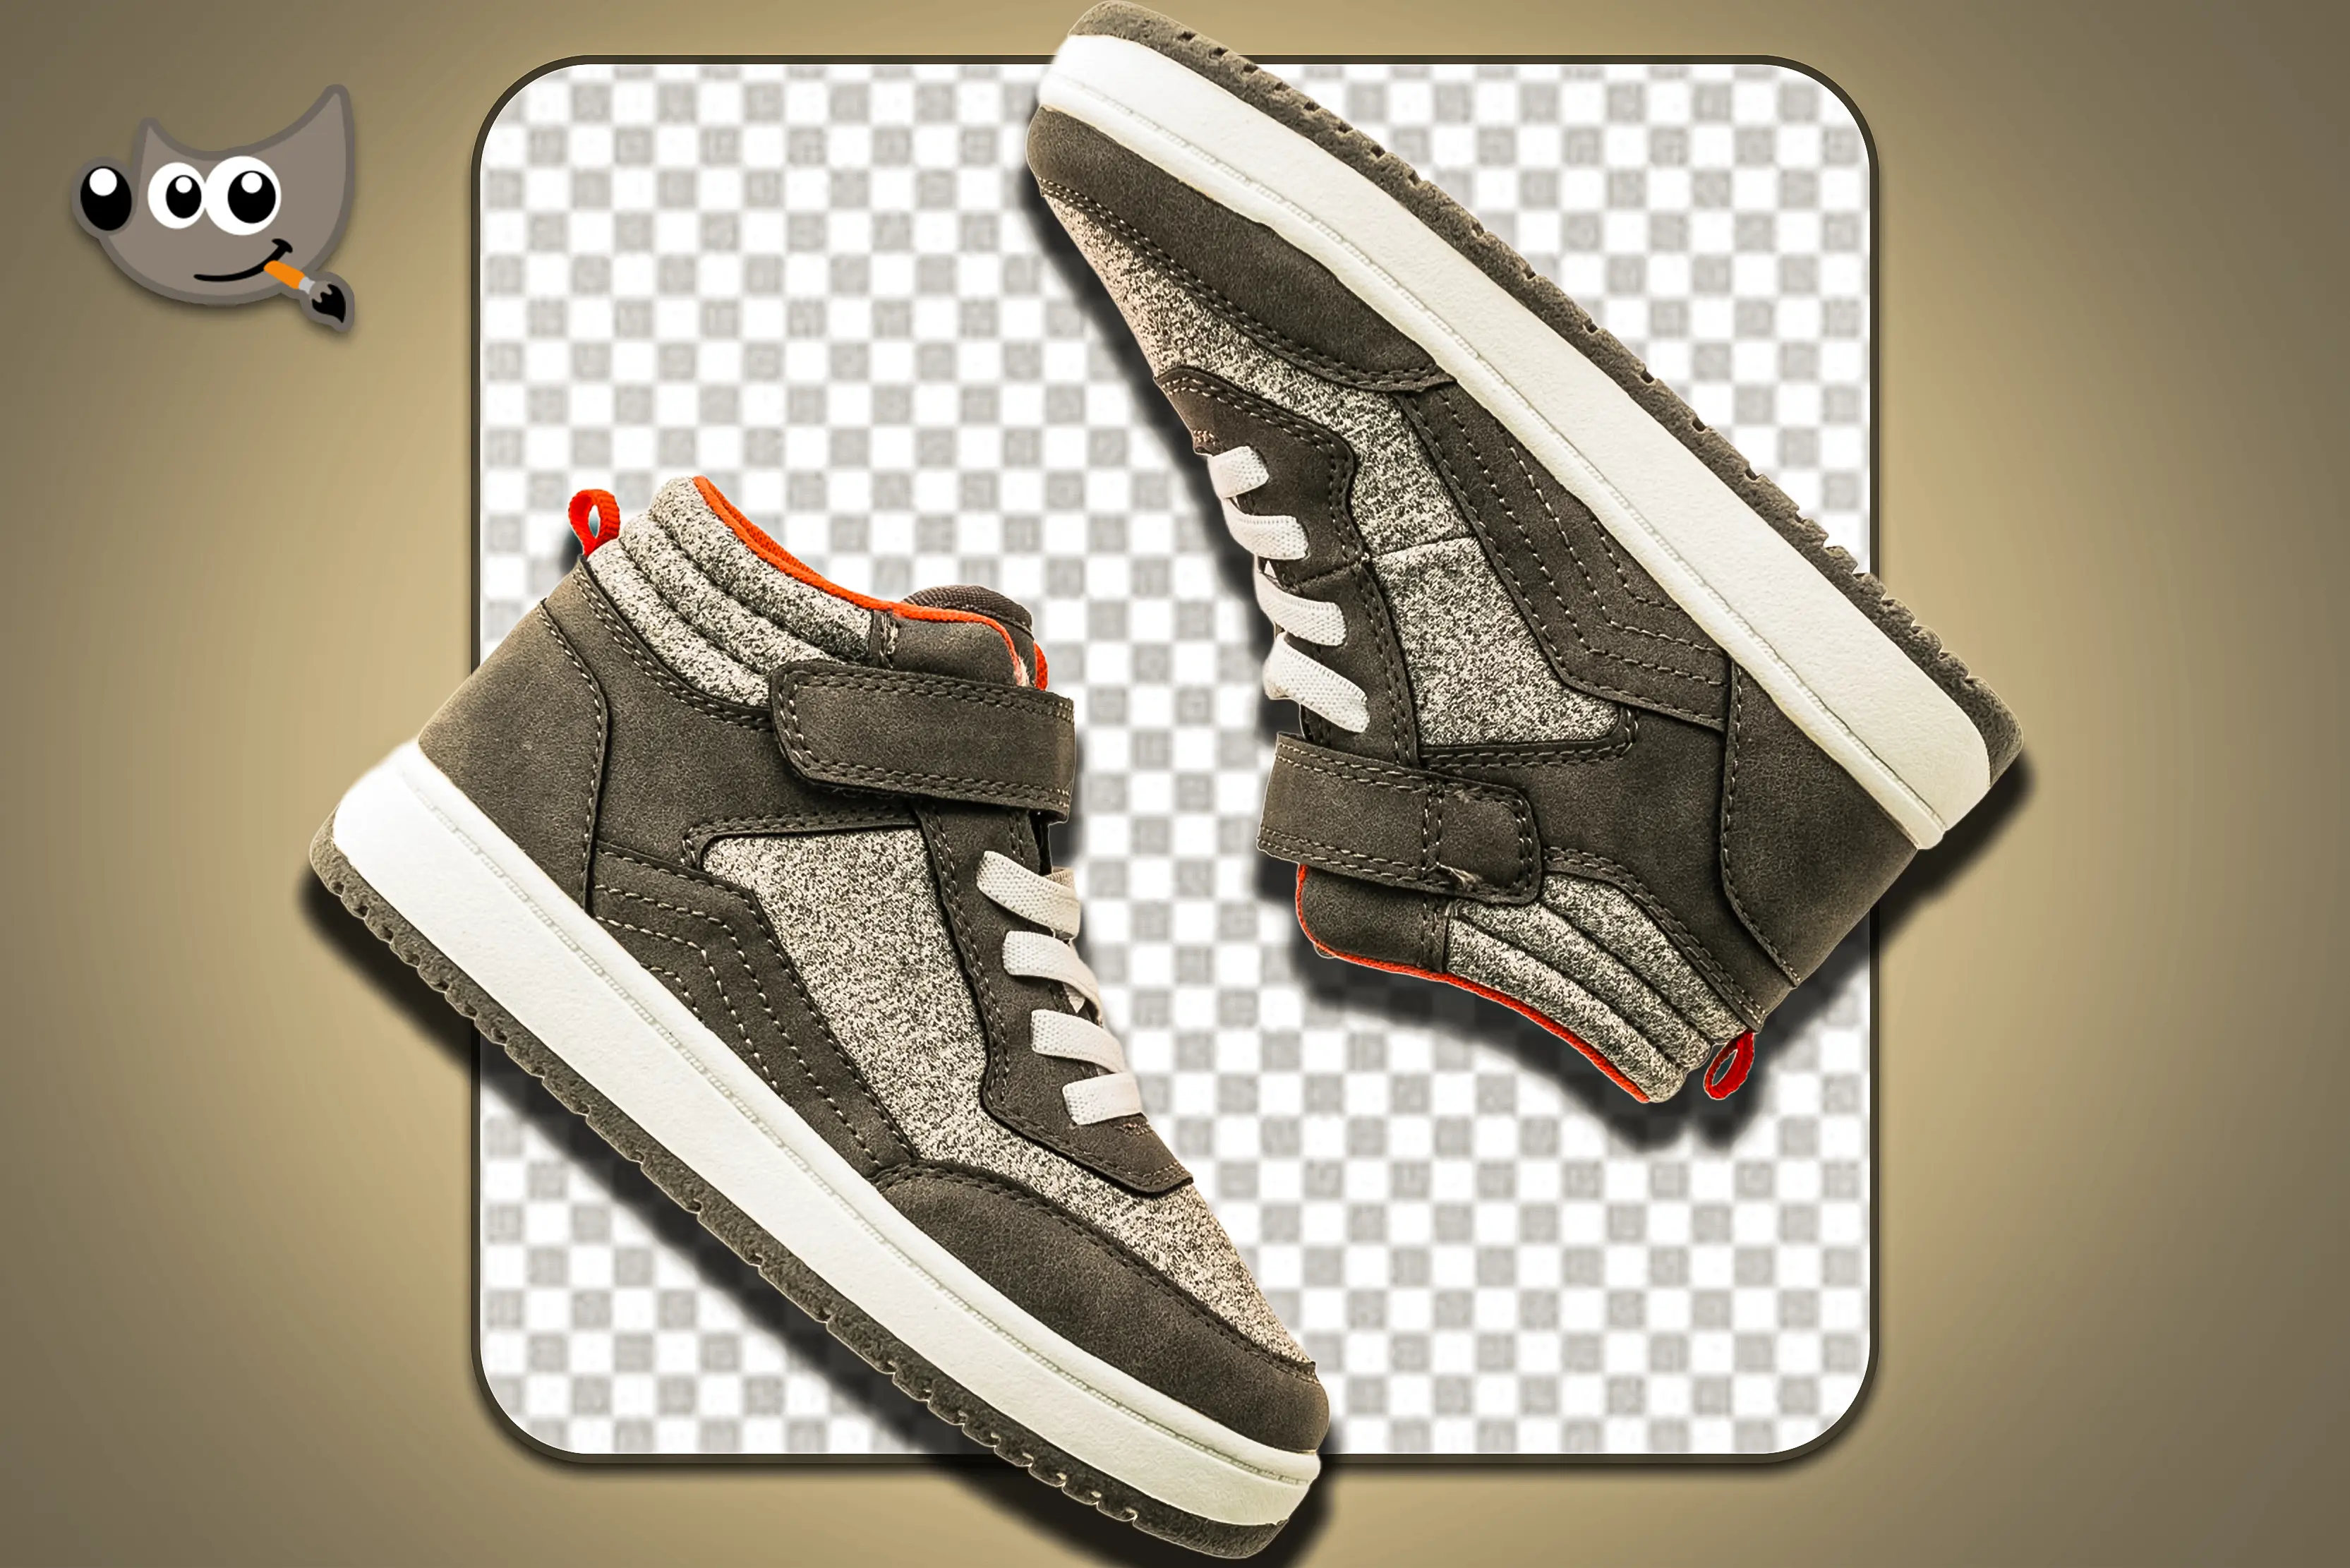
Removing background using GIMP (GNU Image Manipulation Program) is a solid open-source option. It includes a Fuzzy Select Tool, which works much like Photoshop's Magic Wand:
- Click on a solid color area of your background
- Adjust the sensitivity slider until the selection looks right
- Press Delete to remove it
For irregular shapes, GIMP's Paths Tool lets you trace vector lines by hand, similar to Photoshop's Pen Tool, just with a steeper learning curve for beginners.
If you're on Windows and want something even simpler, Paint 3D or the updated Windows Photos app offers a built-in Magic Select feature:
- Open your image and click Magic Select
- Crop the focus box tightly around your subject
- Let the internal engine trace the edges automatically
- Use the "Add" or "Remove" marker pens to correct any mistakes
- Save your isolated cutout once you're satisfied
How to remove background from picture using AI - Pixelbin
If you just want to get rid of a background by selecting a subject without performing tough steps with layers and masks in Photoshop, Pixelbin is a really simple option. It works online, handles both images and videos, and doesn’t need much setup at all. The best part is how easy it is to use without any complicated steps, just upload and go.
With the premium plans, you can remove white backgrounds in batches, which is a huge time-saver if you’ve got hundreds of photos to deal with.
Everything runs automatically, but the quality stays solid. Whether you’re a business owner, a designer, or just someone looking to save time, Pixelbin does the job quickly and without the usual Photoshop hassle.
Key features
- Precise Edge Detection: Smart AI neural networks carefully analyze foreground boundaries to isolate intricate subjects like frizzy hair, fur, and delicate product textures.
- AI Backdrop Generation: Create custom, visually balanced settings instantly by typing descriptive text prompts that align naturally with original image lighting.
- High-Volume Bulk Editing: Process massive graphic catalogs simultaneously using a developer-friendly API designed to accelerate heavy commercial e-commerce production pipelines.
- Logo and Signature Extraction: Transform flat screenshots or handwritten documents into completely transparent, watermark-free digital assets suitable for brand overlays.
- Multi-Format File Support: Upload images fluidly across popular desktop or mobile formats including high-resolution PNG, JPG, JPEG, WEBP, and HEIC files.
- Integrated Quality Upscaling: Enhance low-resolution inputs directly within the active design studio workspace by sharpening details up to 4x.
Step-by-step workflow
Step 1: Go to Pixelbin and open the background remover tool.
Step 2: Upload your image by dragging and dropping it into the upload area or browsing your device to select the file. Supported formats include PNG, JPG, JPEG, WEBP, and HEIC.
Step 3: The AI automatically detects the subject and removes the white background instantly using advanced algorithms, preserving details such as fine edges, lighting, and shadows with high precision.
Step 4: Once satisfied, download thehigh-resolution image with a transparent background, ready for eCommerce, marketing, social media, or creative projects.
Troubleshooting & pro-tips for perfect cuts
1. Eliminating colored halos
- Halos are thin colored lines around your subject caused by background pixels bleeding into the edges.
- Fix in Photoshop: Hold Ctrl/Cmd, click your layer mask, then go to Select > Modify > Contract and shrink by 1-2 pixels.
- Invert the selection and hit delete to clear the bleed.
2. Using the contrast rule
- Shoot subjects against backgrounds with strong contrast for best AI results.
- Dark object → light backdrop. Blond hair → dark backdrop.
- Clear contrast helps AI track edges accurately, cutting down on manual fixes later.
3. Fixing the "white background" PNG bug
- Saving as JPEG fills transparent areas with solid white — JPEGs can't store transparency.
- Always export as PNG or WebP to keep your Alpha Channel intact.
JPEG→ Destroys Transparency → Fills White
PNG → Retains Alpha Channel→ Stays Clear
WebP → Stays Clear + Compressed
4. Handling fine details (hair & fur)
- Shoot under bright, even lighting to reduce blur around strands.
- Avoid hard-edged erasers when editing manually.
- Use hair-matting paths or Refine Edge brushes for natural blending.
5. Matching e-commerce lighting angles
- Match your cutout's original light direction to the new background.
- Consistent lighting keeps shadows looking realistic, not "floating."
6. Managing glassware transparency
- AI tools like Pixelbin auto-calculate transparency for glass and reflections.
- Manually: copy reflections to a new layer, set blend mode to Screen/Multiply, lower opacity.
FAQs
PNG is the best format because it features lossless compression and fully supports alpha channel transparency. WebP is another excellent option, offering similar transparency features at much smaller file sizes.
You can get a transparent background for free by uploading your photo to Pixelbin's web tool. The automated AI processes your image instantly, isolating the subject for quick download.
Your image shows white because you saved it as a JPEG. The JPEG format does not support alpha channel transparency, so it automatically fills empty canvas pixels with solid white.
Online tools use deep machine learning models trained on millions of images. These neural networks identify the primary subject through semantic segmentation, cleanly cutting it away from the background surroundings.
Yes, simply open PixelBin's tool in your mobile browser to remove backdrops instantly. Alternatively, iPhone users can press and hold any photo subject natively to copy a clean cutout.
First, upload your product image to PixelBin to erase the original backdrop. Next, select the solid color option, choose pure white, and download your marketplace-compliant transparent PNG asset.
Advanced tools use smart AI matting to calculate partial transparency values along fuzzy borders. This separates intricate strands from background noise without creating harsh, jagged lines or unnatural edges.