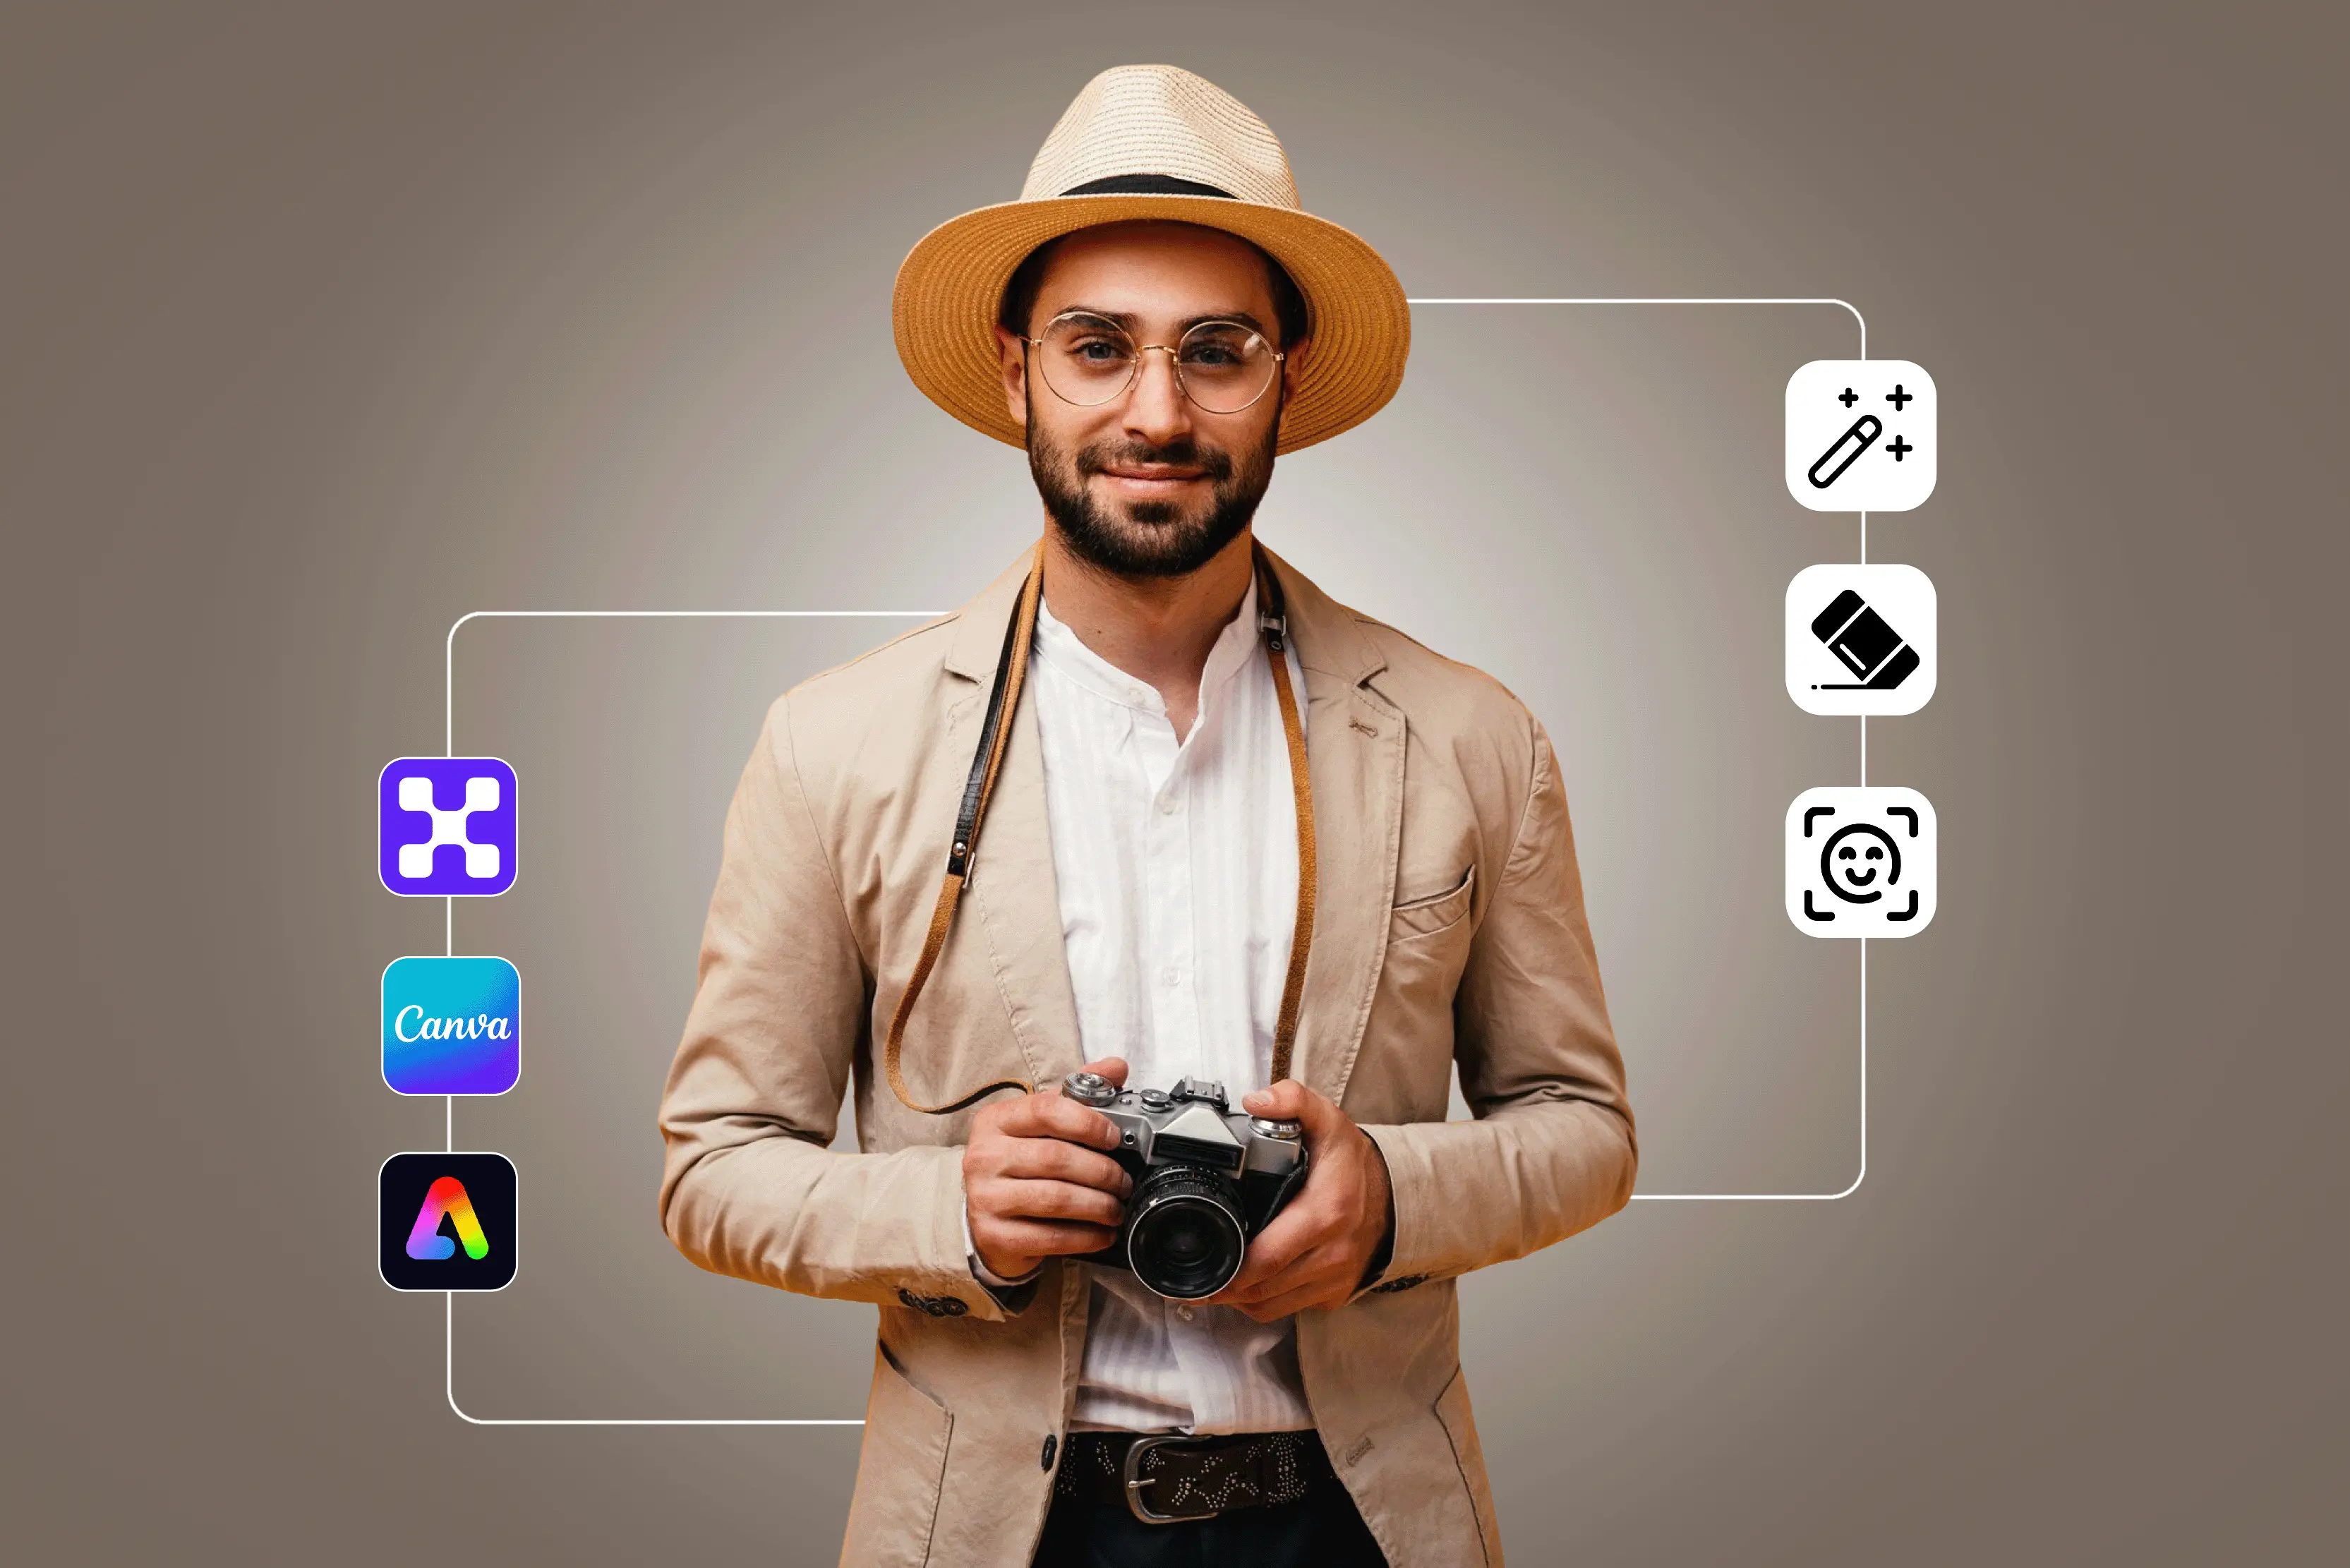


A photographer’s way of working can change based on which AI image editor they use. These tools can help you make ordinary photos look amazing by improving the lighting, fixing blurry details, getting rid of things you don't want, or adding a creative touch.
The best part is that modern AI editors are made to help you save time. You can get clean, sharp, and professional-looking pictures in just a few clicks instead of spending hours editing them by hand.
I have personally looked into and tried out a number of AI image editors over the past few months to see which ones really do what they say they will. Some tools are good for making quick and easy changes, while others let you control every detail.
You don't need to install any heavy software to use many of them because they work right in your browser. This blog will show you some of the best AI image editors for photographers.
I'll tell you what I liked, what could be better, and what makes each tool stand out. In case you’re a beginner looking for something easy or a pro who needs advanced editing features, this list will surely help you find the perfect match for your photography style. So stay tuned.
Why are photographers shifting to AI image editors?
More and more photographers are switching to AI-powered image editors, and it's easy to see why. Speed is one of the main reasons. AI tools speed up editing by doing things like retouching, removing backgrounds, and fixing lighting that need to be done over and over again.
Photographers can now do things that used to take hours in just a few minutes. This gives them more time to focus on their clients and shoots. Another big plus is that the quality is always good. When you are editing multiple shots from the same session, AI tools help keep the look and feel uniform.
No more worrying about uneven lighting or mismatched tones between images. AI image editors also have advanced features for improving images, such as smoothing skin, sharpening details, reducing noise, and correcting colors.
They also let photographers be creative. You can try out different filters, styles, or effects and still keep the original shot's natural look. This mix of speed, quality, and creative freedom is a game-changer for a lot of photographers. It's not about getting rid of skill; it's about using better tools to make their work easier and better.
Key features photographers should look for in an AI image editor
When photographers evaluate an AI-powered image editor, it’s not just about pretty filters. The tool must handle professional-grade workflows and deliver quality results while saving time. Below are the critical features to check — and why they matter.
1. Auto enhancement and retouching
One of the major advantages of AI in photo-editing is automation of the tedious parts: color correction, exposure adjustments, spot-healing, noise reduction, and more.
For example, AI can “Perfect skin tones, enhance colors, and remove unwanted objects or imperfections” automatically. For a photographer working on dozens or hundreds of images, an editor that can auto-enhance intelligently (while allowing manual fine-tuning) is a major time-saver.
2. Background removal and replacement
Whether you’re doing studio portraiture, product photography or creating composites, background removal (and replacement) is a key workflow. An AI editor that can easily isolate the subject, remove messy backgrounds, or replace them with a clean or creative background streamlines that work.
For example, some tools support “AI background remover” and “Transparent image background tool” functions. Beyond removal, look for seamless replacement: for example, the ability to insert a new background, match lighting and perspective, and avoid “Cut-and-paste” artefacts.
For commercial work in particular (e-commerce, portraits, composites) this feature is a must. If the software has intelligent masking and subject detection, it will greatly reduce manual work.
3. Generative fill and object detection
Beyond standard retouching and background tricks, more advanced AI editors now include “Generative fill” (you tell the editor to add or fill parts of the image), plus object detection (the AI understands what the object is and allows selective edits).
For instance, generative fill allows you to extend an image’s dimensions or add new elements via text prompts or brushes. For photographers, this means you can salvage a less-than-perfect scene (e.g., merge sky, remove large distractions, add creative elements) rather than just cleaning.
4. Layer support and RAW file compatibility
A lot of photographers require robust workflows: editing RAW files (because you want maximum dynamic range and control), using layers and masks (so edits are non-destructive, adjustable, and organized). So an AI editor needs to support:
- RAW file formats (from your camera).
- Non-destructive editing (layers, adjustment layers, masks).
- Good performance (RAW processing tends to be heavy).
- For example, one editor is lauded for its “Non-destructively” saved edits, multiple modules, and RAW format support.
If your work is professional, you’ll likely want full control of each layer (especially if you hand off to print, commercial output, or archive your files). An editor that treats edits as baked-in destructively is less flexible.
So check how many layers you can use, whether masks are editable, and if the software integrates with your RAW-workflow (tethered shooting, batch processing, color profiles, custom camera profiles).
5. Ease of use and UI/UX
Even the most powerful features don’t help if the software is too clunky, slow, or unintuitive. Photographers often want a tool that doesn’t get in the way of creativity or delay delivery. Key aspects:
- Intuitive user interface (clear layout, organized tools, minimal distractions).
- Performance (handles large files smoothly, GPU support, minimal lag).
- Learning curve (especially if you move from another editor).
6. Pricing and subscription models
AI image editors may vary in how they charge: one-time purchase, subscription, tiered plans, and usage-based pricing. Always check:
- What features are included at the entry-level? Are the AI features locked behind higher tiers?
- Are there “Credits” or usage caps for generative tools (e.g., background replacement, fill)?
- Is it a one-time purchase or an ongoing subscription?
For example, many mainstream editors now offer “Free” versions or trials with limitations, while advanced AI features might cost extra.
As a photographer, you’ll want to budget not just for software cost but also for how many hours you’ll save (and how many images you’ll turn over). Sometimes a higher-cost tool pays off; sometimes a lighter-cost tool is more efficient if it meets your needs without overpaying for features you don’t use.
Which is the best AI image editor for photographers?
We get a lot of options when it comes to AI image editors. Below, I have listed the top 10 web-based AI image editors along with steps to use them to edit pictures using prompt. So, here’s the list:
1. Pixelbin

Pixelbin is a powerful AI-based platform for editing and optimizing images that is meant to speed up and improve the image editing process. It's perfect for designers, marketers, and creators who want great results with as little work as possible.
What I like most is the smart background removal. Instead of awkward edges or missing details, it cleanly cuts out the subject almost every time. I’ve used it on product images, portraits, and even random travel clicks, and it handled them all pretty well.
It also has AI-powered enhancements that make even old, faded photos look new again. Pixelbin is unique because it has an ecosystem that is easy for developers to use, making it simple to add to apps and websites through APIs.
Why I picked this tool:
Pixelbin is fast, accurate, and easy to integrate, making it an excellent choice for creators who want both automation and quality. Its real-time editing and optimization save a lot of manual work.
Steps to edit an image using the Pixelbin text-to-image generator
Step 1: Visit the Official website of Pixelbin and click on AI tools > See all.
Step 2: Scroll down and select “AI image editor with prompt.”
Step 3: Then, upload the image that you want to edit and write the prompt on what edits you want to make..
Step 4: As you can see, as per my prompt, the tool has made changes in the uploaded image. If you want to make further changes in the image, click on “Edit image with AI”.
2. DeepAI
DeepAI is a powerful AI platform that has a lot of creative tools, such as advanced features for editing and making images. DeepAI is known for its powerful AI skills, especially when it comes to text-to-image generation, image enhancement, super-resolution, and style transfer.
What I liked most about it is how simple and straightforward it is—you don’t need to be a tech expert to get started. I could type a text prompt and generate images pretty easily, and the results were often surprisingly good for simple concepts.
It is web-based, so you don't need to download anything or set it up in a complicated way. DeepAI is great for creators, developers, and marketers who want to have more control over visuals that are made or improved by AI.
Why I picked this tool:
DeepAI stands out for its flexibility and power. It’s great for those who want to go beyond basic editing and experiment with AI-generated content, making it a strong option for creative projects. However, to edit pictures, you need a paid subscription here.
3. AI image editor
I recently used an AI image editor, and it completely changed the way I edit pictures. The AI did it in seconds instead of hours of manually changing brightness, contrast, or removing backgrounds.
I uploaded an old picture that was a little blurry, and the tool automatically made it better by sharpening details, fixing the lighting, and even making the faces clearer.
The AI background remover feature was also great because it let me quickly change boring backgrounds to bright ones. The interface of this particular editor is very simple, so I could create professional-looking images without knowing any design skills..
Why I picked this tool:
I was looking for a tool that was quick, simple to use, and dependable for both work and personal use. This tool saves time, keeps quality high, and gives my pictures a polished, studio-finish look without me having to know a lot about editing.
Steps to edit an image using AI image editor
Step 1: Visit the official website of AI image editor and click on AI tools > AI image editor.
Step 2: You will be asked to upload an image on which you want to make further edits. Along with uploading a photo, a user will have to write a prompt about what changes he/she want in the image.
Step 3: Then you will have to select some options as per your requirements, like model, aspect ratio of the picture, and number of outputs. Then click on generate.
Step 4: Below, you can see that the tool has generated the image as per my prompt.
4. Canva
I’ve turned to Canva countless times when I needed a fast visual fix — and it rarely disappoints. What I love most is how many “Magic” AI features it saves you from doing manually: with Magic Edit, you can select an object and just type what you want changed (swap out something, change color, replace background), and it works impressively well.
Canva goes beyond basic editing — it offers a massive library of templates, stock photos, fonts, icons, and design elements that make content creation fast and effortless.
If I’m making a poster, Instagram post, or slide deck, I can start in Canva, generate an image, edit it, and export it — all in one place. One of its best features is that teams can work together on designs in real time, making it easy for everyone to make changes. It is accessible on both desktop and mobile, so you can design on the go.
Why I picked this tool:
Canva is great for people who want to make professional-looking graphics without having to learn complicated design software. Editing is quick, easy, and clean with its AI tools.
Steps to edit an image using Canva
Step 1: Visit the official website of Canva and click on “Three dots” on the left side. Then, click on Apps.
Step 2: Then, click on “AI image editor.”
Step 3: Then, click on “Use in new design” and choose for which purpose you want to use the image.
Step 4: Here, I have chosen “Phone wallpaper.”
Step 5: Then upload the image and enter the prompt about what edits you want in the picture.
Step 6: The tool has generated the image as per the prompt. If you are not satisfied and want to make further edits, rewrite the prompt and click on regenerate.
5. Fotor
With Fotor, what I liked is how easy it was to upload a JPEG or PNG, add a filter or AI effect, and end up with a usable image without a steep learning curve. It has simple tools like background remover, image upscaler, portrait touch-up, and auto-enhancement that work with just one click.
It also has AI-powered tools for removing objects, restoring images, and adding creative effects. Its one-tap scene presets, playful filters (e.g., “Ghibli style,” Clay-portrait, etc.), and batch editing for multiple photos saved me time when working on social media posts or light edits.
It has a template library and AI design suggestions that help users create stunning visuals with zero design experience. It is accessible on both the web and mobile, so you can edit pictures from anywhere.
Overall, it’s good for users who aren’t full-time designers, and the free tier gives you enough to test things out. The AI generator, when it worked, was fun to experiment with.
Why I picked this tool:
Fotor is great for people who want powerful AI editing tools but don't want to spend a lot of time learning how to use them. It's great for quick, high-quality edits because it has a good mix of simple and smart tools.
Steps to edit an image using Fotor
Step 1: Visit the official website of Fotor and click on “AI photo editor.”
Step 2: Upload the image that you want to edit.
Step 3: Several one-click edit options are given here. You can choose as per your requirement.
Step 4: Here, I have chosen “BG remover.”
Step 5: Choose the background you want for your image, and then the tool will set the background in your picture.
6. Picsart
Picsart is an image editing tool that is used by creators, marketers, and people who love social media. It’s not just a photo-editor; you can work on collages, social graphics, short videos, layered edits, and even generative AI images.
The template library is pretty massive, so when I needed something fast for Instagram or a light marketing visual, I could roll something out quickly. The AI features — background removal, upscaling, text-to-image generation — are also big pluses, especially if you’re not a full-time designer.
It’s perfect for editing portraits, product photos, or social media graphics and is available on both web and mobile, letting you edit from anywhere. The free version feels quite restricted: many good features are behind a paywall, and exports from the free plan often carry watermarks.
Why I picked this tool:
Picsart stands out for its creative flexibility and fun-to-use interface. It is a blend of professional editing tools and AI automation that makes it perfect for beginners as well as experienced creators.
Steps to edit an image using Picsart
Step 1: Visit the official website of Picsart and click on “More tools.”
Step 2: In the search bar, type “AI image editor.”
Step 3: Upload the image and write a prompt about what edits you want in the picture. Then, click on “Generate.”
Step 4: Below, you can see that the tool has generated an image as per my prompt.
7. Pixlr
I liked this web-based editor because I could start editing right away without having to install big software. It can open normal files like JPEG and PNG, and it has tools for layers and blending, so you can do more than just basic edits. Pixlr is known for having a clean interface and being fast.
It has smart features like AI-powered background removal, auto-enhancement, object erasing, and one-click retouching. Pixlr provides templates, filters, and overlays that make it great for making graphics for social media, product photos, and marketing materials.
Unlike many tools, Pixlr runs smoothly on the web without requiring large downloads, which makes it highly accessible. Also, though it used to offer very strong free-access features, many users have pointed out that the recent paywalls, save-limits, and subscription changes have made the “Free” version less generous.
Why I picked this tool:
Pixlr is simple to use but still has powerful AI features. It works quickly on the web and has powerful editing tools, so it's great for quick, professional, and creative changes.
Steps to edit an image using Pixlr
Step 1: Visit the official website and click on “Open AI photo editor.”
Step 2: Click on “Open image.”
Step 3: Select the size and then upload the image.
Step 4: On the left-hand side, click on the “AI tools” icon.
Step 5: Choose the option you want. Here, I have chosen “Backdrop.”
Step 6: Then, I went with the option “Motion.”
Step 7: Click on “Apply,” and the tool will generate a similar image.
8. NinjaTech AI
I recently uploaded one of my landscape shots into Ninja AI’s image editor. After clicking “Edit Image”, I first used the masking tool: I selected a small tree branch that was casting an odd shadow, then typed the prompt: “Remove the branch and blend the sky-and-tree background smoothly.”
The tool removed the branch cleanly and filled the area so it almost looked like it had never been there. For global edits, I uploaded a portrait and simply used a prompt: “Change the background behind the subject to twilight-sky gradient with soft purple and orange tones, ensure subject lighting remains unchanged.”
The prompt-based global edit worked surprisingly well. What I appreciated: the workflow is intuitive (upload → prompt or mask → preview results). That said, for very complex scenes (lots of overlapping objects, fine hair detail) I found some artefacts and had to do a manual touch-up after export.
Why I picked this tool
I picked Ninjatech AI because its AI image generation lets me add, remove, or transform elements with just a simple prompt. It gives me the perfect mix of creative control and speed, making edits look clean and natural. However, you need to get a paid version in order to edit images using prompts here.
9. Notegpt
Notegpt is a smart AI tool that does more than just write and take notes. It also has great AI tools for making and editing images. I could just type what I wanted, like "Add soft sunset lighting" or "Remove background and replace with a park scene," and it made a clean, realistic picture in a few seconds.
The process is very smooth and easy for beginners, which is what makes it stand out. You don't need to be an expert at editing; a simple prompt will do the trick.
Its AI image generator does a great job of understanding details and adjusting colors, lighting, and objects, making the final image look realistic. This is perfect for creating visuals for content, presentations, or creative projects.
Why I picked this tool:
I chose Notegpt because it has both text productivity and powerful AI image generation in one place. It saves you time, gives you good results, and is very simple to use.
Steps to edit an image using Notegpt
Step 1: Visit the official website of Notegpt and click on AI tools > AI visual generator.
Step 2: Then, upload the image you want to edit and enter a prompt on what edits you want to make in the uploaded picture.
Step 3: Below, you can see the example.
Step 4: You can see the tool has generated the image as per the given prompt.
10. Hexagen
Hexagen is a cutting-edge AI tool for creating and editing images that makes creative work faster and easier. I just typed in things like "Turn the background into a misty forest" or "Add soft light reflections on the water," and the tool made realistic, detailed results in seconds.
What impressed me most was how well it captured lighting, shadows, and textures, which made the changes look like they were done by a pro.
Hexagen also gives me a lot of different options for each prompt, so I can compare them and pick the best one without having to edit anything myself. The interface is simple and clean, so even people who are new to it can make high-quality visuals.
Why I chose this tool:
I chose Hexagen because it makes images quickly, accurately, and with little effort that look like they were made by a professional. It's great for people who want to be creative and work quickly at the same time.
Steps to edit an image using Hexagen
Step 1: Visit the official website of Hexagen and click on “Generate.”
Step 2: Then, click on text to image. You will be asked to upload the photo and enter the prompt. Below, you can see that the tool has generated an image as the entered prompt.
Conclusion
When looking for the best AI image editor for photographers, you need to find one that has the right amount of power, accuracy, compatibility with your workflow, and price. Adobe Photoshop and Adobe Lightroom are still the best tools for professionals because they support a wide range of RAW files, let you edit in layers, and have a trusted ecosystem.
At the same time, simpler tools like Pixelbin make it easier to use advanced AI features without having to learn a lot. The best photo editor for photographers depends on how they work — like whether they click photos in RAW or JPEG, how many pictures they edit, if they use layers and masks, and how much control they want over their edits.
Use AI to free up time for creativity — but always steer it, so your unique visual voice remains front and centre. Choose a tool that lets you edit faster and preserve your style.
FAQs
Adobe Lightroom, Photoshop, and Pixelbin are top choices for professionals due to their AI tools, RAW support, and editing precision.
AI automates tasks like color correction, retouching, and object removal, saving hours of manual work and speeding up bulk editing.
Yes, AI editors like Pixelbin, Canva and Fotor are beginner-friendly, offering one-click enhancements and simple interfaces without technical complexity.
Yes, editors like Lightroom and Luminar Neo support RAW formats, allowing photographers to retain full image quality and dynamic range.
Pixlr, Fotor, and Imagen AI provide great results at affordable prices, making them ideal for both professionals and hobbyists.
Use AI for basic edits but fine-tune manually. Apply custom presets, adjust colors, and refine details to keep your unique style intact.