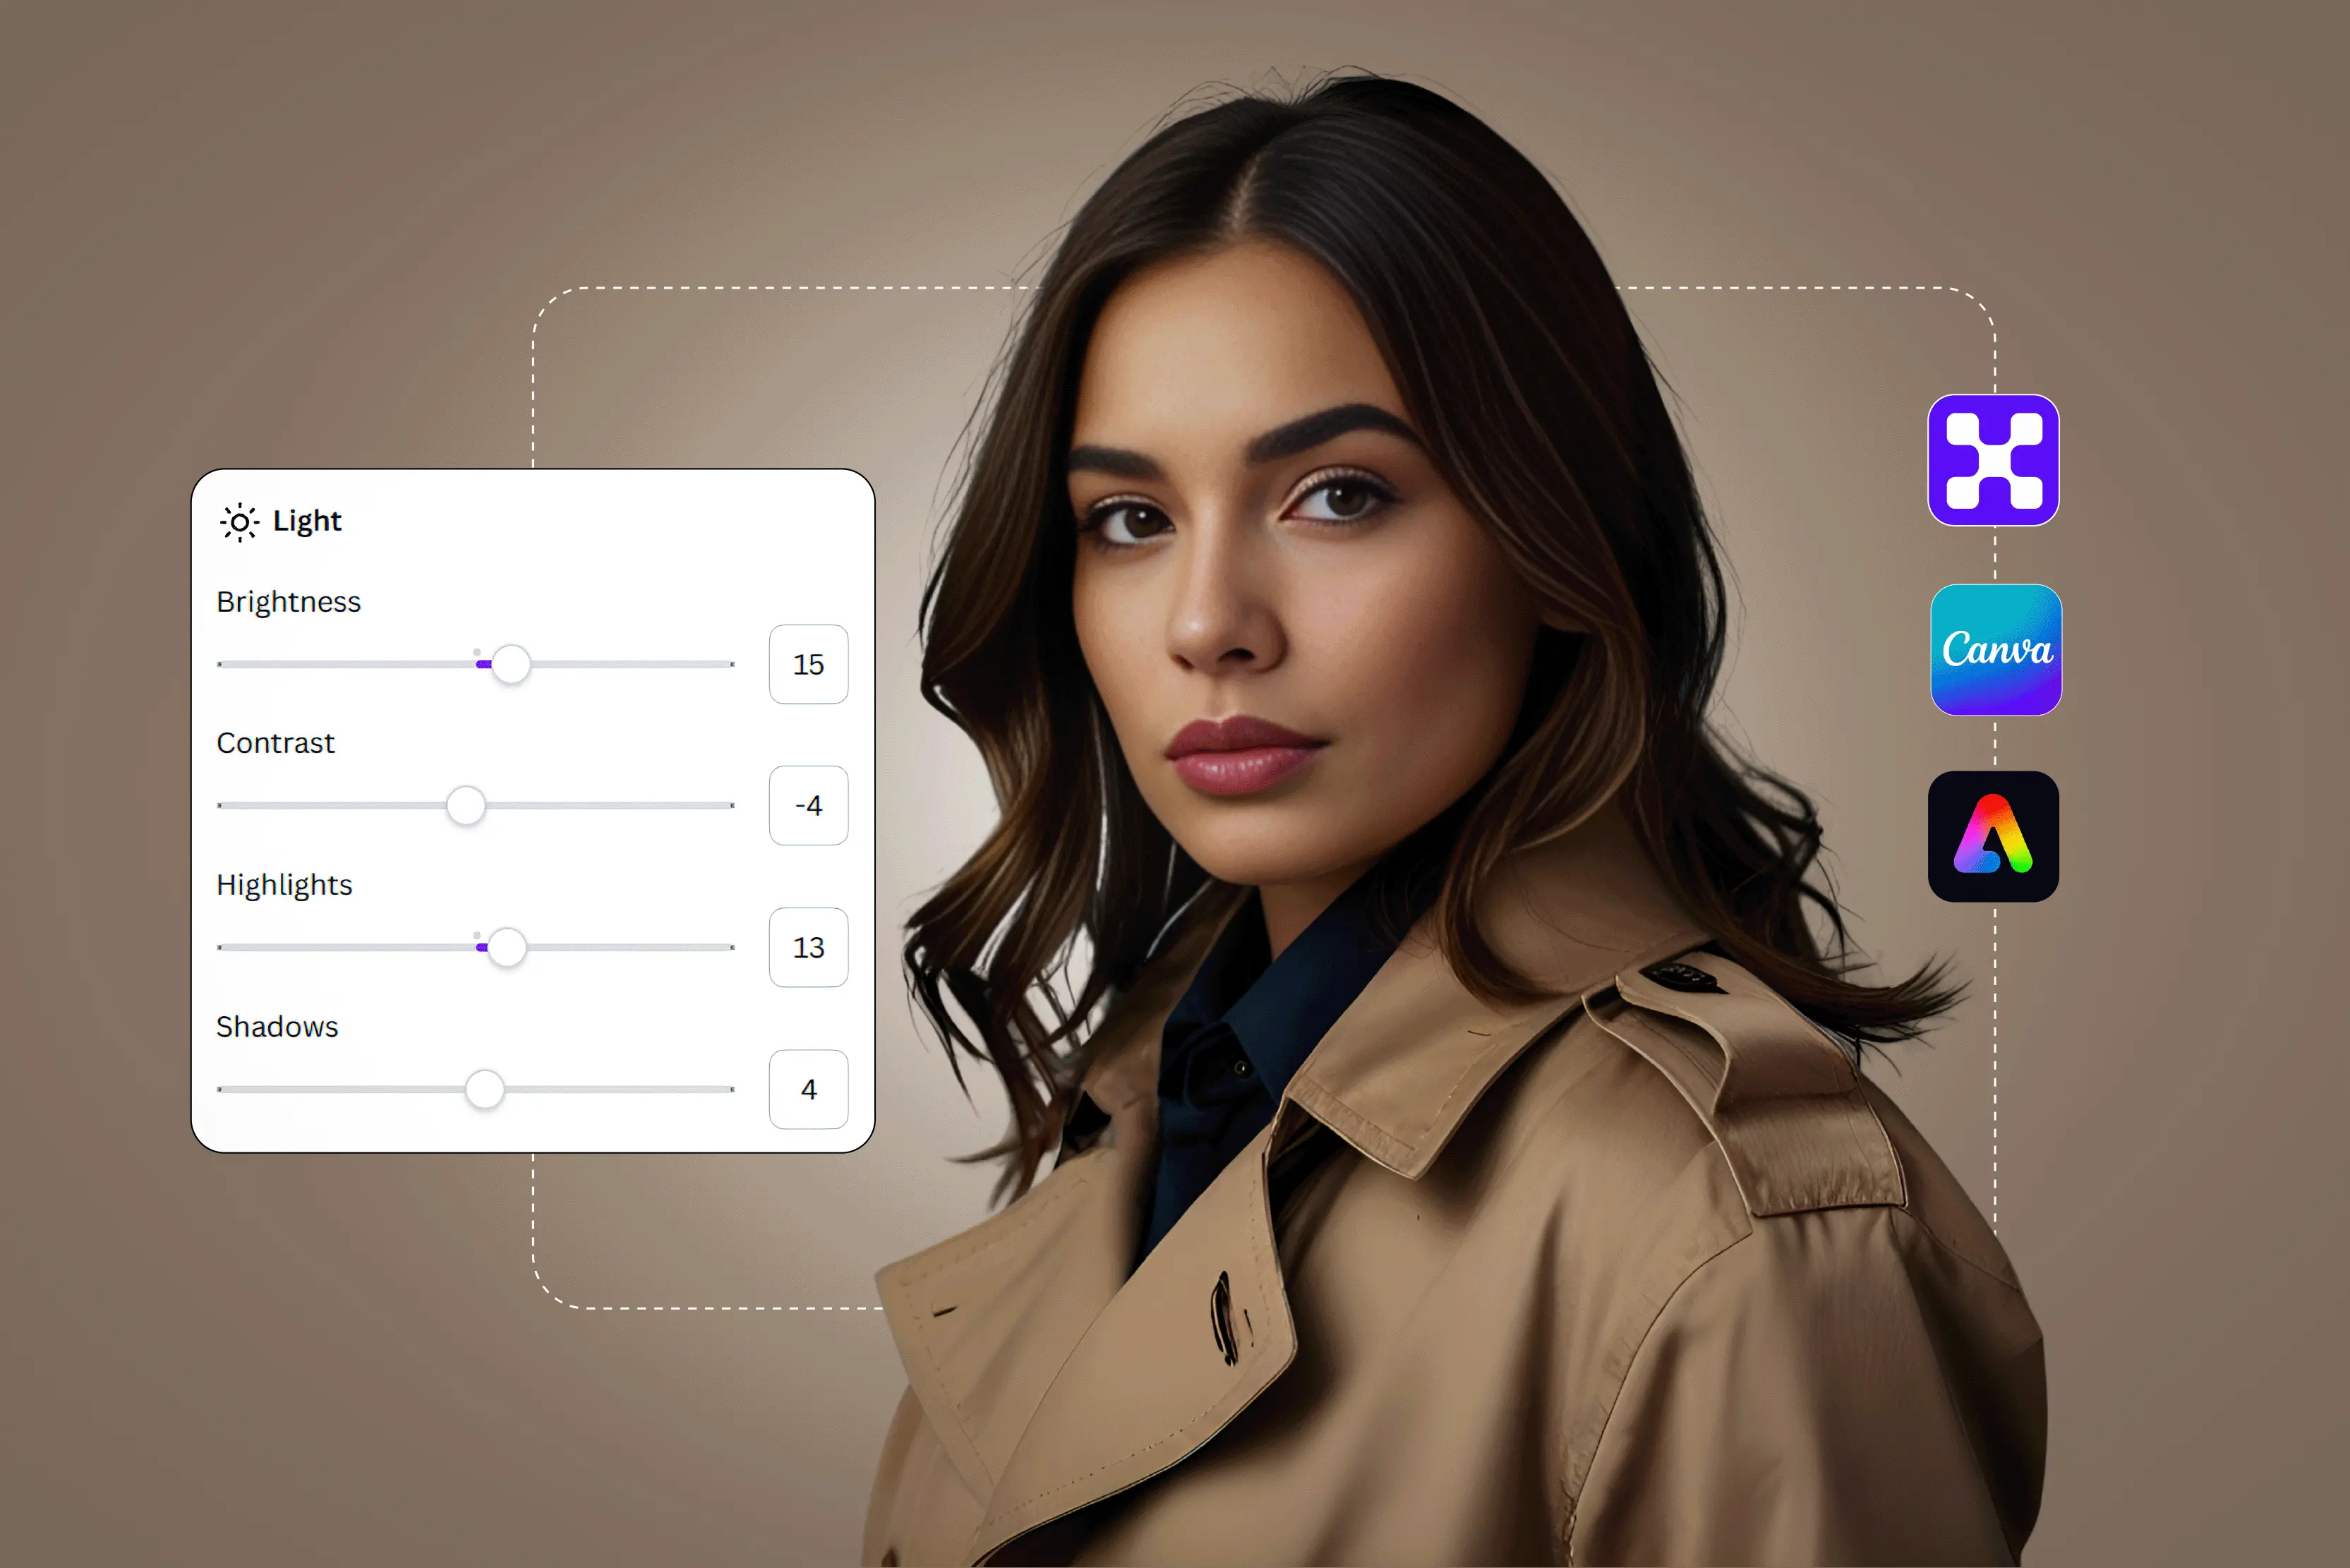


The overall effect of an image can be changed by adjusting the color and brightness. Getting these two things right will make sure that your photos look natural, well-lit, and true to life, whether you're editing them for social media, a brand campaign, or a personal project.
A picture that is too bright can make details look washed out, and a picture that is too dull can look dead and unappealing. That's why getting the right balance between color and brightness isn't just a technical step; it's an art that sets the mood, tone, and look of your picture.
AI-powered image editors have made photo enhancement incredibly simple. With just one click, these tools use smart algorithms to find lighting problems, change the contrast, improve the tones, and bring out colors that look natural.
With so many AI tools out there, which one really does the best job of balancing color and brightness? We'll look at and compare some of the most popular AI image editors in this blog, focusing on how well they maintain a balance between color and brightness.
By the end, you'll know exactly which AI tool will help you get the most professional-looking and visually balanced results with the least amount of work.
Why color and brightness balancing is important?
Before looking into AI image editors, it's important to know why balancing color and brightness is so important when editing photos. Color balance is the process of adjusting the mix of red, green, and blue tones in a picture so that the colors look real and natural.
On the other hand, brightness (or exposure) controls how light or dark an image looks. They all work together to make sure your photo looks natural, visually balanced, and appealing.
The most beautiful pictures can lose their appeal if the color and brightness are not balanced well. Photos that are too bright may have highlights that are too bright, and photos that are too dark may have shadows that are too dark.
Also, changing the colors in the wrong way can make skin tones look unnatural or make the whole picture look dull. These problems affect not only how an image looks, but also how it makes people feel.
When choosing an AI image editor for this job, you should think about a few things:
- How well the tool changes colors and tones is called accuracy.
- Consistency: If it gives you the same results on different images.
- Control: How much manual fine-tuning it lets you do.
- Batch Capability: How well it can process more than one photo at a time.
Color correction vs. color grading
Color Correction: This is the step where you fix problems with the lighting and colors to make the picture look real.
It means changing the white balance, exposure, and contrast to get skin tones that look natural and lighting that is even. For example - Correcting a yellow indoor tint or brightening an underexposed outdoor shot.
Color Grading: This is the part of the creative process where you change the look of the picture to create a certain mood or tone.
It improves mood and emotion by changing colors and tones in certain ways. For example - Adding warm tones for a vintage feel or cool shades for a cinematic look.
Key features to look for in an AI image editor
It's important to look beyond the brand name when choosing an AI image editor to balance color and brightness.
The best tool is the one that makes it easy to edit and gives you results that look clear, natural, and professional.
1. Automatic brightness and exposure correction
This feature helps fix lighting issues automatically. It adjusts how bright or dark your image is so that details in both highlights (bright areas) and shadows (dark areas) are clearly visible.
A good editor keeps the photo evenly lit without making it look fake or overexposed.
2. Color temperature and white balance adjustment
Color temperature decides whether your image looks warm (yellowish) or cool (bluish). White balance ensures that colors appear natural and not tinted.
An AI editor should be able to detect and correct color casts, making your photo look just like it was seen in real life.
3. Adaptive contrast and vibrance control
Adaptive contrast enhances the balance between light and dark areas, making your photo look clearer, sharper, and more lively.
Vibrance and saturation help boost colors without overdoing them. The goal is to make the picture look bright and clear while keeping the skin and other natural parts looking real.
4. Batch editing or bulk processing
Not all tools support batch editing or bulk processing. Batch editing allows us to work on multiple images at a time and saves a lot of time.
It allows you to apply the same color and brightness adjustments to multiple images automatically. This keeps all your photos looking consistent and balanced without editing them one by one.
5. Fine-tuning and manual override
You should still be in charge, even though AI does most of the work. If you don't like the changes the AI makes, a good editor lets you change the brightness, shadows, or tones by hand.
This combination of control and automation will get you the best results.
6. Usability and speed
A user-friendly interface with quick processing saves both time and effort. You should be able to see changes right away and make them easily.
The best AI editors are quick, easy to use, and even beginners can get professional-looking results.
7. Integration and API support
If you use other design tools, integration makes your work easier. Some AI editors can connect with cloud storage or other editing apps, and some even let developers use them through an API.
This way, you can edit and manage your photos smoothly without jumping between many apps.
List of AI tools for color correction
Below, you will explore the top 10 AI tools that can be used for color correction. Some of them give us the ability to transform the image in just one click.
But some of them give us control over every setting - from brightness to contrast, to vibrance, and so on. The best thing about each tool mentioned here is that you can use it online, and they all provide free trials.
1. Pixelbin

I used Pixelbin's color correction tool to fix some photos that were dull and uneven, and it worked great. With just one click, it made the colors more even, the brightness better, and my pictures look more real and bright.
I liked how it changed the tones on its own without making the picture look too edited. The best part was that I didn't have to change any complicated settings; the AI did most of the work.
Below, I have shown the steps to use this tool. It's great for when I want quick, professional-looking results without having to spend a lot of time editing each photo by hand.
Why I picked this tool:
I picked this color correction tool because it is very easy to use and gives natural-looking results. The feature that caught my eye was that with just one click, the whole picture gets transformed into a better-looking one.
Steps to adjust color using the Pixelbin color correction tool
Step 1: Visit the official website and click on AI tool > See all.
Step 2: You will be navigated to the next page. In the search, type “Color correction” and press enter.
Step 3: You will be asked to upload the photo.
Step 4: Once you upload the photo, the tool will process the image, and within a minute, you will get a better version of the uploaded image. You can download the image or further edit it by clicking on “Edit image with AI.”
2. Pixlr
I used Pixlr for color correction while editing a few photos, and I found it really effective for manual adjustments. Instead of one-click fixes, Pixlr lets you fine-tune brightness, contrast, highlights, and color balance on your own.
I liked how I could control every detail — for example, slightly increasing warmth to make outdoor shots look sunny or adjusting shadows to bring out hidden details. It takes a bit more effort compared to full-auto tools, but the results feel more natural and customized.
Pixlr gives you the flexibility to create the exact look you want for each photo. Users who do not want to make manual adjustments may not like this. But the result you get is uncompromised.
Why I picked this tool:
I used this tool because it gives you control over adjustments. You can adjust brightness, contrast, and many other settings as per your requirements. You can refer to this tool in case you do not like the result of the one-click color correction.
Steps to balance color and brightness using Pixlr
Step 1: Visit the official website and click on “Open AI photo editor.”
Step 2: Then, upload the image.
Step 3: A dialogue box will pop up where you can resize the image.
Step 4: Then, on the left side, you can see several icons. Click on the “Adjust” icon.
Step 5: Then, you can manually adjust the vibrance, saturation, tint, etc., and click on apply.
Step 6: You can click on “Save” to get the final output after the manual adjustments are made.
3. Picsart
Picsart doesn't offer one-click color fixes; it lets you manually fine-tune brightness, contrast, highlights, and color balance on your own. I liked how I could control every detail — for example, slightly increasing warmth to make outdoor shots look sunny or adjusting shadows to bring out hidden details.
It takes a bit more effort compared to full-auto tools, but the results feel more natural and customized. This tool gives you the flexibility to create the exact look you want for each photo.
Users who do not want to make manual adjustments may not like this. It is somewhat similar to Pixlr, but it gives you even more adjustment setting options to get a more personalized result.
Why I picked this tool:
I used this tool because it gives you control over adjustments. You can adjust brightness, contrast, and many other settings as per your requirements. You can refer to this tool in case you do not like the result of the one-click color correction.
Steps to balance color and brightness using Picsart
Step 1: Visit the official website of Picsart and click on “More tools.”
Step 2: Then, upload the photo. After that, on the left side, click on the “Photo” icon.
Step 3: Then, click on “Adjust” and manually set the brightness, contrast, etc.
Step 4: You can also do some settings under the color category and improve the clarity.
Step 5: Click on export to download the result.
4. Fotor
I used Fotor's color correction tool to fix some old photos that were taken in low light, and it worked great. You can change the brightness, contrast, exposure, and saturation of your photos with this tool, and bring them back to life.
I liked how easy it was to change the tones and highlights to make the colors look more natural and balanced. If you don't want to edit images by hand, it also has preset options like “Tap enhance” that make them look better right away.
The best thing about it was how easy it was to use. I was able to make my pictures look clear, bright, and professionally edited in just a few minutes.
Why I picked this tool:
I used this tool because it gives you control over adjustments. You can adjust brightness, contrast, and many other settings as per your requirements. You can refer to this tool in case you do not like the result of the one-click color correction.
Steps to balance color and brightness using Fotor
Step 1: Visit the official website of Fotor and click on AI photo.
Step 2: Upload the photo.
Step 3: On the left-hand side, click on the “Adjust” option and set the temperature, tint, etc.
Step 4: To get better results, I click on the “Tap enhance” option also. Believe me, it gave better results as you can see below.
Step 5: Then, click on “Download” and choose the format you want.
5. Autoenhance
I used Autoenhance’s auto color correction tool to fix some photos that looked flat and lifeless, and it did a good job. The AI automatically adjusted the lighting, contrast, and color balance to make each picture look more real and bright.
I liked how it worked in difficult lighting situations. It made dark areas brighter without losing details. The best part was that everything happened in seconds and didn't need much manual work. Autoenhance made my pictures look polished and professional while keeping the natural colors, which saved me a lot of time in post-editing.
Why I picked this tool:
I picked this tool because it helped me transform the photos within seconds. Its one-click auto color correction feature is good for those who want fast results and are not trained designers.
Steps to balance color using Autoenhance
Step 1: Visit the official website of Autoenhance and click on Features > Color correction.
Step 2: Click on “Get started for free.”
Step 3: Upload the image.
Step 4: The tool will process the image, and you can click on “Download” to save the final result. If you want to compare the before and after of the image, click on the “Compare” tab given below.
6. Auto Color
I used the Auto Color tool and was very happy with how quickly it fixed tones that weren't even. As you can see in the steps below, it's really a two-step process when you go to the website.
The tool automatically adjusts the brightness, contrast, and color balance of the picture to make it look more natural. What I liked best was that I didn't have to change a lot of settings by hand. The colors looked even and professional with just one click. It's a simple but useful tool for getting results quickly and reliably.
Why I picked this tool:
I picked this tool because it helped me transform the photos within seconds. Its one-click auto color correction feature is good for those who want fast results and are not trained designers.
Steps to balance color and brightness using Auto Color
Step 1: Visit the official website of Auto Color and upload the image.
Step 2: The tool will process the image and generate the result. You can compare the original and transformed one. Also, download the final image by clicking on “Download.”
7. YouCam online editor
YouCam online editor changes the brightness, contrast, and color tones on its own to make the picture look new and well-lit. Like some of the tools listed above, it is also a one click color correction tool.
I loved how it made skin tones look better without over-editing or losing details. YouCam has filters and retouching options that can make your photos look polished and ready to share, in addition to basic color correction.
The best part is that most of the features work well online, so you don't have to download anything. It's great for making quick changes and getting professional results in a matter of minutes.
Why I picked this tool:
I picked this tool because it helped me transform the photos within seconds. Its one-click auto color correction feature is good for those who want fast results and are not trained designers.
Steps to balance color and brightness using the YouCam online editor
Step 1: Visit the official website and click on “AI photo editing.”
Step 2: Then click on “AI color correction.”
Step 3: Upload the image.
Step 4: Apply the color filter and click on “Apply.”
Step 5: Here, I have chosen the “C1” color filter. Download the image by clicking on “Download.
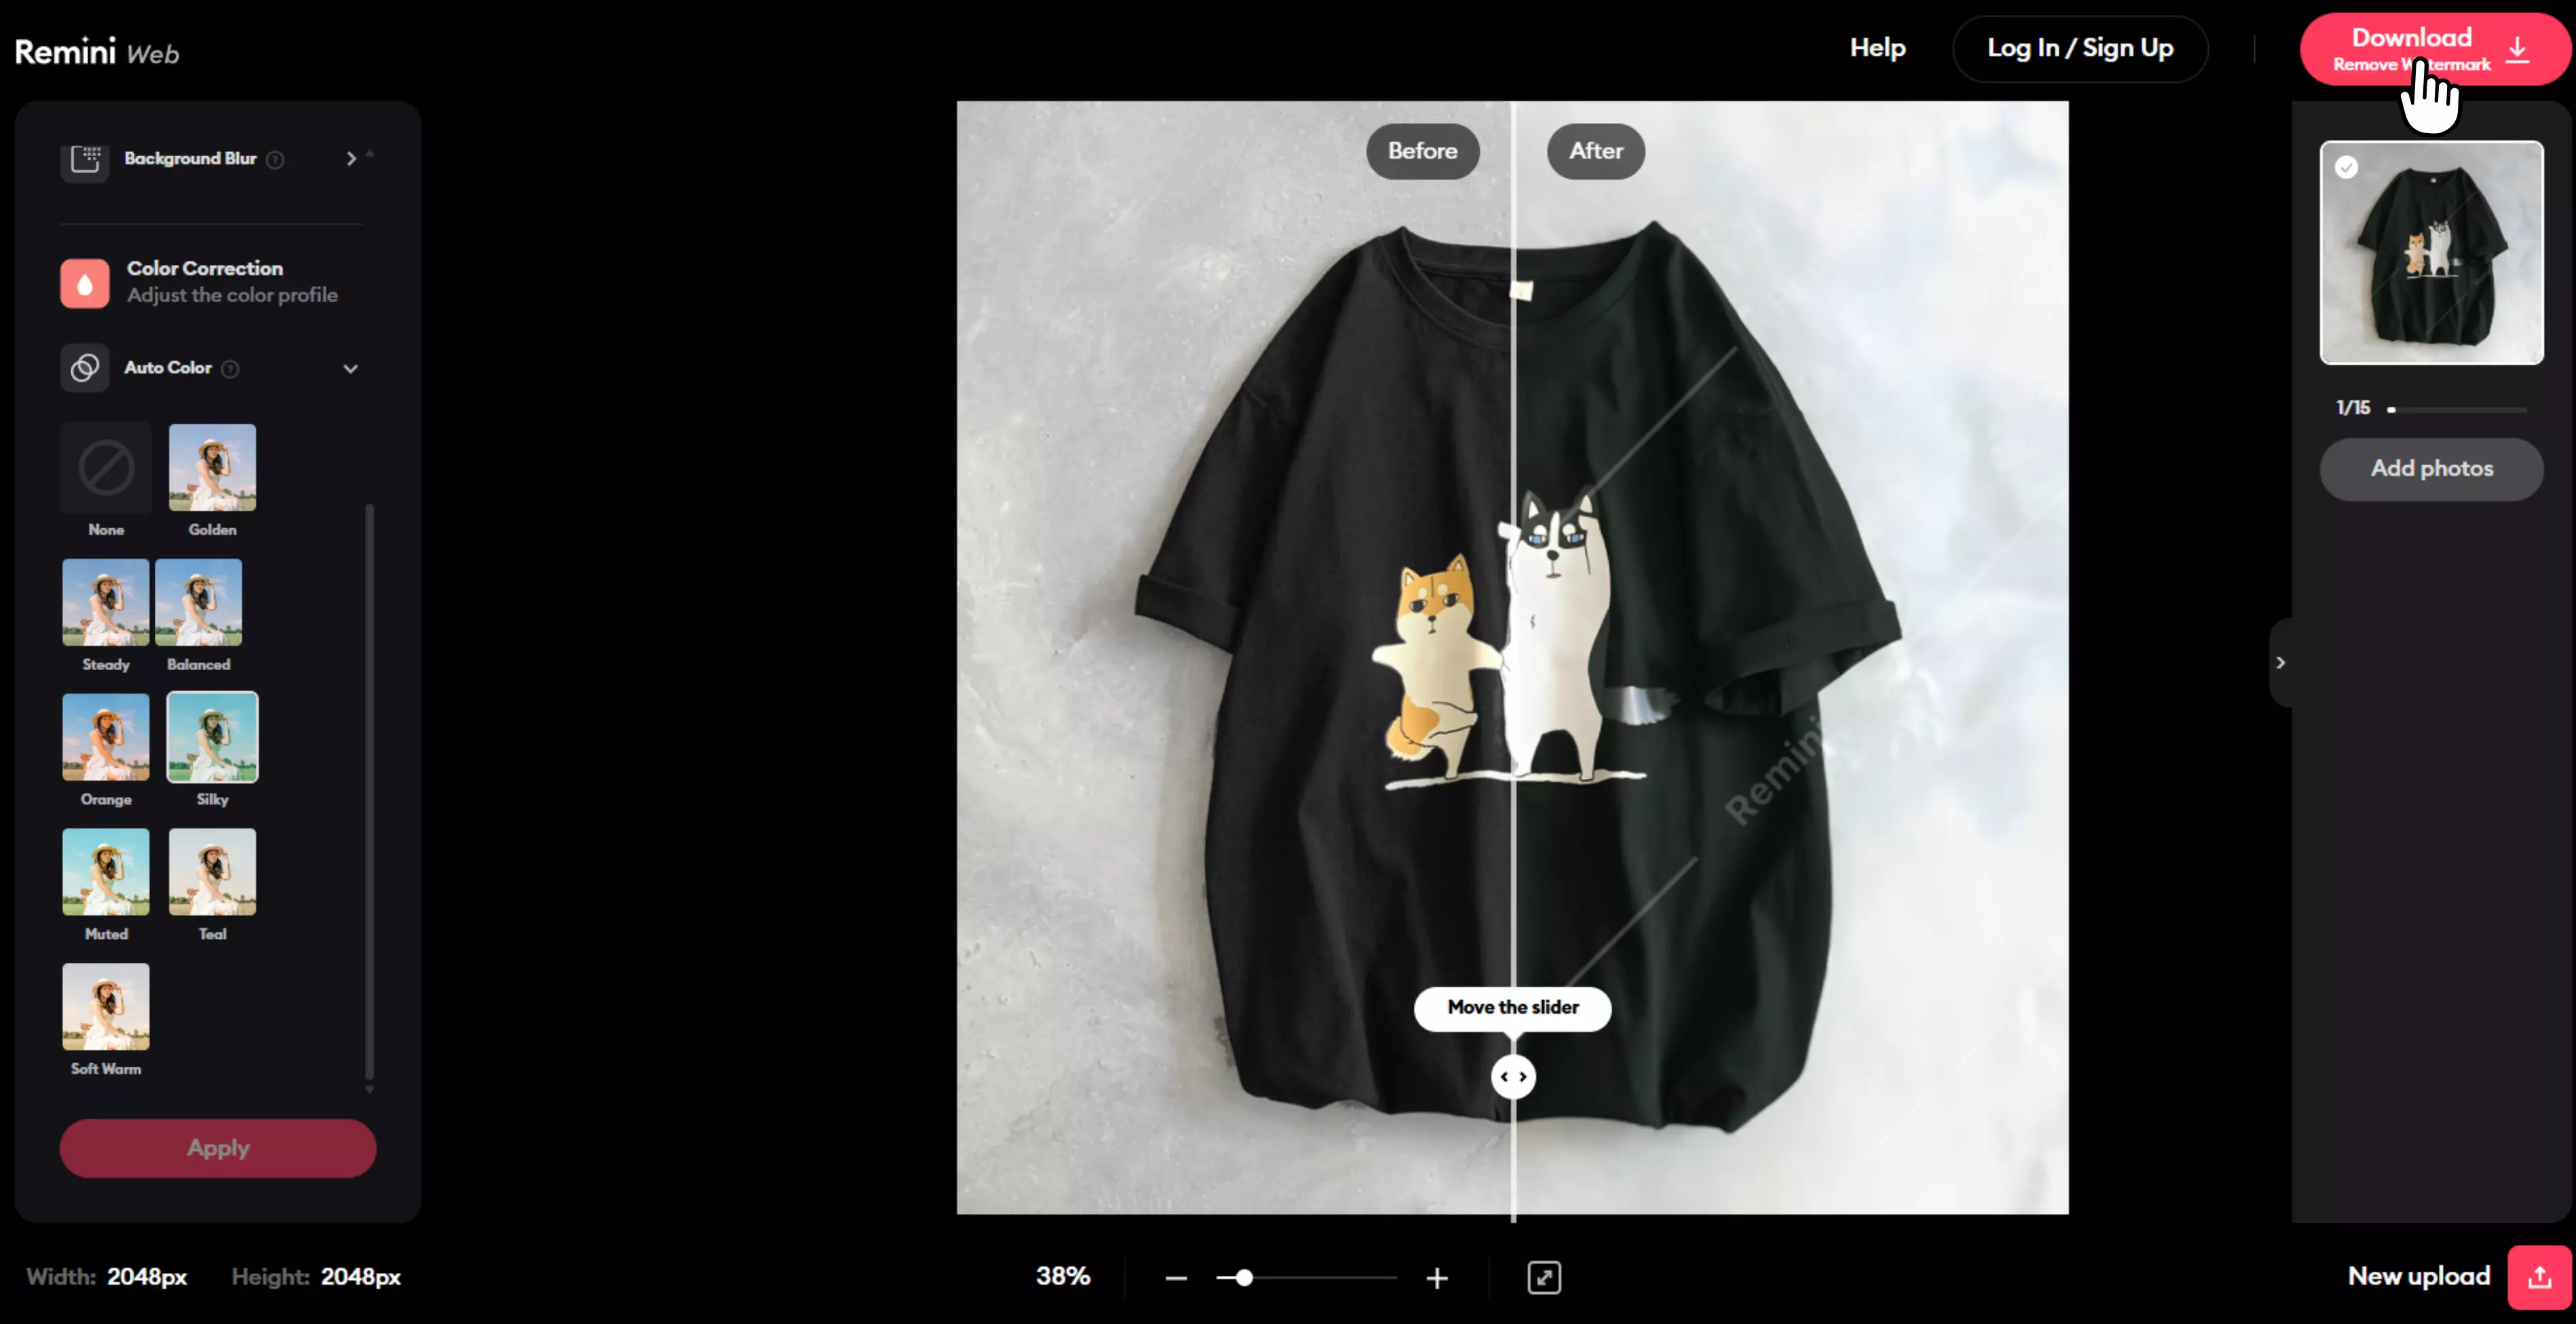
8. Remini
I used Remini's color correction tool to fix some old, faded pictures, and the results were favorable. The AI automatically brightened up the colors, fixed the dull lighting, and made the pictures look new and clear again.
I liked how it brought back natural colors without making the picture look fake or too much. Processing made even photos with bad lighting look clear and bright.
The best part for me was how simple it was: just upload the picture, and Remini takes care of everything else. It's great for bringing old or low-quality pictures back to life with very little work.
Why I picked this tool:
I found this tool useful because it's online; you don't have to bother about installing anything. As it also has a one click color correction feature, it produces results in less time and doesn't require advanced editing skills.
Steps to balance color and brightness using Remini
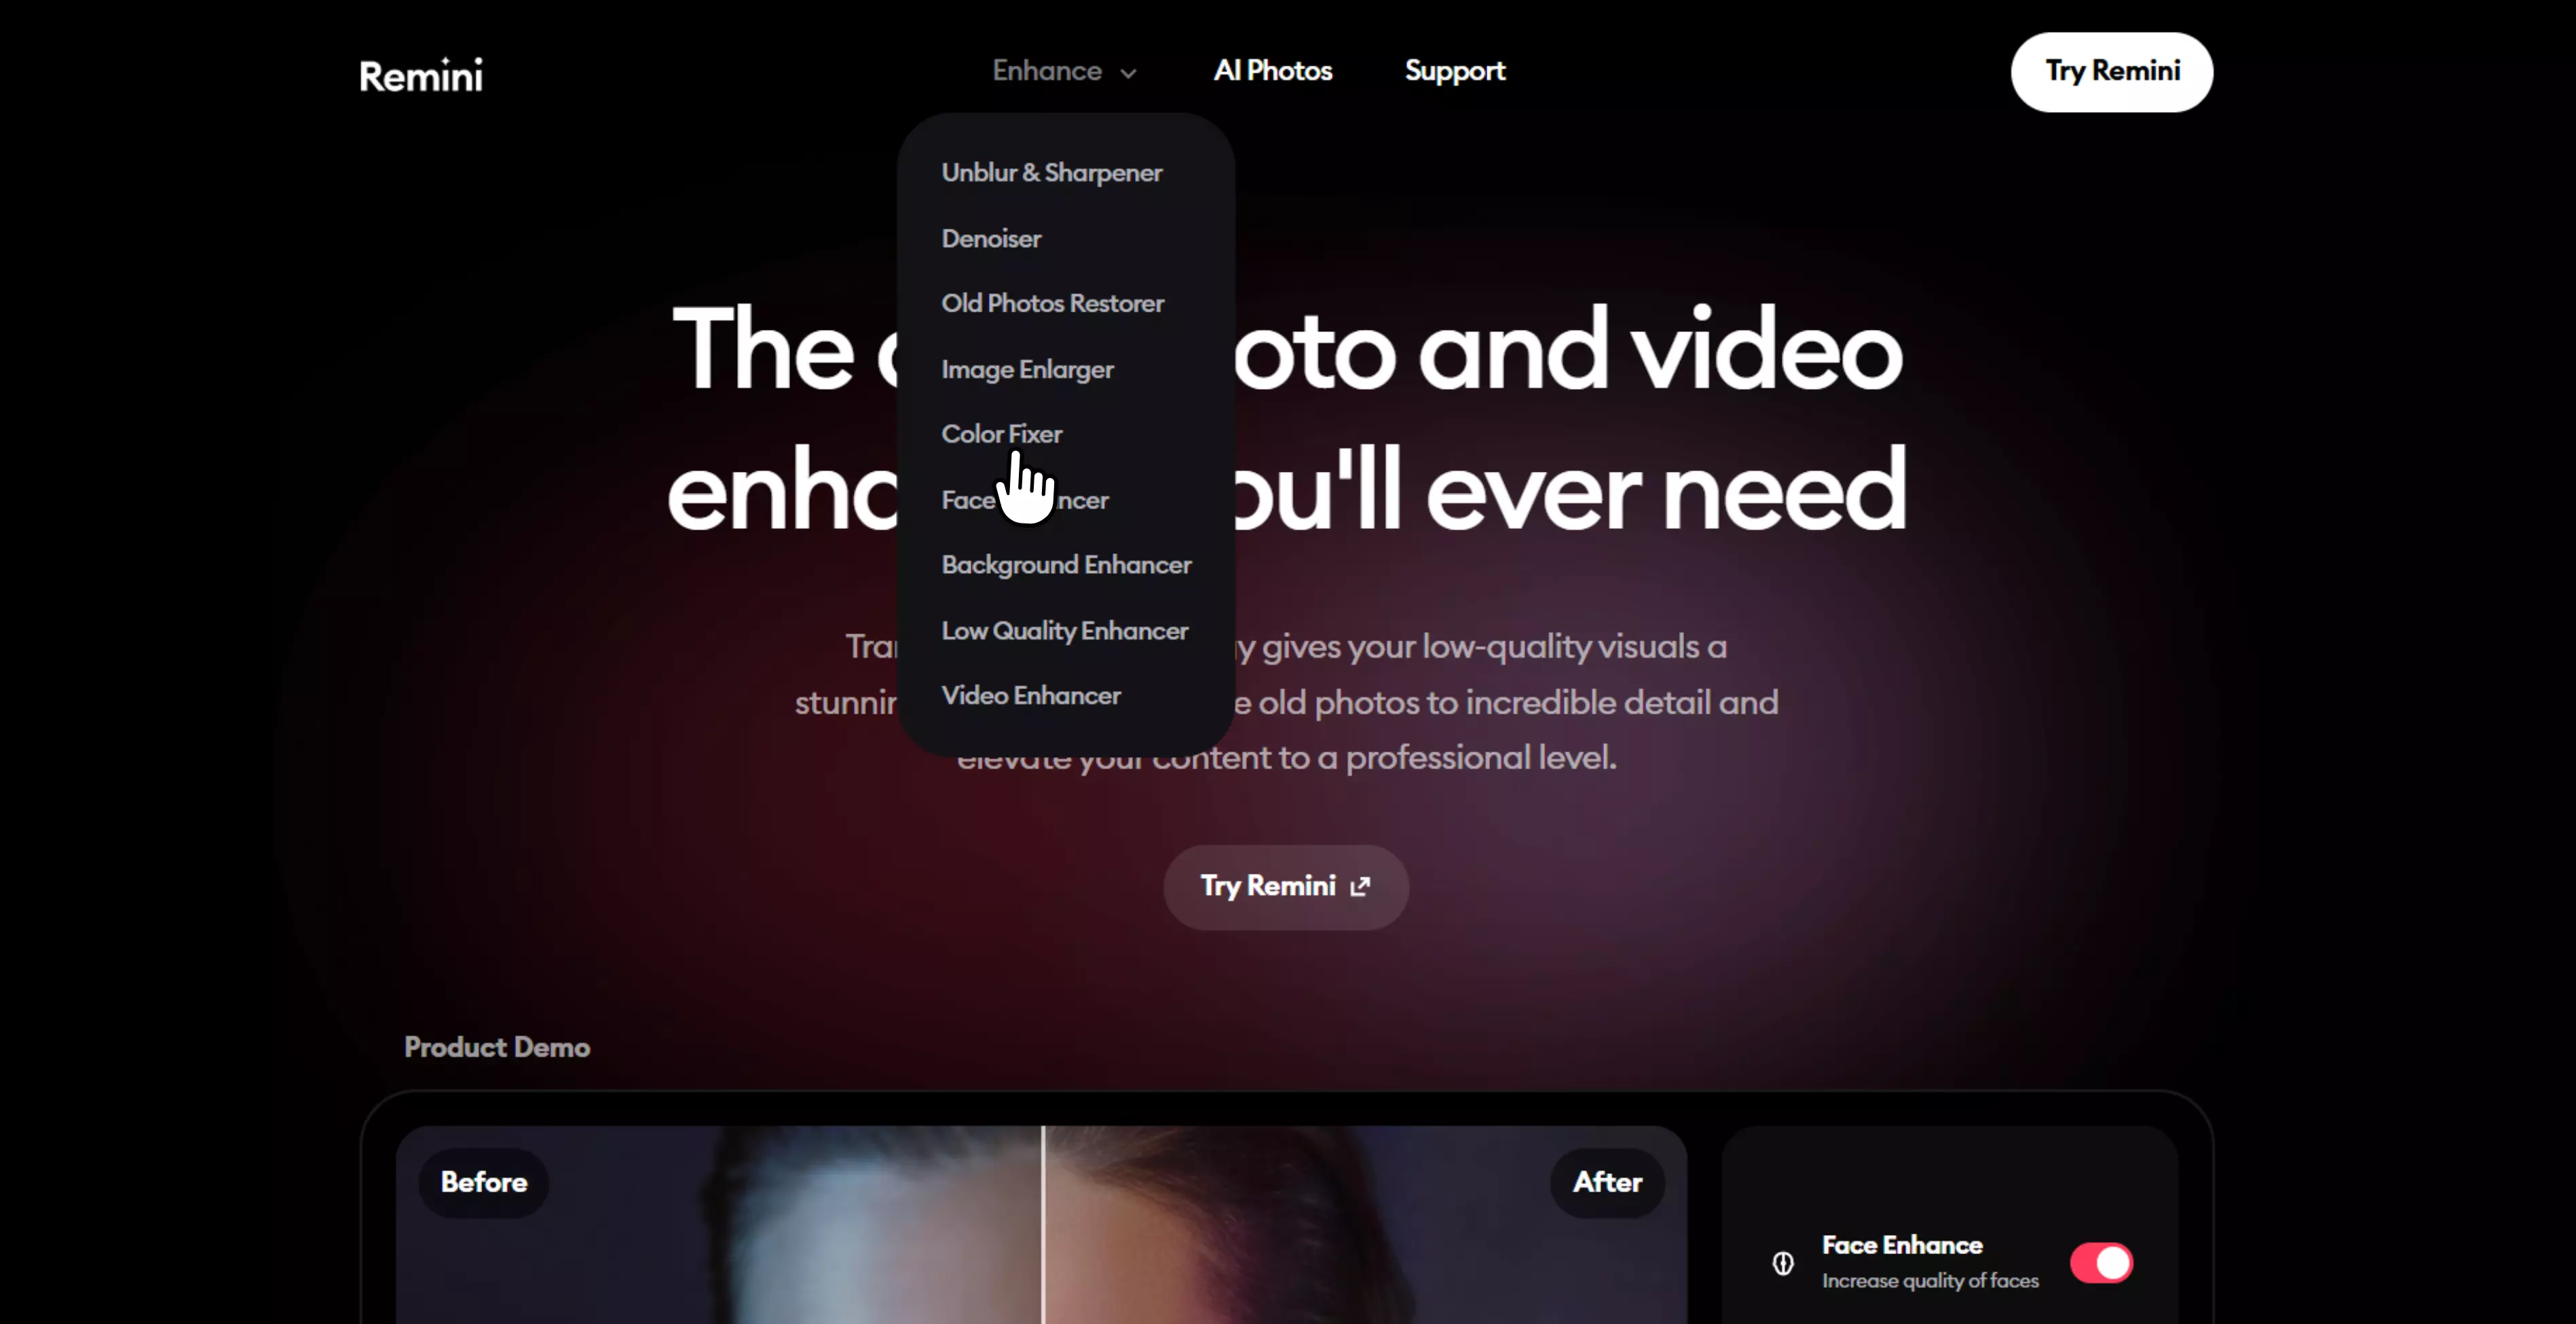
Step 1: Visit the official website of Remini and click on Enhance> Color fixer.
Step 2: Then, click on “Try Remini.”
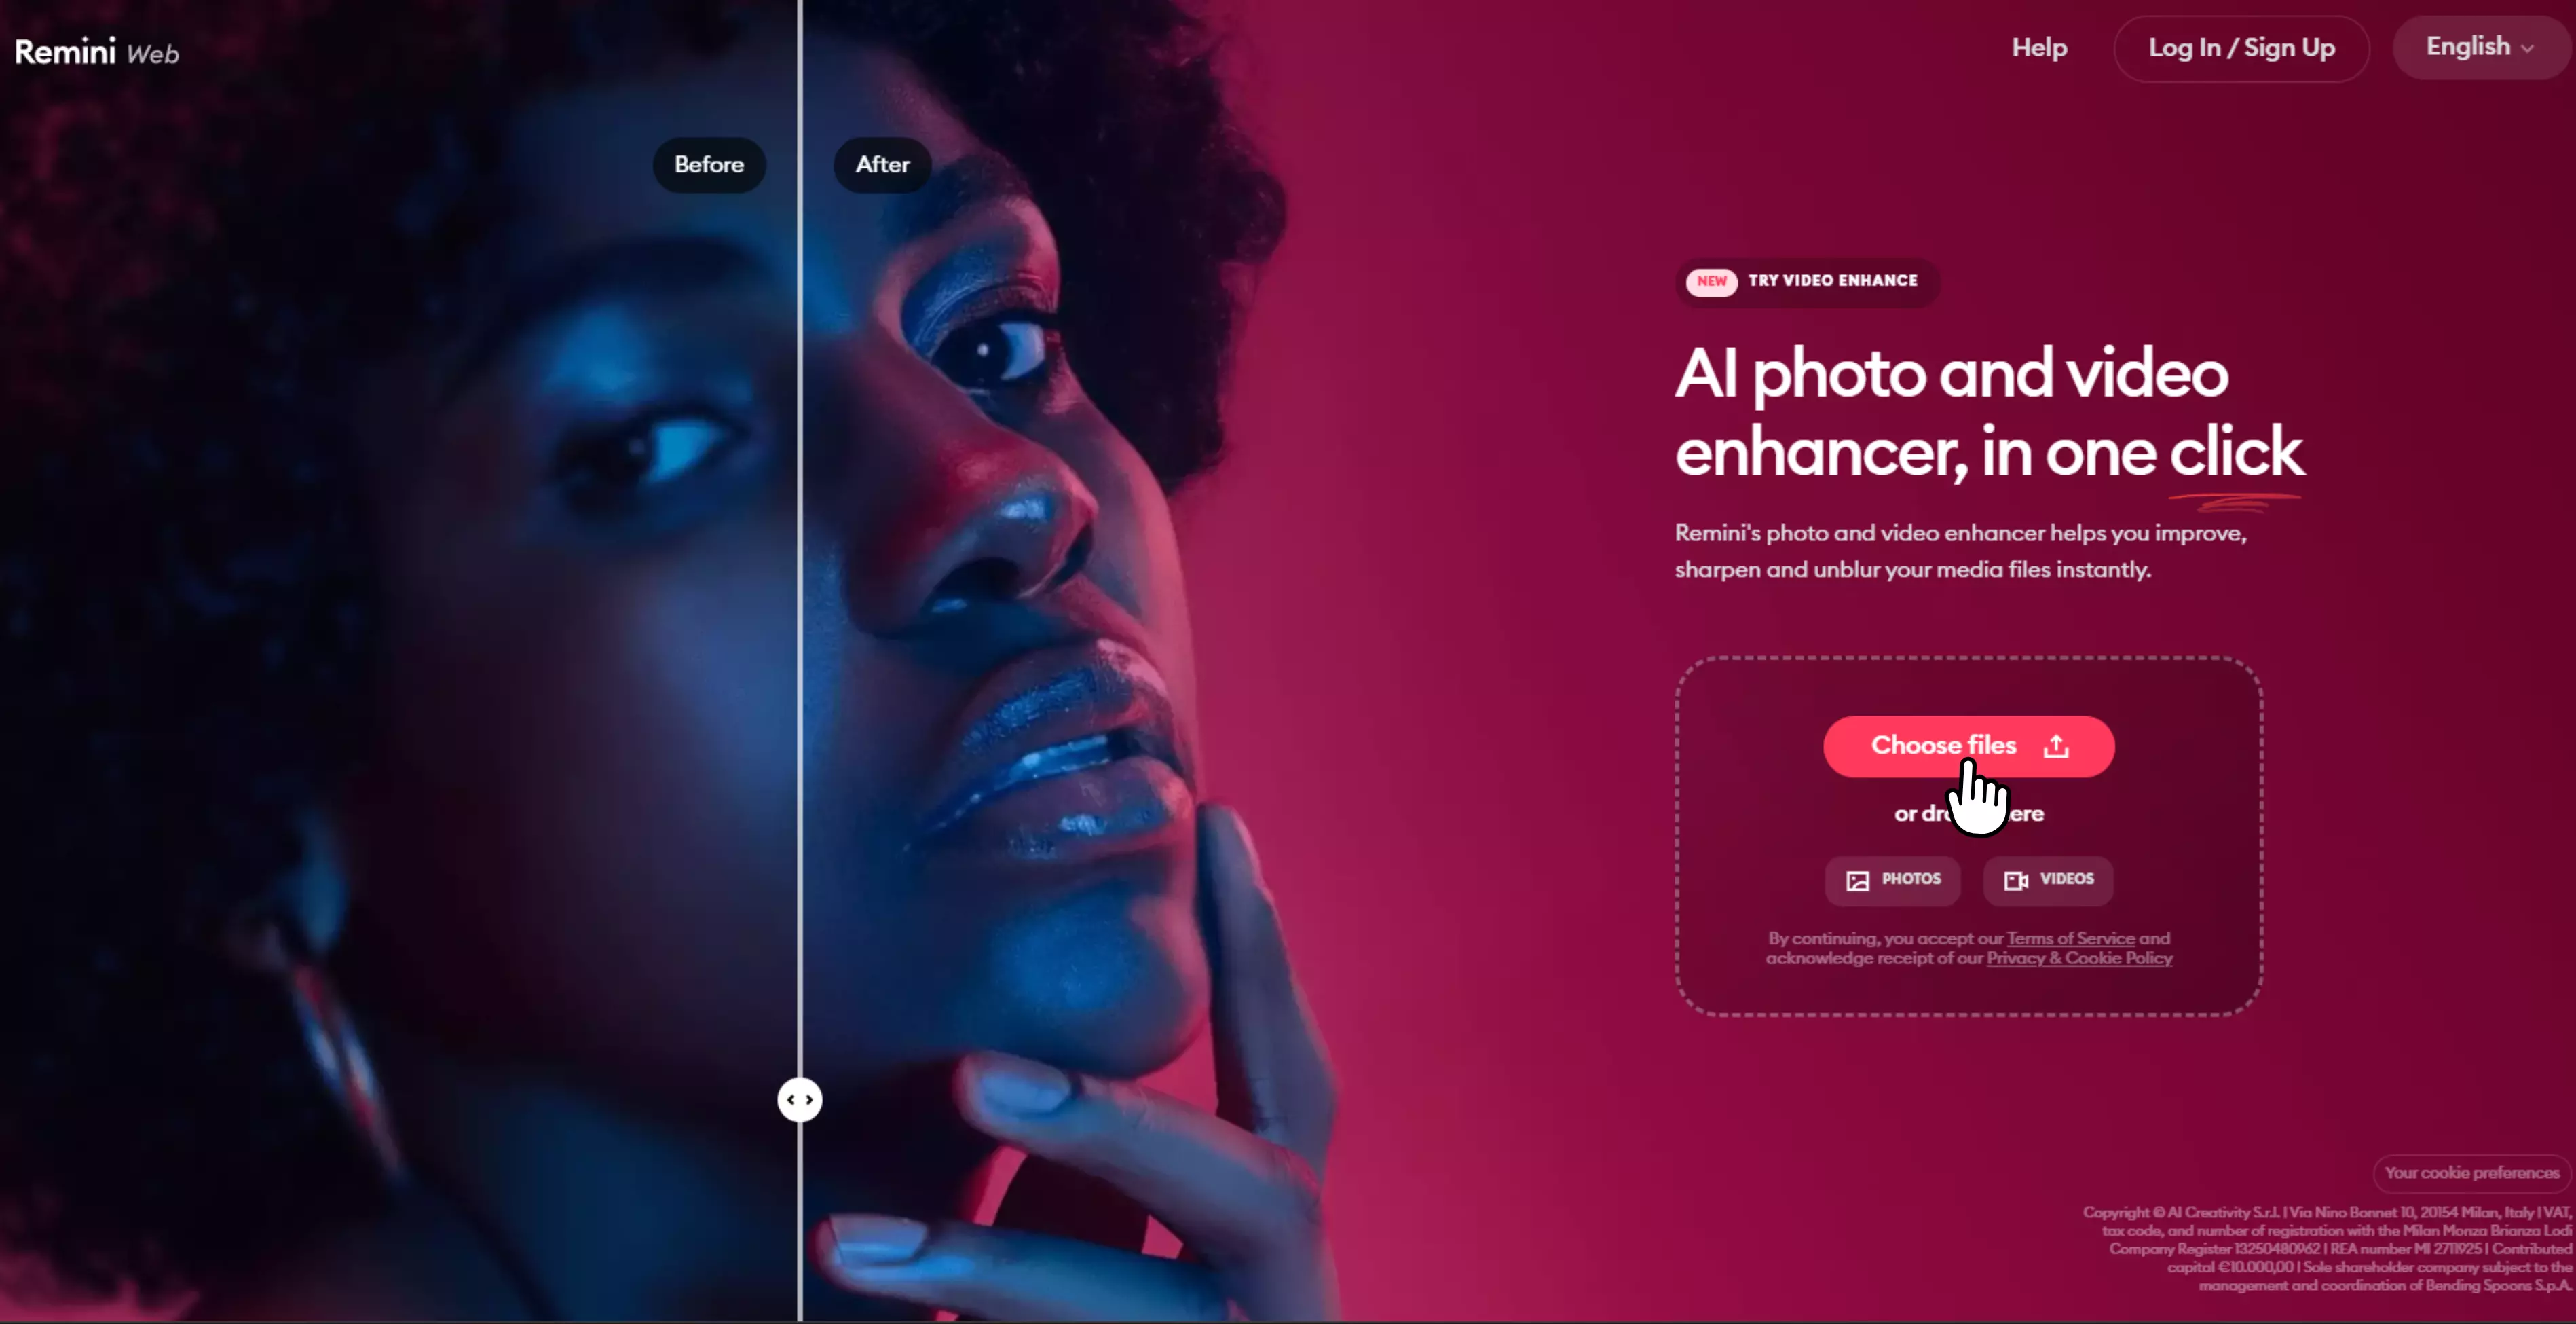
Step 3: Upload the image.
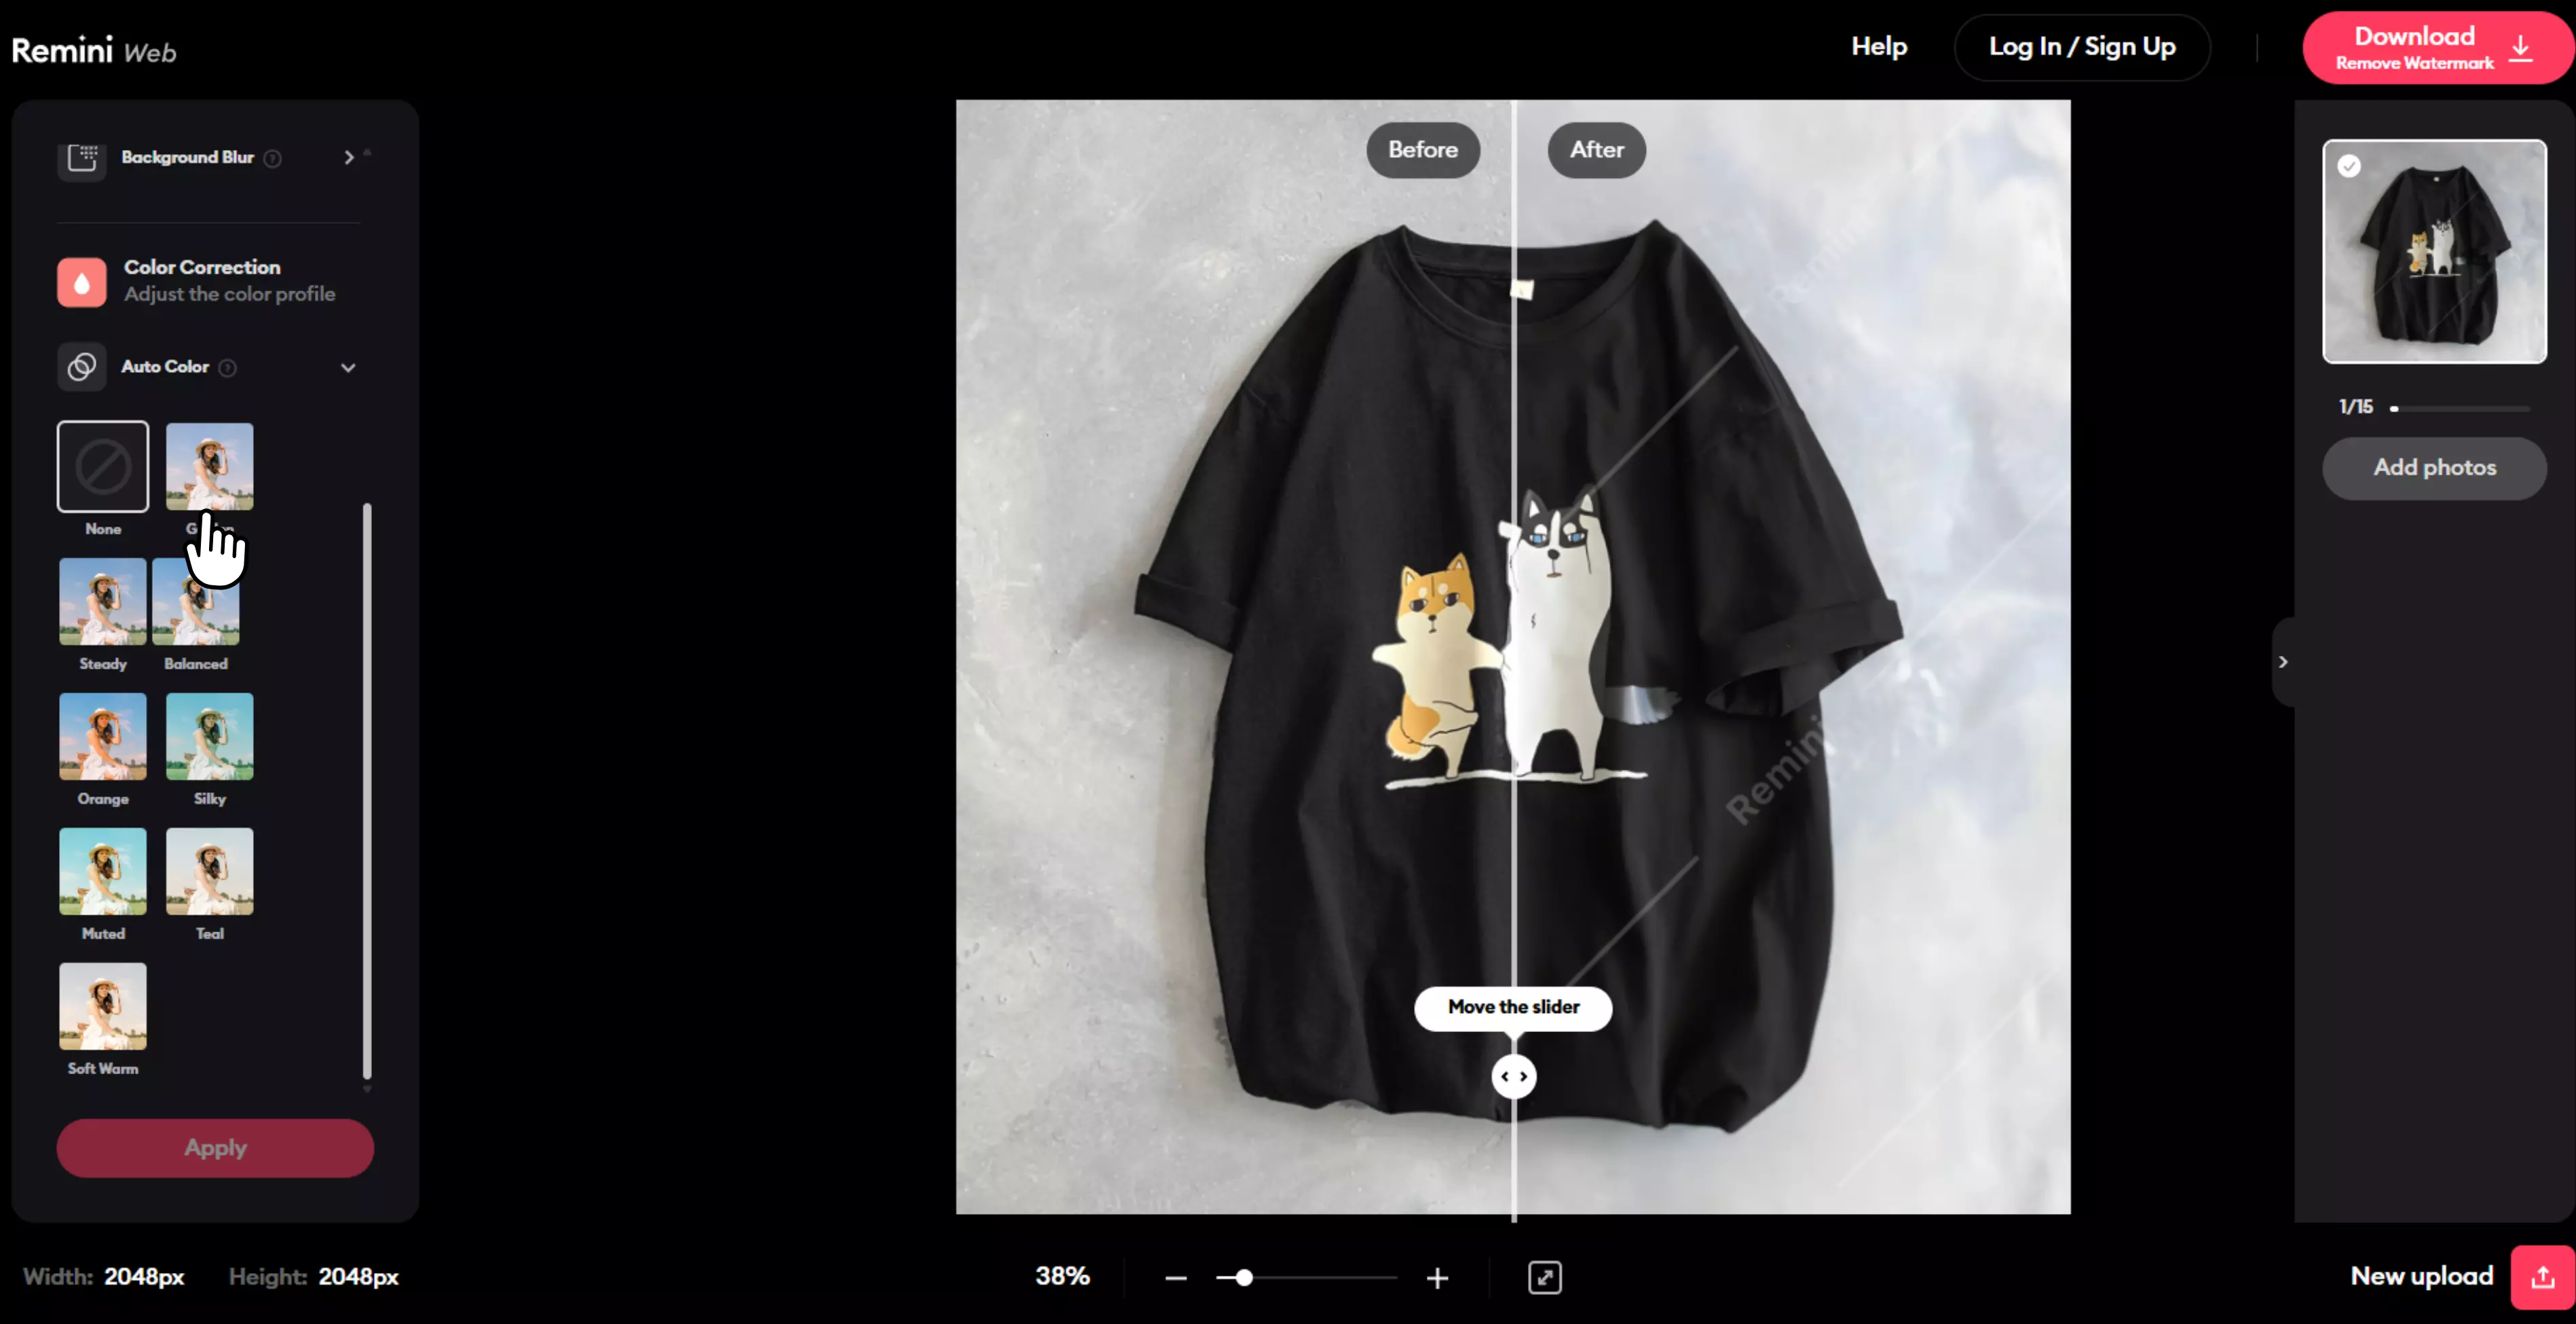
Step 4: Under Auto color, choose the filter you need and apply it.
Step 5: Click on the “Download” tab to save the final image.
9. Lunapic
Lunapic doesn't offer one-click color fixes; it lets you manually fine-tune brightness, contrast, highlights, and color balance on your own. I liked how I could control every detail — for example, slightly increasing warmth to make outdoor shots look sunny or adjusting shadows to bring out hidden details.
It takes a bit more effort compared to full-auto tools, but the results feel more natural and customized. This tool gives you the flexibility to create the exact look you want for each photo.
Users who do not want to make manual adjustments may not like this. It is somewhat similar to Pixlr, but it gives you even more adjustment setting options to get a more personalized result.
Why I picked this tool:
I used this tool because it gives you control over adjustments. You can adjust brightness, contrast, and many other settings as per your requirements. You can refer to this tool in case you do not like the result of the one-click color correction.
Steps to balance color and brightness using Lunapic
Step 1: Visit the official website of Lunapic and click on “Adjust”.
Step 2: Then, choose “Auto brightness.”
Step 3: Upload the image.
Step 4: Adjust the settings as per your needs. Then, click on “Apply.”
Step 5: The tool will process the image and generate a result within a minute.
10. Lightx
I used LightX to fix some pictures that looked dull, and it worked great. It does not offer one-click color correction but rather gives us control to do it manually. The tool helped me get the brightness, contrast, and saturation just right, so the colors stood out while still looking natural.
I liked how it made the lighting more even right away and added warmth where it was needed. The interface is easy to use, so I could change everything quickly and easily.
The final results looked very professional, which impressed me the most. My photos went from flat to bright in just a few quick edits. LightX makes it easy, quick, and really effective to fix colors.
Why I picked this tool:
It gives you control over adjustments. You can adjust brightness, contrast, and many other settings as per your requirements. You can refer to this tool in case you do not like the result of the one-click color correction
Steps to balance color and brightness using Lightx
Step 1: Visit the official website of Lightx and click on Photo editor > Color correction.
Step 2: Upload the image.
Step 3: Click on “Adjustment” and manually set the options given on the screen and click on “Apply.”
Step 4: Download the final image by clicking on “Download.”
Conclusion
To make a photo look professional and attractive, you need to find the right balance between color and brightness. AI image editors make it easy and quick for us to do these things.
Remini, Pixelbin, Fotor, and other tools mentioned in the blog automatically change tones, make details clearer, and bring out natural colors. The best part is that you don't need to be an advanced editor to do any of these things.
An AI image editor can help you get the perfect color balance in just a few seconds, whether you're a photographer, a content creator, or just someone who likes to edit pictures.
FAQs
AI image editors analyze light, color, and contrast in a photo, then adjust brightness and tones automatically. This makes the image look more natural and well-balanced without manual effort.
Canva, Pixelbin, and Fotor provide realistic color correction. Canva’s Auto Enhance keeps tones subtle, while PixelBin and Fotor make colors pop without over-editing.
Yes. AI tools detect overly bright or dark areas and adjust them automatically to restore lost details and balance lighting.
Yes, free tools like Canva, Pixlr, and Fotor offer decent color and brightness fixes. However, paid versions give more control and better results.
AI tools make instant automatic fixes, while manual editing takes more time and skill. AI is great for quick results; manual editing gives more precision.
Pixelbin and Luminar Neo are best for batch editing. They let you fix color and brightness for many images at once, saving time and effort.