

Removing an unwanted object from a photo is one of the most common reasons people open Adobe Photoshop. Maybe a tourist walked into your perfect landscape shot, a power line cuts through an otherwise beautiful skyline, or a small blemish distracts from a portrait. In each case, the goal is the same: make it look as though the distraction was never there.
This guide walks you through every reliable method for removing an object in Photoshop and seamlessly replacing the background. You’ll learn traditional manual techniques and the newest AI-powered tools so that you can handle everything from a plain studio backdrop to a complex street scene with shadows and depth.
I will cover the exact tools you need in Photoshop for replacing objects with a background, the steps for different scenarios, professional tips to keep textures, and much more. Whether you’re editing for social media, a client project, or personal memories, these methods will help you achieve a flawless, natural result.
How to remove an object in Photoshop and replace it with a background
When you remove something from a photo, the goal is not simply to erase pixels. True replacement means reconstructing the area so that light, texture, and color continue across the space as if the object were never there.
A simple delete command would leave an empty or transparent patch. Replacing with background, on the other hand, rebuilds the scene so convincingly that the edit disappears.
The four-step sequence for object removal
Every successful object removal follows a natural sequence.
- Select: Begin by isolating the object carefully. Use tools such as the Lasso, Quick Selection, or the more advanced Object Selection to outline the subject without cutting into surrounding details.
- Remove: With the selection active, choose the best removal method—this might be Content-Aware Fill, the Patch Tool, or Generative Fill, depending on the complexity of the scene.
- Fill: Photoshop then fills the space with pixels that echo nearby color and pattern, or you can manually clone from another area for precision.
- Refine: Finally, smooth the edges and adjust tones so the filled section merges naturally into the photo.
Key Photoshop tools explained
Photoshop offers several ways to remove an object and make the background look untouched. Think of each tool as a different kind of brush in an artist’s kit—some are quick and automatic, while others give you fine control.
1. Content-Aware Fill
This is the easiest starting point for most beginners. After you select the object (for example, with the Lasso Tool), go to Edit and then to Content-Aware Fill.
Photoshop studies the surrounding area and automatically fills the empty space with matching colors or patterns.
2. Clone Stamp Tool
The Clone Stamp works like a copy-and-paste brush. You choose a clean source point by holding Alt/Option + click, then paint over the object’s former location.
It copies every pixel from the source area, so you control exactly what replaces the object.
3. Healing Brush Tool
The Healing Brush blends the sampled pixels with the target area, smoothing out differences in color and lighting. After setting a source point, you paint just as with the Clone Stamp, but Photoshop automatically adjusts the tones so the patch fades out.
It’s excellent for smaller distractions like skin blemishes or tiny marks in a background.
4. Patch Tool
The Patch Tool lets you draw a freeform selection around the object and then drag that selection to a clean part of the image.
Photoshop uses the sample area as a textured area, as this is useful for mid-sized objects where you want more visual control.
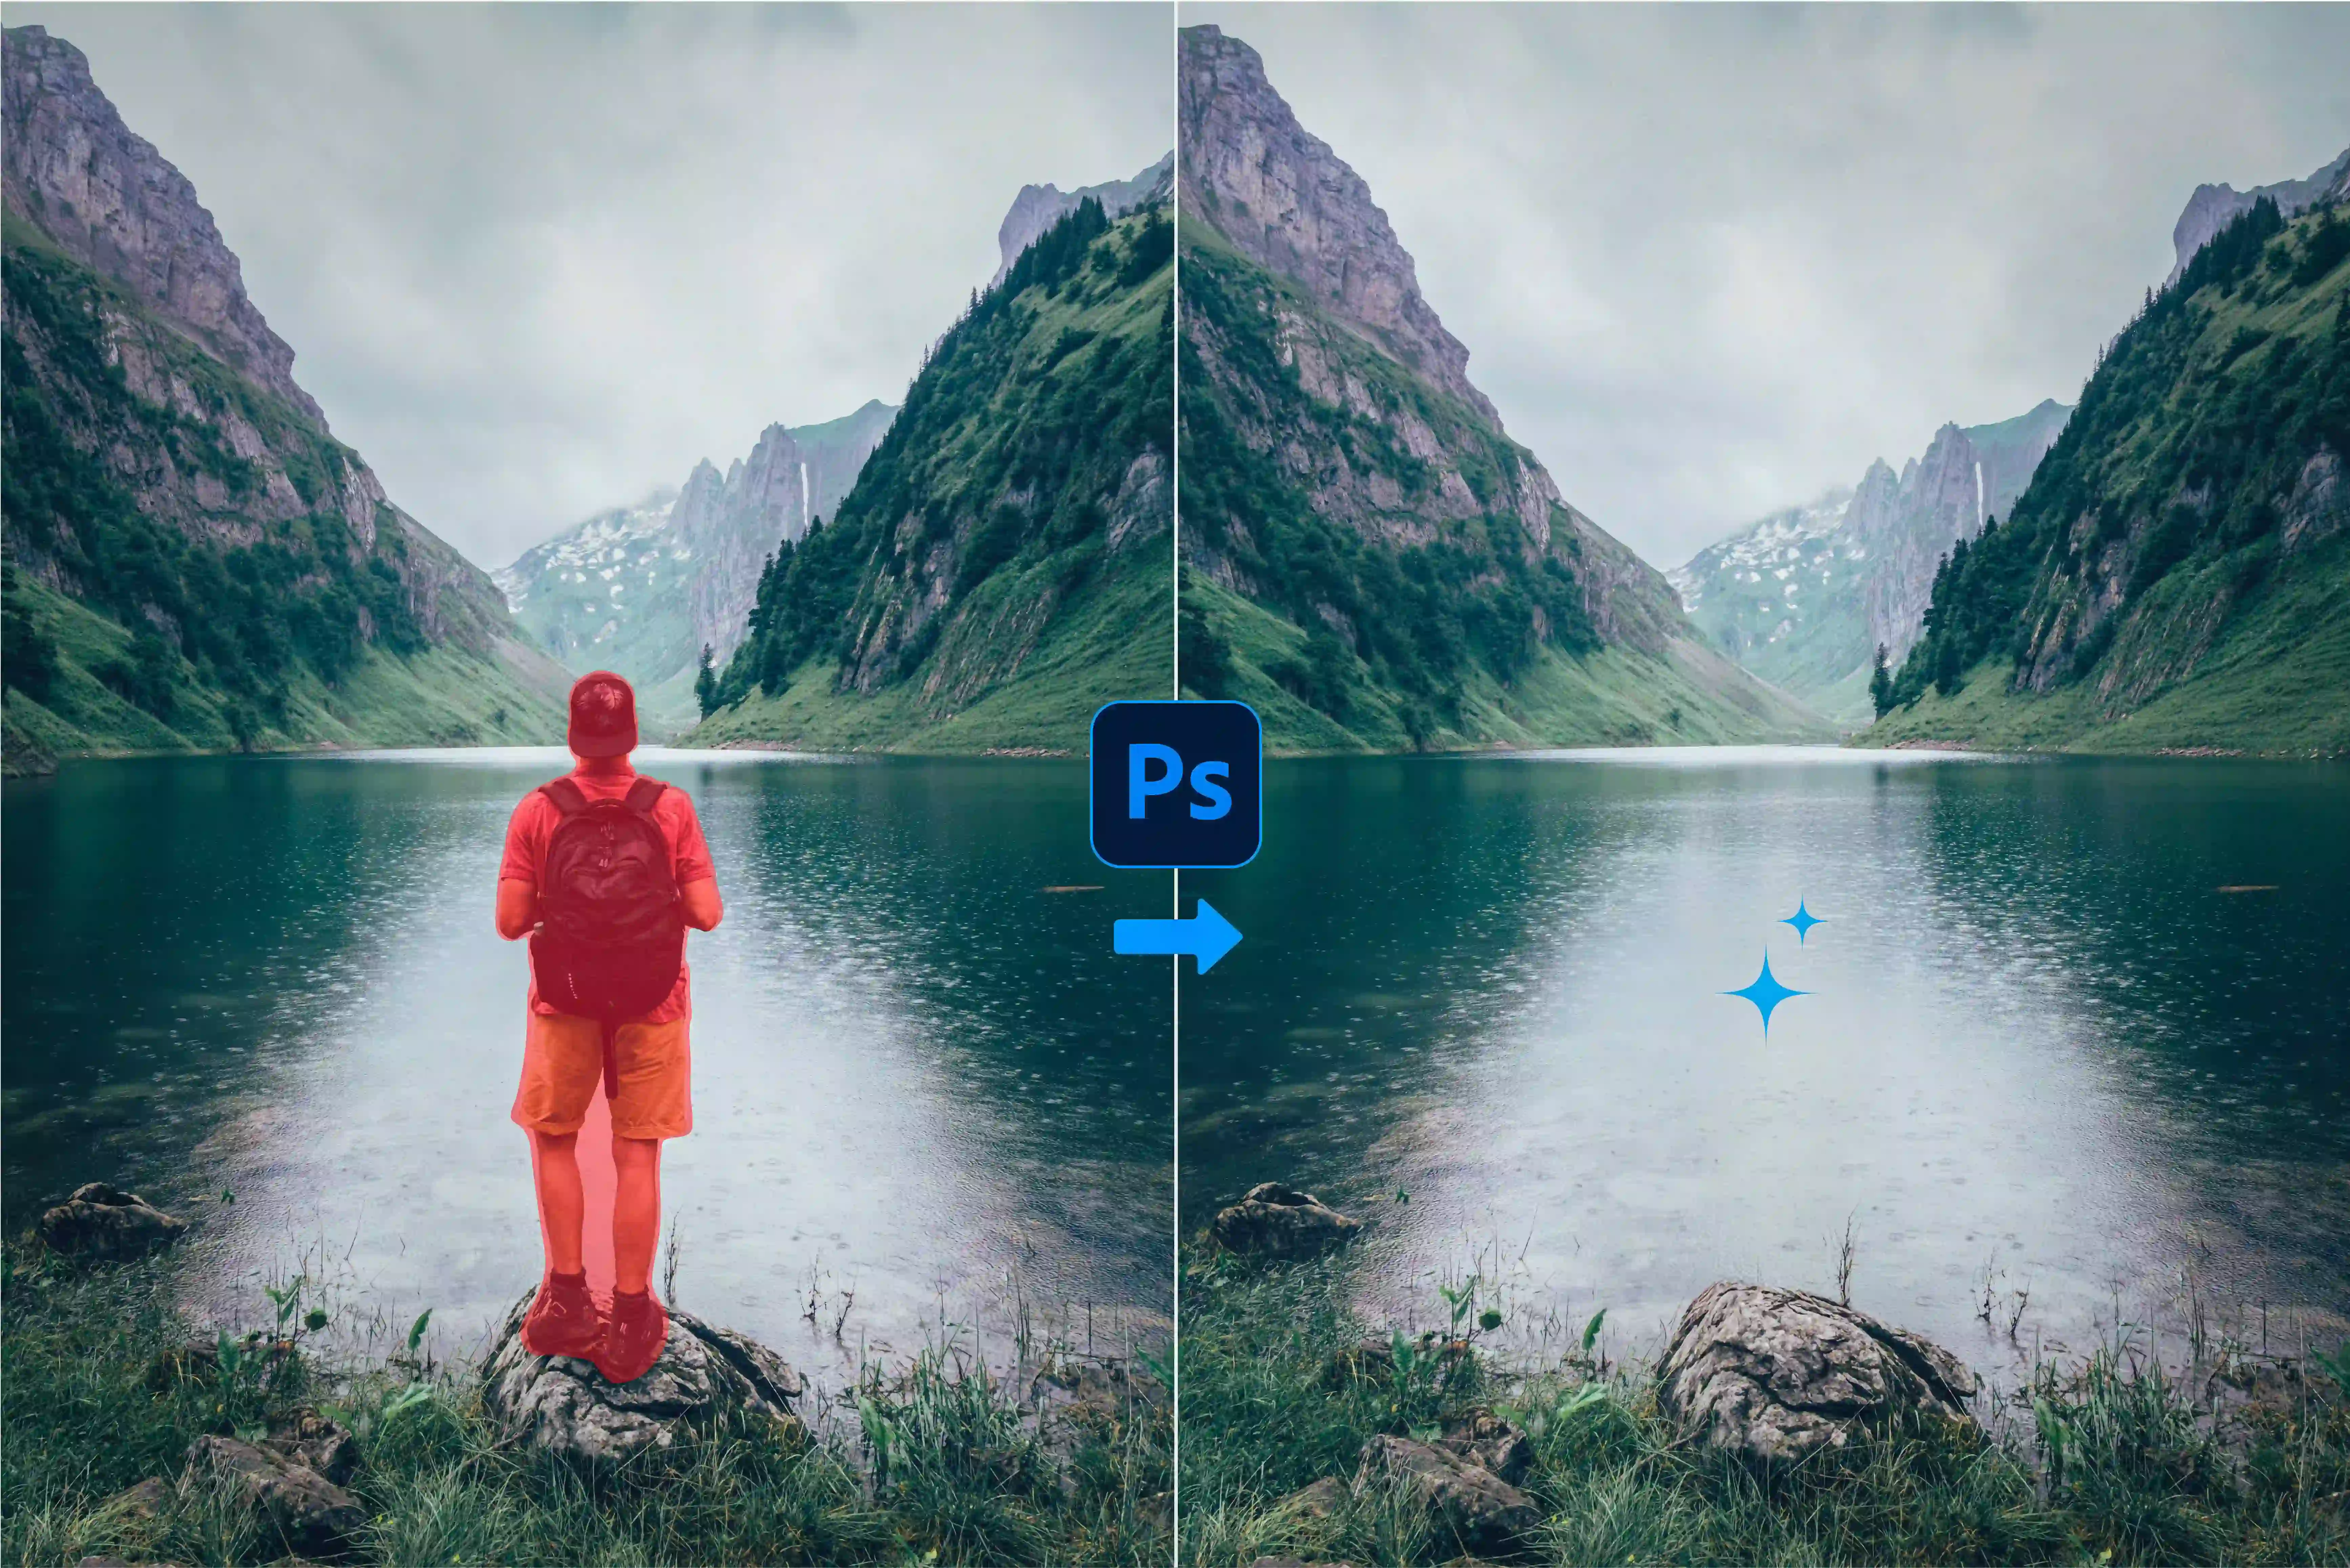
5. Generative Fill (Adobe Firefly AI)
Available in the latest Photoshop versions, Generative Fill is like having an AI assistant. After making a selection, choose Generative Fill, leave the prompt box empty, and Photoshop creates new background pixels that respect perspective, shadows, and depth.
It’s especially helpful for complicated scenes such as cityscapes, crowded beaches, or natural landscapes where repeating patterns would otherwise betray the edit.
How to choose the right method
Different backdrops demand different approaches. Use these guidelines to decide which tool—or combination of tools—will give you the most natural result.
1. Plain or Gradient Backgrounds
For a studio backdrop, blue sky, or softly shaded wall, start with Content-Aware Fill. Its automated analysis handles smooth color transitions beautifully. A quick edge refinement afterward is usually all that’s needed.
2. Patterned or Textured Surfaces
When you’re dealing with repeating patterns—brick, tile, fabric, grass—automatic filling can create obvious repeats. Here, pair the Clone Stamp with the Healing Brush. First, clone key pattern sections to maintain alignment, then heal the joins so they blend.
3. Detailed Scenes with Depth or Shadows
Landscapes, streets, or interiors with perspective lines and multiple light sources benefit from Generative Fill. It understands light falloff so that it can recreate shadow gradients convincingly.
4. Mixed or Difficult Areas
Large or irregular objects might require several passes. Break the object into smaller selections, use Content-Aware Fill for broad areas, and refine tricky edges with the Clone Stamp or Patch Tool.
How to remove an object in Photoshop (most searched queries)
Below are the most common real-world situations people search for, along with detailed explanations and steps.
How to remove an object in Photoshop using the lasso tool
When I need to get rid of something awkward—like a stray sign in a landscape—the Lasso Tool is usually my first stop. It’s simple: you draw a line around the object, almost like tracing with a pencil, and Photoshop handles the fill. This works beautifully on objects with uneven outlines where automatic selection tools might grab too much or too little.
The beauty of the Lasso is control. You decide exactly where the edge falls, and you can zoom in to see every curve of the image. Once the selection is ready, the Content-Aware Fill tool lets Photoshop rebuild the missing background.
Step-by-step guide
Step 1 - Open the image and press Z to zoom in around the object—200% magnification makes tracing easier.
Step 2 - Pick the Lasso Tool from the toolbar or tap L on the keyboard.
Step 3 - Draw around the object in one smooth motion. Don’t worry if it’s not perfect; small bumps won’t matter.
Step 4 - Go to Edit and then Content-Aware Fill. A preview window shows how Photoshop plans to rebuild the background.
Step 5 - If you spot odd textures, use the sampling brush inside the panel to add or subtract areas Photoshop should copy from.
Step 6 - Click OK, then deselect (Ctrl/Cmd+D).
Step 7 - Finish with the Spot Healing Brush to clean tiny edges or color shifts.
How to remove an object in Photoshop Elements
Photoshop Elements is Adobe’s lighter version of Photoshop, but it still packs solid tools for object removal. I often recommend it to friends who don’t want a full Creative Cloud subscription but still need serious editing power. Elements guides you through tasks with “Guided Edits,” which is perfect if you’re just starting out.
Even without the newest AI features, Content-Aware Fill and the Healing Brush in Elements can make distractions vanish using Photoshop’s background removal technique. Whether it’s a telephone wire in a landscape or a spot on a family portrait, you can tidy it up in minutes.
Step-by-step guide
Step 1 - Open your picture in Photoshop Elements and switch to Expert or Guided mode.
Step 2 - Use the Selection Brush or Lasso Tool to outline the object.
Step 3 - Go to Edit › Fill Selection, choose Content-Aware, and hit OK.
Step 4 - Check the result; if you see repeating patterns, grab the Spot Healing Brush to blend them.
Step 5 - Zoom in and out to confirm the fix looks natural.
How to remove an object in the Photoshop 2026 version
The 2026 version of Photoshop is the most accurate version I’ve used for object removal with strong manual control. Photoshop improved the Remove Tool and Generative Fill, so even complex edits—like erasing a car from a busy street—take seconds. Beginners get professional results without hunting through menus.
The AI understands light direction, perspective, and textures better than ever. I’ve tested it on high-resolution travel shots, and it recreated cobblestones and shadow gradients with almost no extra work.
Step-by-step guide
Step 1 - Update to Photoshop 2026 so you have the latest Remove Tool.
Step 2 - Select the Remove Tool from the toolbar.
Step 3 - Brush directly over the object; Photoshop instantly replaces it with matching background pixels.
Step 4 - For tricky areas, make a selection first and choose Generative Fill (leave the prompt blank).
Step 5 - Use Select and Mask or the Spot Healing Brush to polish edges if needed.
How to remove an object in Photoshop 2024
Photoshop 2024 introduced generative fill, the first big step into AI object removal. If you haven’t upgraded to 2026, don’t worry—the 2024 version is still powerful. I often use it on my laptop when I’m away from the studio, and it handles everything from simple sky edits to complicated city scenes.
The process is almost identical to the 2026 workflow, and the results are impressive. It’s great for large objects or busy backgrounds where manual cloning would take forever.
Step-by-step guide
Step 1 - Open your image in Photoshop 2024.
Step 2 - Use the Object Selection Tool or Lasso Tool to highlight what you want removed.
Step 3 - Click the Generative Fill button in the Contextual Task Bar and leave the prompt empty.
Step 4 - Review the generated options and pick the one that blends best.
Step 6 - Touch up any small issues with the Healing Brush or Clone Stamp.
How to remove an object in Photoshop with generative fill
Generative Fill is my go-to for the toughest object removal. Unlike older methods that simply copy pixels, this AI tool understands the entire scene—light, depth, and texture. I’ve removed people from crowded beaches and watched it rebuild sand patterns, footprints, and even subtle shadows.
Because you can leave the prompt box blank, you don’t need to describe the background. Photoshop simply invents what should be there, which saves a huge amount of time for beginners and pros alike.
Step-by-step guide
Step 1 - Make a careful selection around the object using the Object Selection or Lasso Tool.
Step 2 - Click Generative Fill in the Contextual Task Bar.
Step 3 - Leave the text field empty (unless you want to add something new).
Step 4 - Review the variations and choose the most natural result.
Step 5 - Zoom in and clean up tiny edges with the Spot Healing Brush if required.
Advanced tips & tricks
- Blend several tools for tough spots: When a background has fine textures—think hair against leaves or lace over fabric—don’t rely on one method. Make an outline with the Lasso to isolate the area, then use the Clone Stamp or Healing Brush to patch and smooth until the edges look natural.
- Keep colors and light consistent: After you swap or clean a background, check that the subject matches the new scene. A quick pass through Levels, Curves, or simple brightness and contrast sliders can pull the tones together so nothing looks pasted in.
- Edit without permanently deleting: Skip the eraser and work with layer masks instead. Masks hide parts of a layer without destroying pixels, so you can tweak or completely redo the cutout later without losing any original detail.
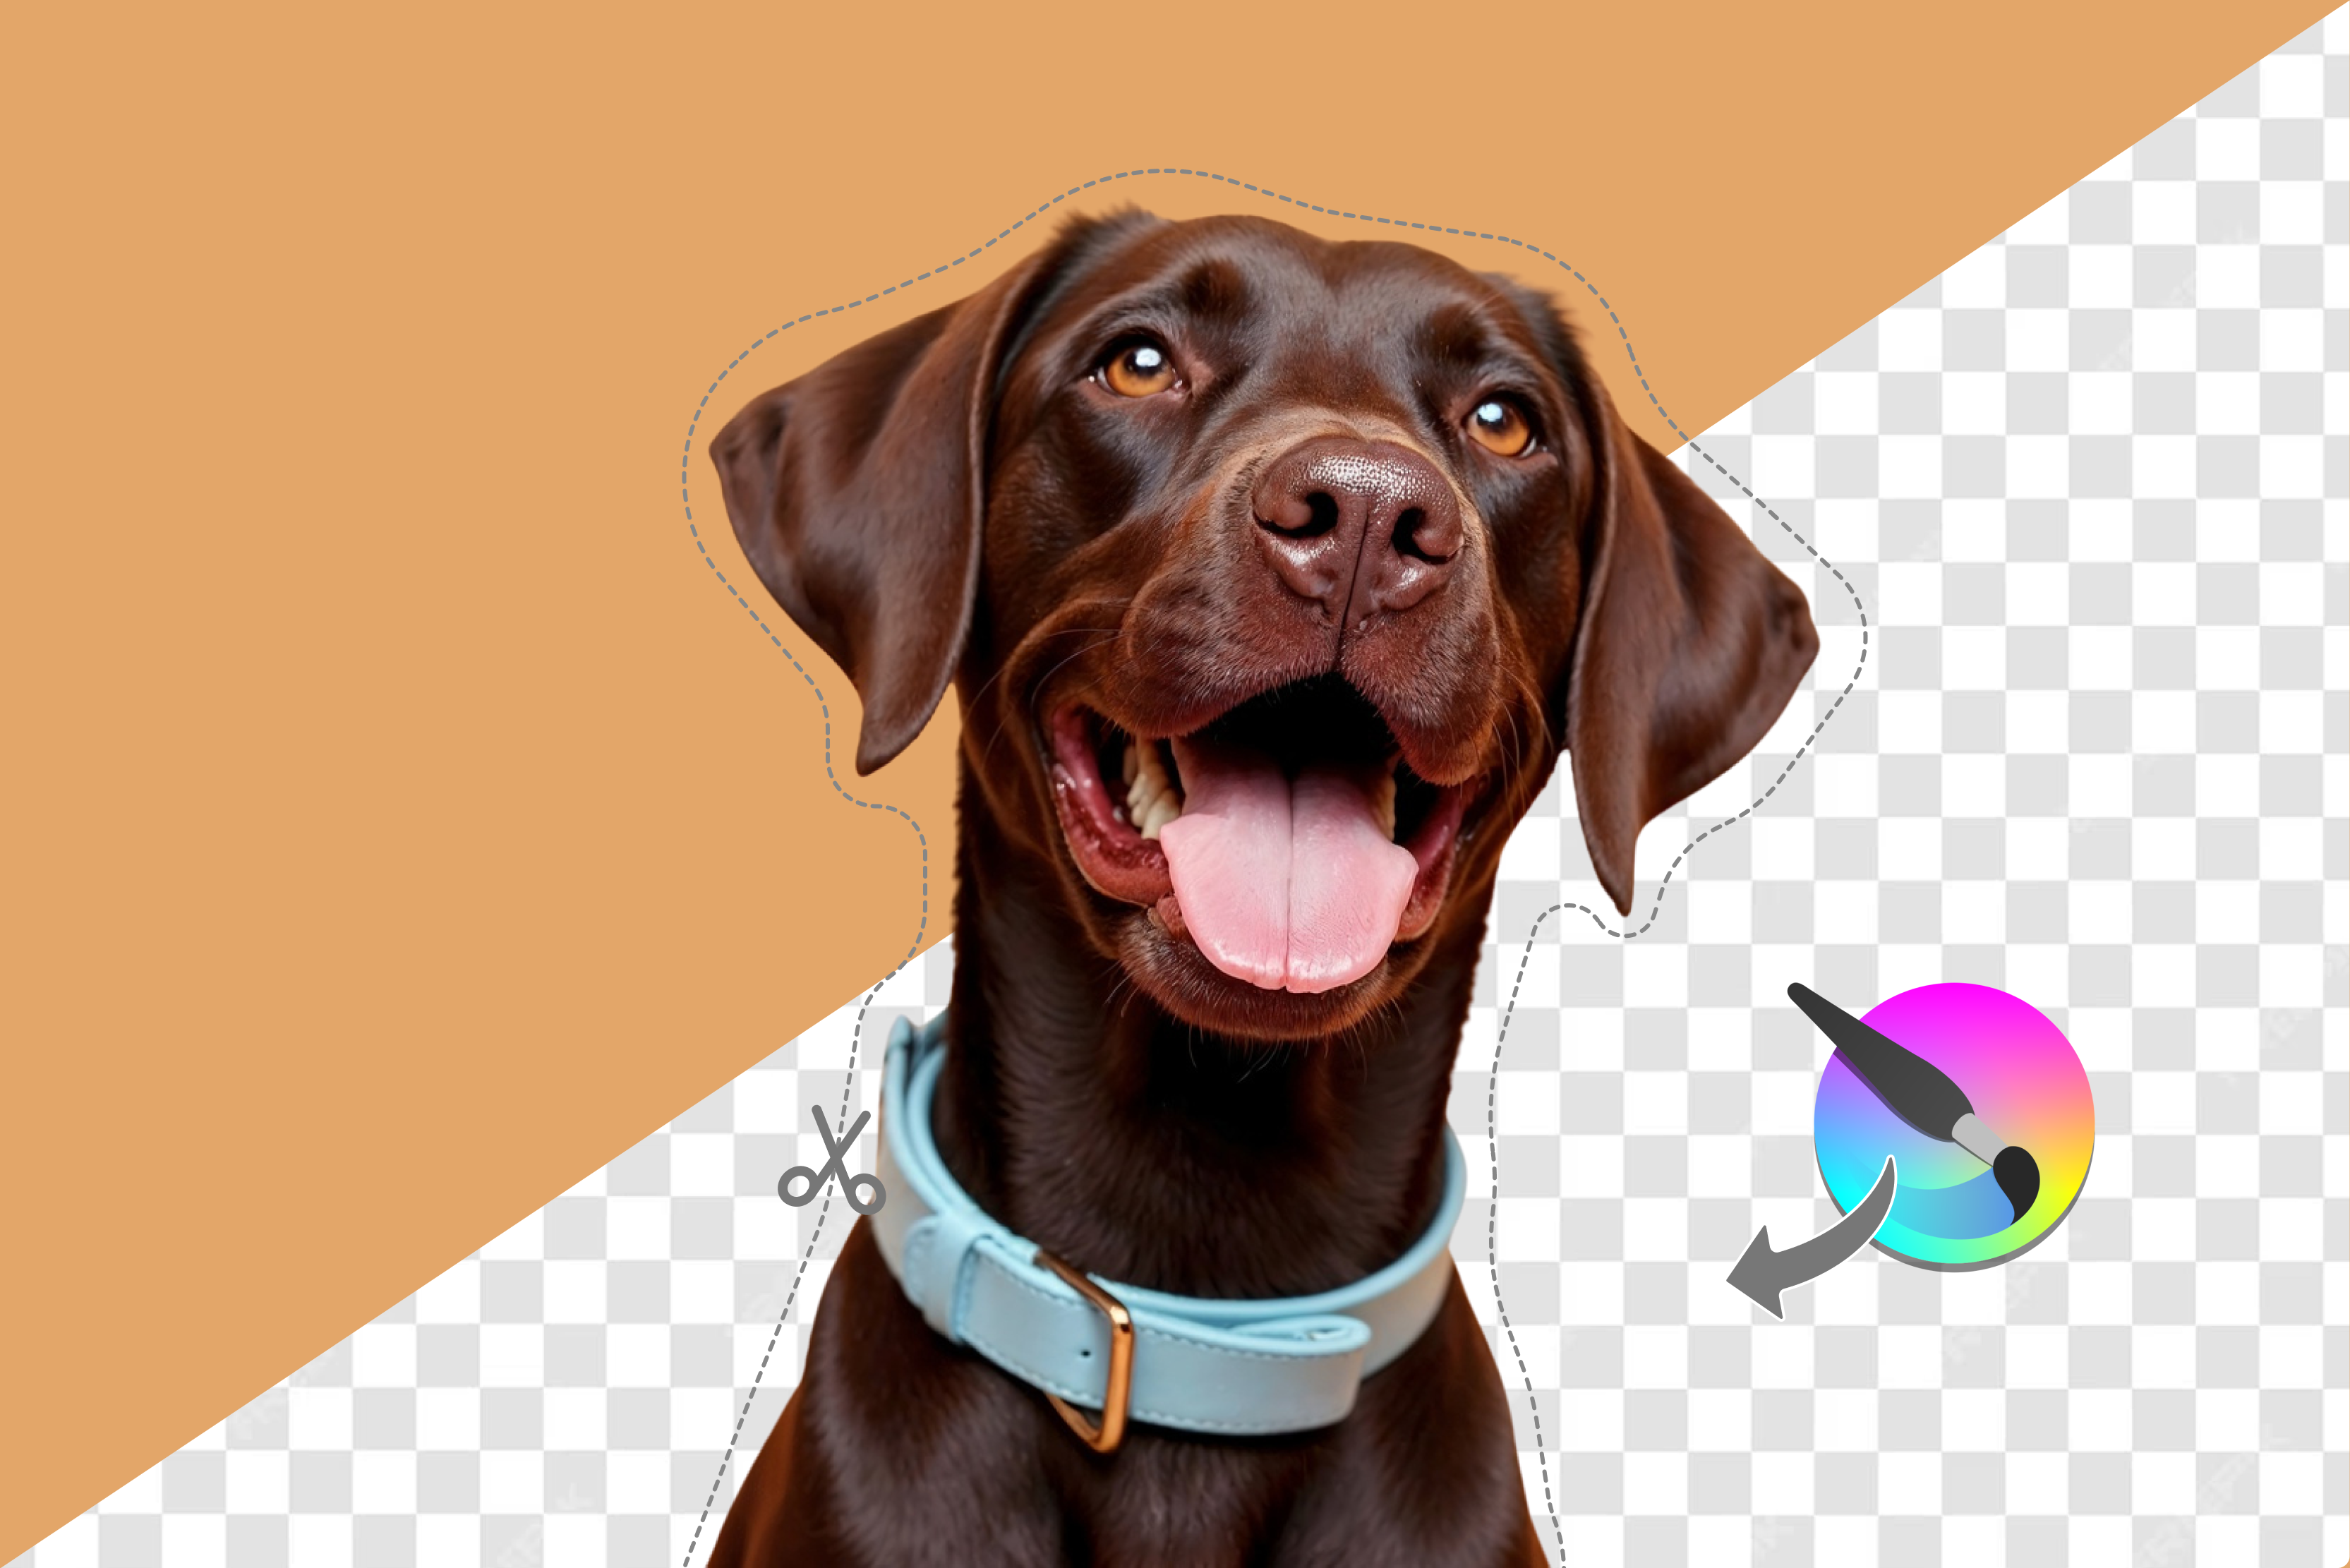
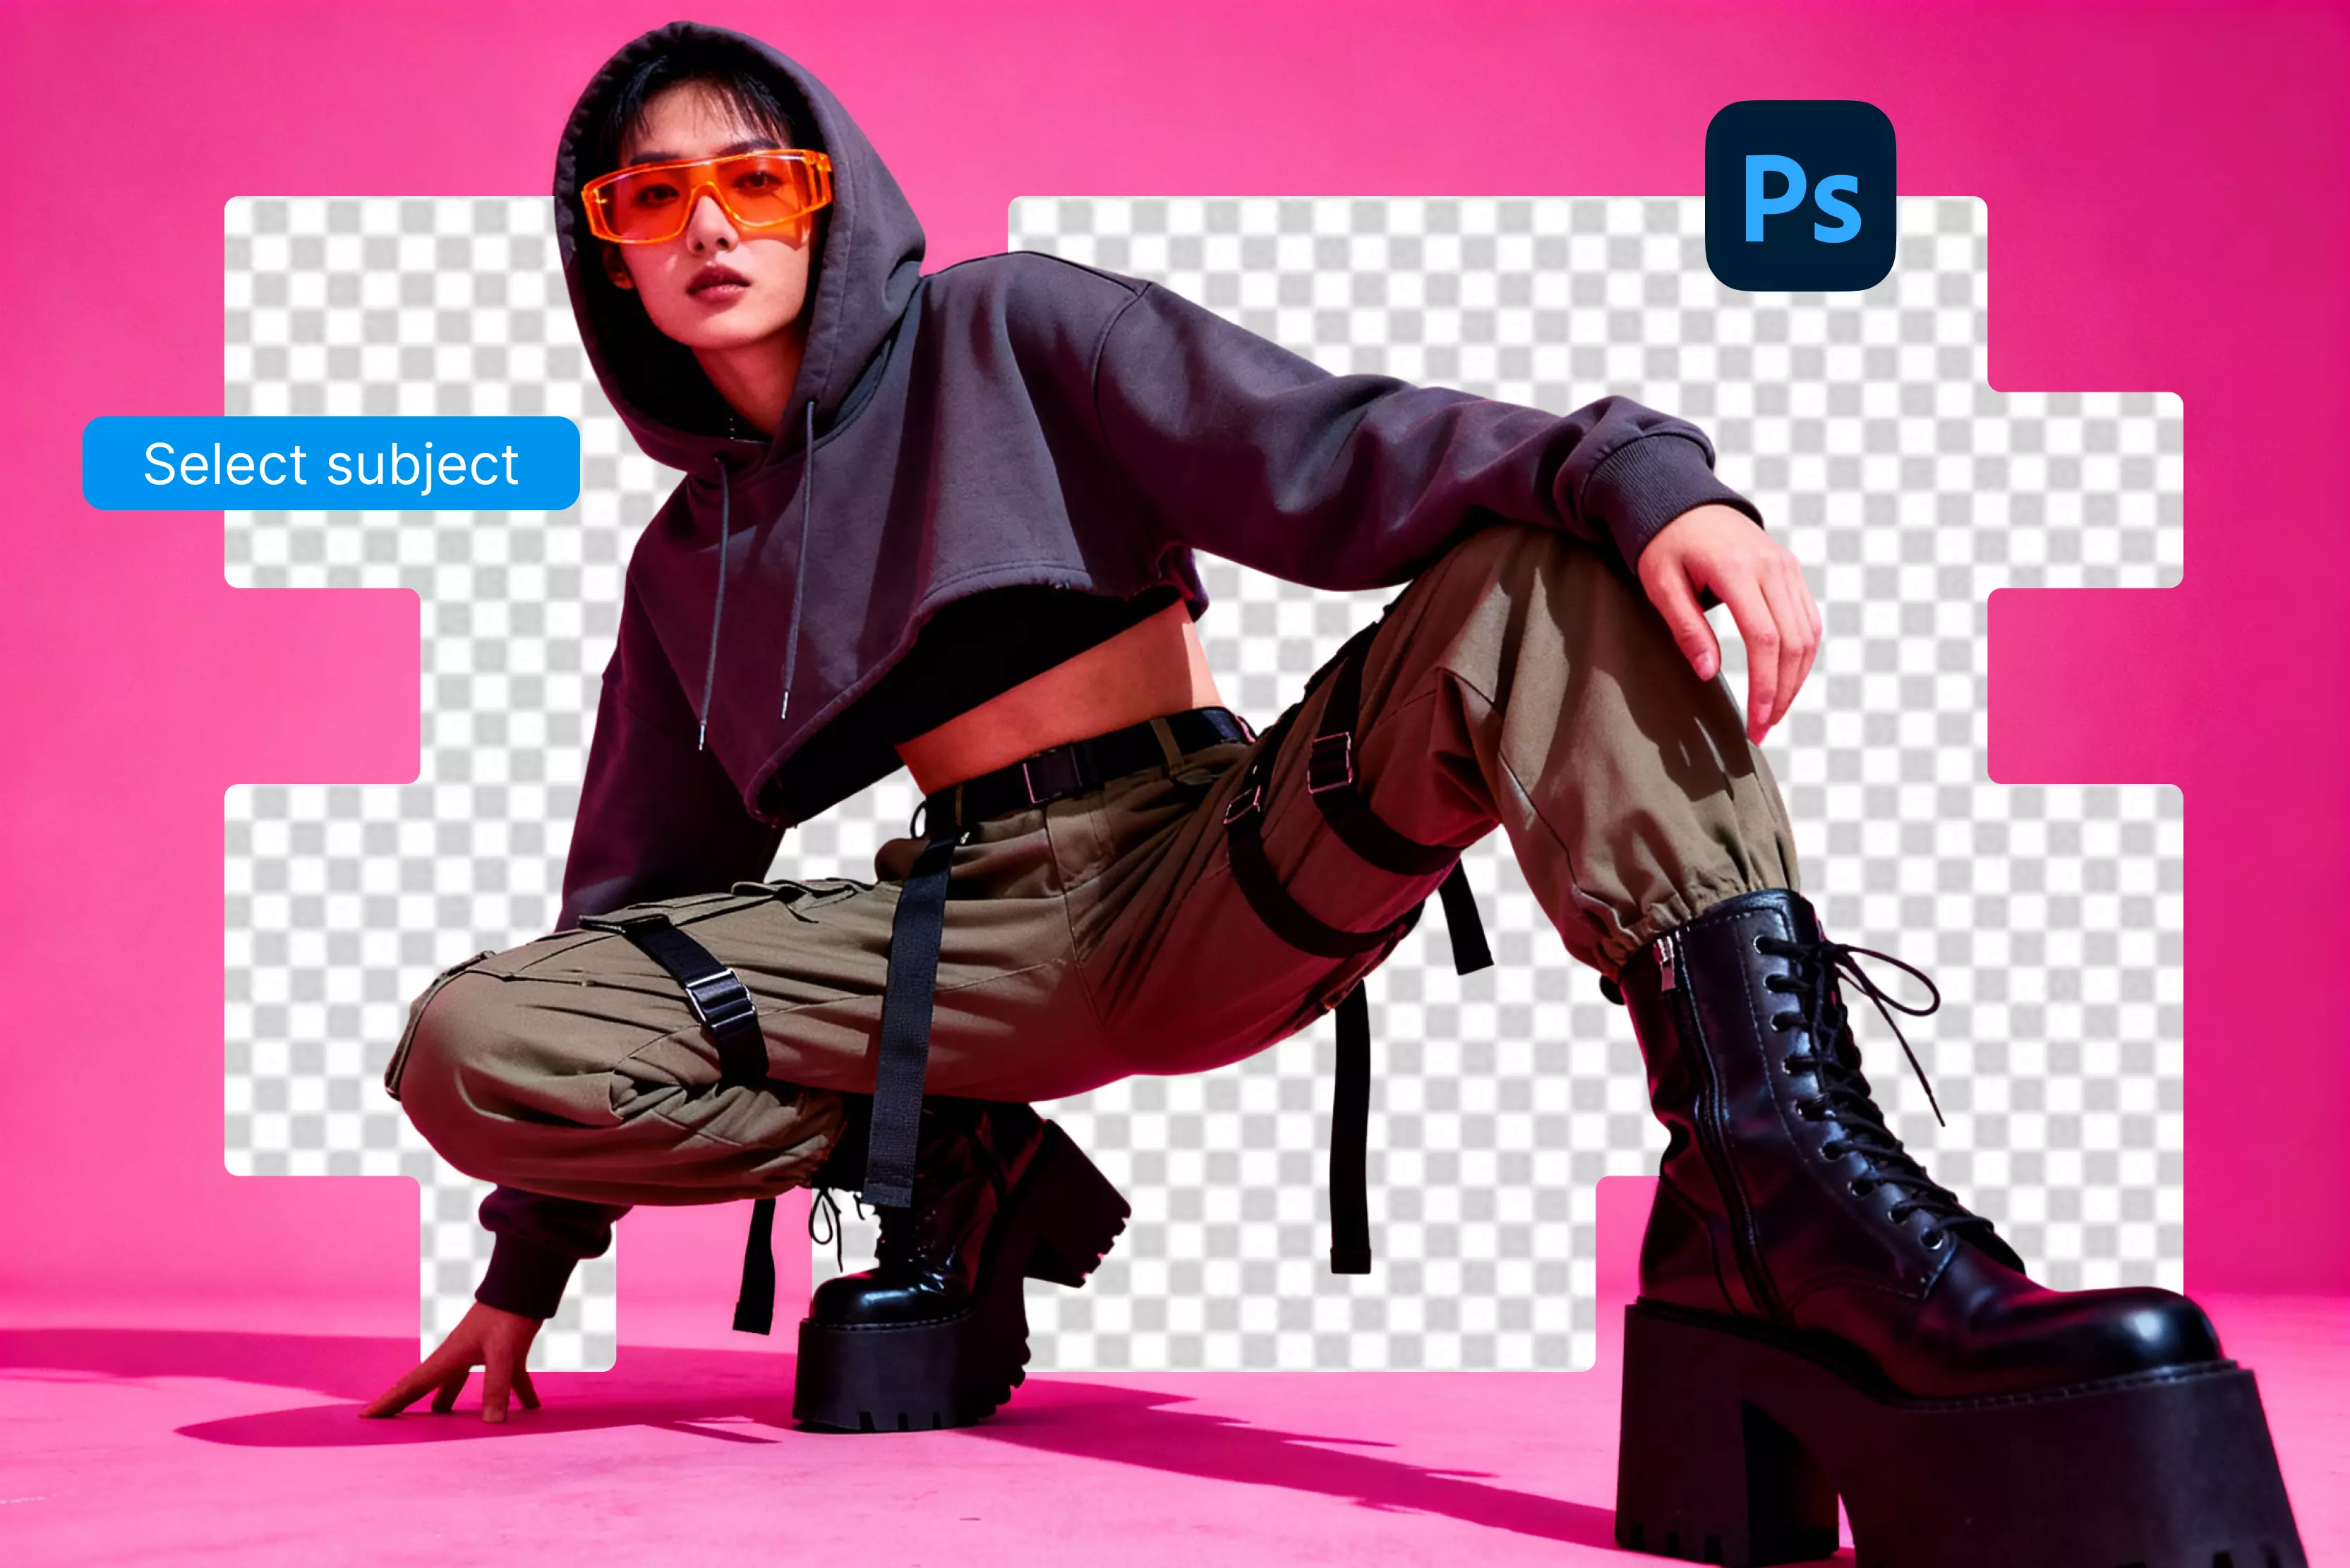
How to remove background using online AI tools
AI-powered background removal apps and object removers make it simple to erase unwanted parts of a photo without learning complex editing skills. These tools detect subjects automatically, so you only need to upload an image and mark what you want gone—no tedious manual masking required.
Whether you’re cleaning up a product shot, removing a stray person from a travel photo, or preparing graphics for social media, the following services work quickly in a web browser or mobile app and give you a polished result with minimal effort.
1. Pixelbin AI background remover

Pixelbin’s background remover is designed for people who want quick, high-quality cut-outs without learning complex software. You open the website, drag in your photo, and the AI immediately separates the subject from its surroundings. There’s no signup or installation, so it works anywhere—laptop, tablet, or phone.
Because it’s entirely browser-based, you can process several images at once and preview changes instantly. Transparent PNG exports maintain clean edges, making it a great choice for online stores, presentations, or social posts where clean backgrounds are a must.
Author’s Tip: Now, removing objects and erasing backgrounds in Pixelbin is much easier for developers to integrate AI-powered image editing features into applications with the Pixelbin Prediction API
Step-by-step guide
Step 1 - Go to the Pixelbin website, open its AI background remover tool, and log in. You will get 10 free credits.
Step 2 - Upload your image (PNG, JPG, etc.) via drag-and-drop or file chooser.
Step 3 - Now choose the option “background” and select the foreground general type, and select apply.
Step 4 - Let the AI inpaint or fill the removed area based on its detection of surrounding pixels.
Step 5 - Download the final image once you have replaced or generated the new background in the format you need (transparent PNG, or with a new background color, etc.).
2. Erase.bg
Erase.bg focuses on effortless background cleanup for everyday users. Upload a picture and within seconds, the service delivers a clear background PNG. It’s when you need a polished image but don’t want to install or learn new software.
The site works in any modern browser and supports popular file types like JPG, PNG, and WebP. It also lets you replace the removed background with a solid color or a different image.
Step-by-step guide
Step 1 - Navigate to Erase.bg website.
Step 2 - Upload your image (PNG/JPG) by clicking “Upload Image” or dragging it in.
Step 3 - The AI will automatically detect the subject and remove the background.
Step 4 - To add a specific background or replace the background with a solid color, switch to the “Edit” and add the same.
Step 5 - Once you are happy with the background, download the edited image in standard or high definition.
3. Canva AI Background Remover
I like using Canva on my laptop because the bigger screen makes it easier to see every detail while I edit. Whether I’m putting together a product shot, a social post, or a quick presentation slide, taking out the background is simple and doesn’t need any real design skills.
The Background Remover is a one-click tool available in Canva Pro only. If you’re on the free plan, you can still try it out with Canva Pro’s free trial that lasts for a period of 30 days on Canva, free to try the Canva BG remover. Once enabled, you can remove or restore parts of the background in just seconds.
Step-by-step guide
Step 1 - Go to Canva Online Background Remover and log in.
Step 2 - Click on Upload your image using Uploads > Upload Files or drag it in.
Step 3 - Select the image and click. When you upload/select the image on your design canvas, you click Edit Photo Background Remover.
Step 4 - Choose Background Remover.
Step 5 - Wait a few seconds for Canva to process the image, and you will get a result like this, where the background will be removed.
Step 6 - Use Erase or Restore brushes to fix small details if needed.
Step 7 - Click Apply when done.
Step 8 - To export with transparency, go to Share, then go to Download and select PNG and tick Transparent background.
Final thoughts
You don’t have to spend hours carefully cloning and patching every photo anymore. Whether you use the newest 2026 release of Photoshop, an older desktop version, or lighter options like Elements or Express, the classic tools—Clone Stamp, Healing Brush, and Content-Aware Fill—still give you precise, hands-on control when you want every detail just right.
At the same time, browser-based AI editors have changed the game. Services such as Pixelbin, Erase.bg, and similar tools can clear a background or remove a distracting object in seconds.
A smart approach is to let an AI tool handle the heavy lifting on a sample image—say a street sign or an unwanted product tag—then fine-tune the result in Photoshop if you need pixel-perfect edges. This way, you get the speed of AI with the finishing control of traditional editing.
FAQs
Make a selection, apply Content-Aware Fill or the Remove Tool, and finish with the Healing Brush to blend edges seamlessly.
The Clone Stamp and Healing Brush let you sample nearby pixels manually, while Content-Aware Fill offers an automated texture match.
It’s very accurate for most photos, but complex textures may still need light touch-ups with the Clone Stamp.
Yes. Pixelbin, Erase.bg, Canva, and Photoroom use AI to remove objects or backgrounds instantly, great for people who don’t own Photoshop or need a one-click fix.
Remove Tool and Content-Aware Fill are AI-driven; Clone Stamp and Healing Brushes are manual, giving maximum control for fine details.
Yes. Clone Stamp, Healing Brush, and Content-Aware Fill exist in older versions and Elements. Photoshop Express provides a simpler Remove feature for quick edits, and AI web tools like Pixelbin remain compatible with any browser.