
Summary
A PNG background remover helps you erase the background from an image and download the result with a transparent background. It is useful for product photos, profile pictures, logos, stickers, thumbnails, social media graphics, signatures, and website visuals. The best results come from clear source images, a simple subject, clean edges, and a final check before downloading the transparent PNG.
Introduction
Most people search for a PNG background remover because they are trying to finish something practical. Maybe a product photo needs a clean background. Maybe a logo has a white box around it. Maybe a profile picture, thumbnail, or social post needs only the person or object, not the messy room behind it.
The wording changes from search to search: background remover PNG, free background remover from image, picture background remover, background remover for pictures, or image background remover free. The intent is usually the same. The user wants a fast way to remove the background and get a clean image they can actually use.
If you need the result quickly, a free image background remover can handle the basic workflow: upload the image, remove the background, preview the result, and download the edited file.
This guide explains how PNG background removal works, when to use PNG, how to remove white backgrounds, what to check before downloading, and how to avoid the quality issues that make cutouts look rough or fake.
What is a PNG background remover?
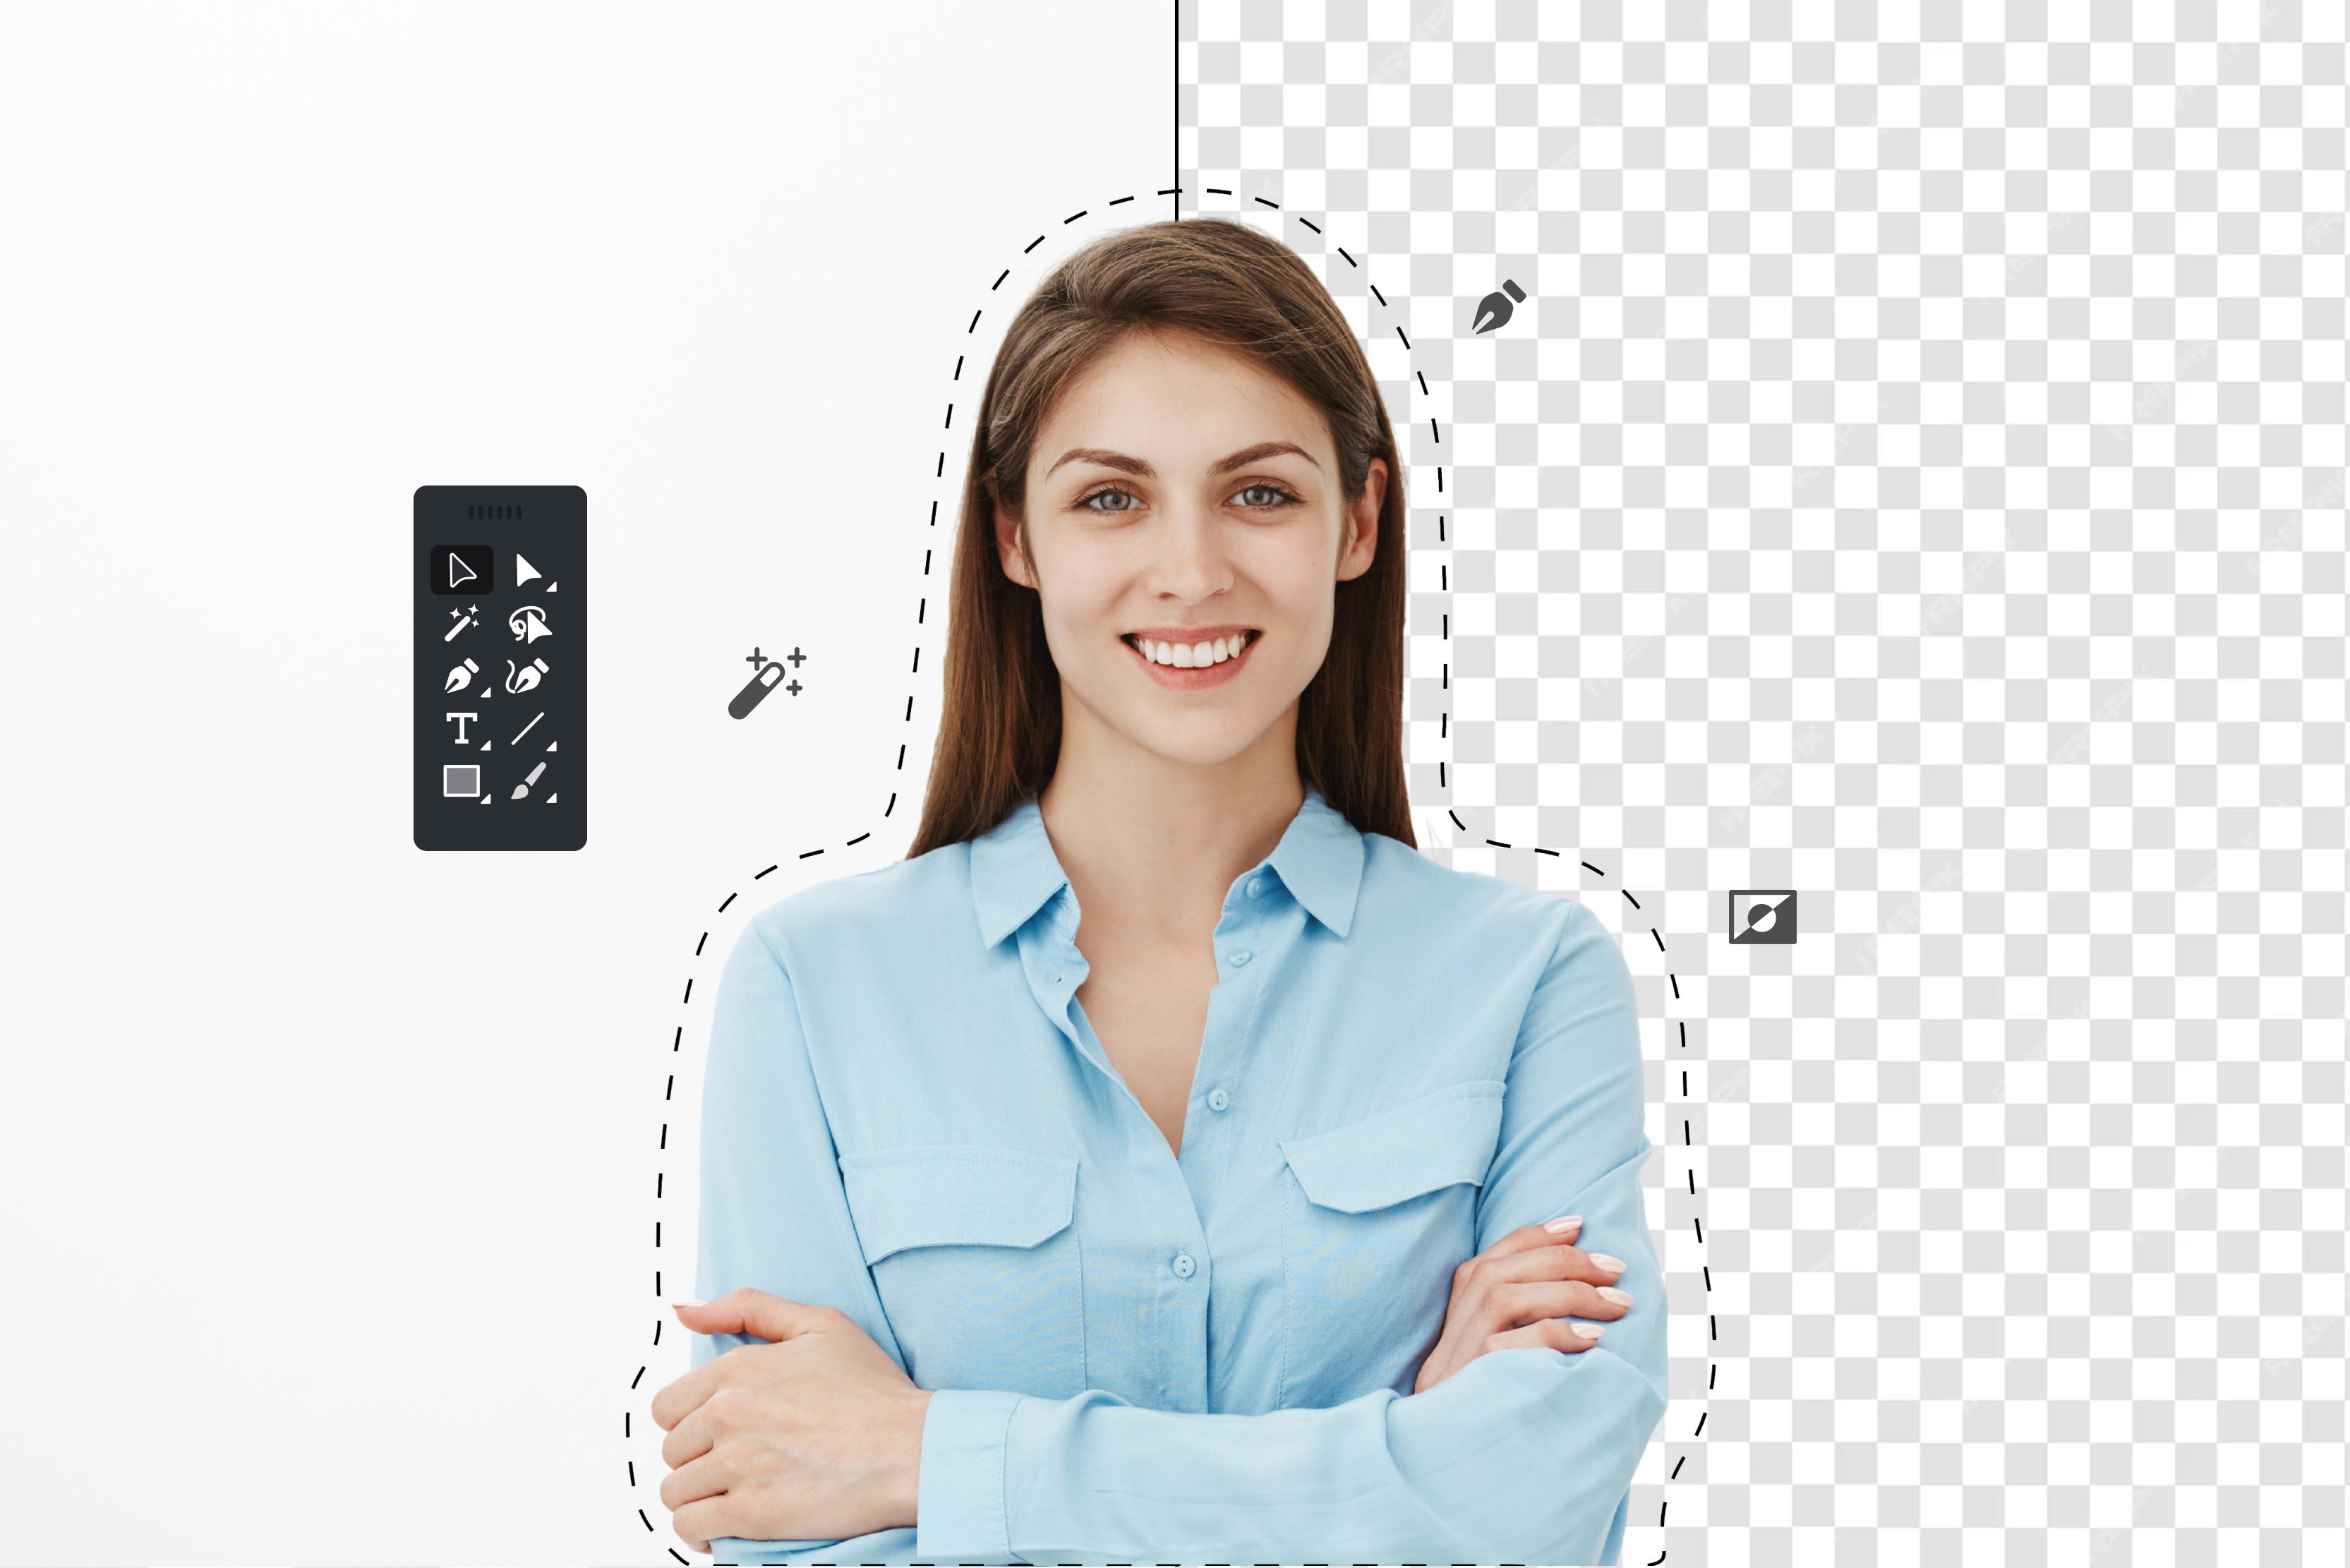
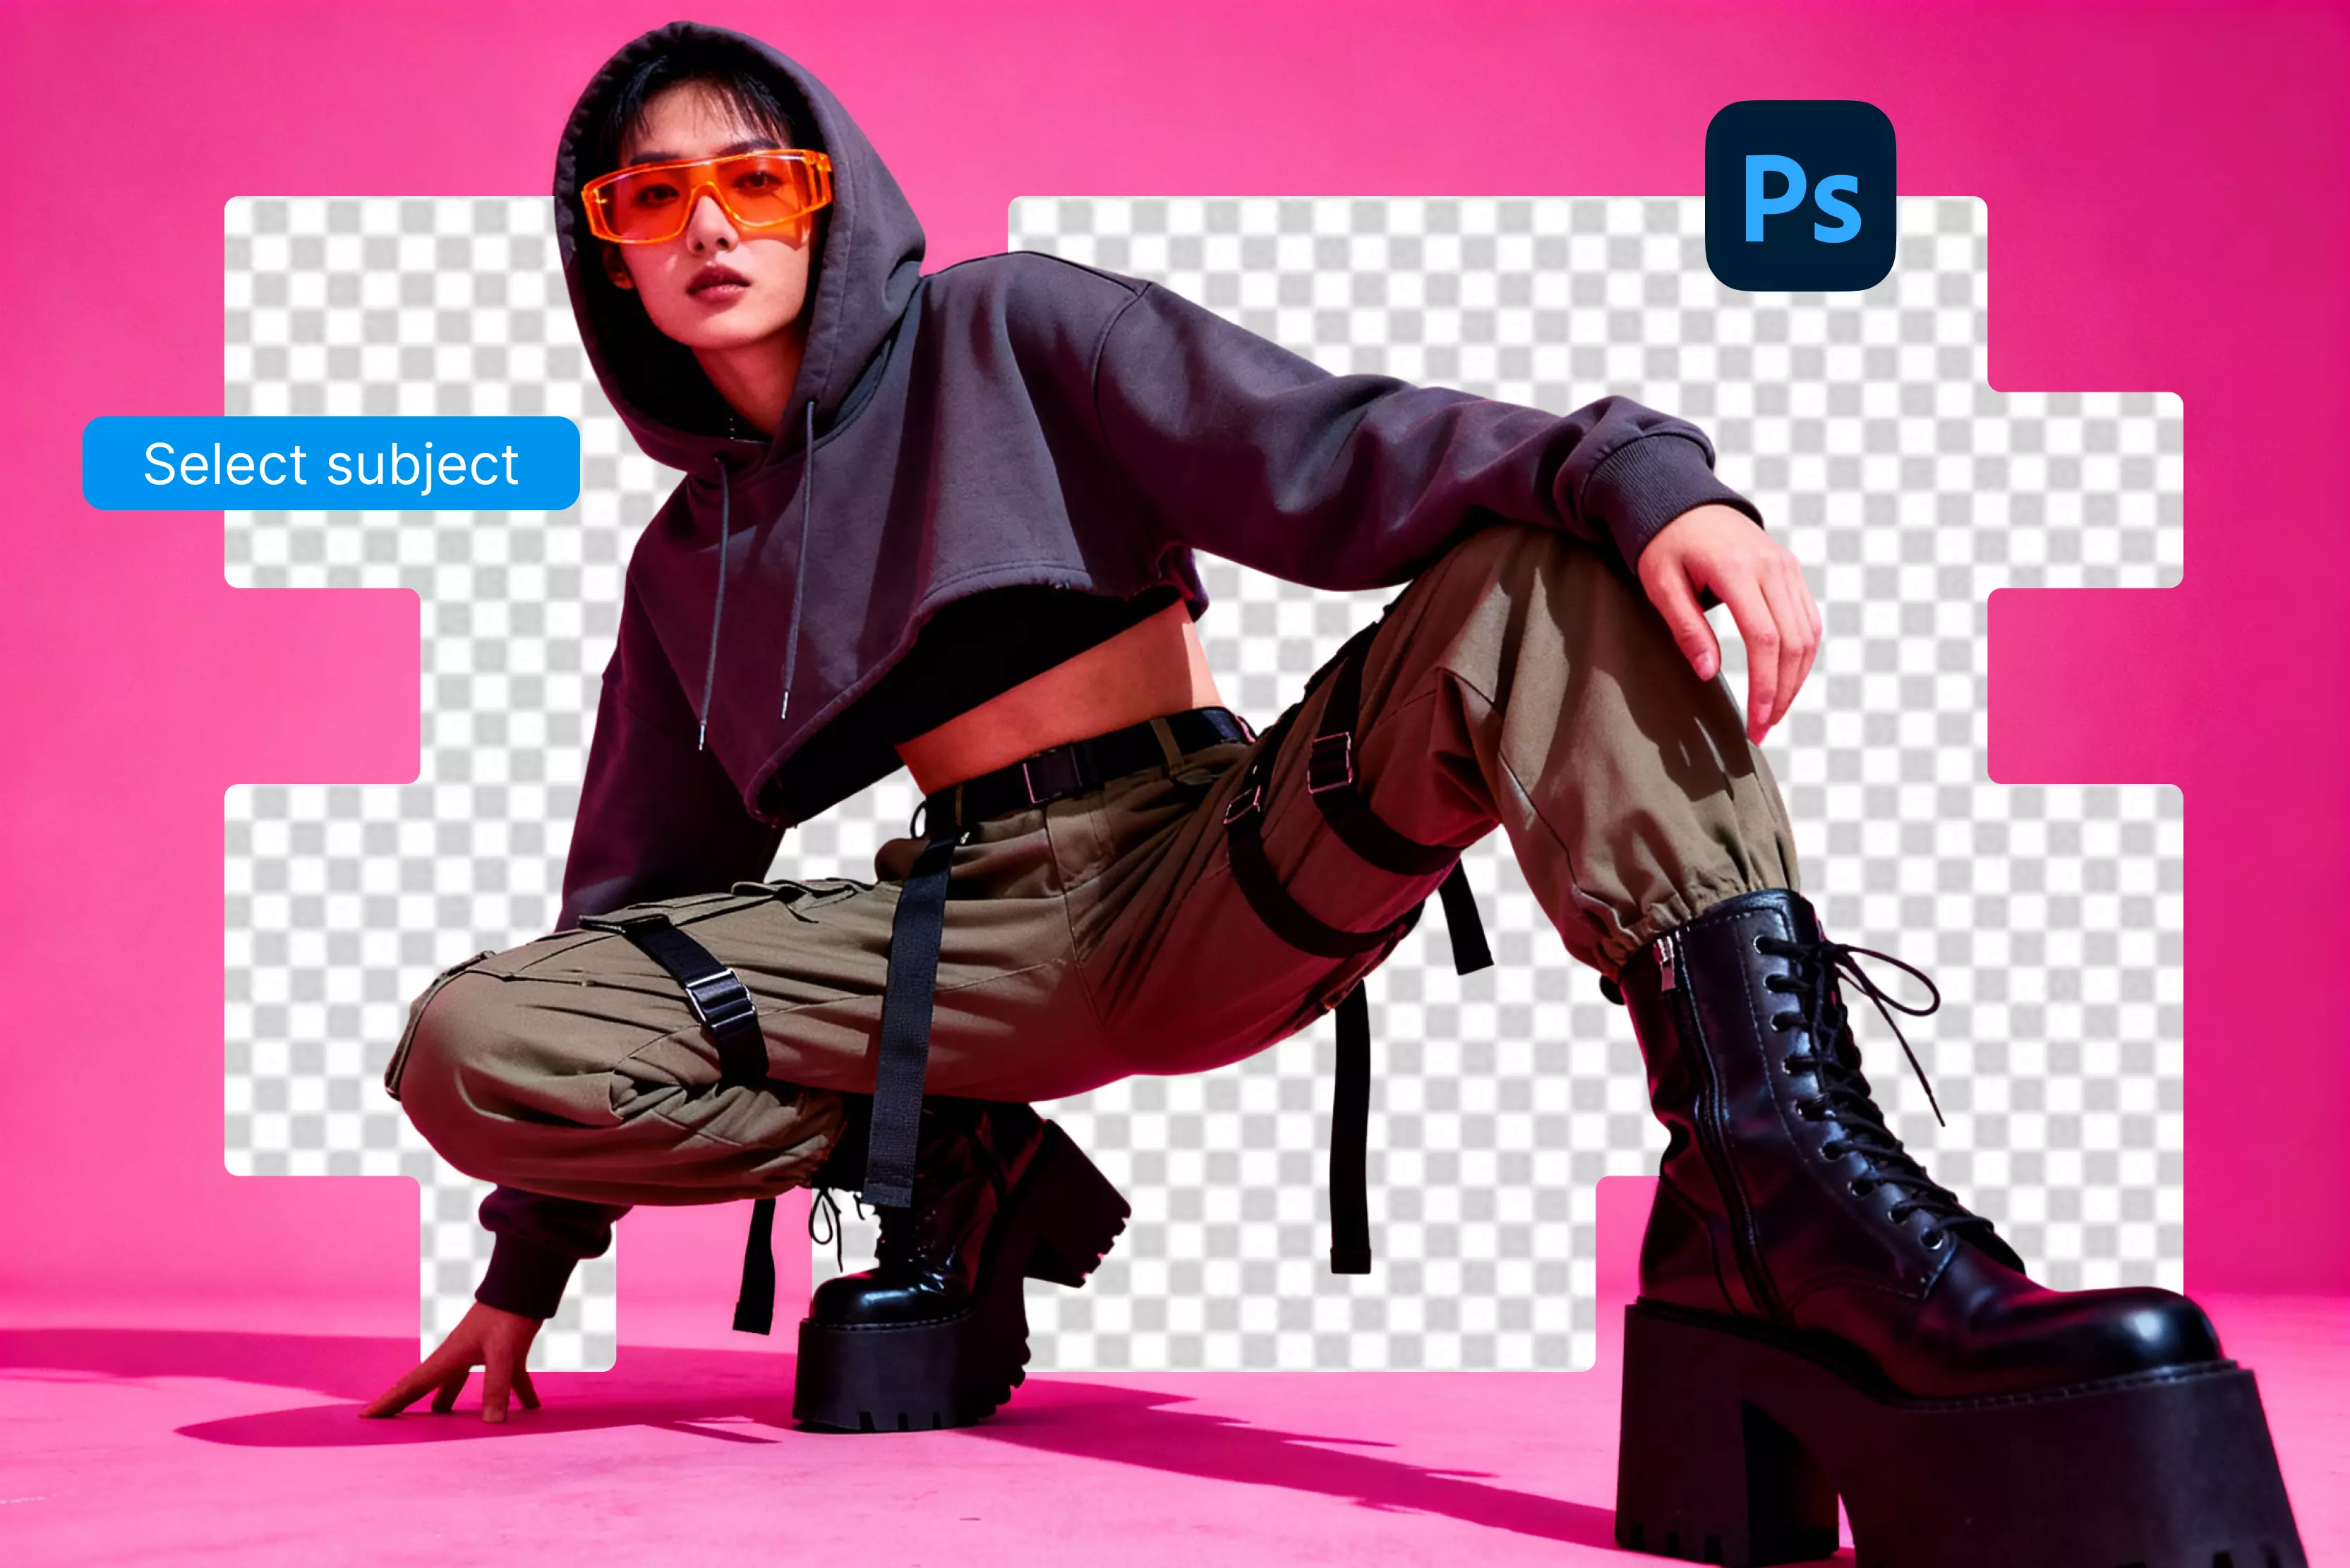
A PNG background remover isolates a photo's main subject and erases the surrounding environment, saving the final file with a transparent alpha channel. Unlike JPEGs which default to solid white or black canvas blocks when modified the PNG format natively preserves transparency. This allows your cutouts to overlay seamlessly onto digital assets without harsh square borders.
Why online sellers and designers rely on it?
For retail businesses, digital agencies, and visual creators, using isolated image layers is essential for keeping branding consistent:
- Platform Compliance: Instantly adapts catalog shots to meet the strict white-canvas criteria of top online marketplaces.
- Design Flexibility: Lets you drop isolated product graphics onto dynamic marketing banners, pitch decks, and seasonal media layouts.
- Web Optimization: Keeps file layouts clean and modern, avoiding messy, mismatched backgrounds on website grids.
Using local visual contexts, an automated transparency tool turns messy, cluttered smartphone shots into clean, isolated graphics ready for immediate layout design. By removing tedious manual clipping paths, teams can format complete asset collections in moments, keeping workflows fast and visual presentation highly professional.
PNG background remover vs normal background remover
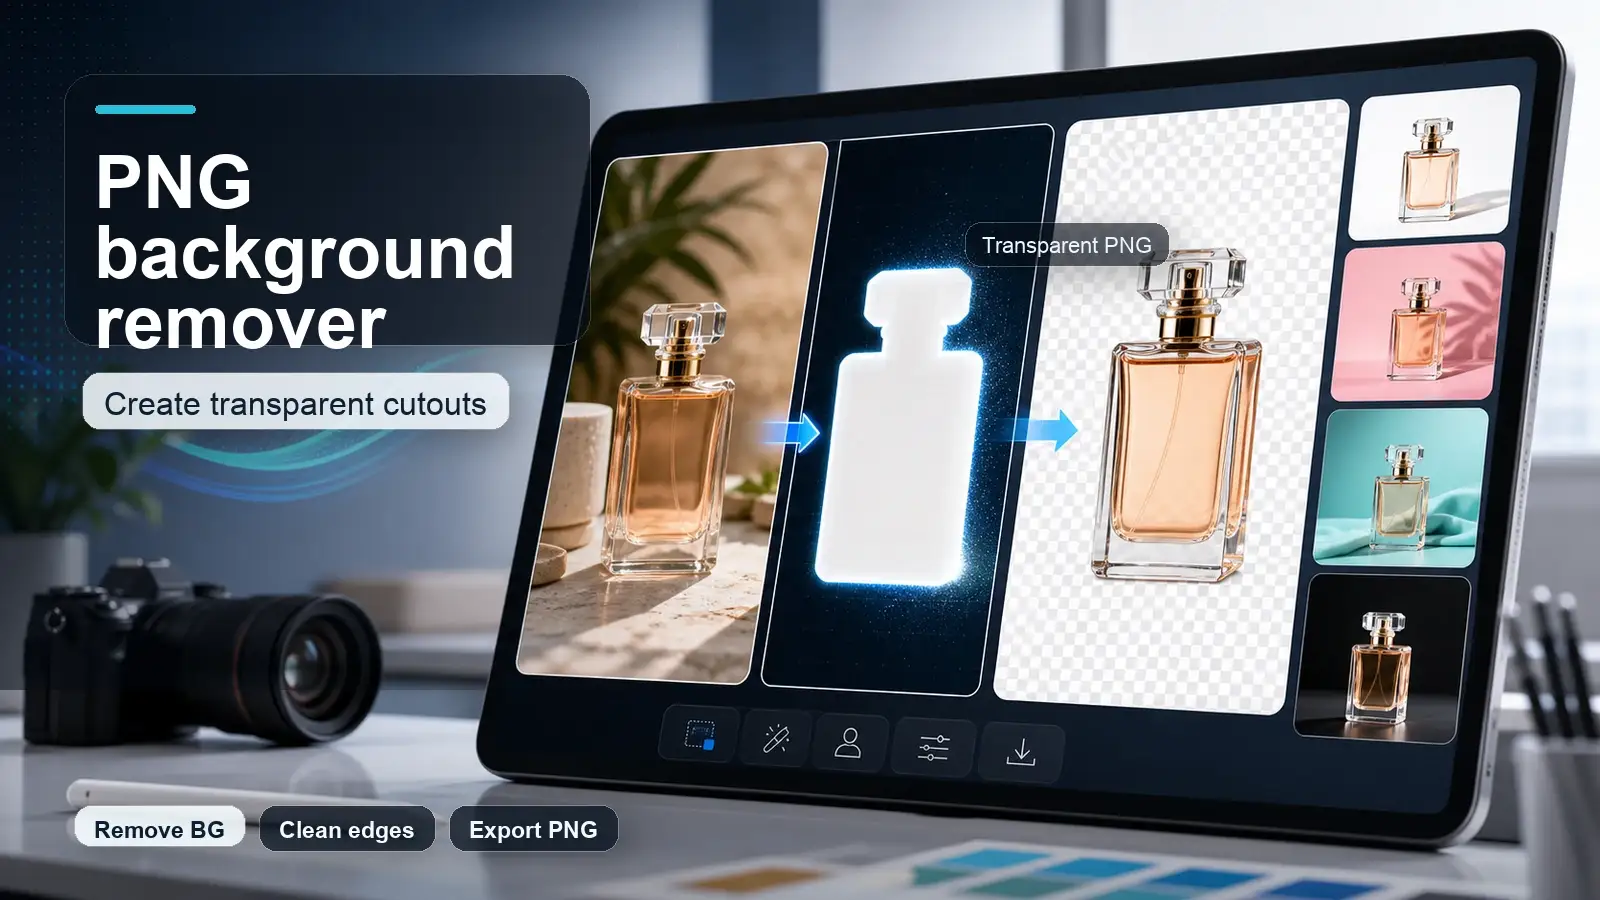
A normal background remover can remove the background from many file types, including JPG, JPEG, PNG, and WebP. A PNG background remover focuses on the output people usually need after the background is gone: a transparent PNG.
How to remove the background from a PNG image
The basic process is simple, but a few small choices make the final image look much better.
- Upload a clear image. Use the highest-quality version you have, not a blurry screenshot or compressed thumbnail.
- Let the tool detect the subject. Most background removers use AI to identify the person, object, product, logo, or main visual.
- Preview the transparent result. Check hair, edges, shadows, fingers, product corners, glass, jewelry, and text.
- Clean up if needed. If the edge looks rough, try a higher-resolution image or use a manual refine option if the tool provides one.
- Download as PNG. Use PNG when you need a transparent background. Use JPG or WebP only when transparency is not needed.
When should you use PNG, JPG, or WebP?
Use PNG when transparency matters. Use JPG or WebP when the full image has a normal background and file size is more important than transparency.
Remove a PNG background using AI tool - Pixelbin AI
Pixelbin AI background remover instantly transforms complex image editing into a fast, automated workflow. It is uniquely made to extract subjects with precision, handling intricate pixel sections where standard background tools often fail.
Beyond simple extraction, Pixelbin introduces deep creative flexibility. The platform lets you instantly change or expand image aspect ratios to fit varied social layouts, and you can swap backgrounds using its smart AI generator tool.
Whether you need a studio-white backdrop for e-commerce, custom AI-generated designs for branding, or automated bulk transformations, Pixelbin delivers crisp, high-resolution cutouts that preserve sharp edge detail across multiple formats like WebP, PNG, and JPEG.
Why Pixelbin is an easy option for removing background from PNG?
- Automatic One-Click Extraction: Pixelbin AI instantly detects and separates subjects from backgrounds without manual brushes.
- Multi Format Support Including HEIC: Upload diverse modern file formats including PNG, JPG, WEBP, and raw HEIC assets.
- Dedicated Asset Cleaning Capabilities: The specialized AI instantly strips paper textures from photographed signatures and logos.
- Side By Side Preview Interface: Compare your original image against the transparent cutout using an interactive preview.
- High Definition Watermark Free Downloads: Save high-resolution, professional background-free designs completely clear of any forced watermarks.
- Developer Ready Bulk Transformation API: Production pipelines utilize the API to remove backgrounds at scale across large catalog uploads.
Steps to know
The Pixelbin AI Background Remover is the fastest automated alternative to manual editing tools. Follow these five direct steps to instantly strip away backgrounds with cloud-based precision.
1. Upload your image
Open the Pixelbin app interface, then drag and drop your file into the upload zone or choose an image format like PNG, JPG, JPEG, WEBP, or HEIC.
2. Trigger the automated AI processing
The cloud-based AI engine will automatically start analyzing your image pixels the moment the upload completes, completely bypassing the need for manual brushes.
3. Inspect the fine edge detection
Review the sharp subject borders, fine hair details, and shadow preservation using the immediate side-by-side interactive interface preview.
4. Download your high-resolution design
Click the download button to instantly save your watermark-free, background-free cutout as a clean transparent asset in high definition.
5. Apply final touch-ups in Pixelbin Studio
Click the studio edit option if you need further adjustments, giving you full creative control to add custom canvas layers or resize aspects.
Free background remover tools: what to check
Free tools are useful for quick edits, but they are not all the same. Some limit resolution. Some add watermarks. Some ask for signup after one or two downloads. Some are great for portraits but weaker for products, logos, or fine edges.
Before choosing a free background remover image workflow, check these points:
- Does it download a transparent PNG or only a preview?
- Is the output high-resolution enough for your use case?
- Does the free version add a watermark?
- Can it handle logos, products, people, and pictures equally well?
- Does it keep shadows and fine edges natural?
- Do you need signup, credits, or payment for HD downloads?
- Are the privacy and commercial-use terms acceptable for your image?
How to remove a white background from PNG? (bonus tip)
A white background is common in logos, product photos, signatures, QR codes, icons, and screenshots. Sometimes the image already looks clean, but the white rectangle becomes obvious when you place it on a colored background.
For that specific case, a white background remover is usually more direct than editing the full image manually, especially when the subject is a logo, signature, or product on a plain white canvas.
Before downloading, place the result on a dark and light background to check whether any white edge is still visible. Thin white halos around logos and products are one of the easiest ways to spot a rushed background removal job.
How to make a transparent PNG look clean? (most searched query)
A transparent PNG is only useful if the edges look natural. A quick download may be enough for a rough draft, but finished images need a closer check.
- Start with contrast. A subject that clearly stands apart from the background is easier to cut out.
- Avoid tiny screenshots. Low-resolution images create jagged edges and blurry details.
- Check the edge at 100 percent zoom. Look around hair, fabric, product corners, handles, straps, and shadows.
- Keep natural shadows when they help the object feel grounded. Remove them only if the final design needs a flat cutout.
- Test on multiple backgrounds. A cutout can look fine on white but show problems on black, gray, or colored designs.
- Compress large PNGs before uploading to a website. Transparent PNG files can become heavy.
Final thoughts
A good PNG background remover is not just about deleting the background. The real goal is to create an image that looks clean wherever you place it. For a quick social graphic, the first cutout may be enough. For product photos, logos, signatures, and website assets, take a minute to check the edges, file format, shadows, and final size. That small review step is what makes a transparent PNG look finished instead of rushed.
FAQs
Use a background remover that can detect the subject, remove the background, and export the final image as a transparent PNG. Always preview the edges before downloading.
Yes, many tools offer free background removal for images and pictures. Check whether the free version includes HD download, transparent PNG export, and no watermark.
The image may have been saved as JPG, placed on a white canvas, or exported without transparency. Save the final file as PNG when you need a transparent background.
A background remover removes the unwanted background. A PNG maker helps create or export the final transparent PNG. Some workflows need both.
Yes. A white background remover can remove the white box around a logo and turn it into a transparent PNG, but you should check for leftover white halos.
PNG is better when you need transparency. If the image keeps a full background, JPG or WebP may be smaller and better for web performance.
Yes. Product photos are one of the most common use cases. Review product shape, color, label, and shadows before publishing.
Use a clear source image, keep realistic shadows when needed, check the edges at full size, and test the PNG on different backgrounds.