

Adding braces to a photo might sound like a niche idea, but in reality, a lot of people are curious about it. Maybe you want a fun edit for Instagram, a playful before-and-after look, or a rough preview of how braces might look on you.
I’ve even seen people use these apps just to satisfy plain old dental curiosity. Whatever the reason, the demand is real, and so are the tools claiming to do it well. Thanks to recent advances in AI face editing, this is no longer about pasting cartoon stickers on a smile.
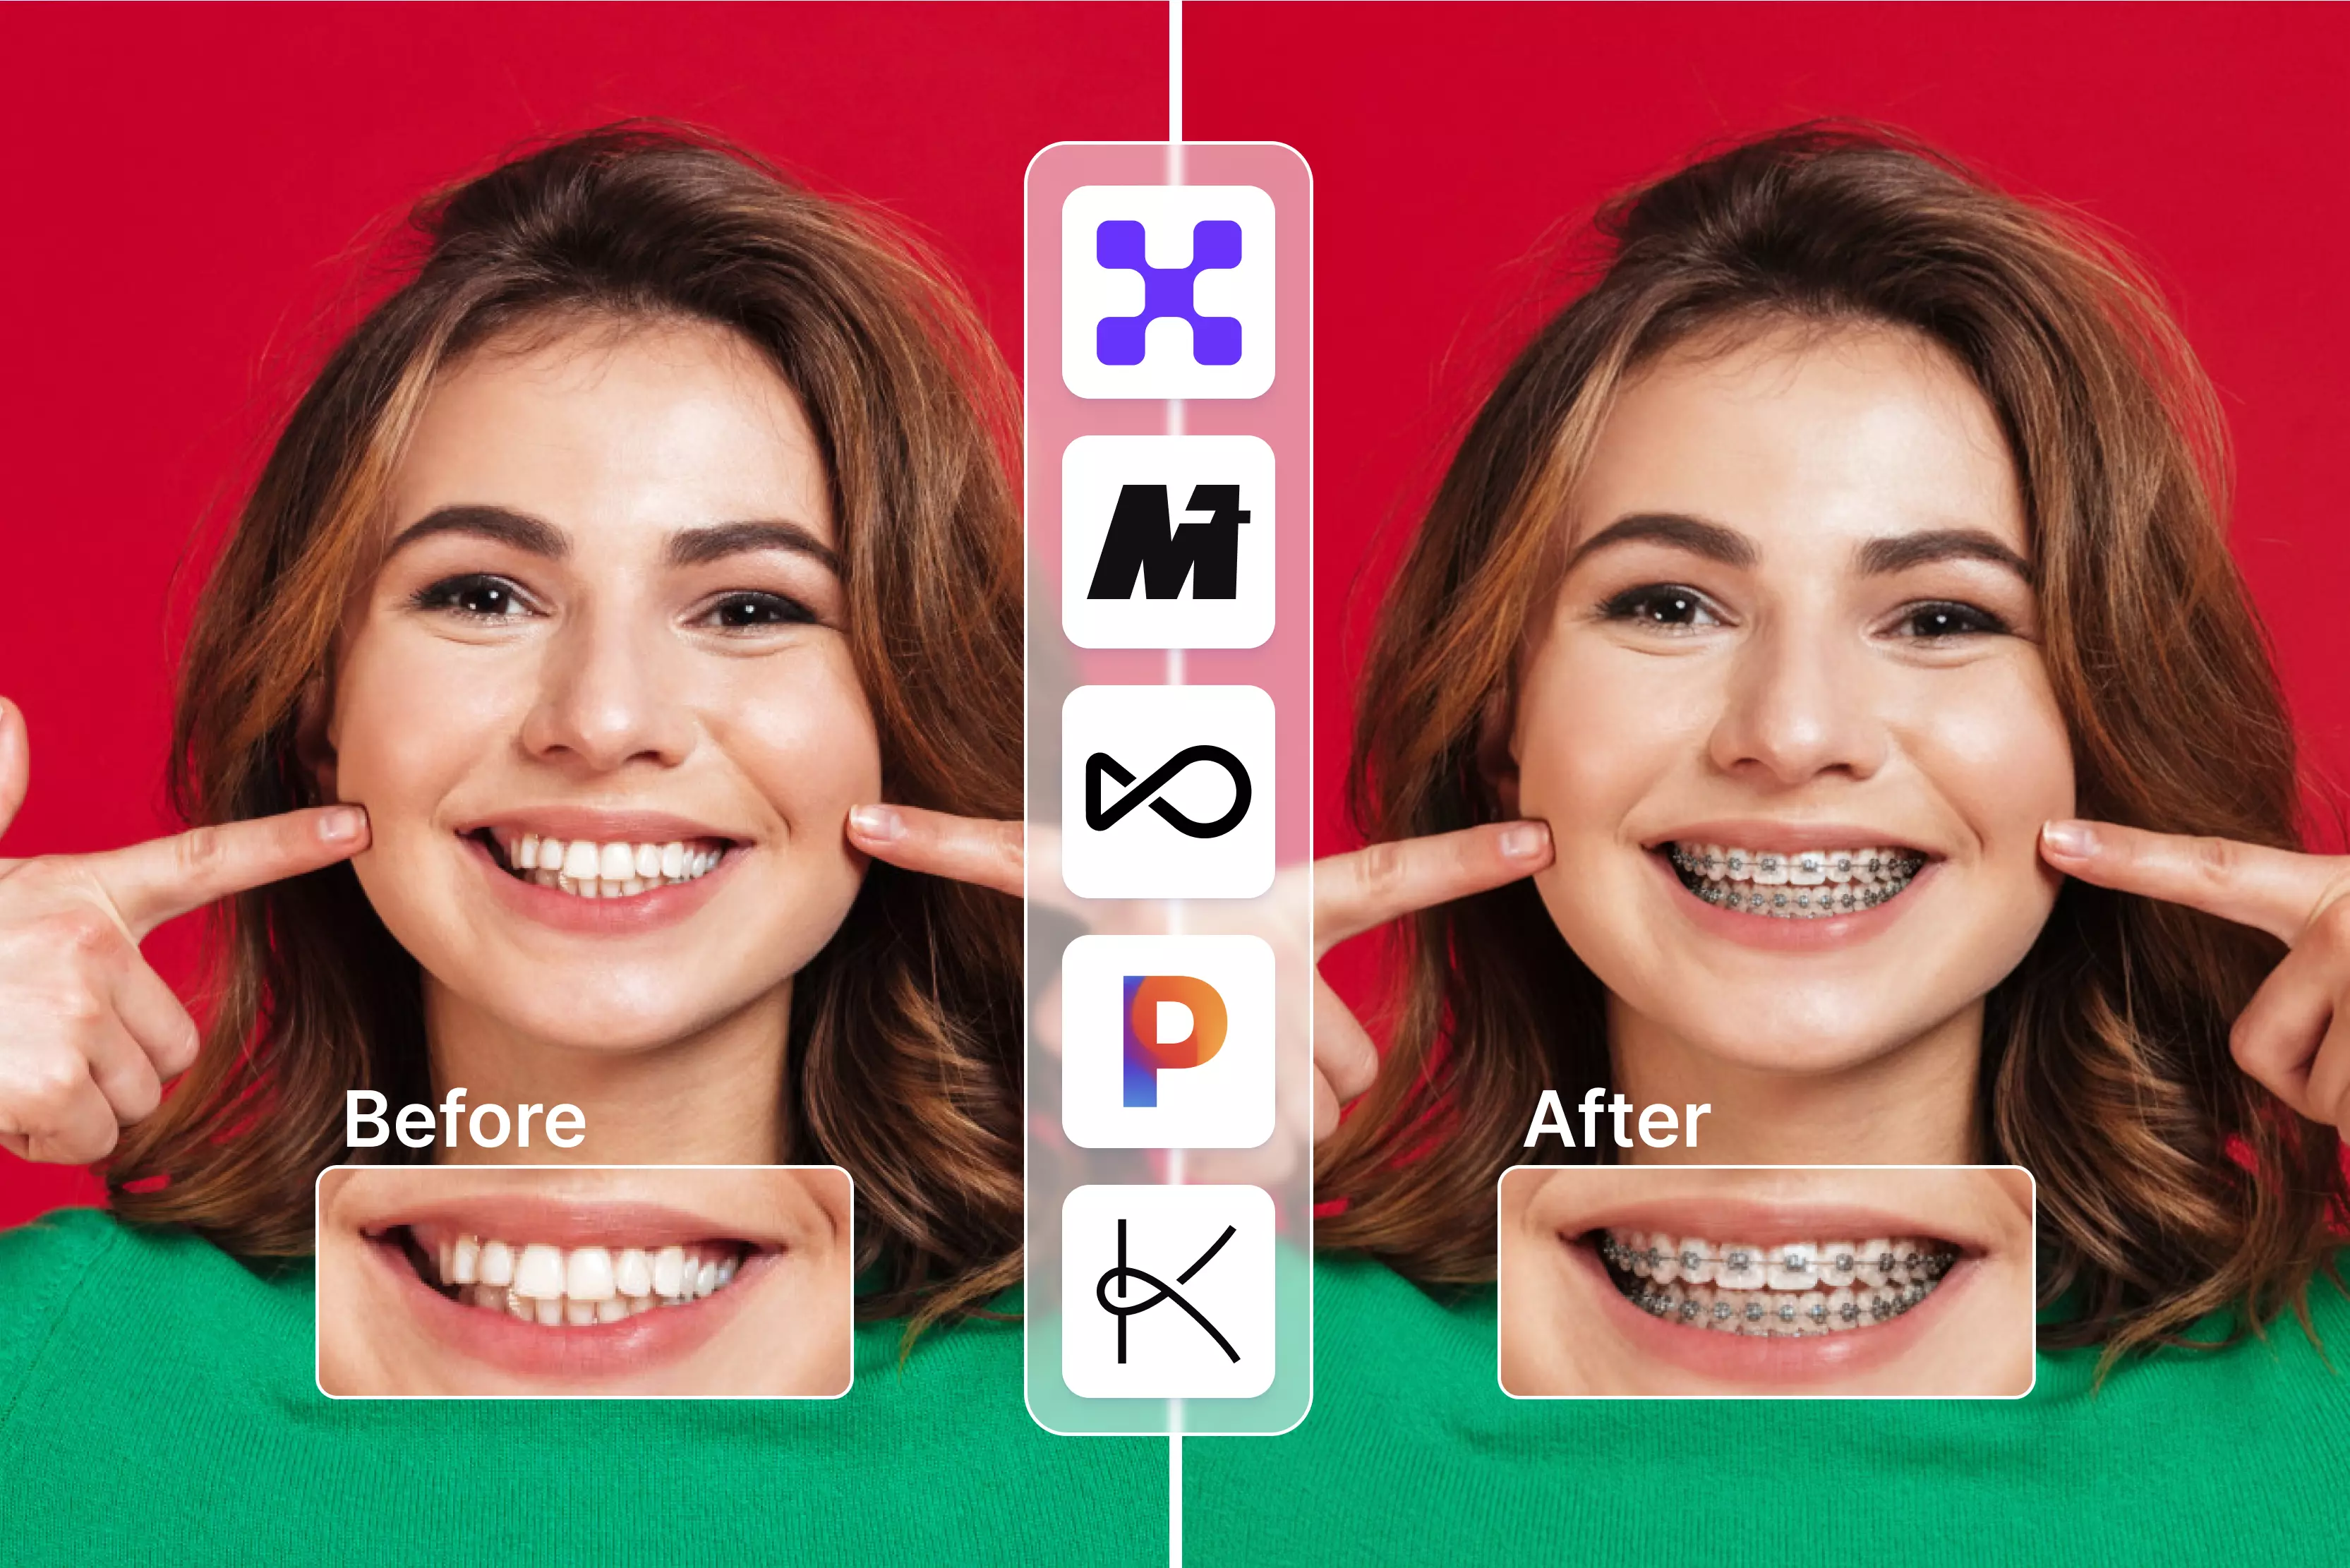
Modern apps can detect facial structure, lips, and teeth, then place braces in a way that looks surprisingly natural. That said, I’ve tested enough of these tools to know they’re not all equal. Some nail realism, others feel more like novelty apps, and many hide their best features behind paywalls or watermarks.
In this blog, I’ll break down the best apps to add braces in an image, based on hands-on testing and real usability. You will learn which apps are good for realistic previews, which are better for fun edits, what’s actually free, and where the limitations show up. No hype, just practical guidance to help you pick the right tool for your use case.
What does a braces photo editor app do?
If you’re curious about how you’d look with braces before actually getting them, these apps give you a "Test drive." The clever part is the AI teeth detection in some apps, while some rely on mouth landmarks. Instead of you having to zoom in and out, the app automatically finds your mouth and maps out approximately where your teeth are.
The realism gap
I’ve noticed there are two main types of these tools, and they aren't created equal:
Sticker-style: These are basic. You just drag a picture of braces over your photo. They often look "Floaty" and fake because they don't follow the shape of your mouth.
Realistic AI: These are much better. The AI "Wraps" the braces around your teeth and adds shadows, making it look like the metal is actually there.
Photos vs. Videos
Most simple apps only work on still images. They’re great for a quick look. However, if you want to see the braces while you’re talking or smiling, you’ll need video tools (like the AR filters on TikTok).
These track your mouth in real-time, though they can sometimes "Glitch" if you move too fast. For the most natural look, I usually recommend sticking to a high-quality photo editor.
Table at a glance
Best apps to add braces in an image
In this blog, I’ve covered 12 different braces filter tools, and after testing them side by side, here’s the honest takeaway. Some tools are one-click; you upload a photo, and the braces appear instantly.
Others are more prompt-based, where you brush over the teeth area and tell the AI exactly what kind of braces you want. Neither approach is “Better”; it really depends on how much control you want versus how fast you want results. The good news? Most of the online tools mentioned in this blog offer a free trial or free credits, so you can experiment before committing.
1. Pixelbin

If you’ve ever wondered what you’d look like with braces without installing an app or firing up Photoshop, Pixelbin’s AI braces filter might surprise you.
I’ve spent time testing it, and the experience feels refreshingly straightforward: you upload a photo (JPG, PNG, WEBP, etc.), let Pixelbin’s AI automatically detect your smile, and braces are added in a way that actually aligns with your mouth and teeth curves.
The tool works right in your browser, processes images quickly, and even lets you download HD results without watermarks. It’s perfect for a quick preview, social posts, or content experiments. Remember that the best results still depend on clear, well-lit photos.
2. Media.io
You don’t just click “Auto-apply”; you upload your photo and then manually select the area around your mouth and teeth with a brush tool. After that, you type a prompt like “add realistic braces” to tell the AI exactly what you want.
The tool uses advanced facial recognition to place the braces realistically, and you can adjust your selection or prompt before generating the final image. It’s great for people who want a bit of control and customization rather than a one-click result, though results still depend on photo clarity and how well you define the area.
3. OpenArt
If you want to add braces using OpenArt, you are using its AI inpainting tool, which lets you modify specific parts of an image by guiding the AI where to edit. After uploading your photo into the OpenArt editor, you highlight the area around the mouth, choose an inpainting model, and prompt the AI to add realistic braces or enhance dental features.
It’s more hands-on than one-click filter apps; you decide what part of the photo to change and how. The results can be surprisingly natural, but good lighting and careful selection help a lot.
4. Pixelcut
If you’ve played with Pixelcut’s AI photo tools, you know how accessible they make image edits, but the braces photo editor is surprisingly clever, too.
With Pixelcut, you upload a clear photo of your smile and then describe exactly what braces you want, for example, “Add silver metal braces” in a text prompt. The AI then intelligently maps the described braces onto your teeth, so they look like they actually belong there, rather than a slapped-on sticker.
After a quick generation, you can download your new smile in seconds. I’ve found this process feels intuitive, giving you more control than one-click filters. Though your results still depend on a clear, front-facing photo.
5. Kaze.ai
You have to upload a clear photo, and the AI automatically understands where the teeth and mouth area are. What really helps beginners is the built-in prompt box that suggests what to type, so you don’t have to figure out the perfect wording yourself.
You can use the suggested prompt as it is or tweak it slightly to match the look you want. The tool then generates a realistic braces effect in seconds. It’s practical, beginner-friendly, and great for quick previews; just keep in mind that clear lighting gives the best results.
6. LightX editor
When I tried LightX’s AI braces filter, what stood out was how much control you actually get. First, you upload your photo and use the brush tool to mark the exact area where you want the braces, which means you’re telling the AI precisely where to apply the effect.
Then you type a prompt in the text box, you can ask for “Classic metal braces,” “Ceramic,” or even more fun styles like rainbow or diamond-studded braces. After hitting Generate, LightX’s AI blends the braces naturally with your teeth, giving you a realistic virtual try-on that feels much more customized than generic filters.
7. Fotor
If you want a quick way to preview braces on your smile, Fotor’s online Braces Filter makes it surprisingly accessible. You have to upload a portrait or selfie, then use the brush tool to mark the teeth area you want the AI to edit.
Next, you type a simple prompt describing the kind of braces you want, and Fotor’s AI automatically adds realistic fake braces to your photo in seconds. You can even use Fotor’s teeth whitening and beauty tools to refine the look before sharing it on social media. It’s not a perfect orthodontic simulation, but for fun previews or before-you-buy decision-making, it’s genuinely useful.
8. FlexClip
When I first tried FlexClip’s AI braces filter, what surprised me was how creative yet intuitive it feels. You upload your photo and then type a prompt in the text box describing the kind of braces you want, whether “Classic metal braces,” “Clear aligners,” or something playful like “Sparkling bands.”
The AI reads your prompt and places braces that align naturally with your smile. The best part? You can add braces or remove existing ones in your photo with a simple instruction, giving you real control over the final look. It’s great for quick previews and social fun, though getting super-realistic results still depends on your photo quality and prompt clarity.
9. Photocut AI
When I tried PhotoCut AI’s Braces Filter, what struck me was how fun and accessible it feels. You start by clicking “Try braces filter now,” uploading your photo, and then using the brush tool to mark where your teeth are, telling the AI exactly where to focus.
Next, you type a prompt describing the type of braces you want, like classic metal or playful colored styles, and the AI generates a new image with those braces applied. It’s not a medical tool, but for quick previews and social-ready photos, this setup gives you surprising control and a good sense of how you might look with braces.
10. Pokecut
When I tried Pokecut’s Braces Filter, what struck me was how intuitive it feels even if you’ve never used AI photo editors before. You start by uploading a clear selfie where your teeth are visible, then in the prompt box you type something like “Add braces to teeth” so the AI knows what look you want.
Pokecut’s image-to-image AI then generates a realistic virtual braces preview right on your smile from metallic and ceramic to invisible styles, based on your description. It’s great for quick visual experimentation or social fun, though clarity still depends on photo quality.
11. Logo AI
When I tested Logo AI’s AI Braces Filter, what I appreciated was how guided the whole process feels. You have to upload a clear photo, and instead of starting from a blank slate, Logo AI already provides a pre-written prompt for adding braces. You can use it as-is or tweak the prompt slightly to change the look or style before generating results.
The AI then applies braces while keeping lighting, teeth alignment, and facial expression in mind, so the output looks natural. It’s practical for quick previews and social content, not a medical simulation, but honestly useful if you want a fast, realistic visual without overthinking the edit.
12. Dzine
You start by uploading a clear photo and using the brush tool to mark the teeth area, which tells the AI exactly where to apply the effect – this matters if you want a realistic result rather than a sloppy one. Next, you have to enter a simple text prompt like “Add metal braces” or “Pink braces with neon bands,” and Dzine generates your new smile.
The AI blends the braces naturally with your teeth and lighting, giving a lifelike preview you can export or share. It’s not a medical planner, but for curiosity, content, or social fun, it’s genuinely useful; just remember that photo quality affects the final look.
Key features to look for in a braces editing app
When you’re choosing a braces editing app, small details make a big difference. Based on hands-on testing, these are the features I always check first and why they matter in real life.
1. Realistic teeth and brace alignment
The best apps don’t just stick braces onto your smile and call it a day. They actually adjust the braces to match the natural curve, spacing, and angle of your teeth. When an app gets this right, the result feels believable. When it doesn’t, braces look flat or misaligned, and you can spot the edit instantly.
2. Face and mouth detection accuracy
Strong AI detection helps the app correctly identify your lips, teeth, and jawline. This is especially important if your face is slightly tilted or the smile isn’t perfect. Poor detection usually leads to braces floating or cutting into the lips.
3. Customization options (color, size, brace type)
Good apps let you tweak brace color, size, or even switch between metal and ceramic styles. This makes the result feel more realistic and less like a one-size-fits-all edit.
4. Watermark and export quality
Many free tools add watermarks or limit resolution. That’s fine for testing, but if you want a usable image, clean exports matter. In this blog, I have mentioned tools that generate results without any watermark on them, such as Pixelbin.
5. Free trial or preview option
A preview lets you see results before downloading or paying. I always prefer apps that let me test realism first. While exploring the online tools for the brace filter above, you must have seen that most of the tools offer previews along with a free trial.
Conclusion
If you’re just curious how braces might look on your smile or you’re planning content, a joke, or a quick preview, braces editing apps make it surprisingly easy.
I’ve tested a bunch of them, and here’s the honest truth: free apps are great for quick fun, while paid tools usually win on realism and watermark-free exports. Face detection has improved a lot, but results still depend on photo quality and lighting.
My advice? First, try a few of the tools that give a free trial and see what feels natural, and only upgrade if you need polished, share-ready images. The “Best” app really depends on how realistic and how private you want things to be.
FAQs
Yes, many apps let you add virtual braces to photos for free. Some offer basic features without charging, while others may have optional paid filters for more realistic results.
The most popular braces editing apps are available on both Android and iOS, so you can use them on phones and tablets from either platform.
Quality varies by app, but many use advanced filters and stickers to make braces look quite realistic — especially in good lighting and clear photos.
Some apps can detect and edit multiple faces, so you can add braces to group photos. However, the best results often come from single-face images.
Some free apps do add watermarks. You can usually remove them by upgrading to the premium version or choosing apps that offer watermark-free exports.
Most reputable apps protect user privacy, but always check the app’s privacy policy. Avoid apps that share photos publicly or require unnecessary permissions.