

Ever taken a photo you loved, only to realize later that it’s blurry, pixelated, or just plain dull? Don’t worry, you’re not alone. Whether you’re a professional photographer trying to save a great shot, a designer working with poor assets, or just someone who wants to make their vacation pics Instagram-worthy, low-quality images are a common headache.
Additionally, if you are a graphic designer, marketer, or simply want to take better Instagram pictures, knowing how to fix the quality is a necessity nowadays.
So, today I have come up with game-changing tools that can help you upscale an image without losing quality in a few clicks. From classic editing tools to smart AI-powered apps, restoring sharpness and detail is easier than ever. Delve into the blog to learn the best tricks to fix low-quality images.
Why do images lose quality?
Ever zoomed into a photo only to find it’s blurry, pixelated, or just doesn’t look good? Images can lose quality for a bunch of reasons. Whether you’re resizing a picture, saving it over and over, or capturing it in poor lighting, these small actions turn the image into a low-quality one. Let’s break down the most common reasons for your images.
Common reasons behind image degradation
- Compressed file format: Formats like JPEG use a compressed file format to reduce file size, which discards image data.
- Improper resizing: Stretching small images without enhancing them leads to blurry or pixelated results. When you try to stretch a small image to make it bigger without actually improving its quality, it usually ends up looking blurry or pixelated.
- Low-quality input: If the original photo was taken in a low-light area or using a basic camera with low megapixels, then the image will turn out to be grainy or blurry.
- Saving in low-quality formats: Every time you save an image in a format like JPEG, or save the same image many times, then there is a high possibility that the image to lose quality.
How is image resolution determined?
- Pixel density (PPI/DPI) - This just means how tightly packed the pixels or dots are in an image. For screens, the pixel density is called PPI (Pixels Per Inch), and for print, it is DPI (Dots Per Inch).
- Web vs. print standards - For website images, usually 72 PPI is enough. But if you’re printing something, you’ll want at least 300 PPI to keep it looking crisp.
- Image dimensions - The width and height of your image in pixels, like 1920 × 1080, which is standard Full HD.
- Why it matters - If an image has low resolution, it’ll look blurry or pixelated when you try to make it bigger. High-resolution images, on the other hand, hold up better when you zoom in or print them.
How to fix low-quality images using the best traditional methods?
In Image upscaling, traditional methods are loved by many, especially if you prefer image upscaling through manual control. Let’s look at the two most handy traditional image upscaling tools: Photoshop and Paint.
1. Adobe Photoshop
What I liked about the tool: The professional-level control and finish that Photoshop offers is incomparable. It allows for manual sharpening, noise reduction, and easy upscaling. I used a low-quality image. After applying noise reduction and using Preserve Details 2.0 (as I have the AI plugin) for upscaling, the result was much clearer, and all the blurry spots were removed.
Steps to fix image quality in Photoshop:
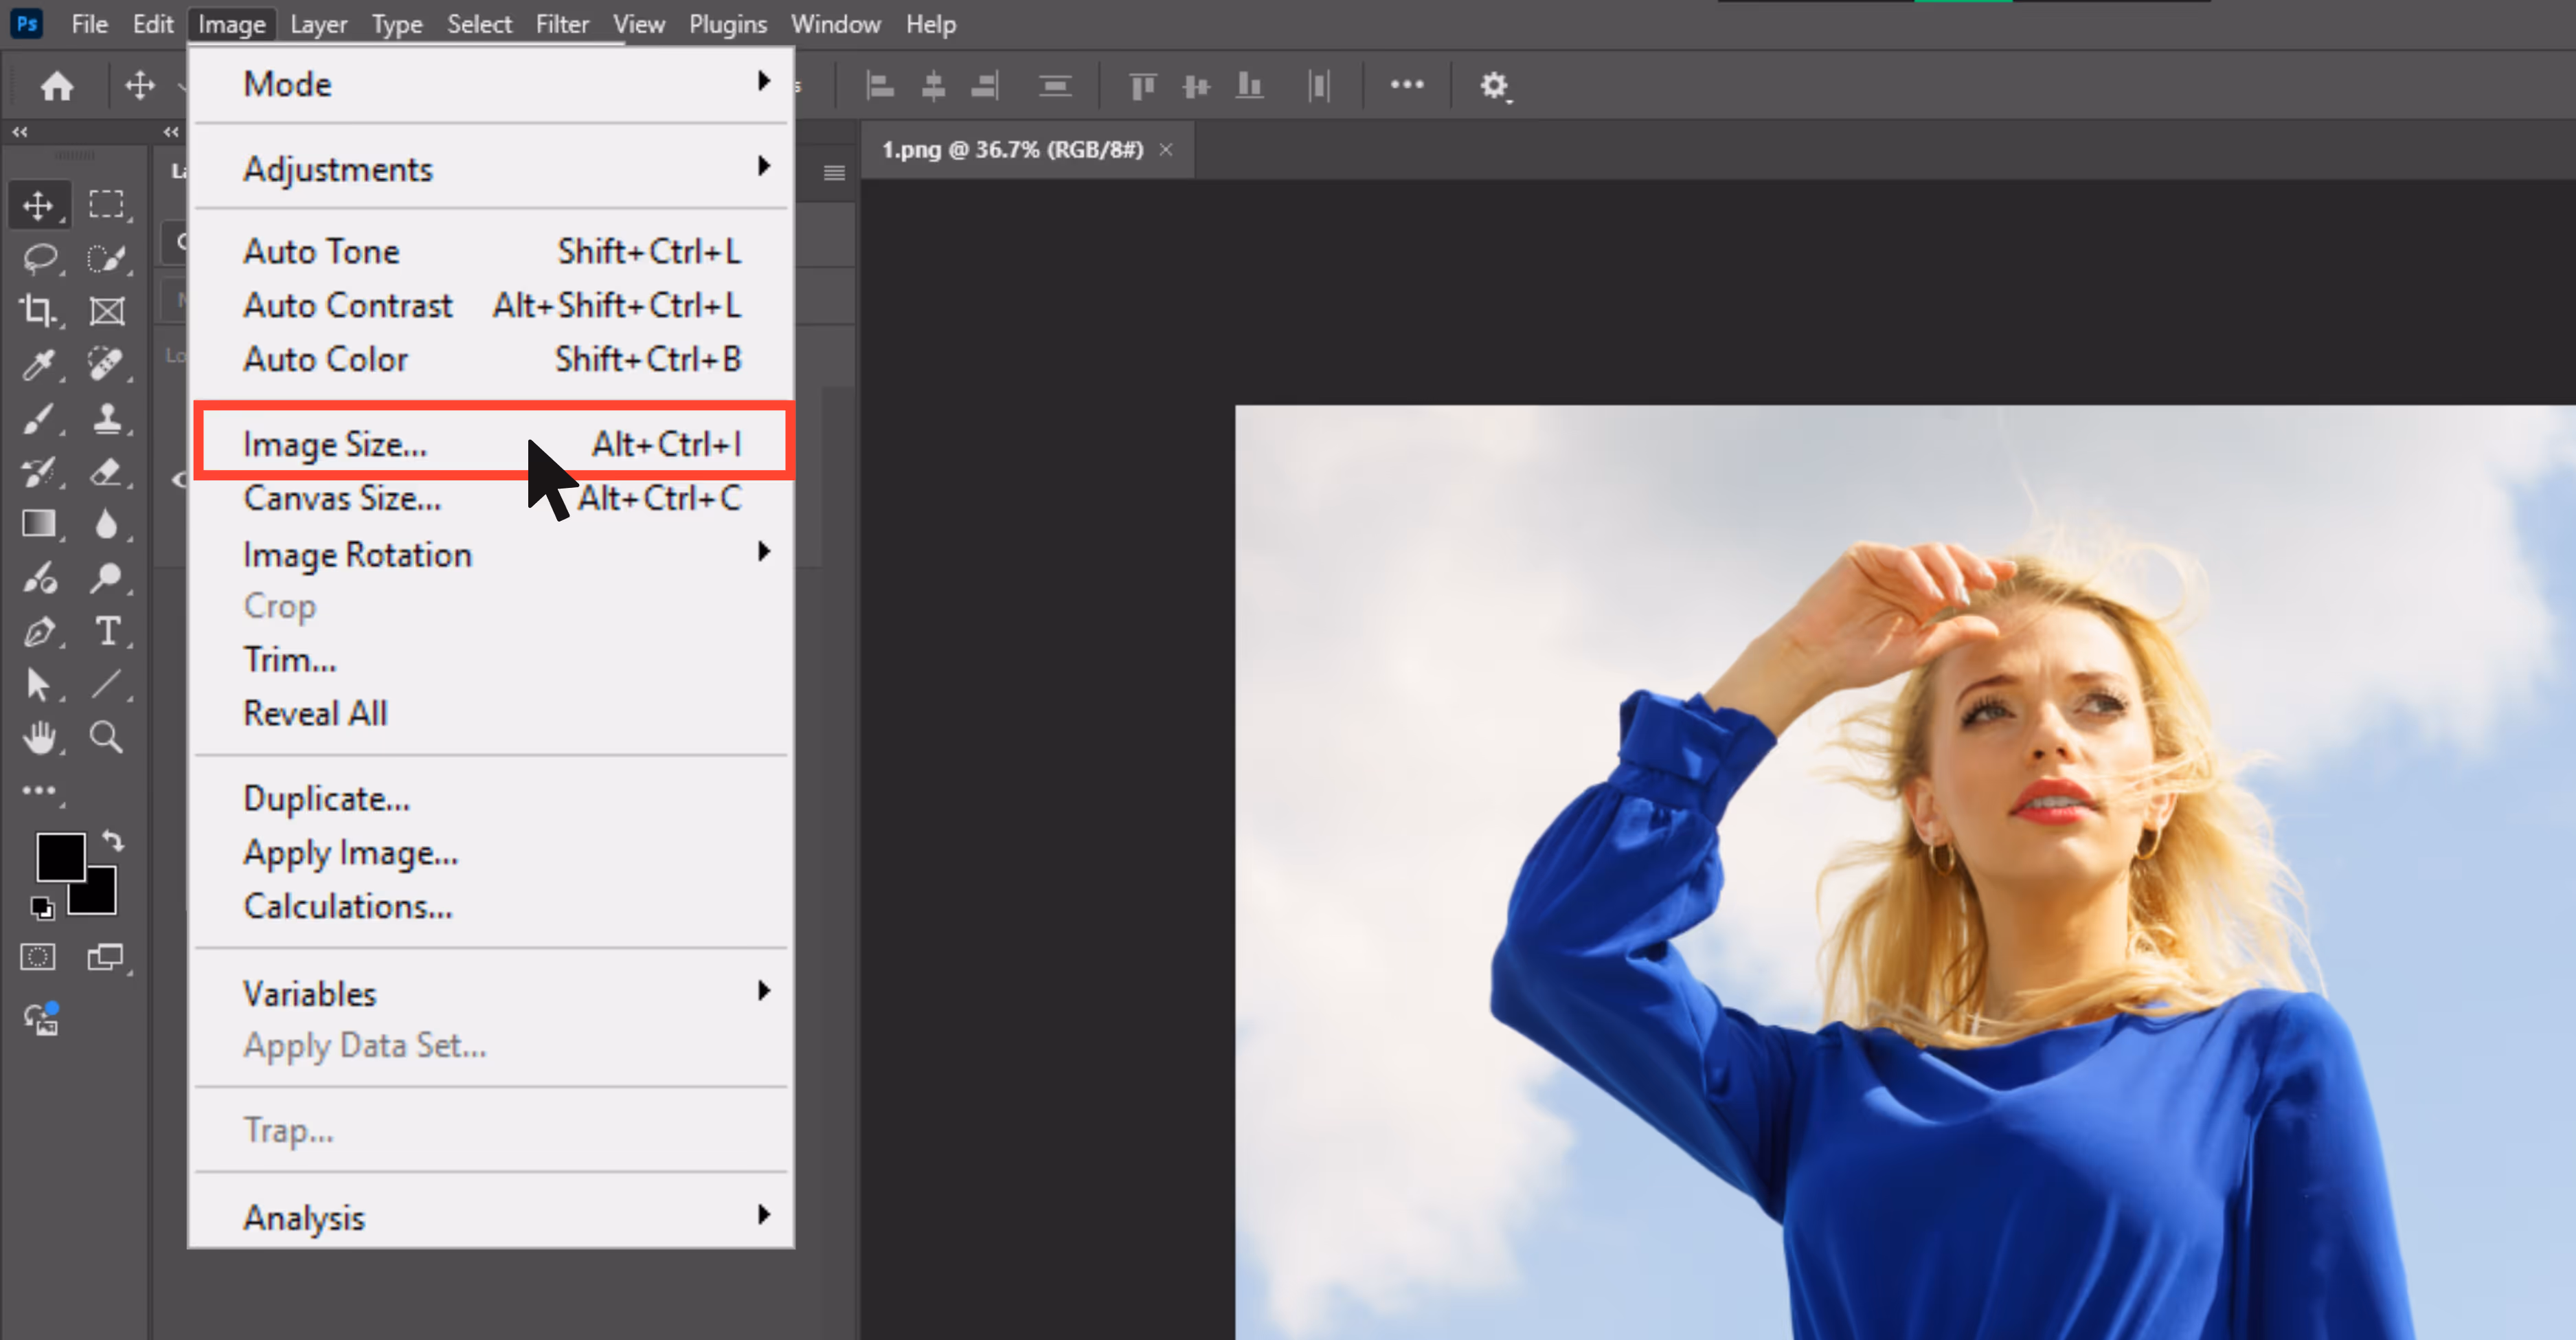
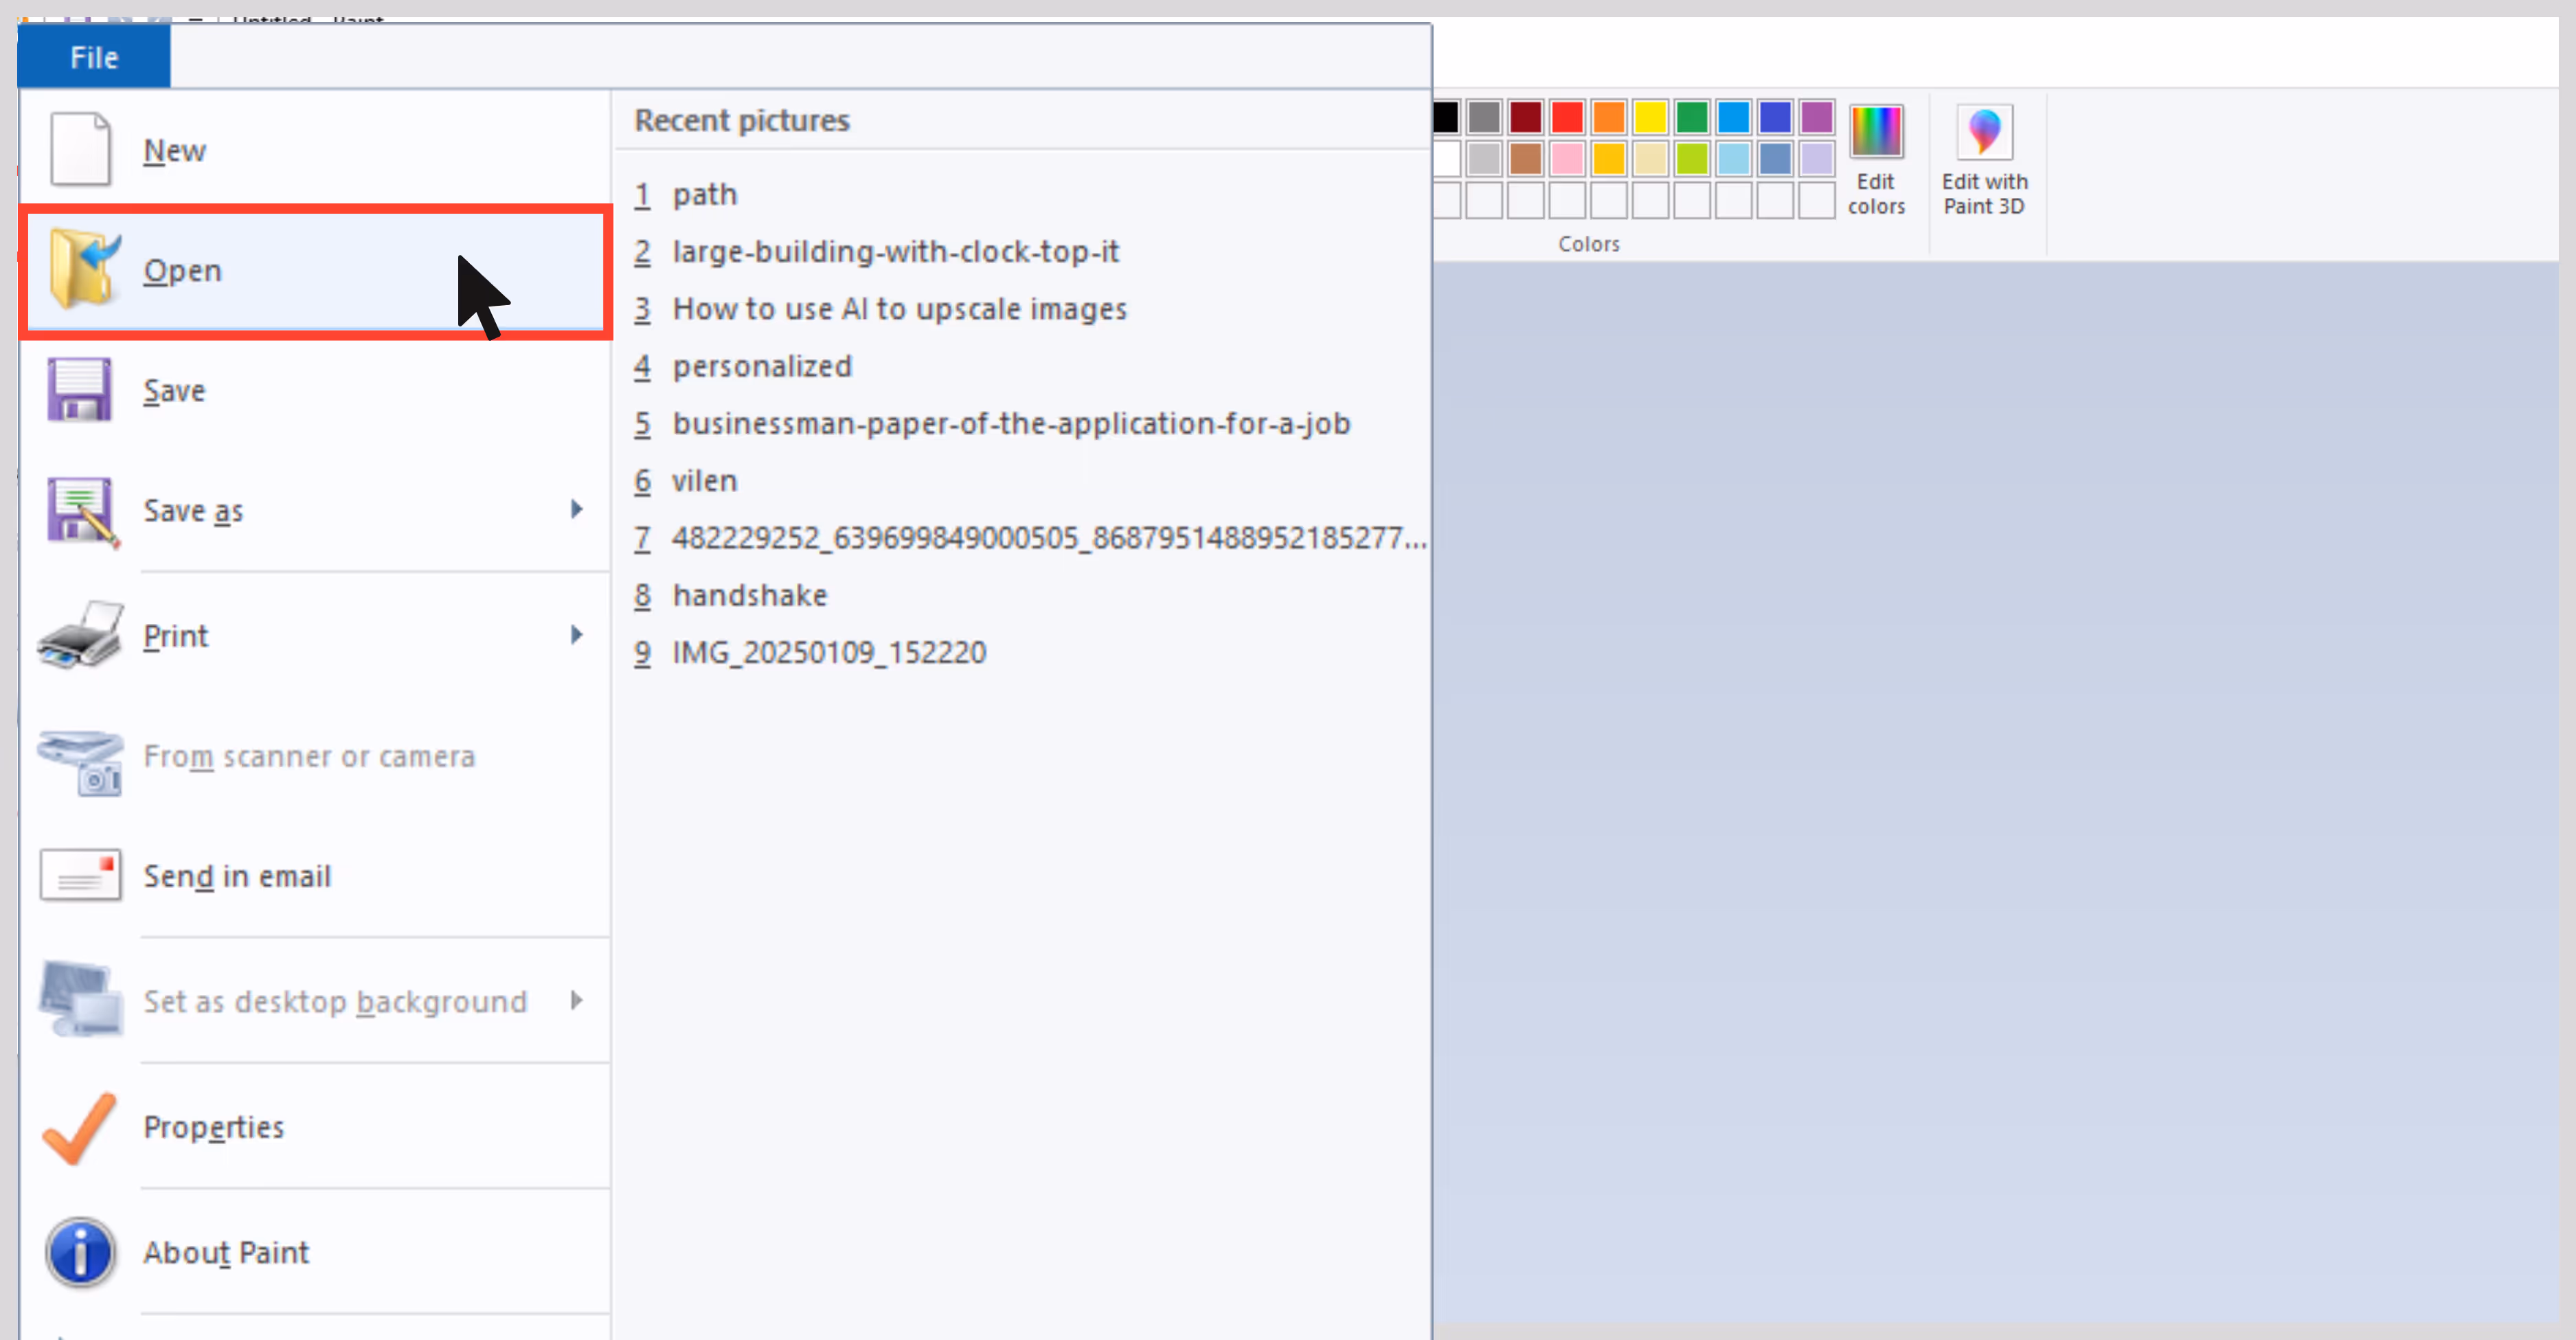
Step 1: Open your image in Adobe Photoshop and then select File, and then Open.

Step 2: After adding the image, go to Image and then Image Size.
Step 3: Add the width and height proportions, and then tick the Resample checkbox.
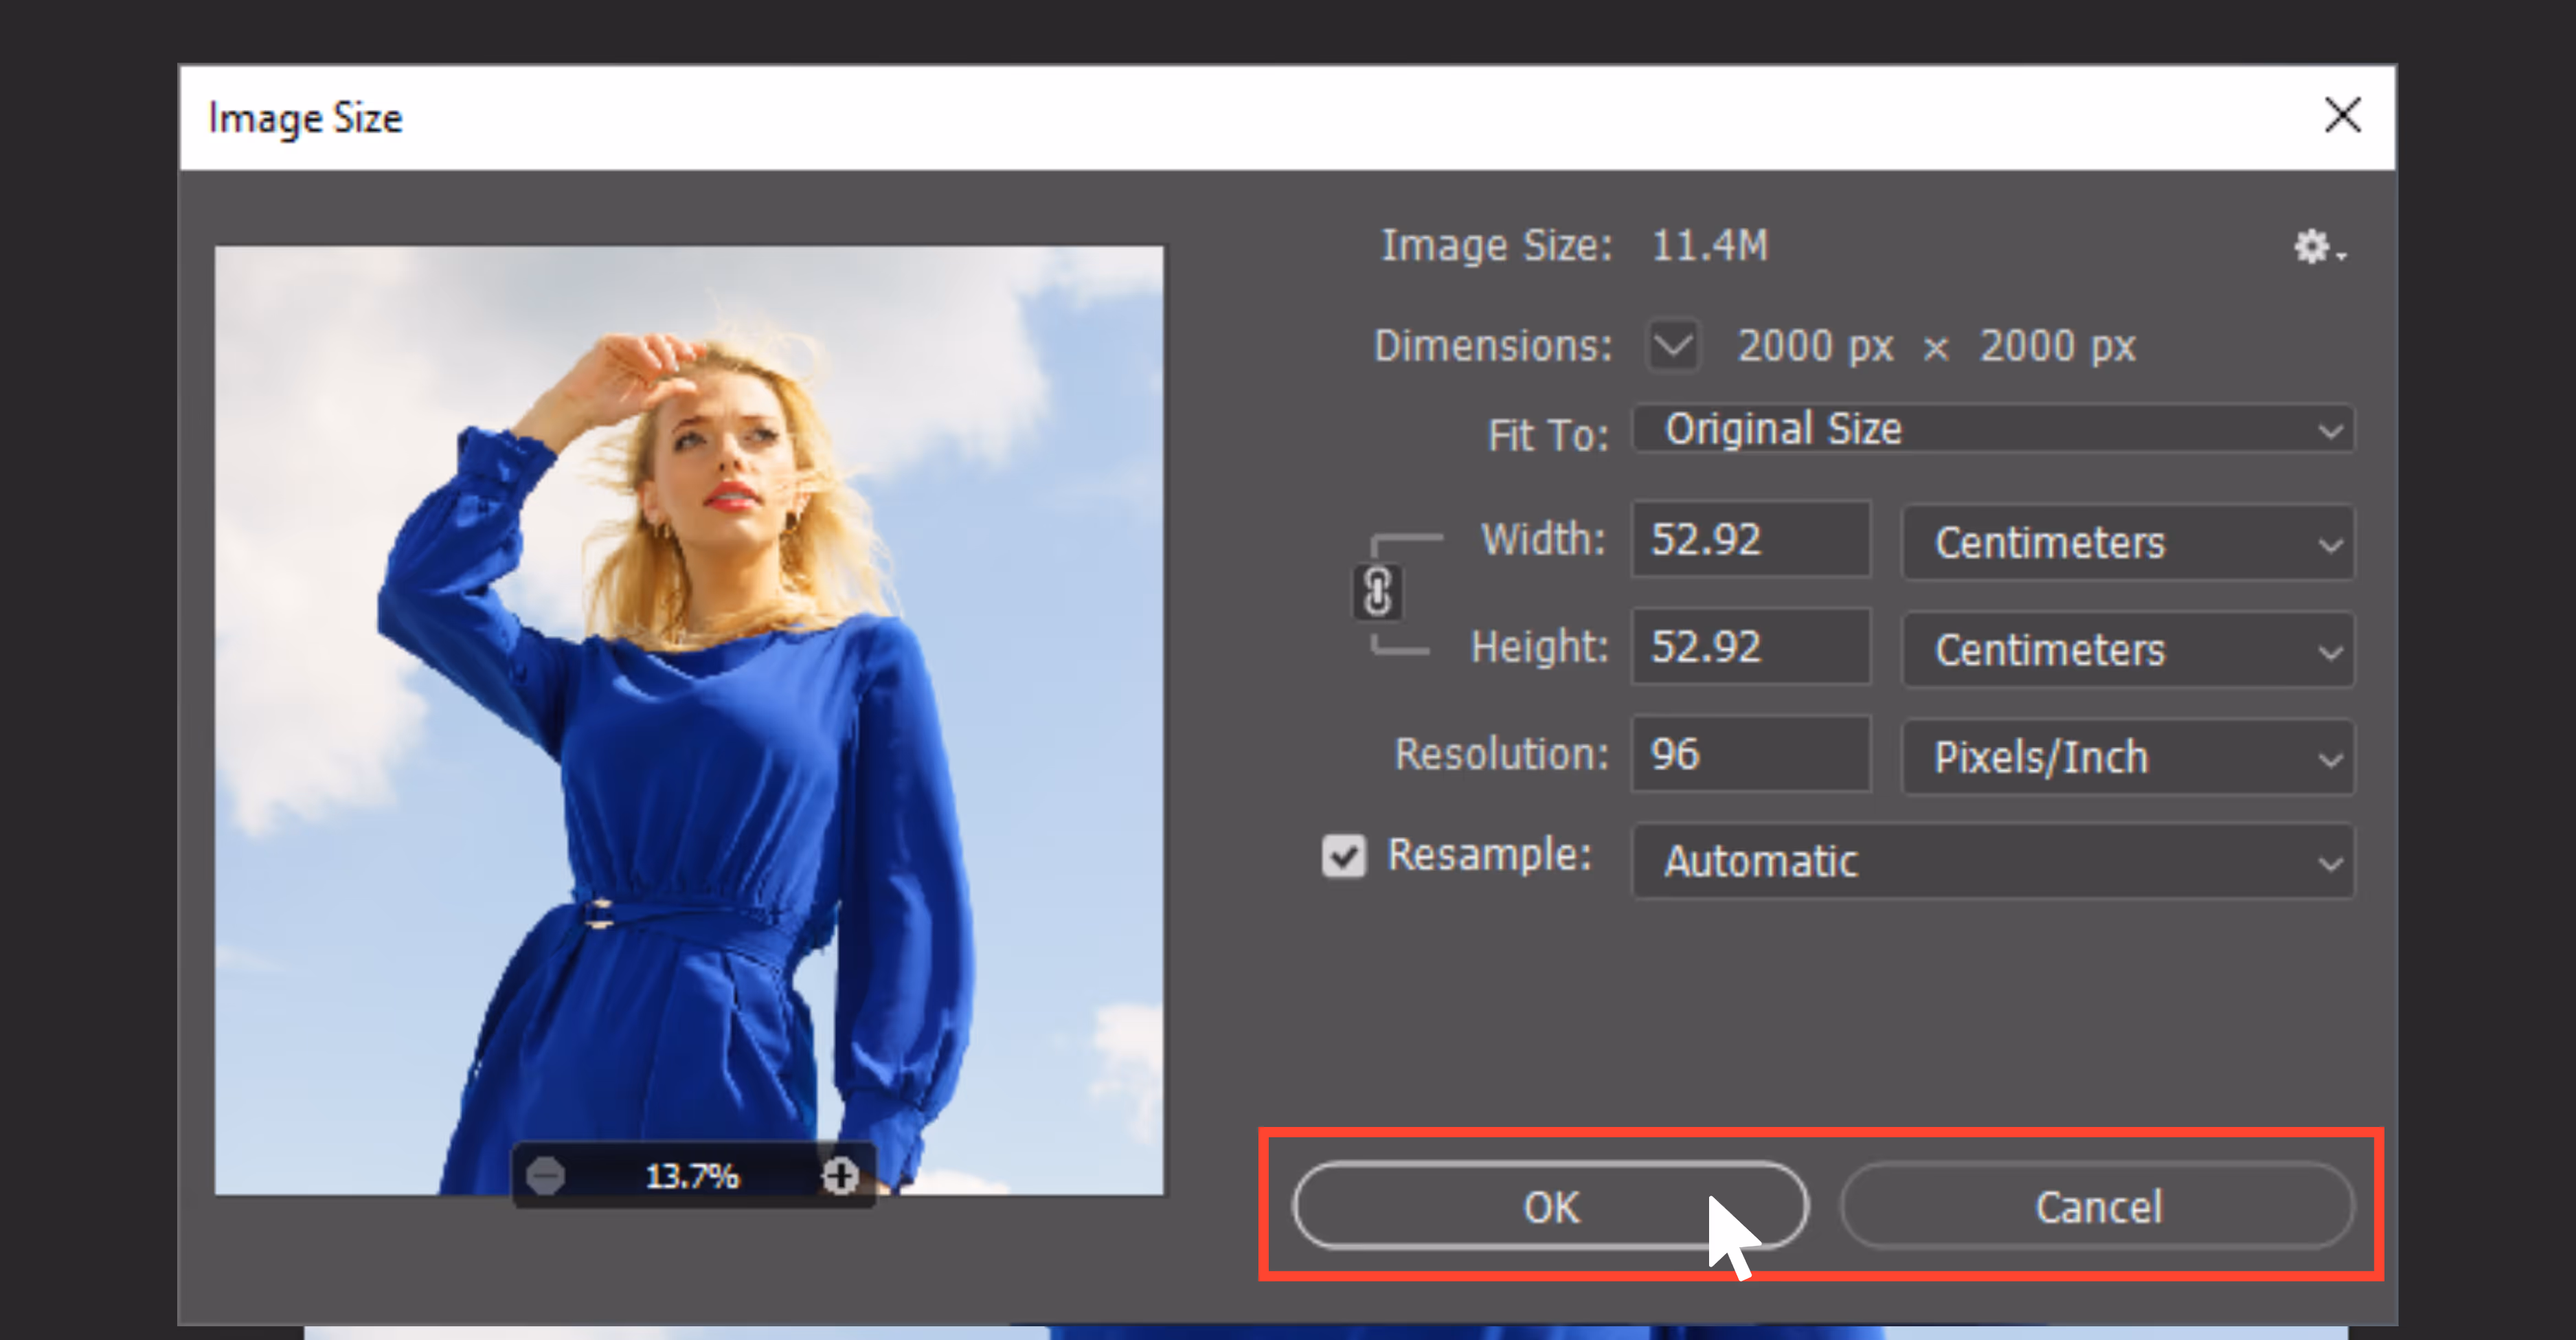
Step 4: Preview the image upscaling.
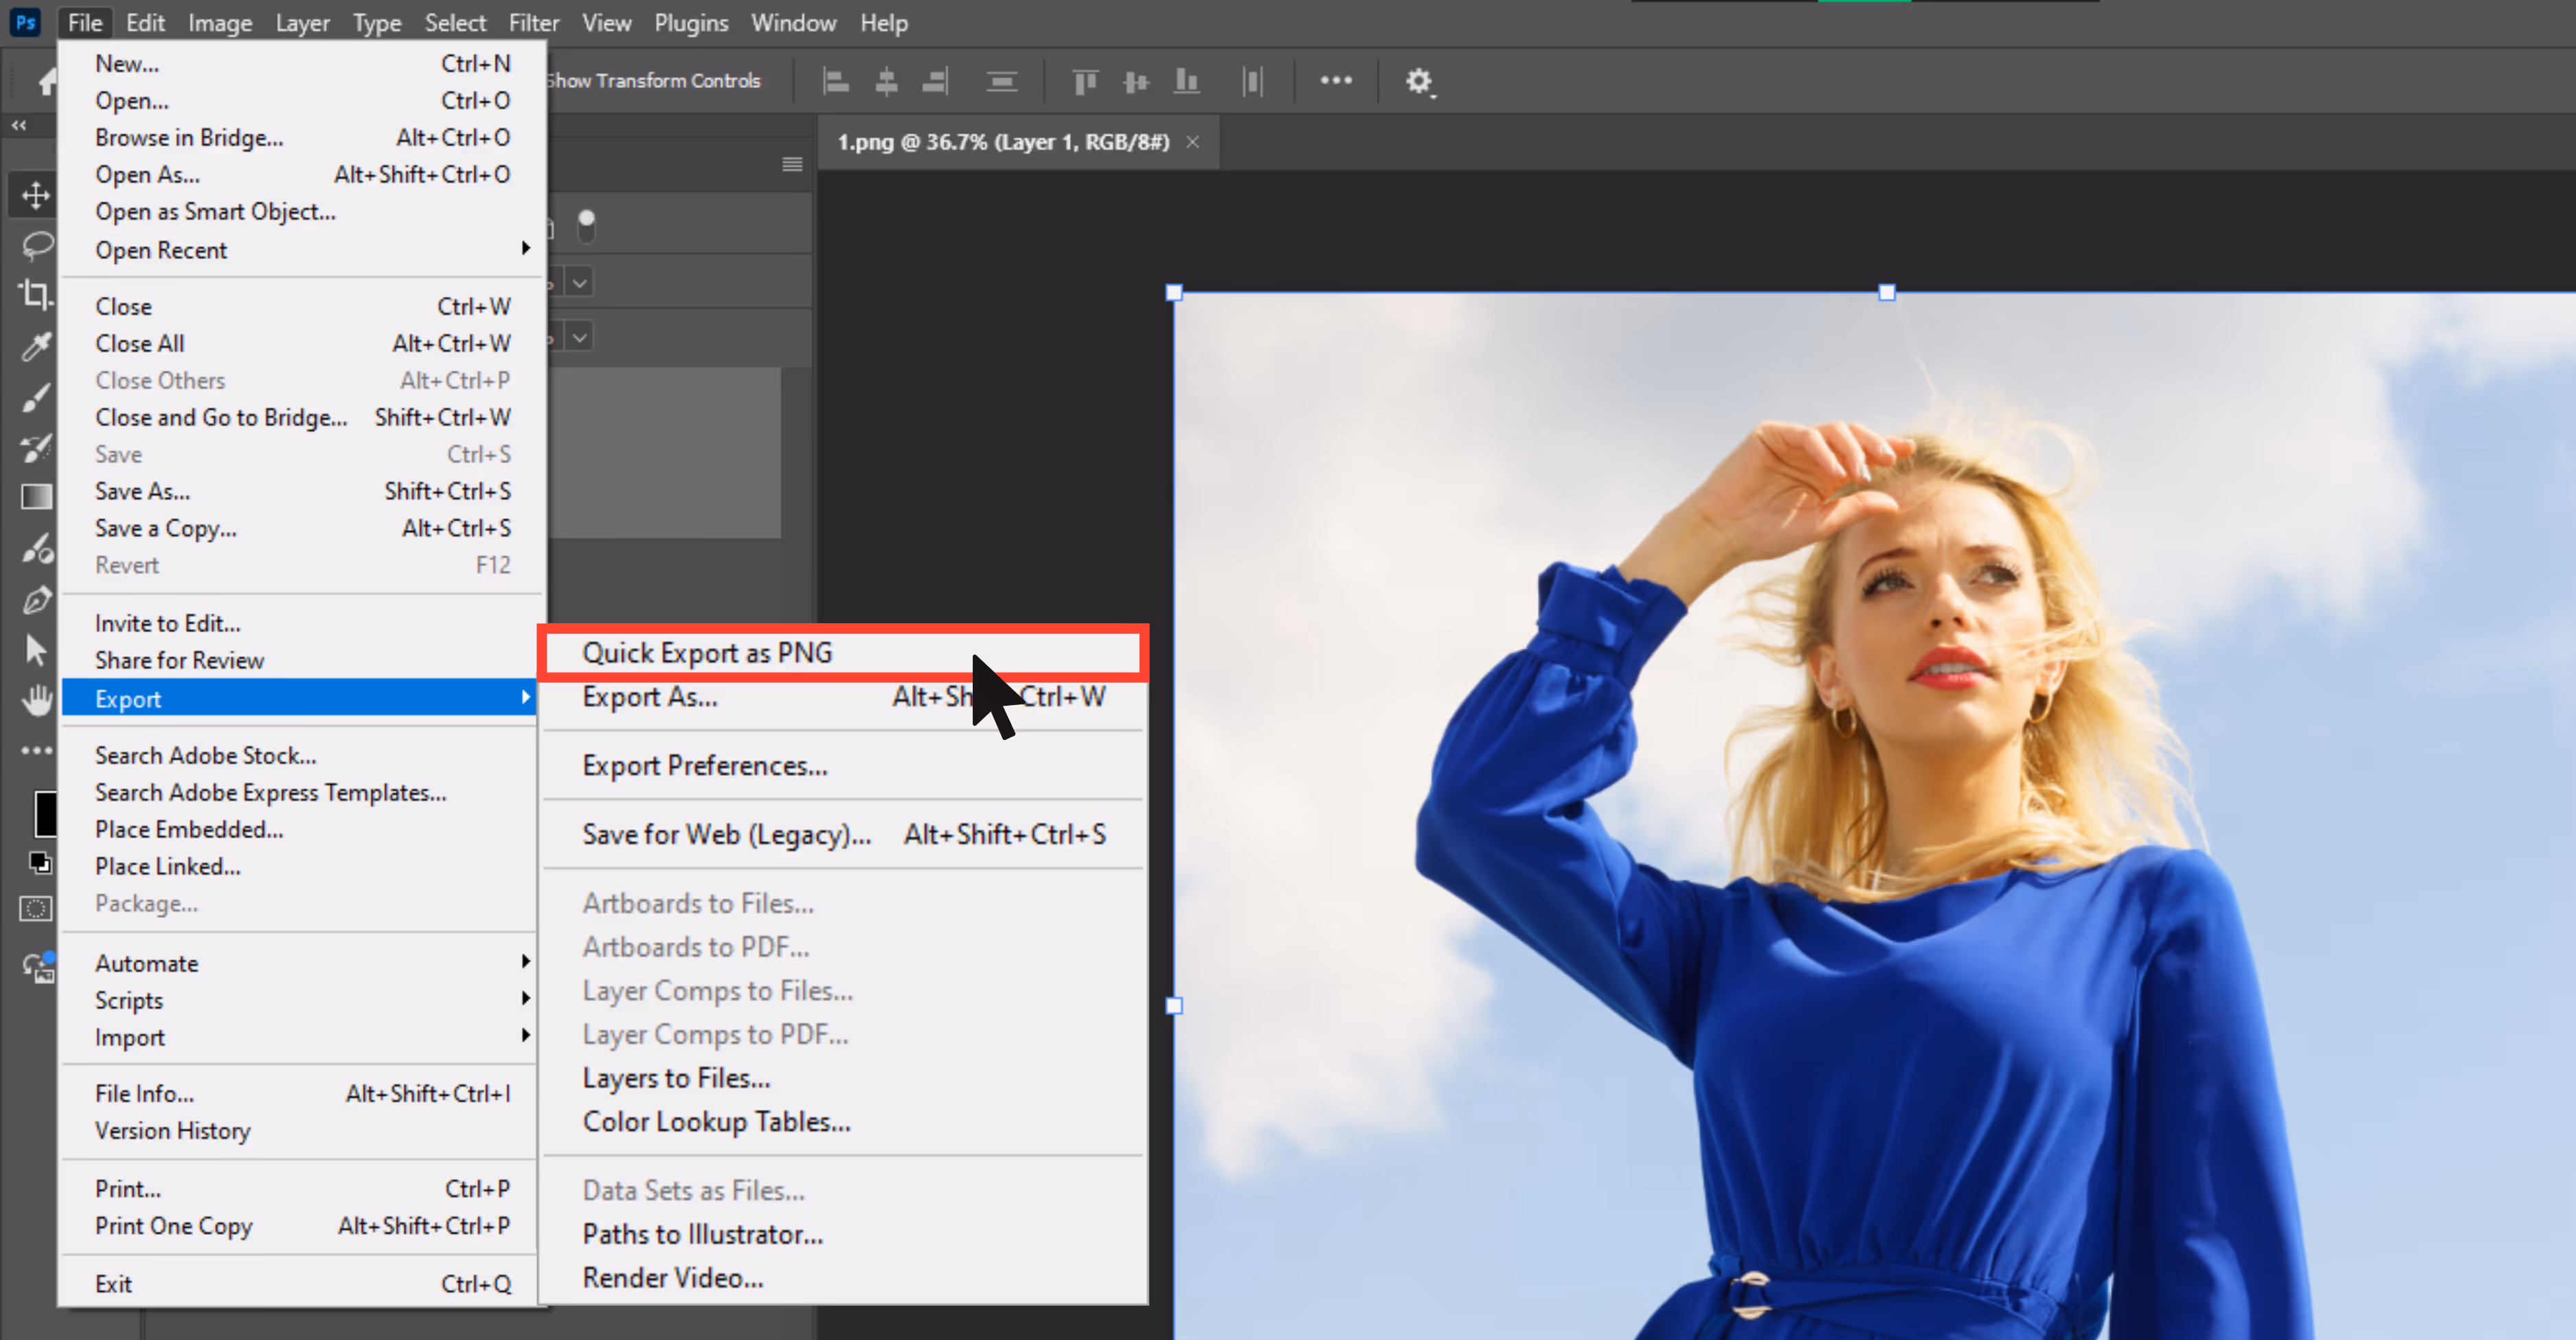
Step 5: Export the image in PNG format.
2. Microsoft Paint
What I liked about the tool: It’s free and extremely easy for quick edits. It was not so ideal for enhancing image quality, but it can be used to resize without much effort.
Steps to resize in Paint:
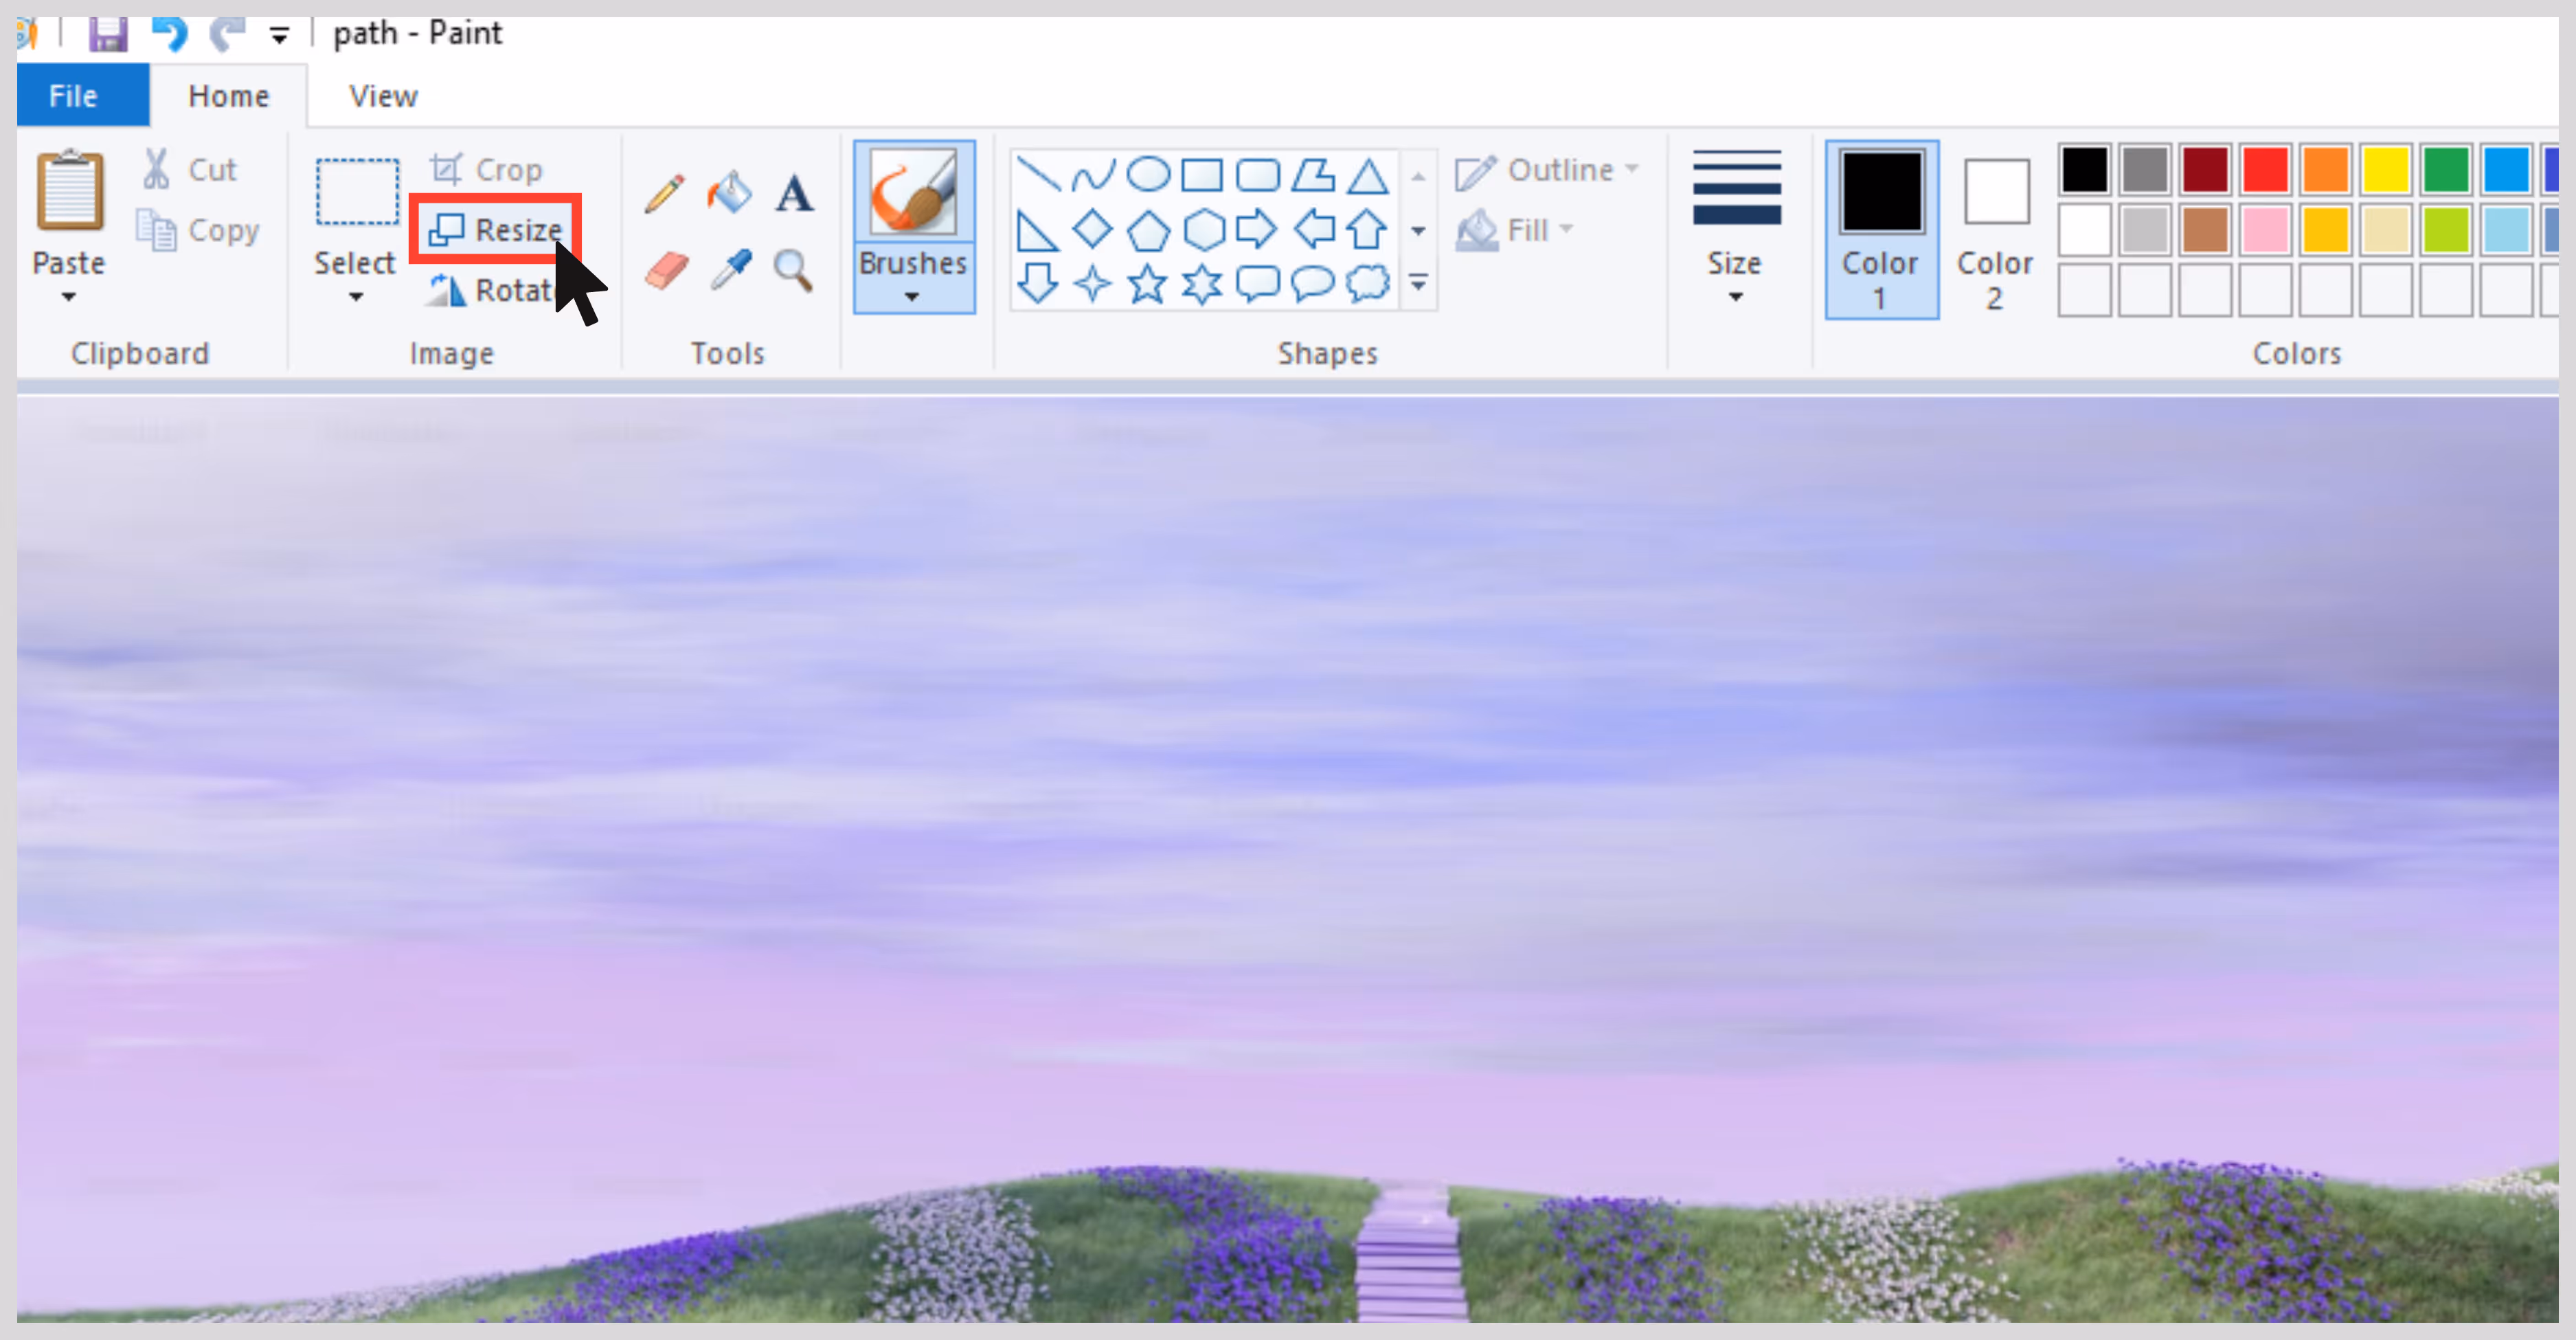
Step 1: Open the image in Paint.
Step 2: Click on Resize.
Step 3: Choose Pixels and uncheck “Maintain aspect ratio” if needed.

Step 4: Enter desired dimensions.
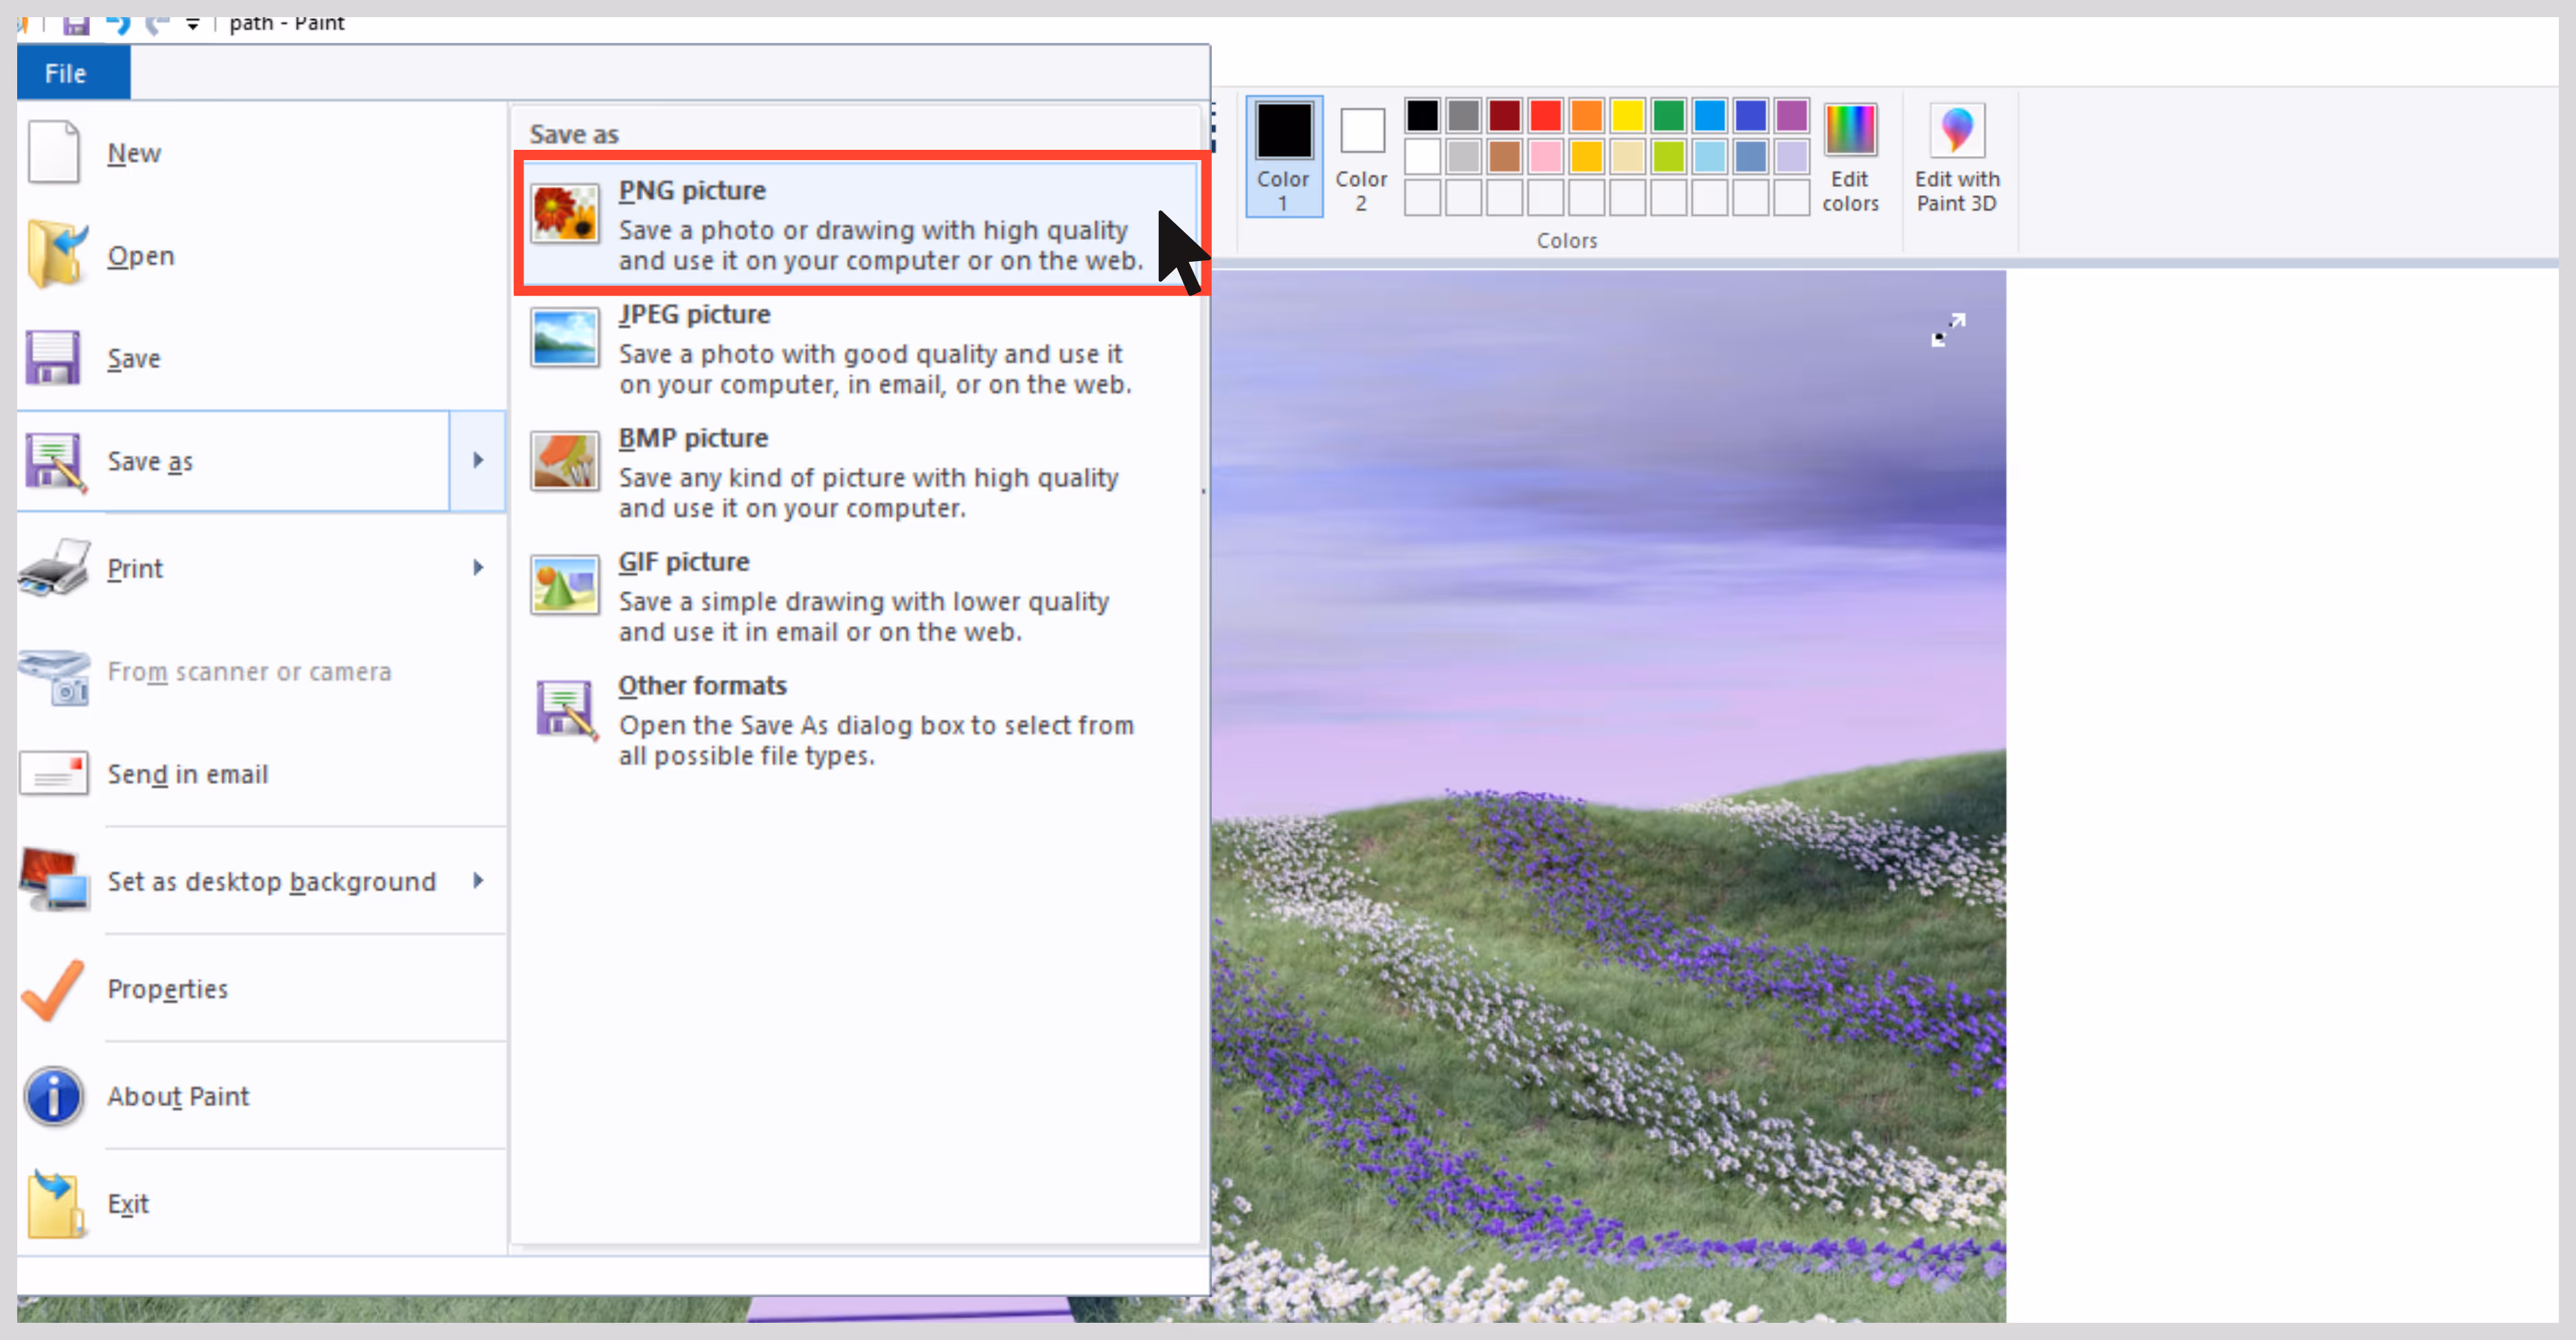
Step 5: Save as PNG for better output.
How to fix low-quality images using AI tools?
Traditional tools are great for manual control but still result in jagged edges or blurry spots. This is where AI tools are more reliable. They use machine learning to enhance image resolution, remove noise, and sharpen details instantly and with minimal effort.
Let’s review some of the best AI-based image upscalers available:
- Pixelbin
- Upscale.media
- Fotor
- Pixelcut
- Picsart
- Cutout.pro
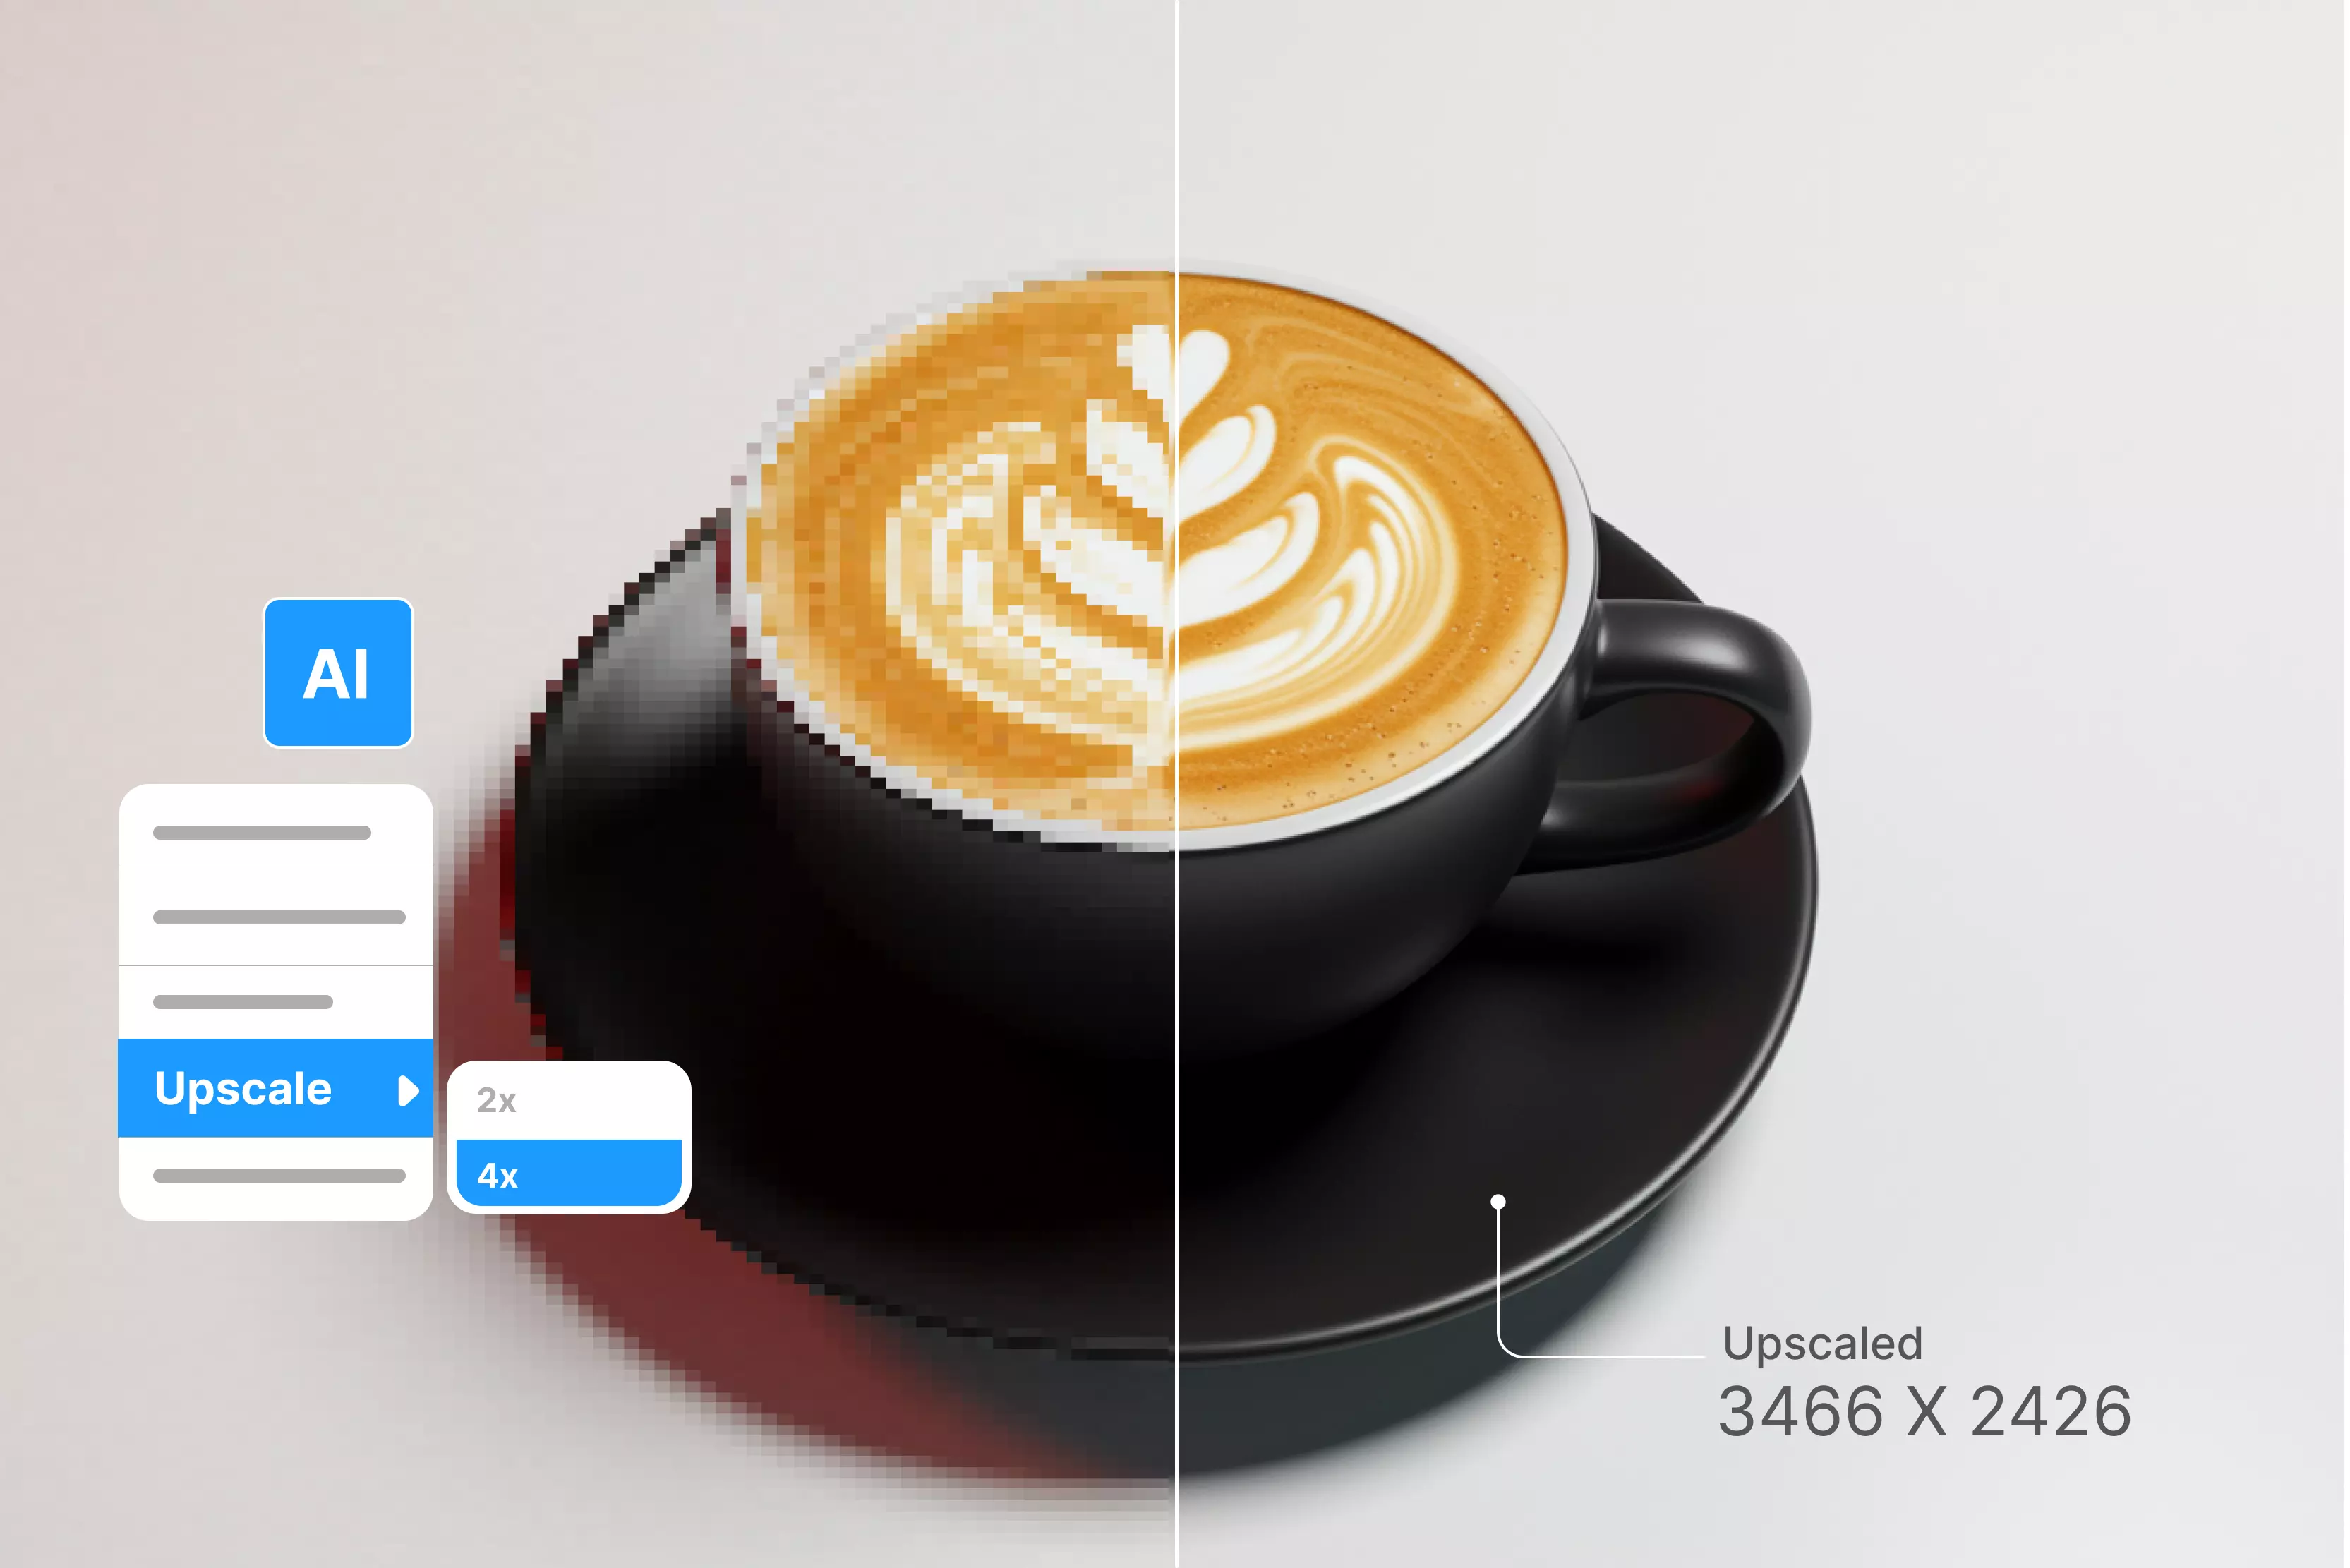
1. Pixelbin

If you're looking for an easy and beginner-friendly image upscaler that balances speed, quality, and ease of use, Pixelbin should be your only choice. I tried Pixelbin when I was confused about how to fix the quality of a small, blurry image for a social media post. I uploaded it and got a clean, sharper version that looked like it had been shot in HD. If you’re trying to figure out how to fix low-quality image files without performing technical steps, Pixelbin makes it simple. What I liked:
- Free 4x and 8x upscaling only you just need to sign up for credits.
- Fast and easy processing with good quality retention.
- Clean interface, great for beginners and professionals.
- Batch processing and API integration features are available for advanced users.
Steps to fix low low-quality images in Pixelbin
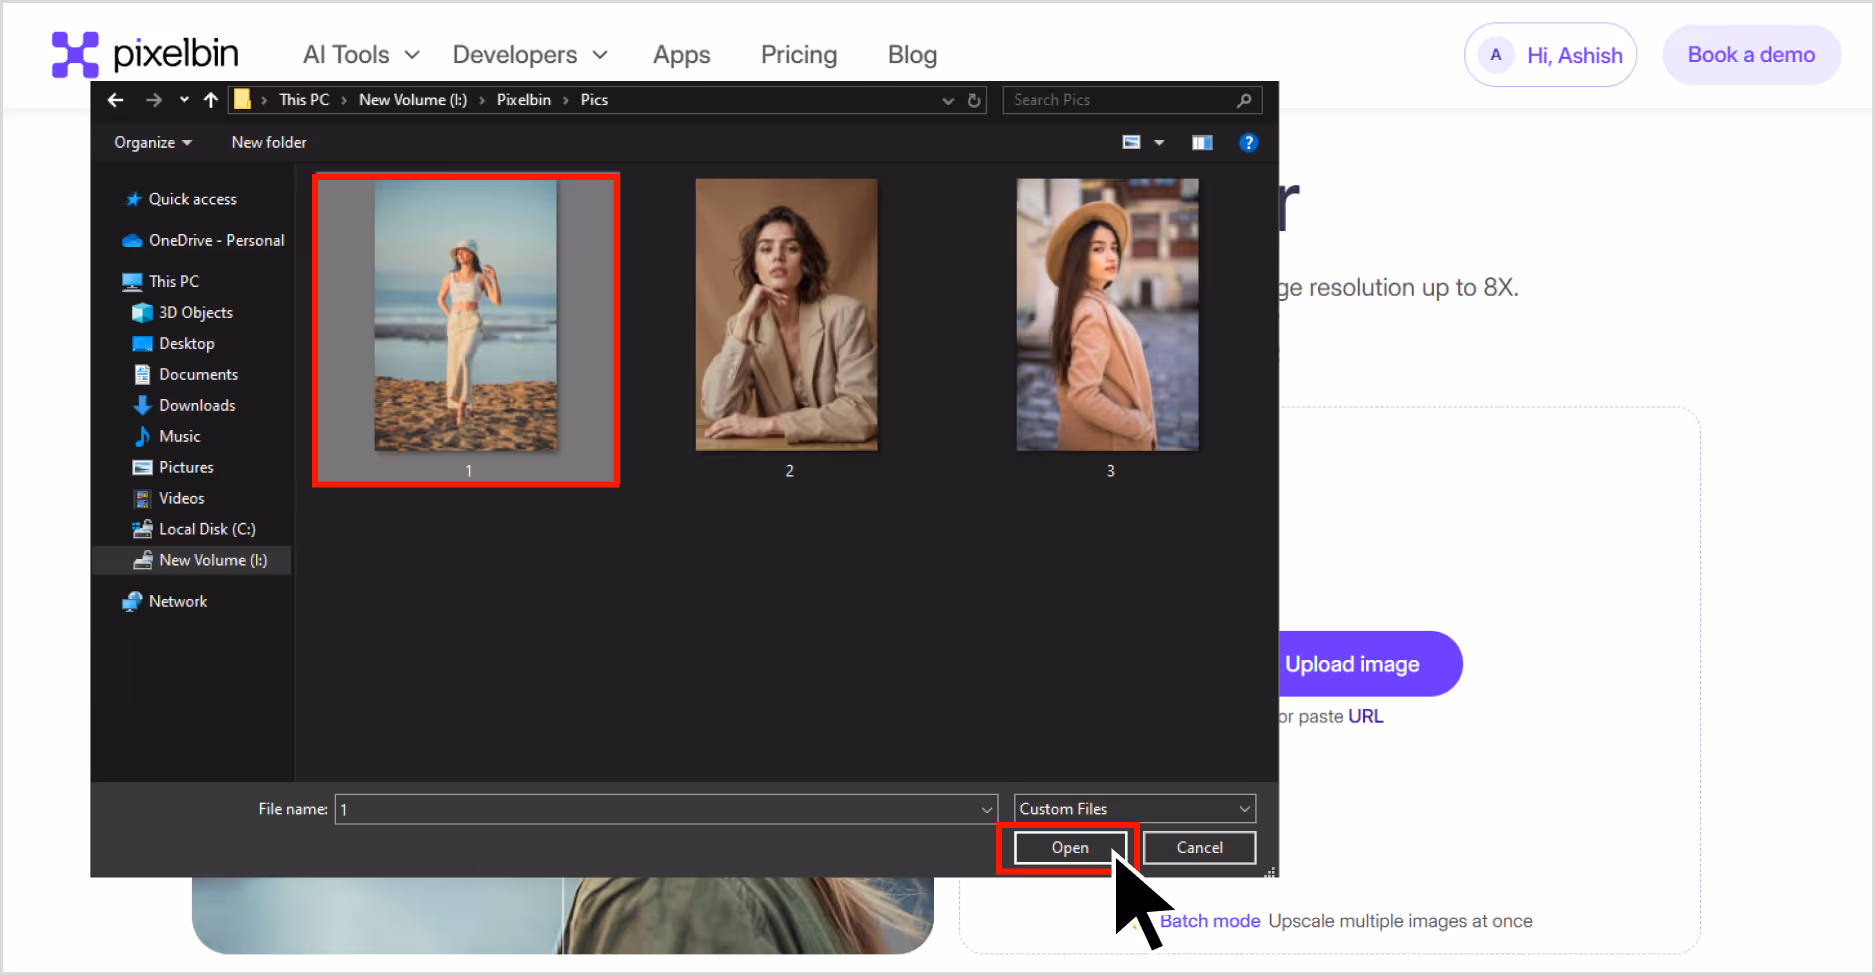
Step 1: Go to Pixelbin.io.

Step 2: Upload the image you want to add. Simply click on the “Upload Image” dialog box, and you will be redirected to “Files,” or you can also paste the image URL.
Step 3: Once the image upscaling is ready, you can select which image scale size you want to upscale—2x, 4x, and 8x.
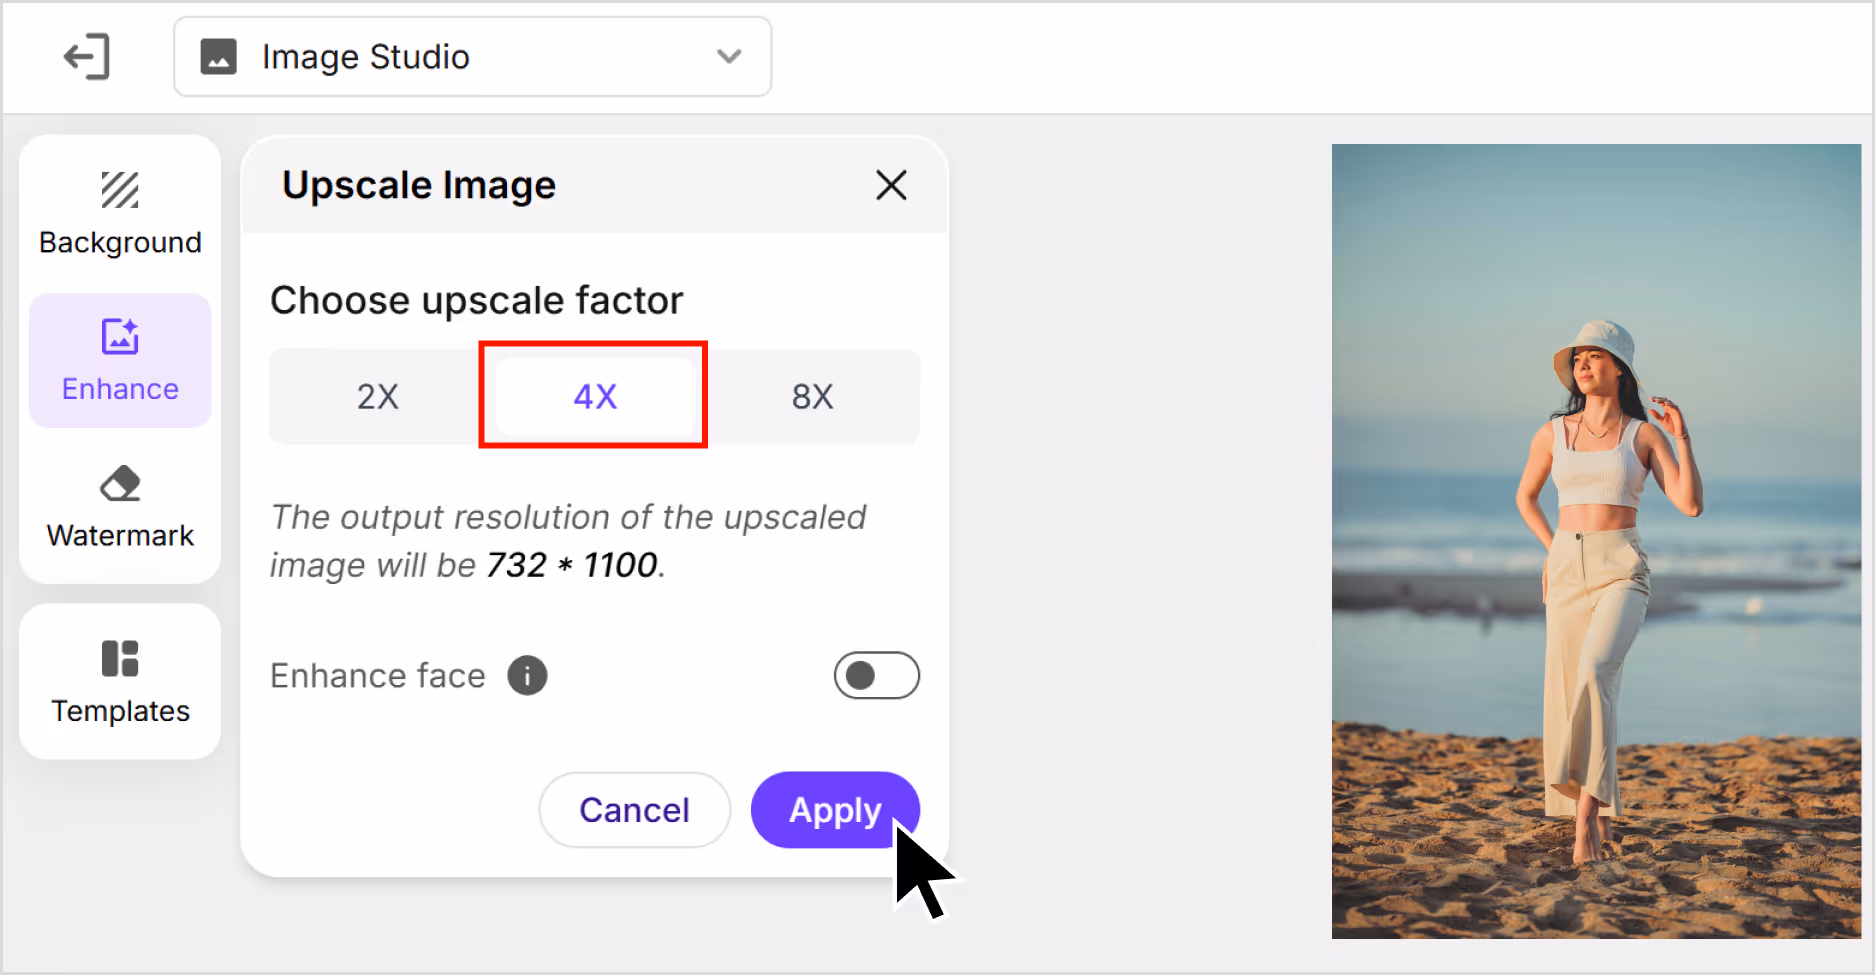
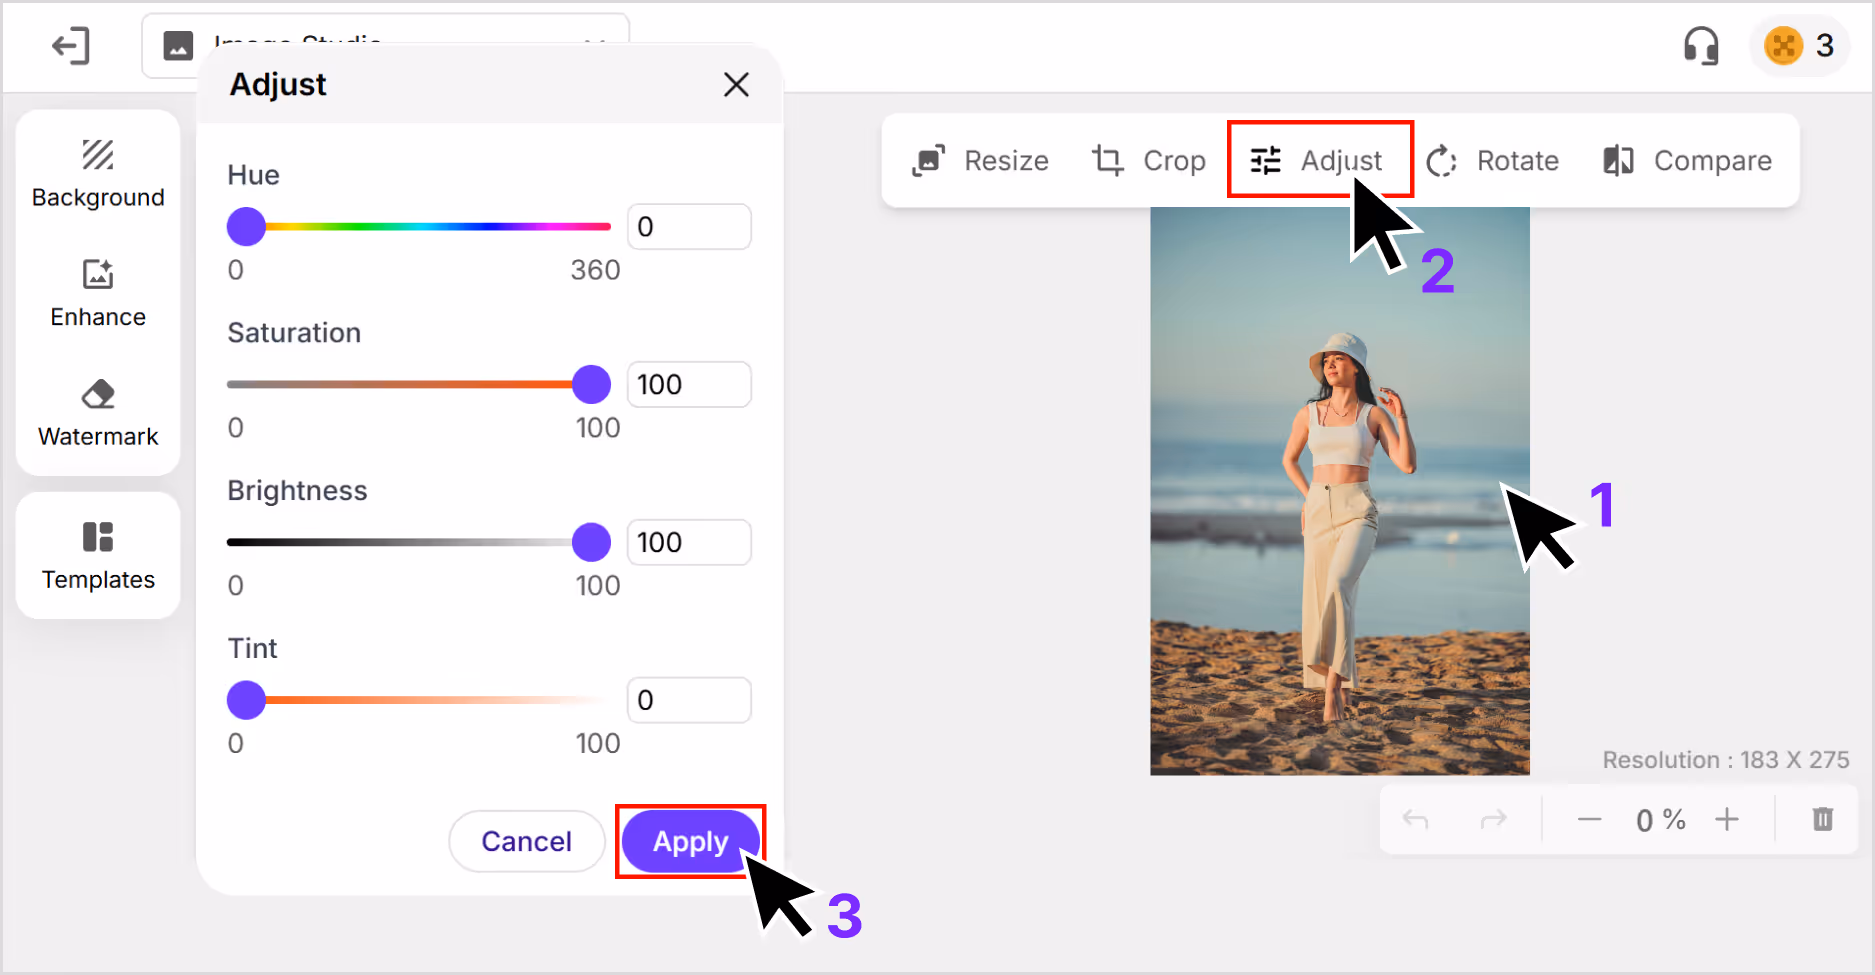
Step 4: After selecting the scale size, you can enable noise reduction from “Adjustments.”
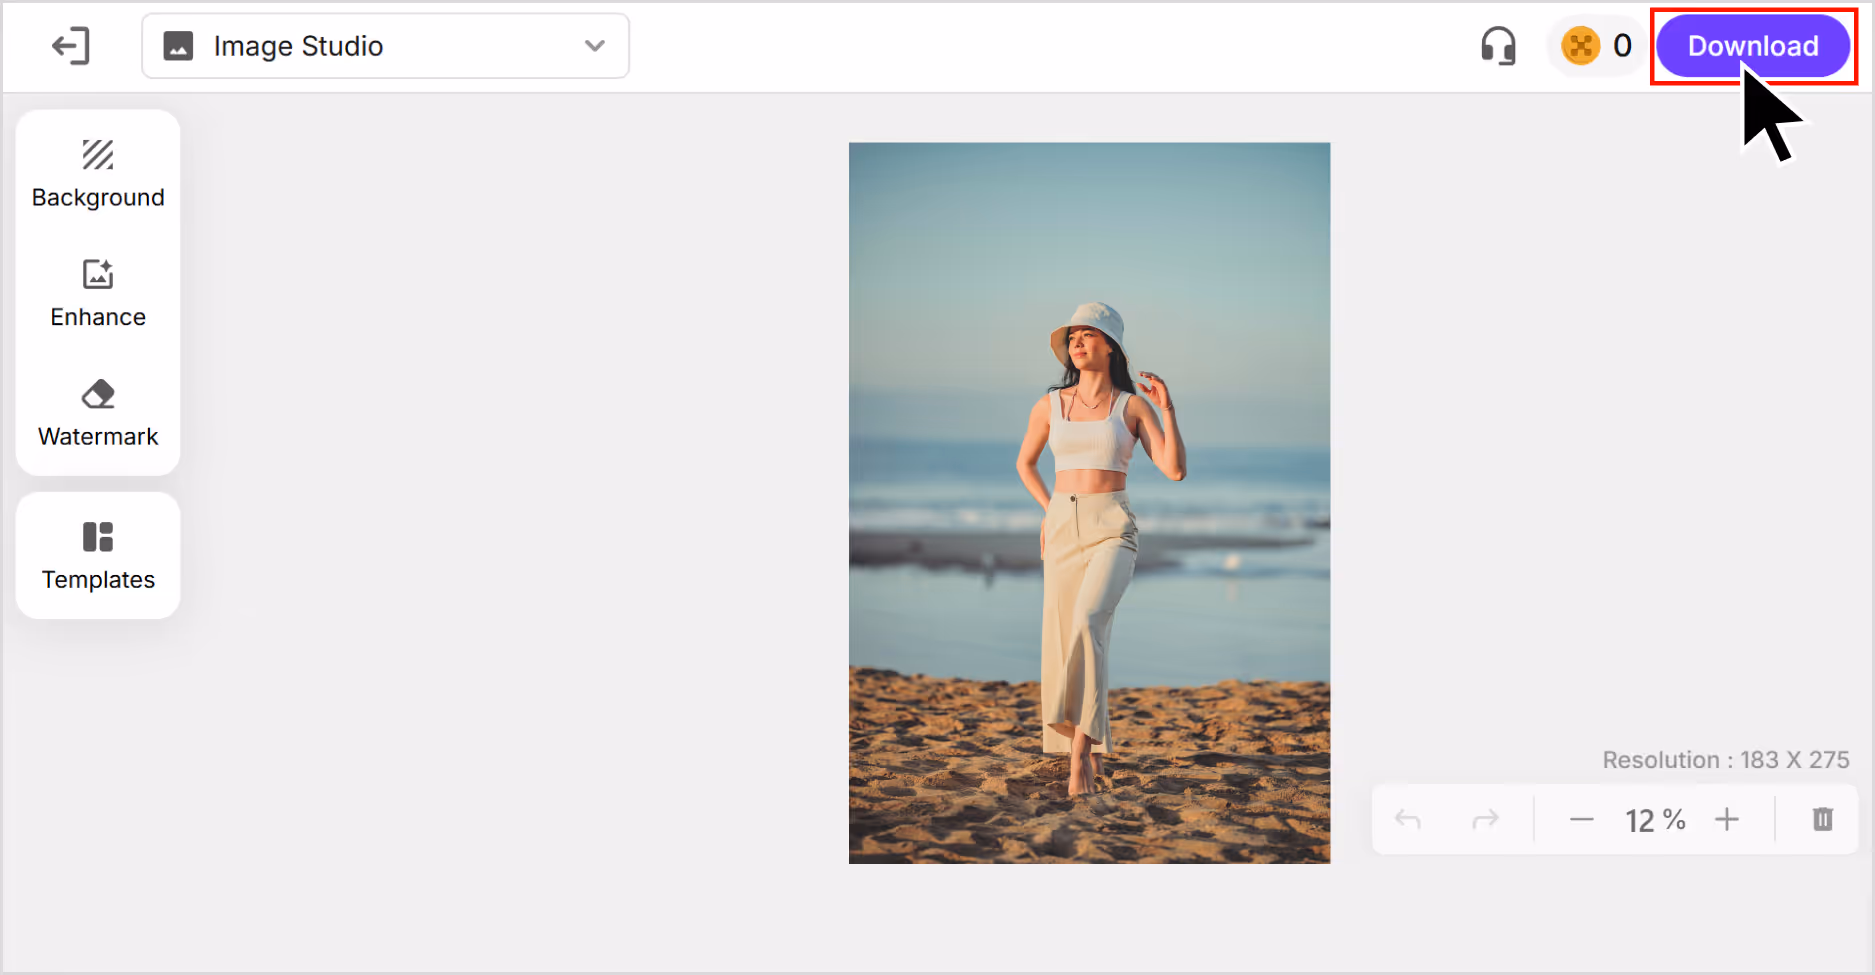
Step 5: Preview the image and select Download to save the image in SD or HD resolution.
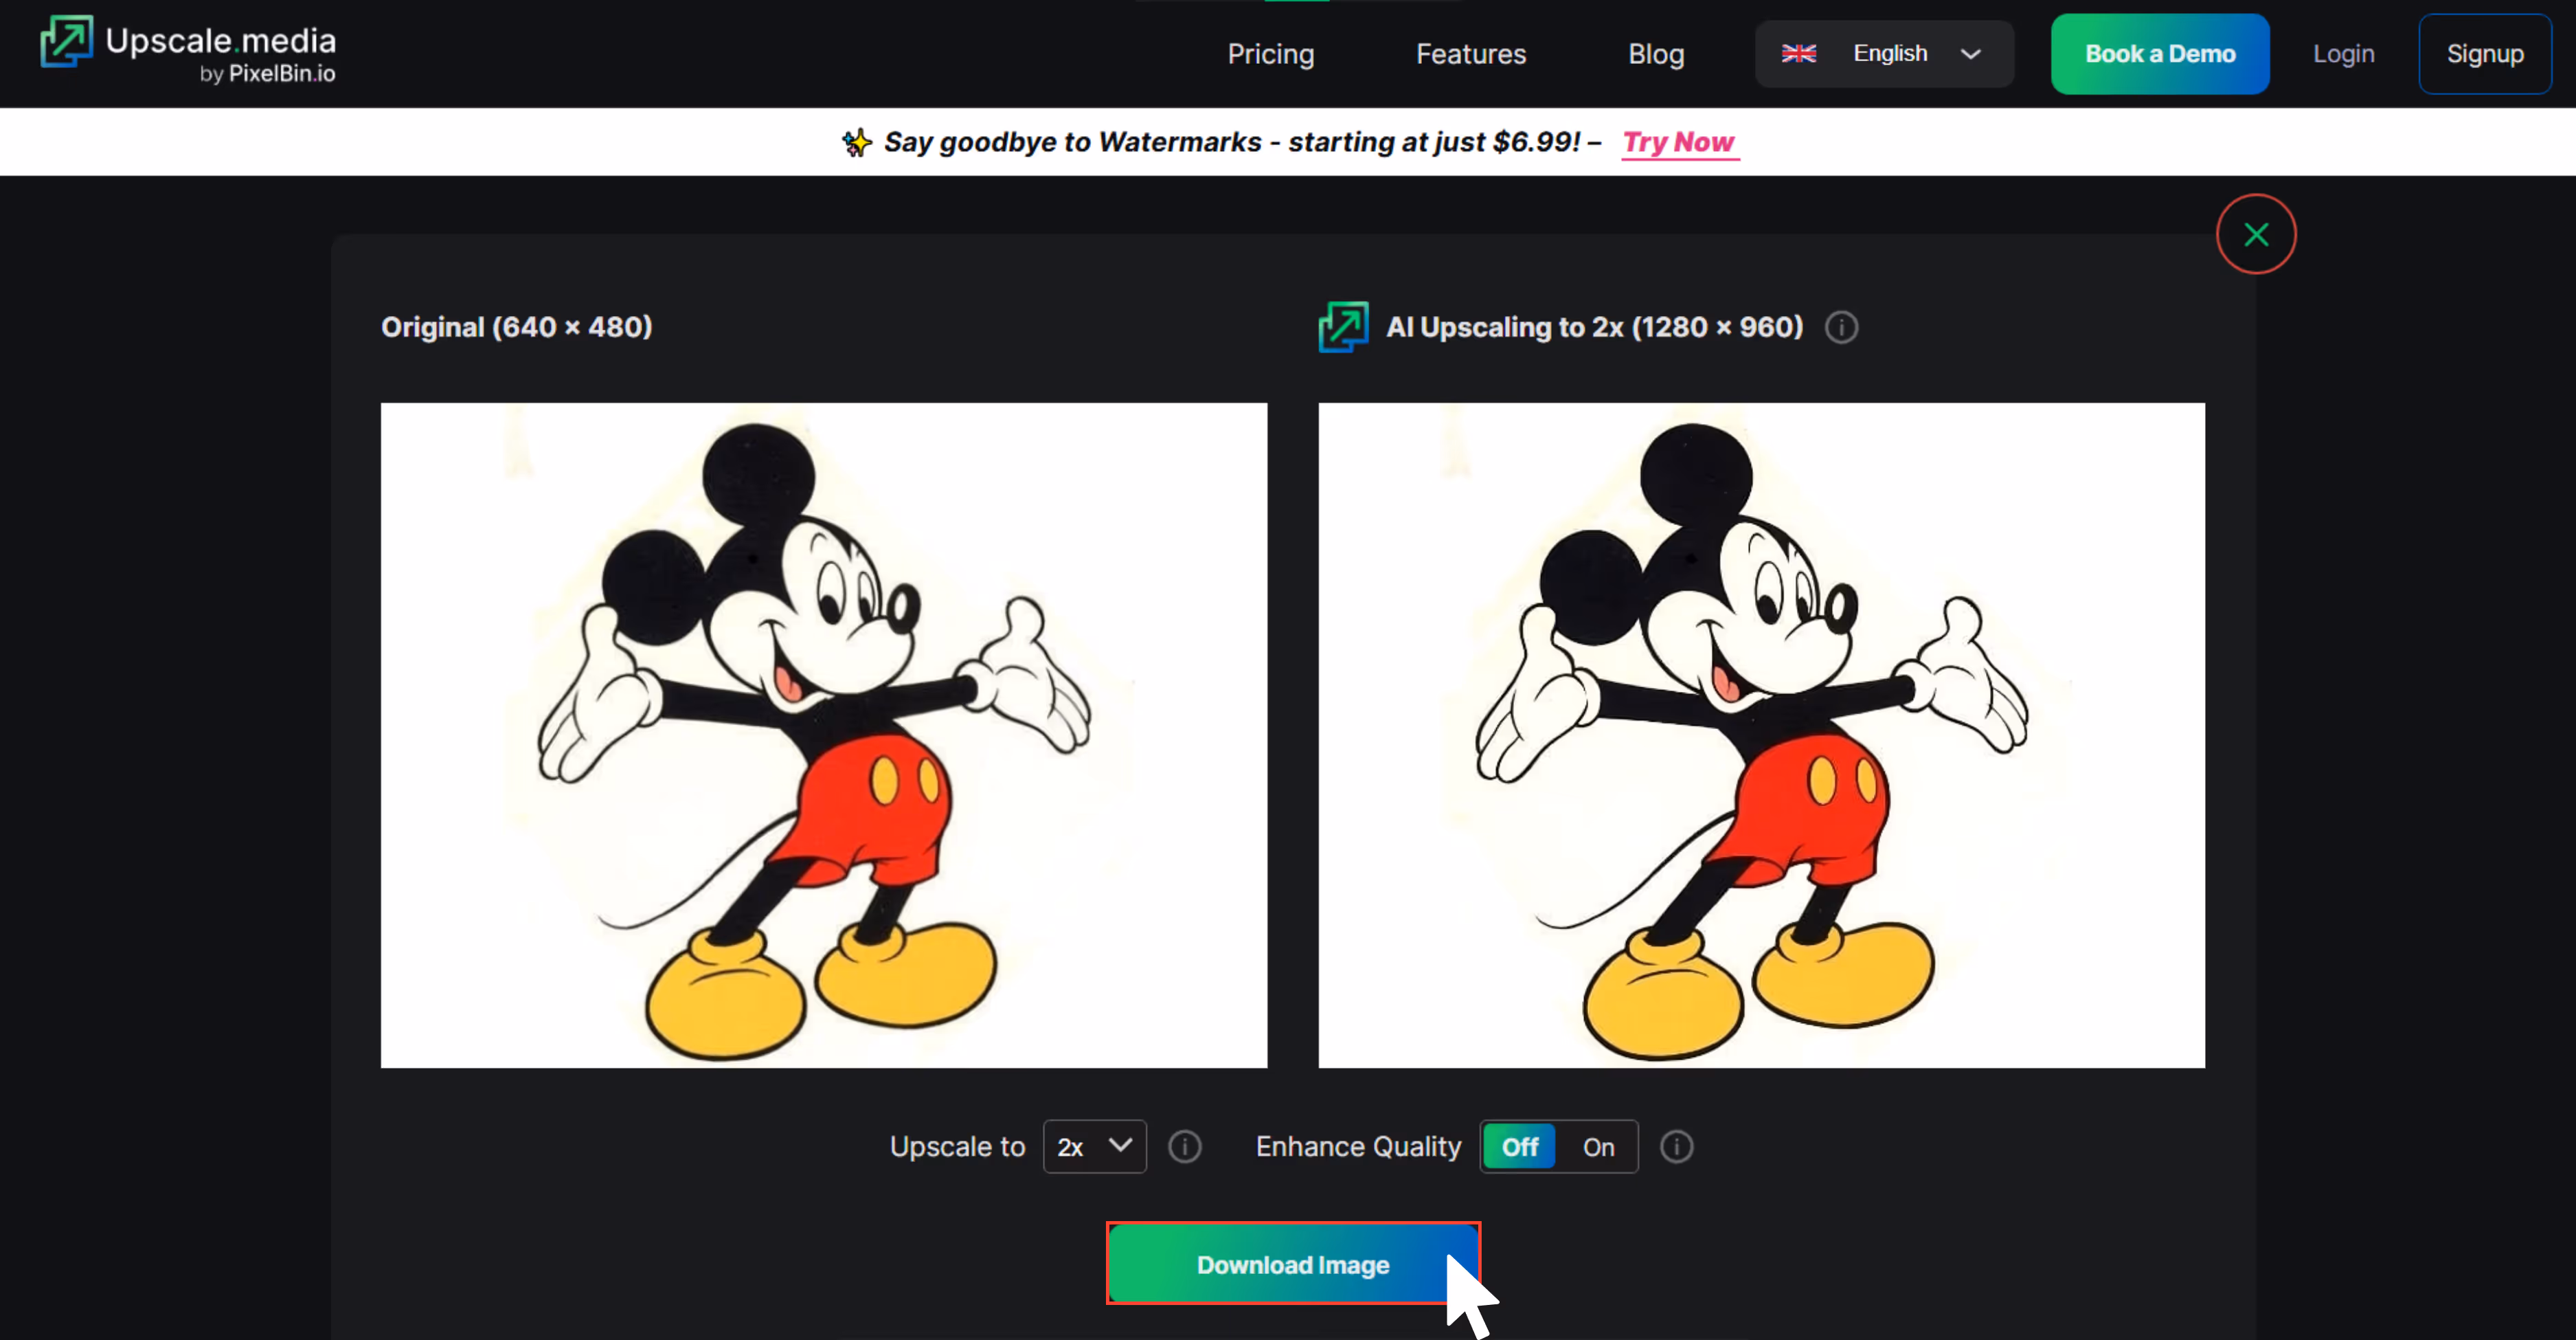
2. Upscale.media
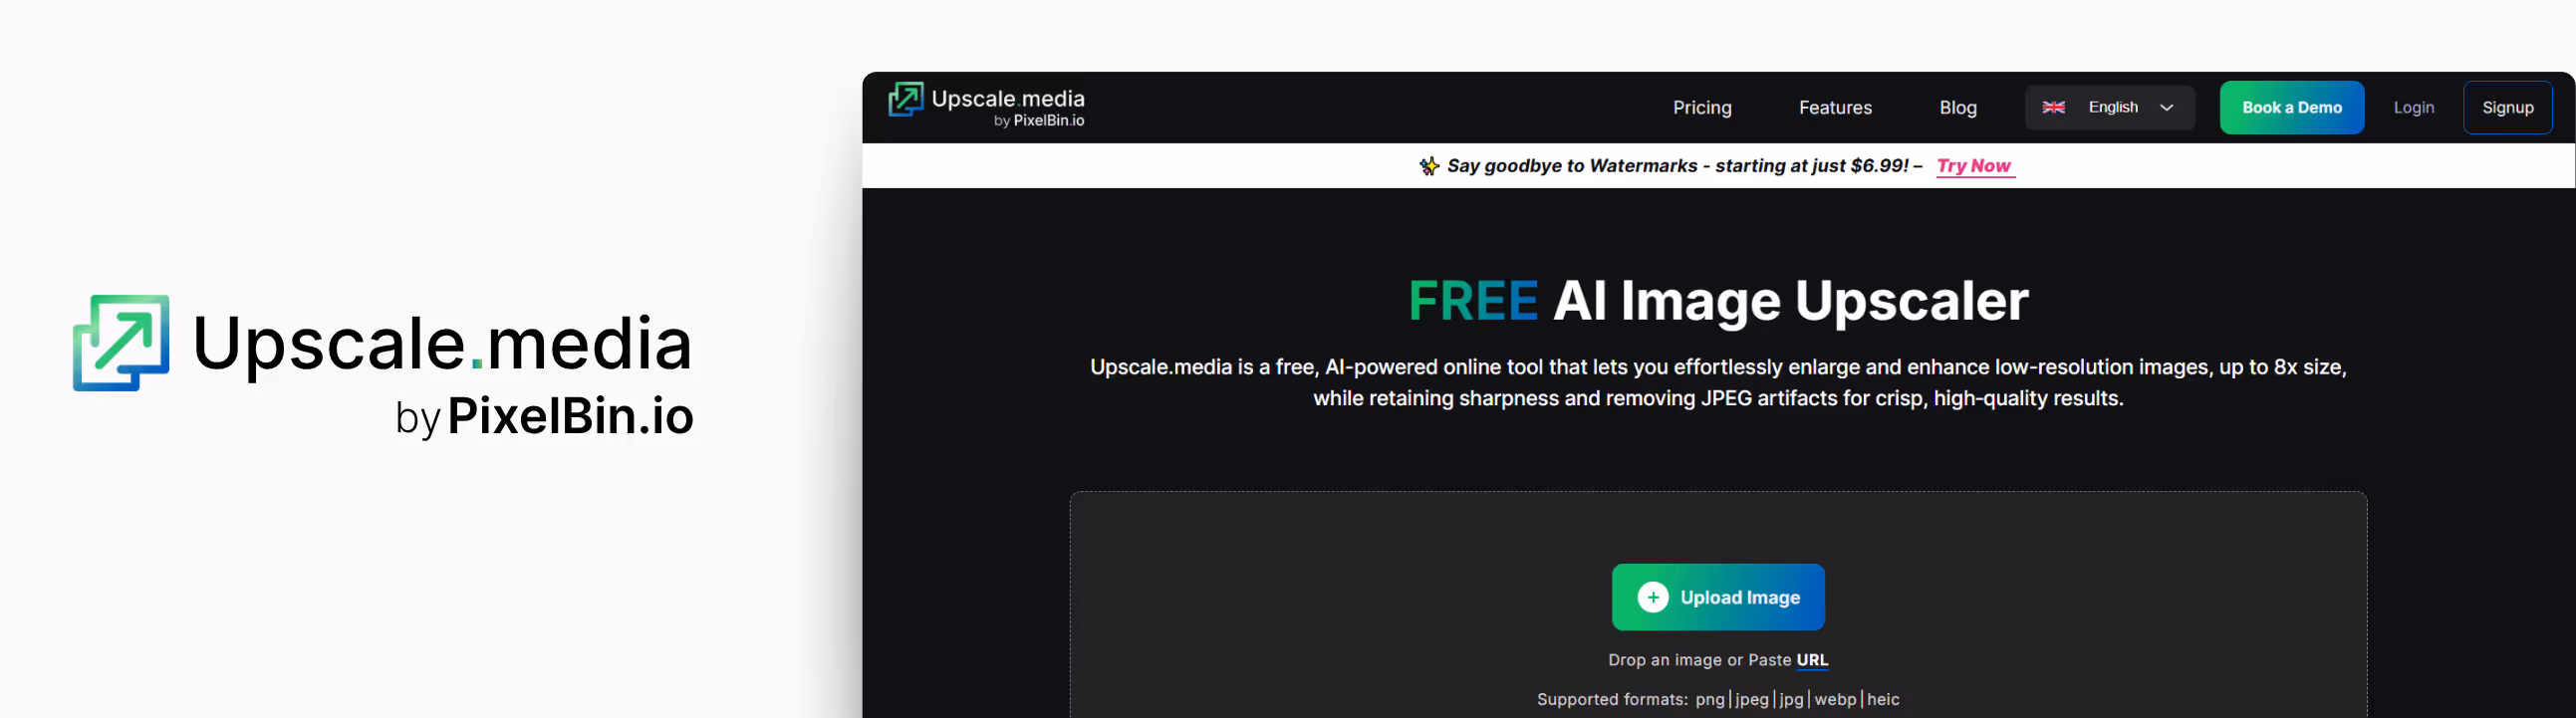
A go-to for a fast, no-login image upscaling tool. When I needed to fix a pixelated travel photo, Upscale.media impressed me with its clean output in 8x upscaling without signing up. It’s perfect when you’re in a rush and just want results. If you’re wondering how to fix low-quality image files without any software installations or logins, then this one of the top tools. What I liked:
- One-click AI image upscaling tool.
- Automatic noise reduction.
- No installation or sign-up is required.
- The free tier limit is available.
- Quick Turnaround is available.
- Super quick and easy to use on mobile or desktop.
Steps to fix low-quality image Upscale.media
Step 1: Go to Upscale.media.
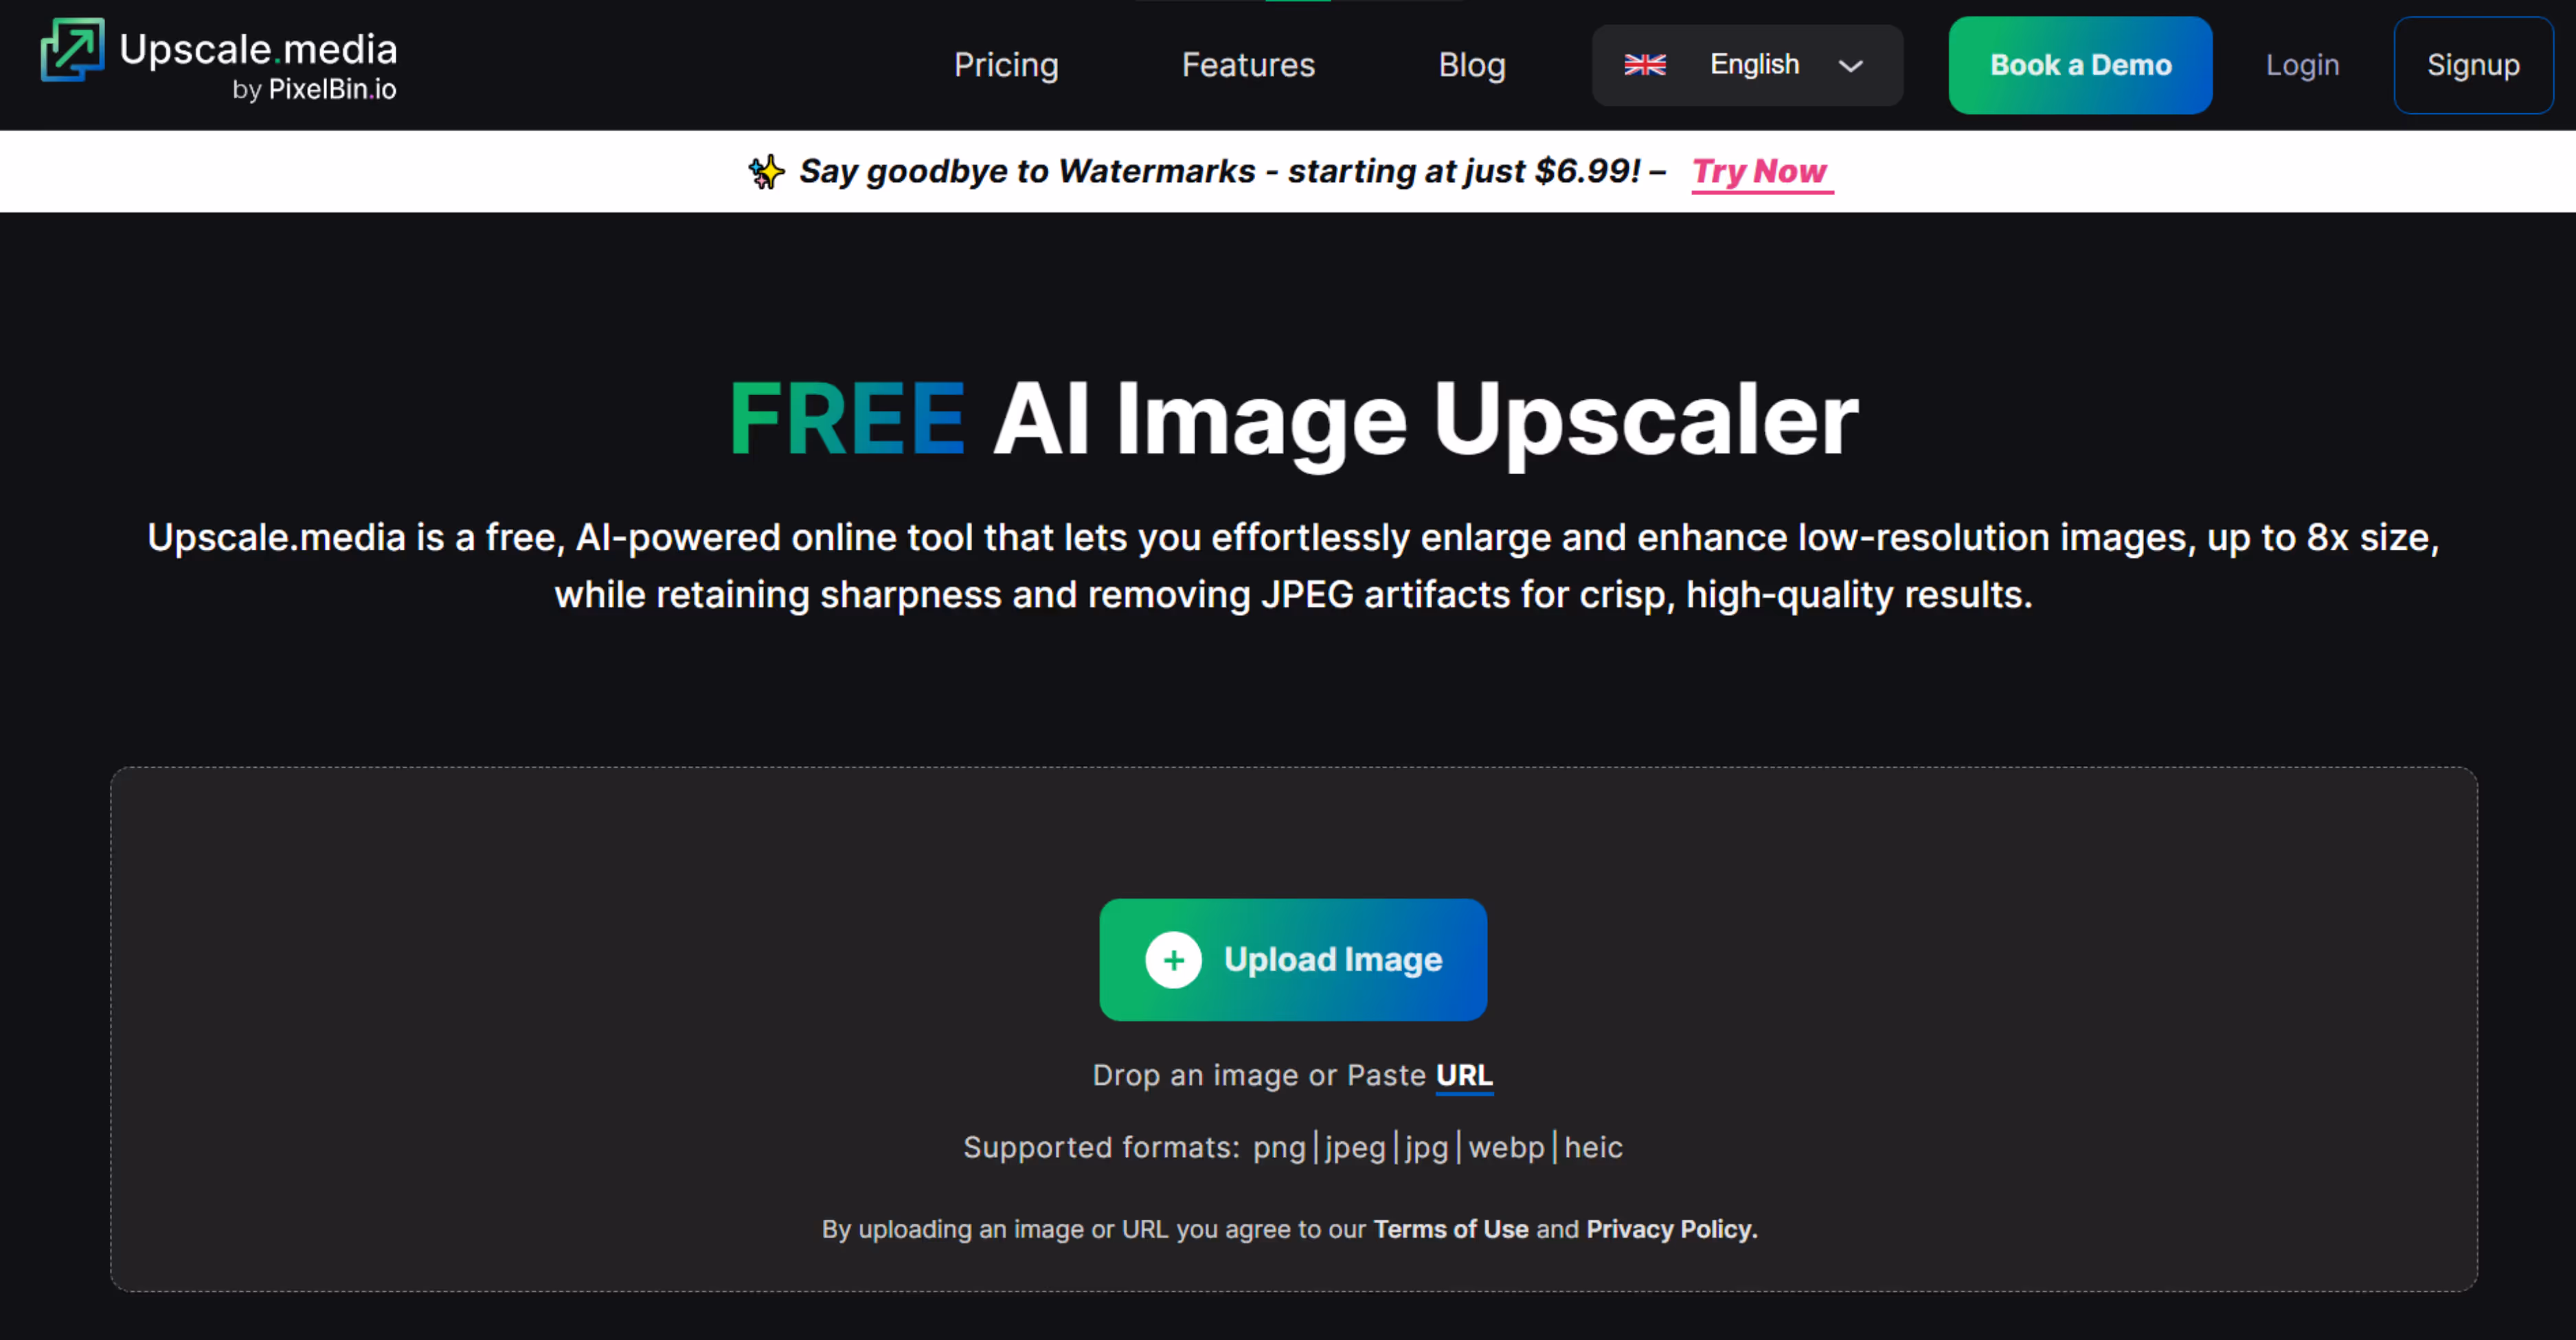
Step 2: Upload your image in PNG, JPG, WebP, HEIC or JPEG formats.
Step 3: The AI algorithms automatically upscale the image in 2x, 4x, or 8x scale size.
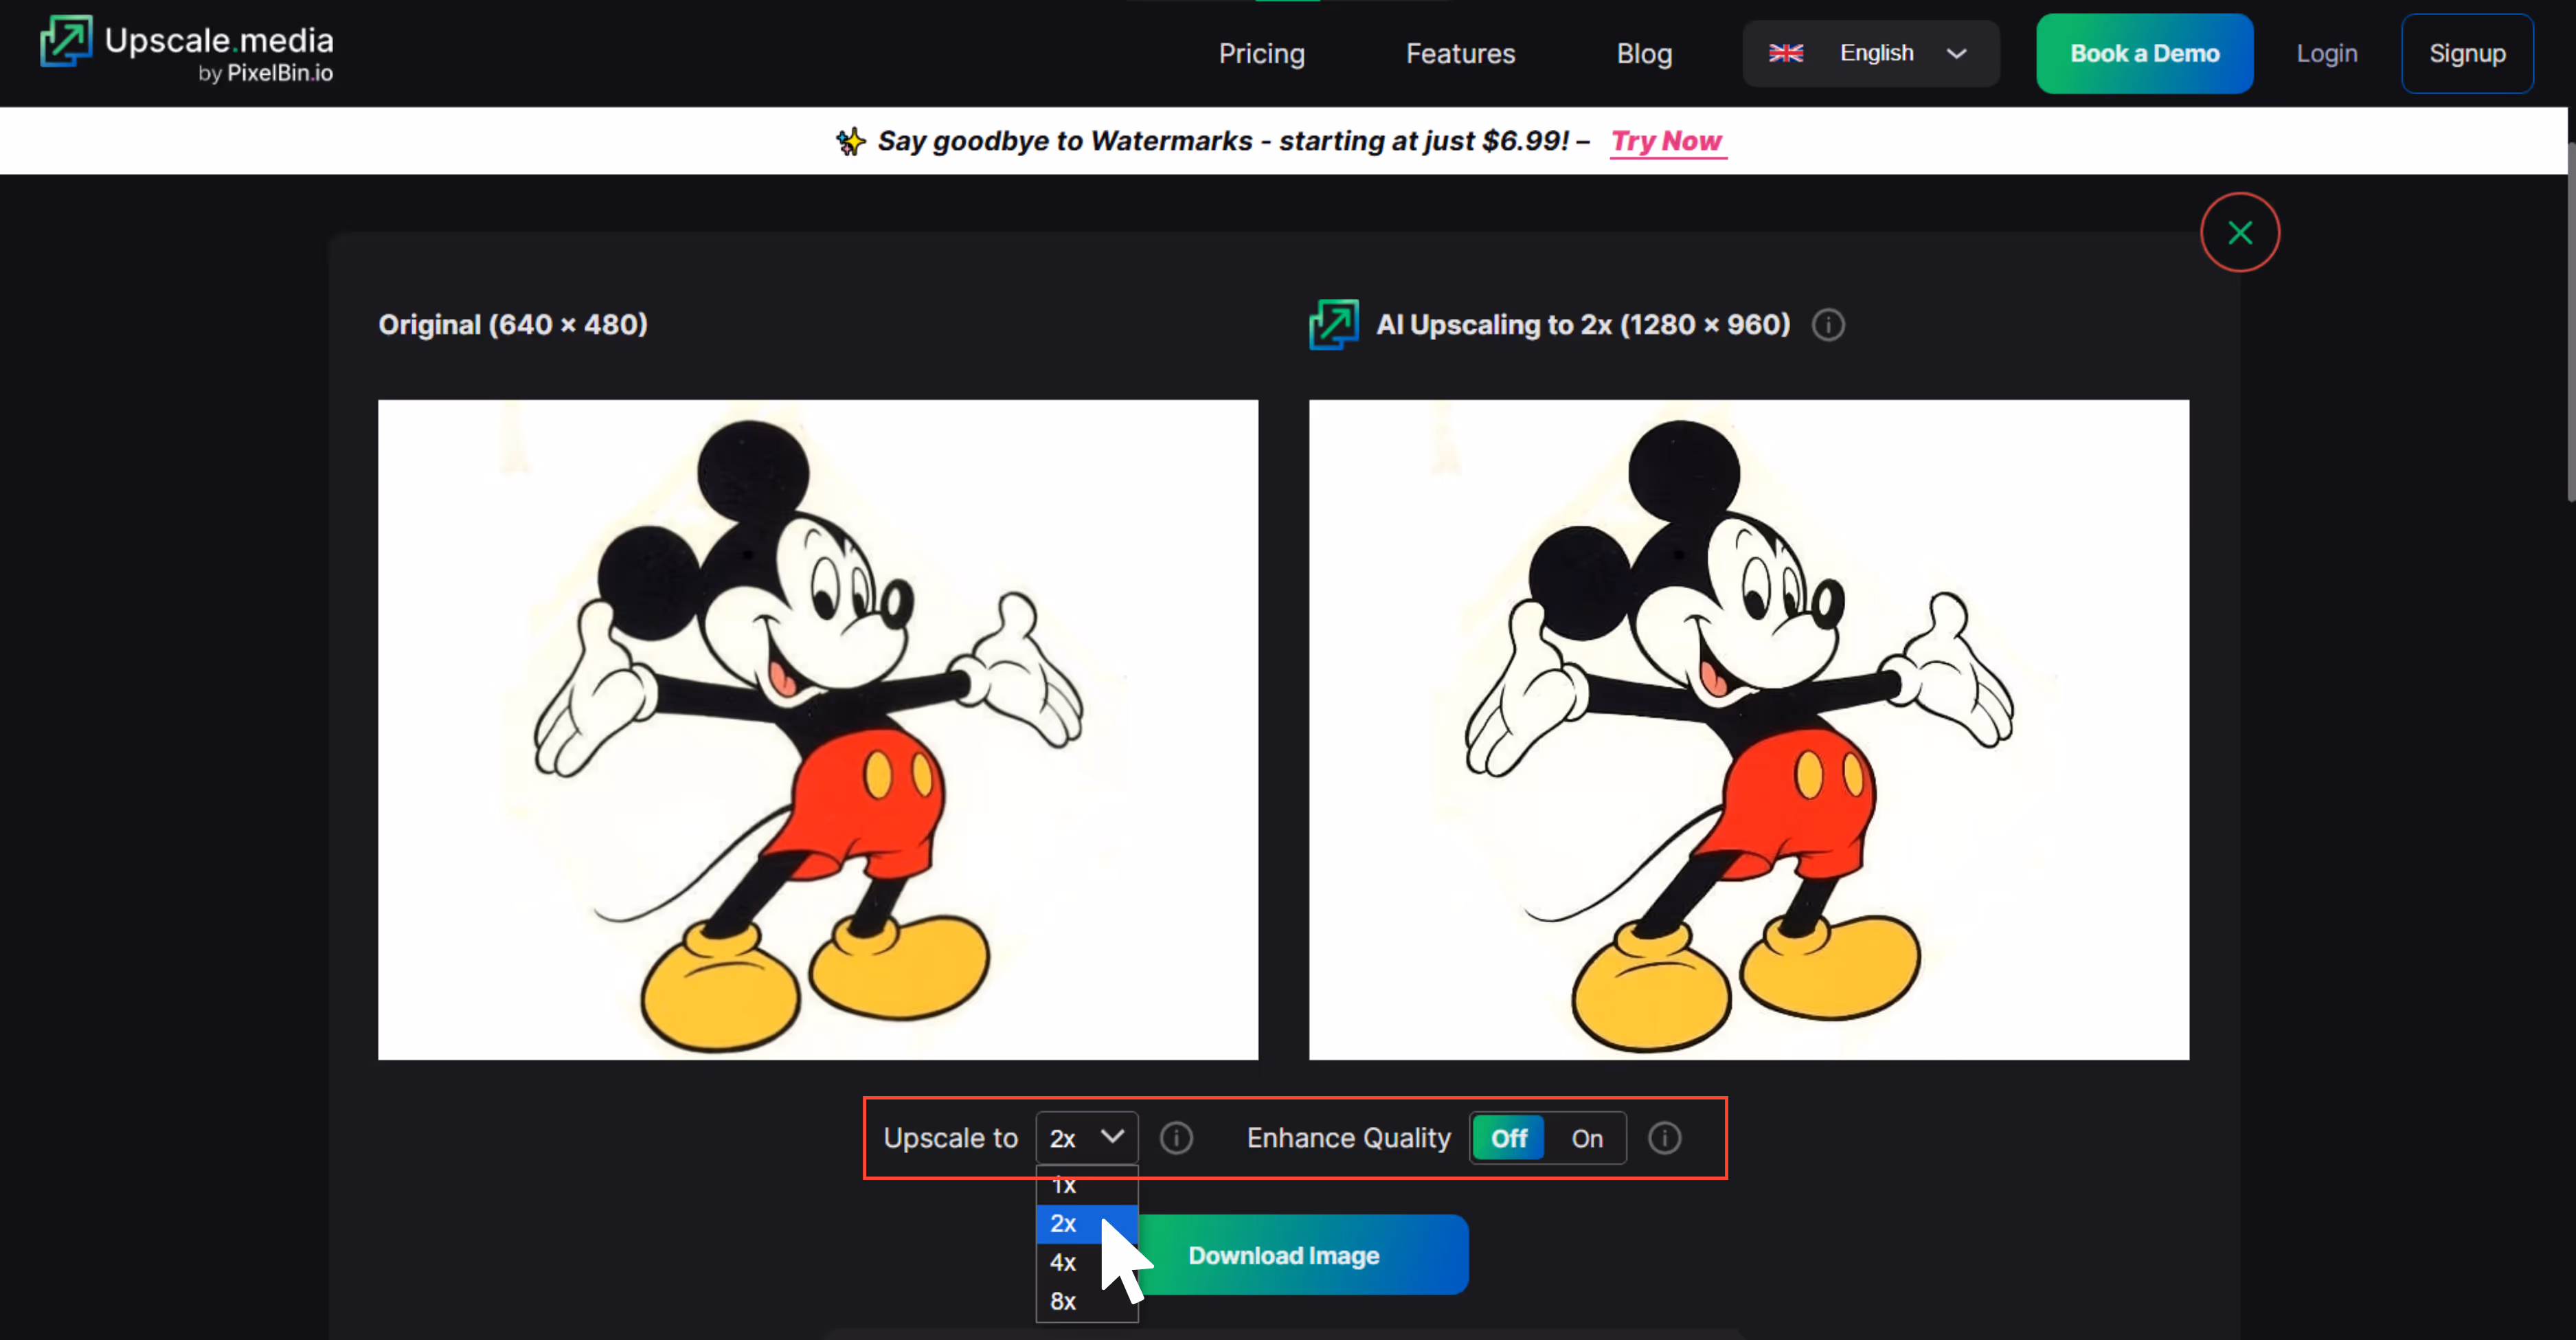
Step 4: Download your upscaled image instantly.
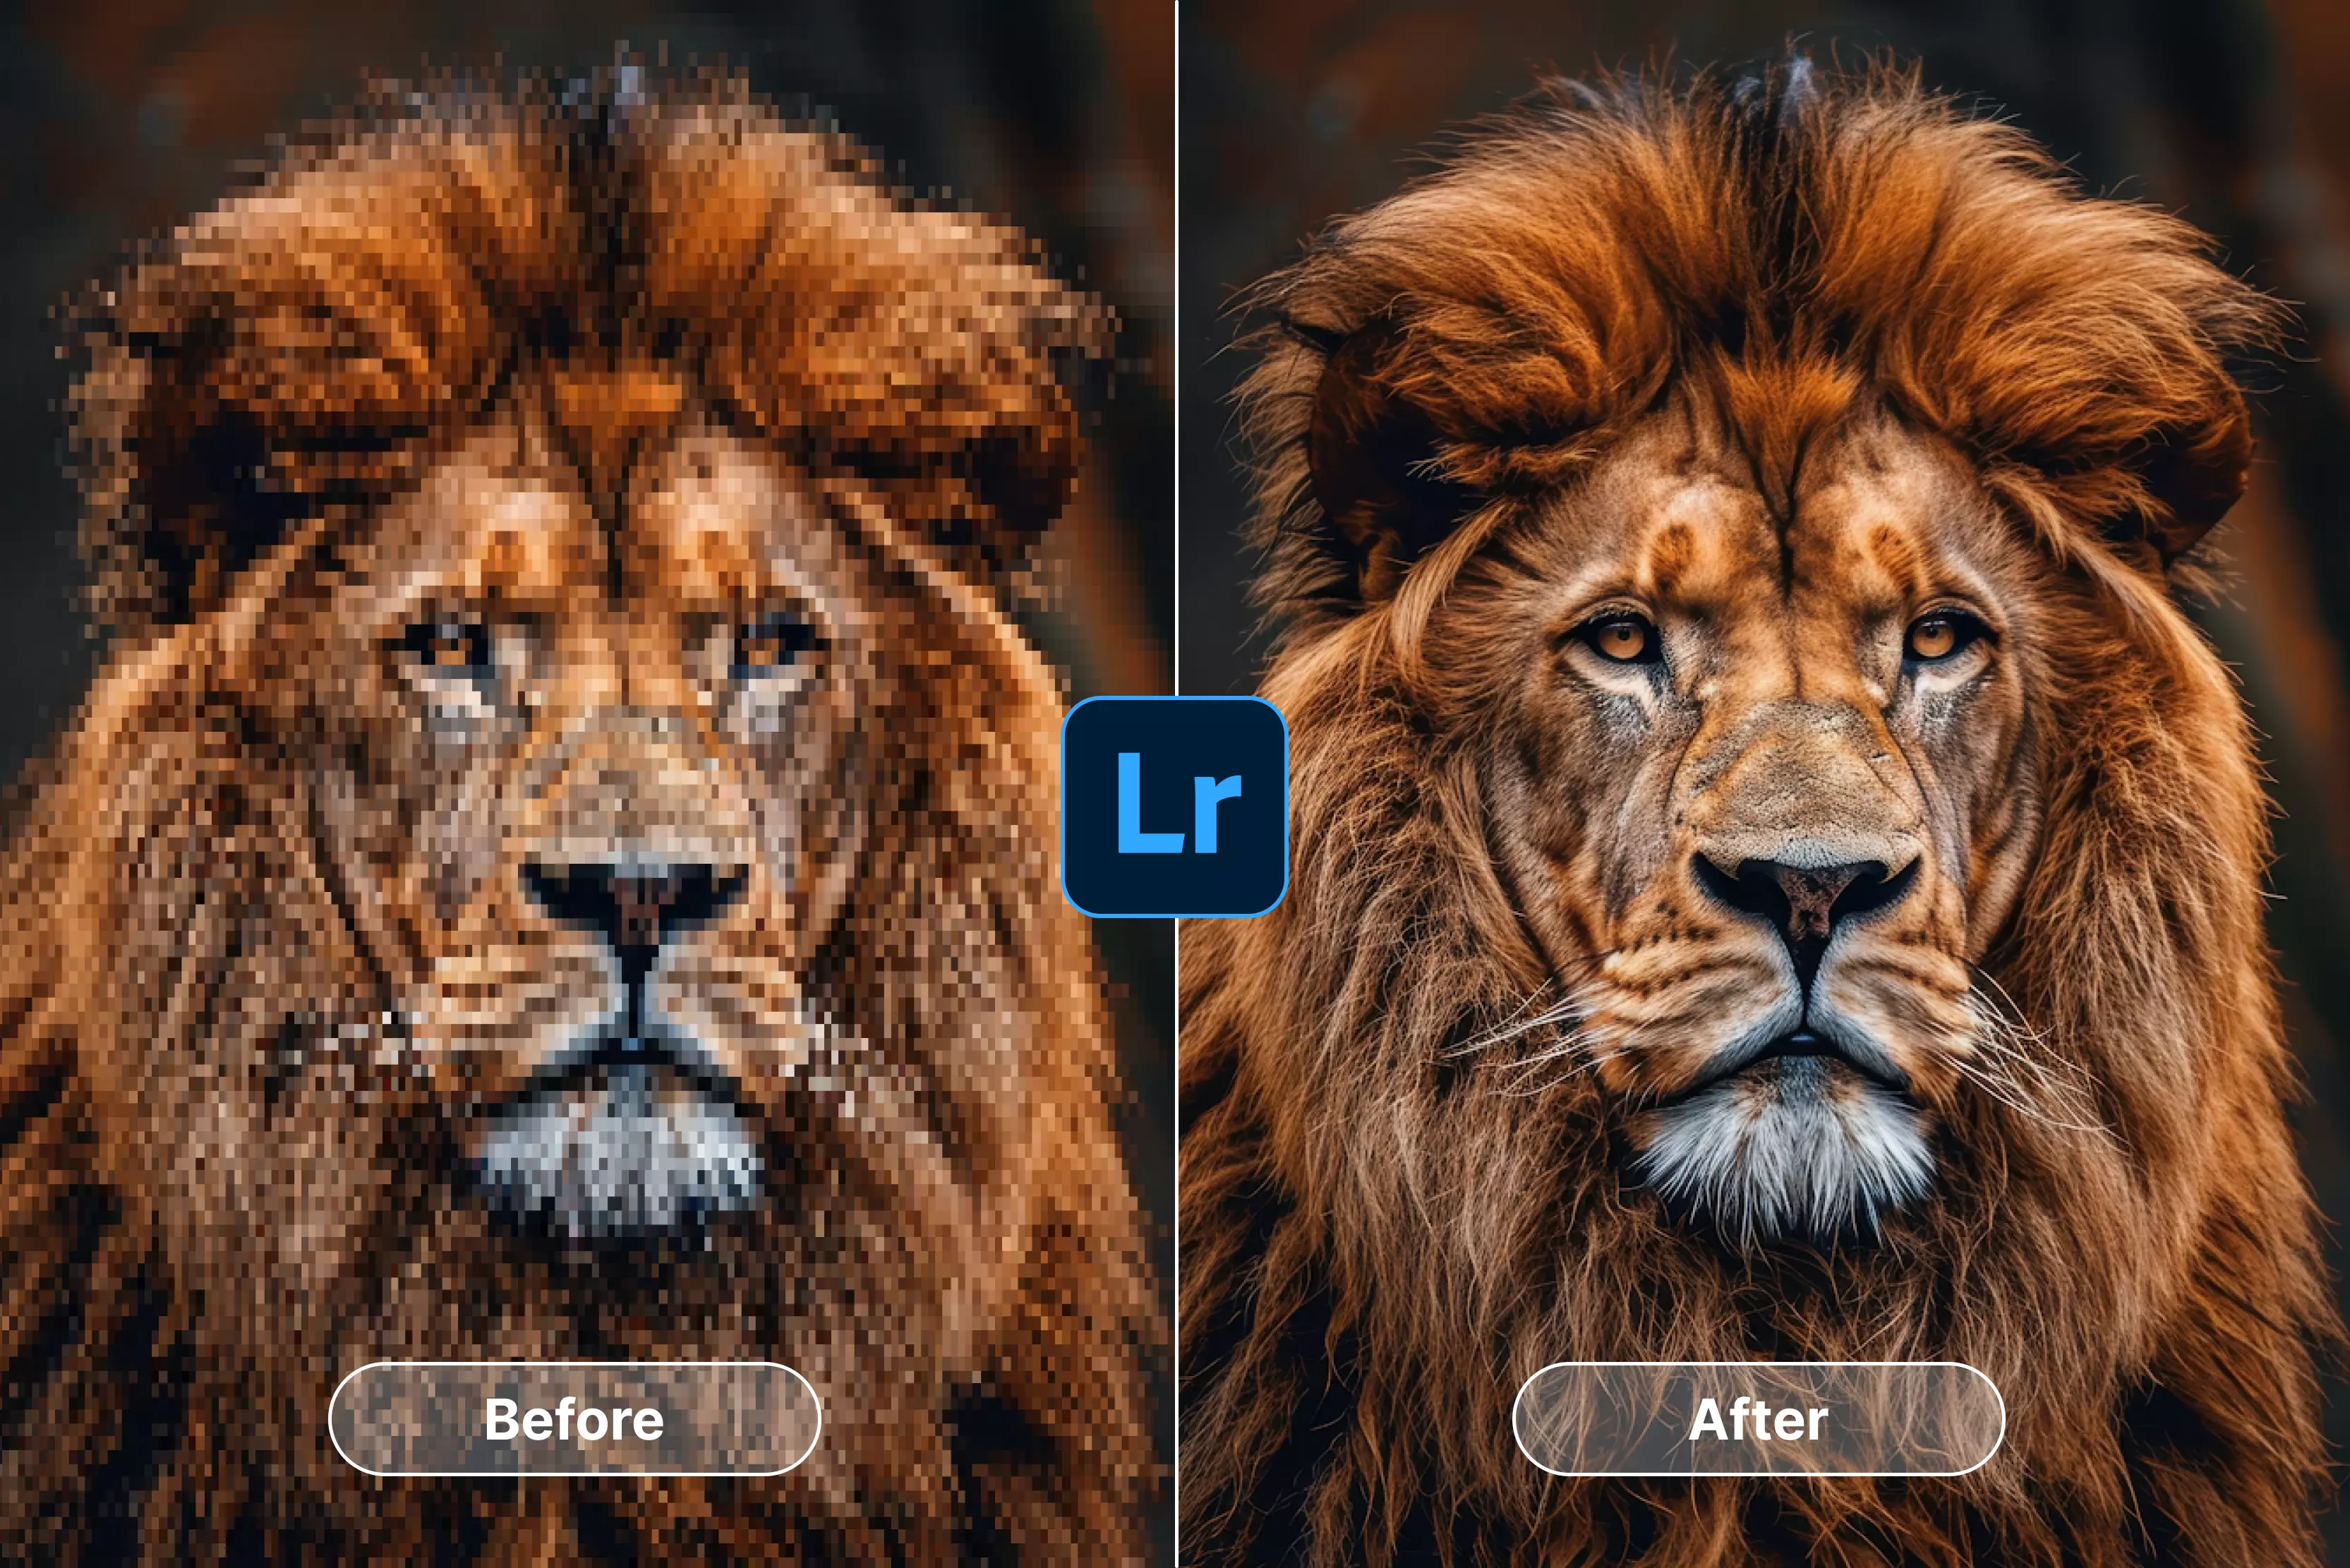
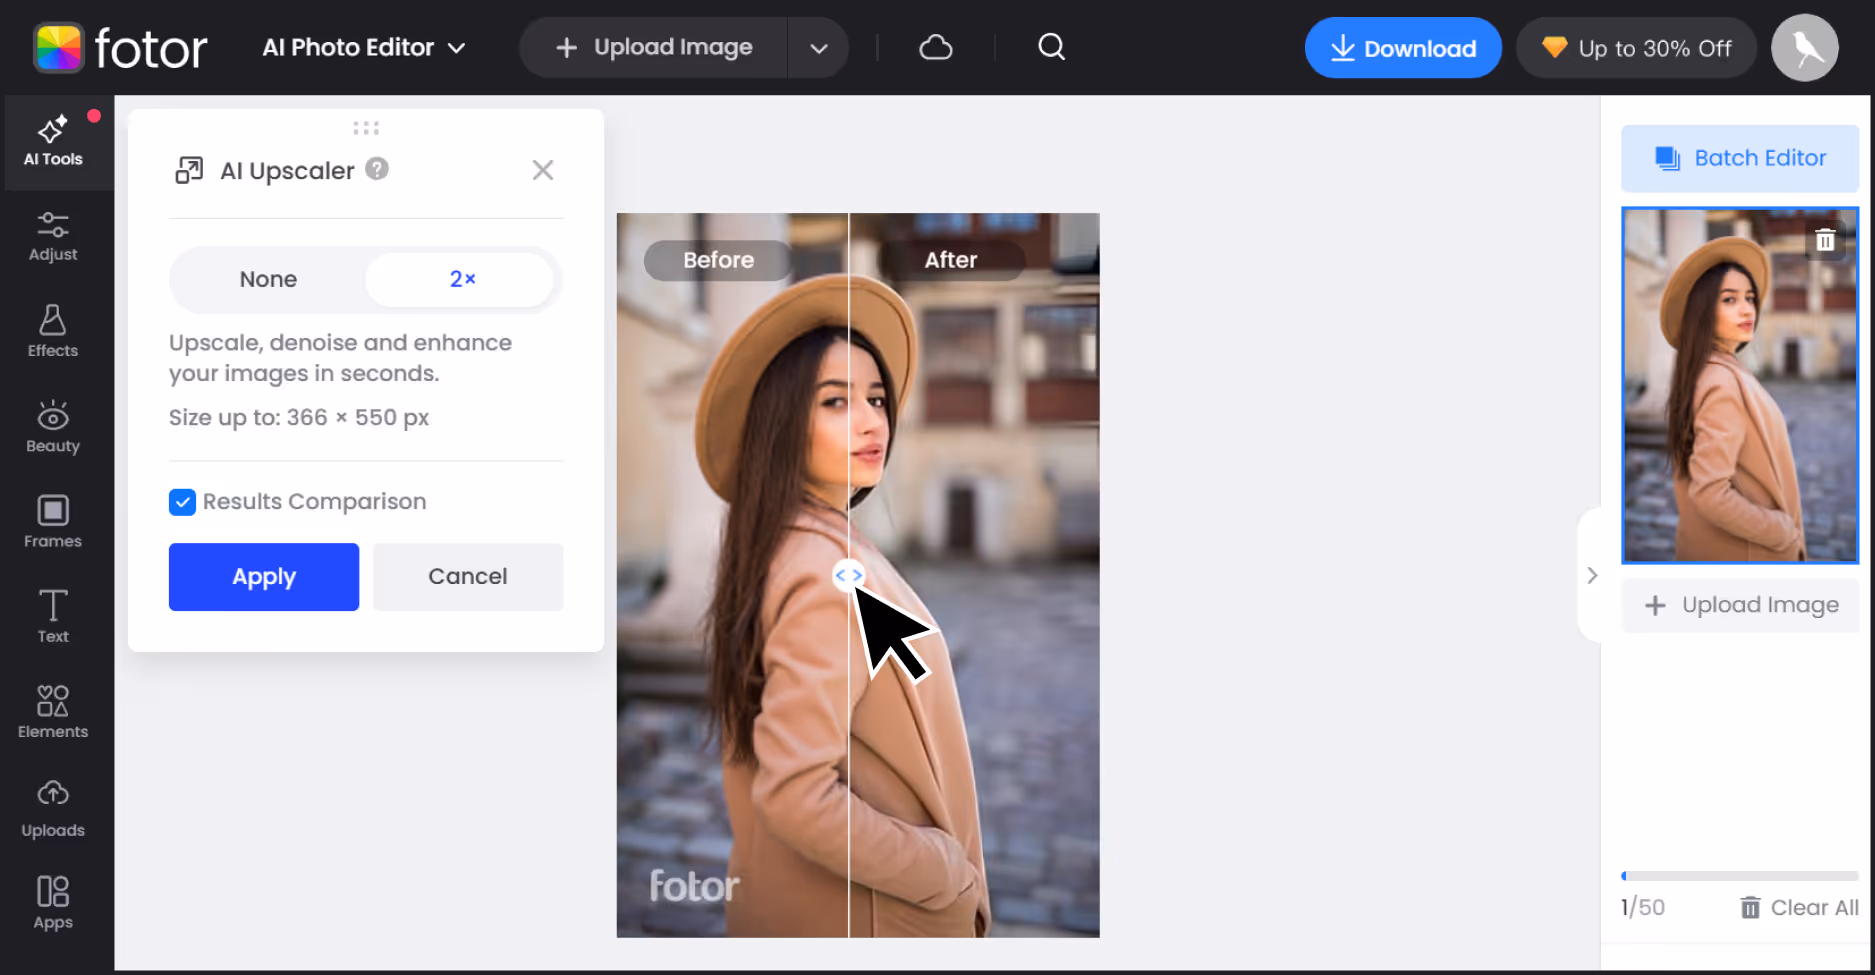
3. Fotor
It's a perfect tool for pixelated images and slightly blurred shots that you want to upscale.
I had a soft-edged, slightly blurry image and wanted to sharpen it for my blog. After running it through Fotor, the upscaled image appeared noticeable. The sharpness improved, and the textures improved without distortions. The tool supports upscaling up to 8x, but only 2x is a part of the free plan. After using that, my image went up to a high-quality one. What I liked about the tool:
- You can upscale with a single click—no advanced settings or inputs are needed.
- It includes built-in noise reduction, which helps reduce visual grain.
- There’s a preview window, so you can compare before and after before downloading.
- It processes quickly, even at higher scales.
How to fix low low-quality image in Fotor?
Step 1: Go to Fotor.
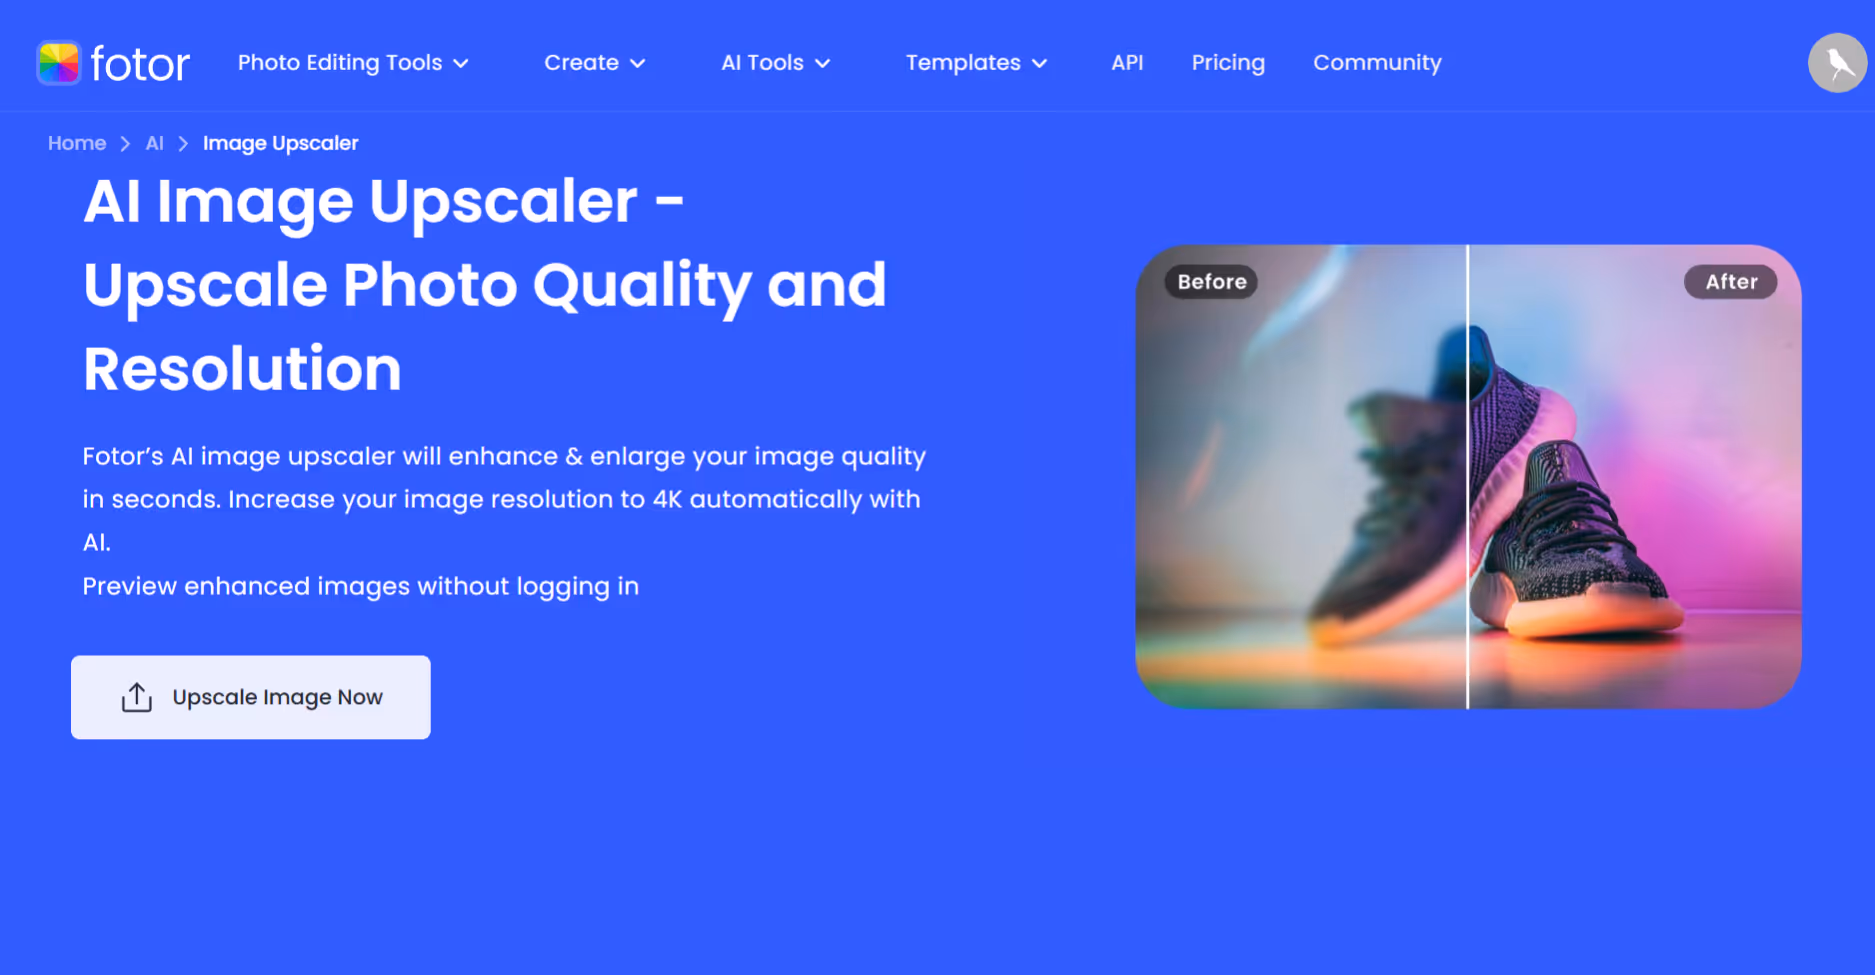
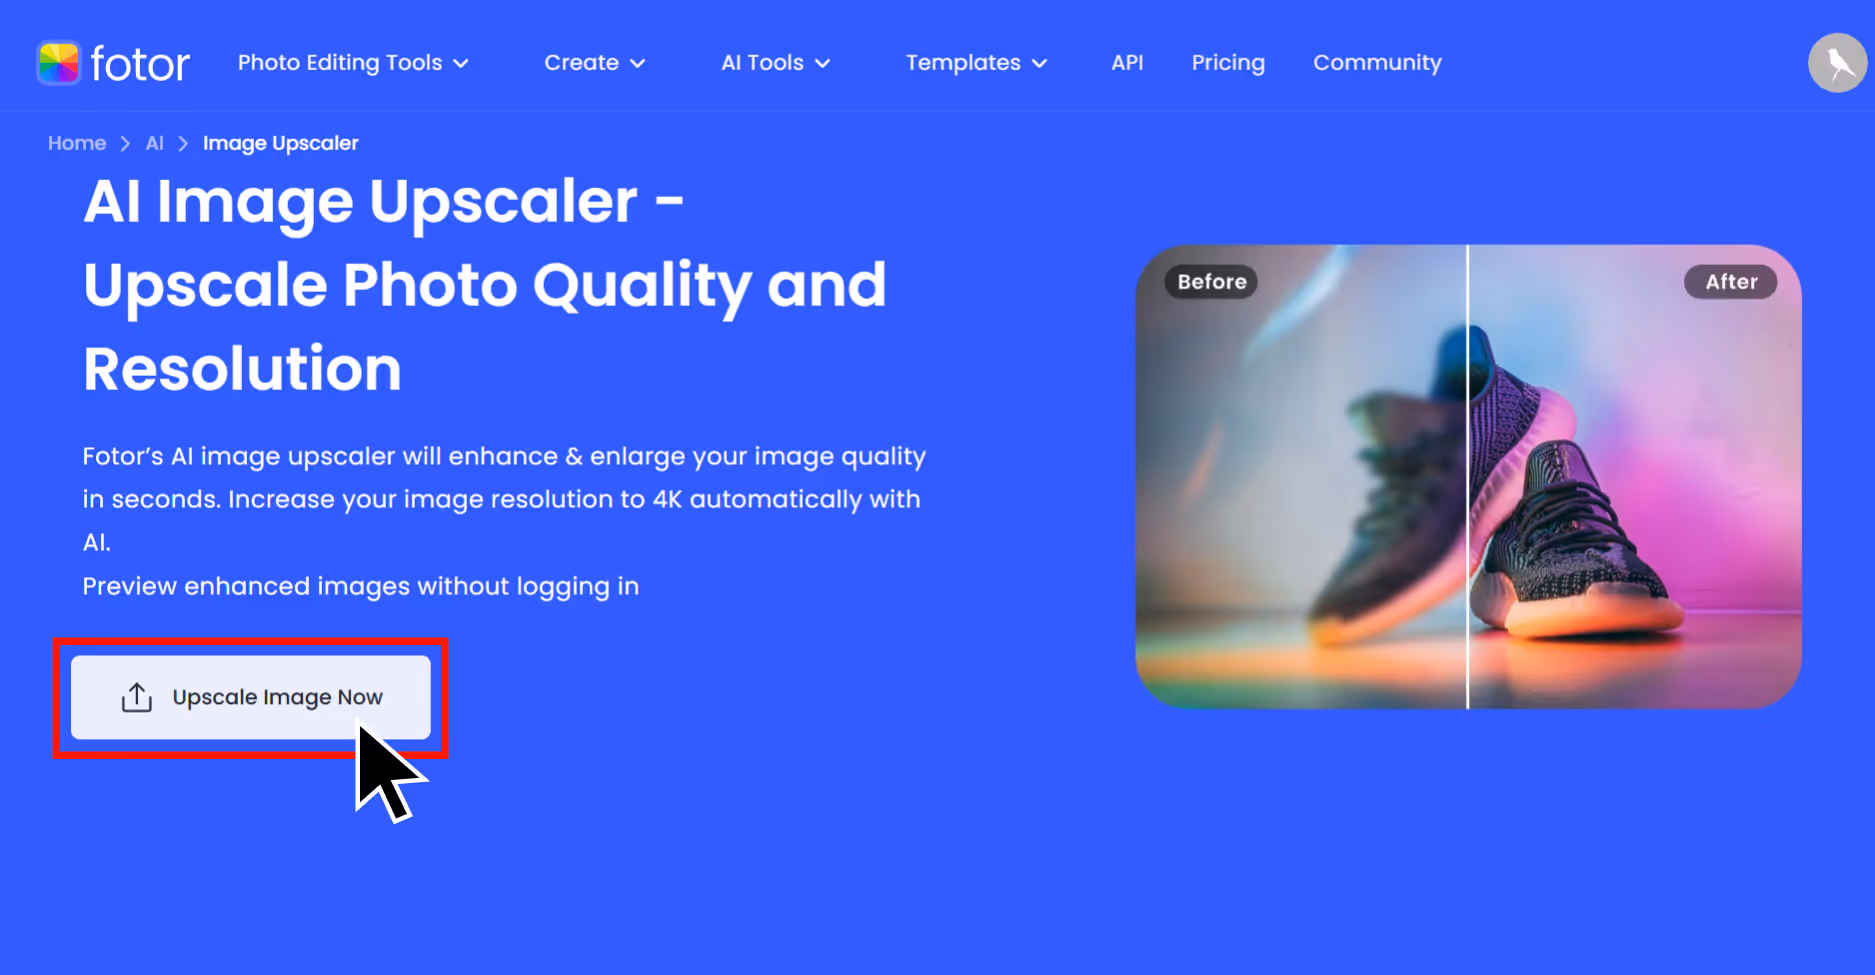
Step 2: Click to “Upscale Image now”.
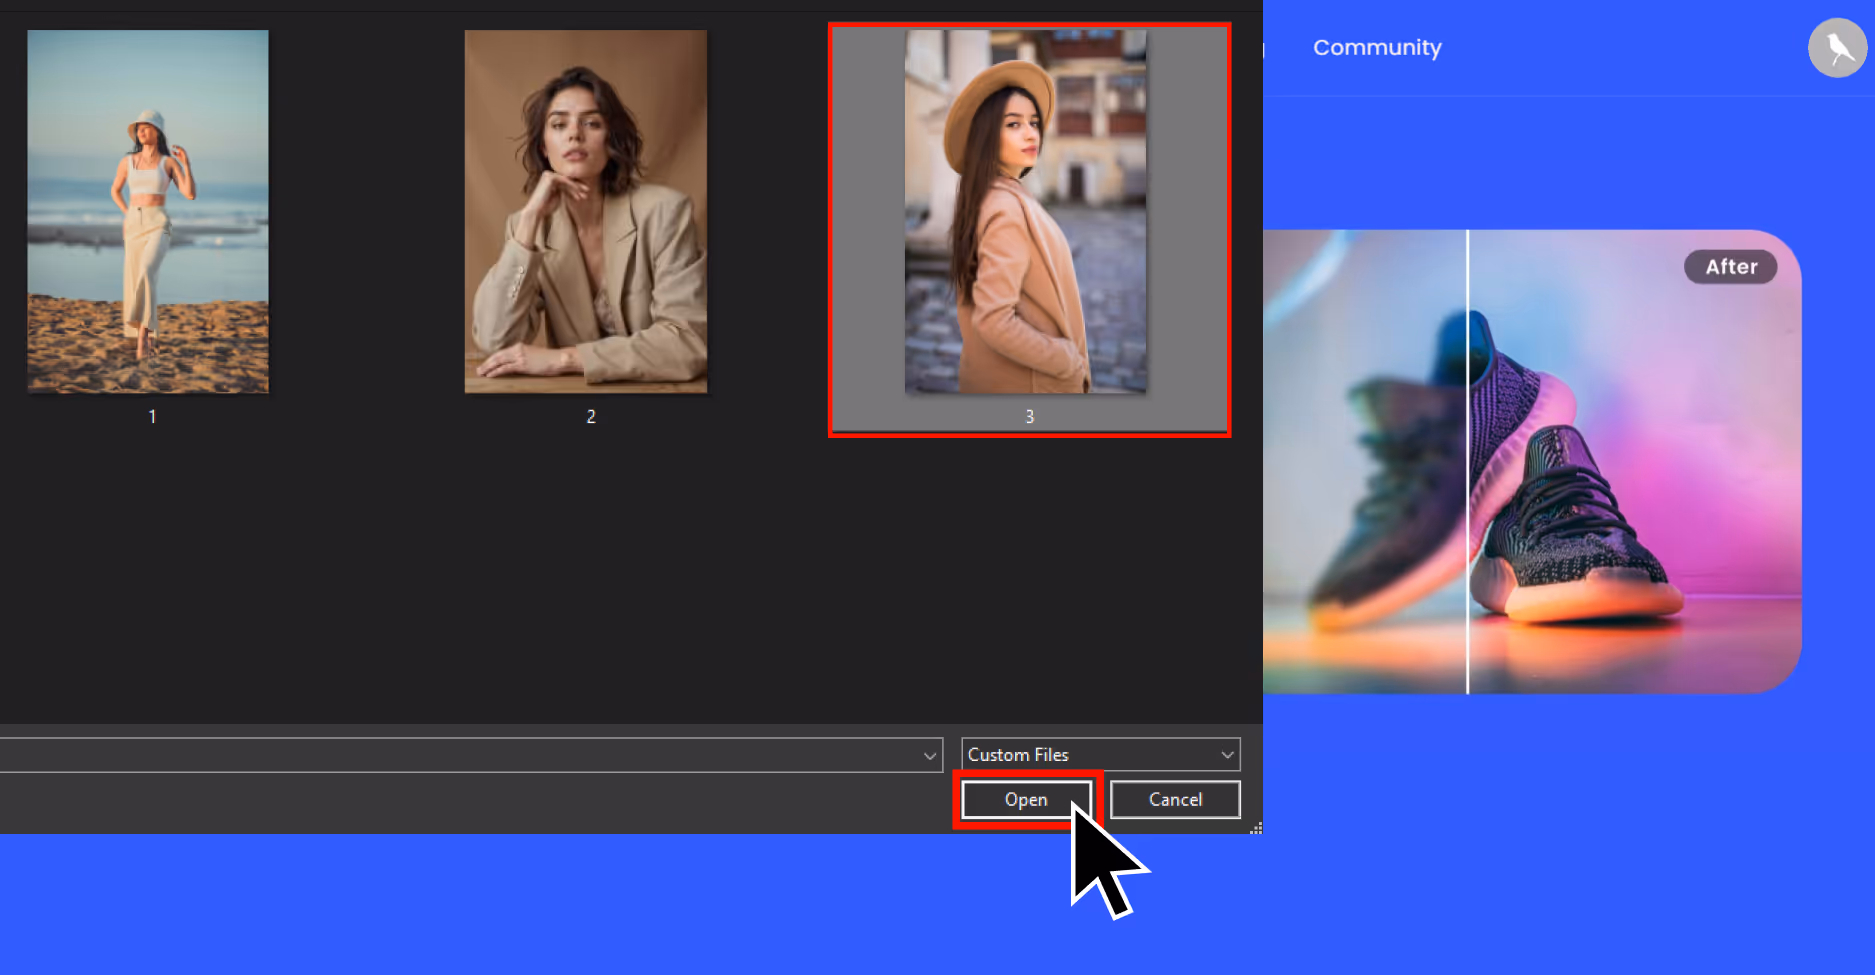
Step 3: Upload your image – I used a JPG that was of low pixels.
Step 4: Choose the upscale factor, usually, 2x is for free, and 4x or 8x are a part of the premium plan. For testing the tool, I used 2x, and my image went to high quality.
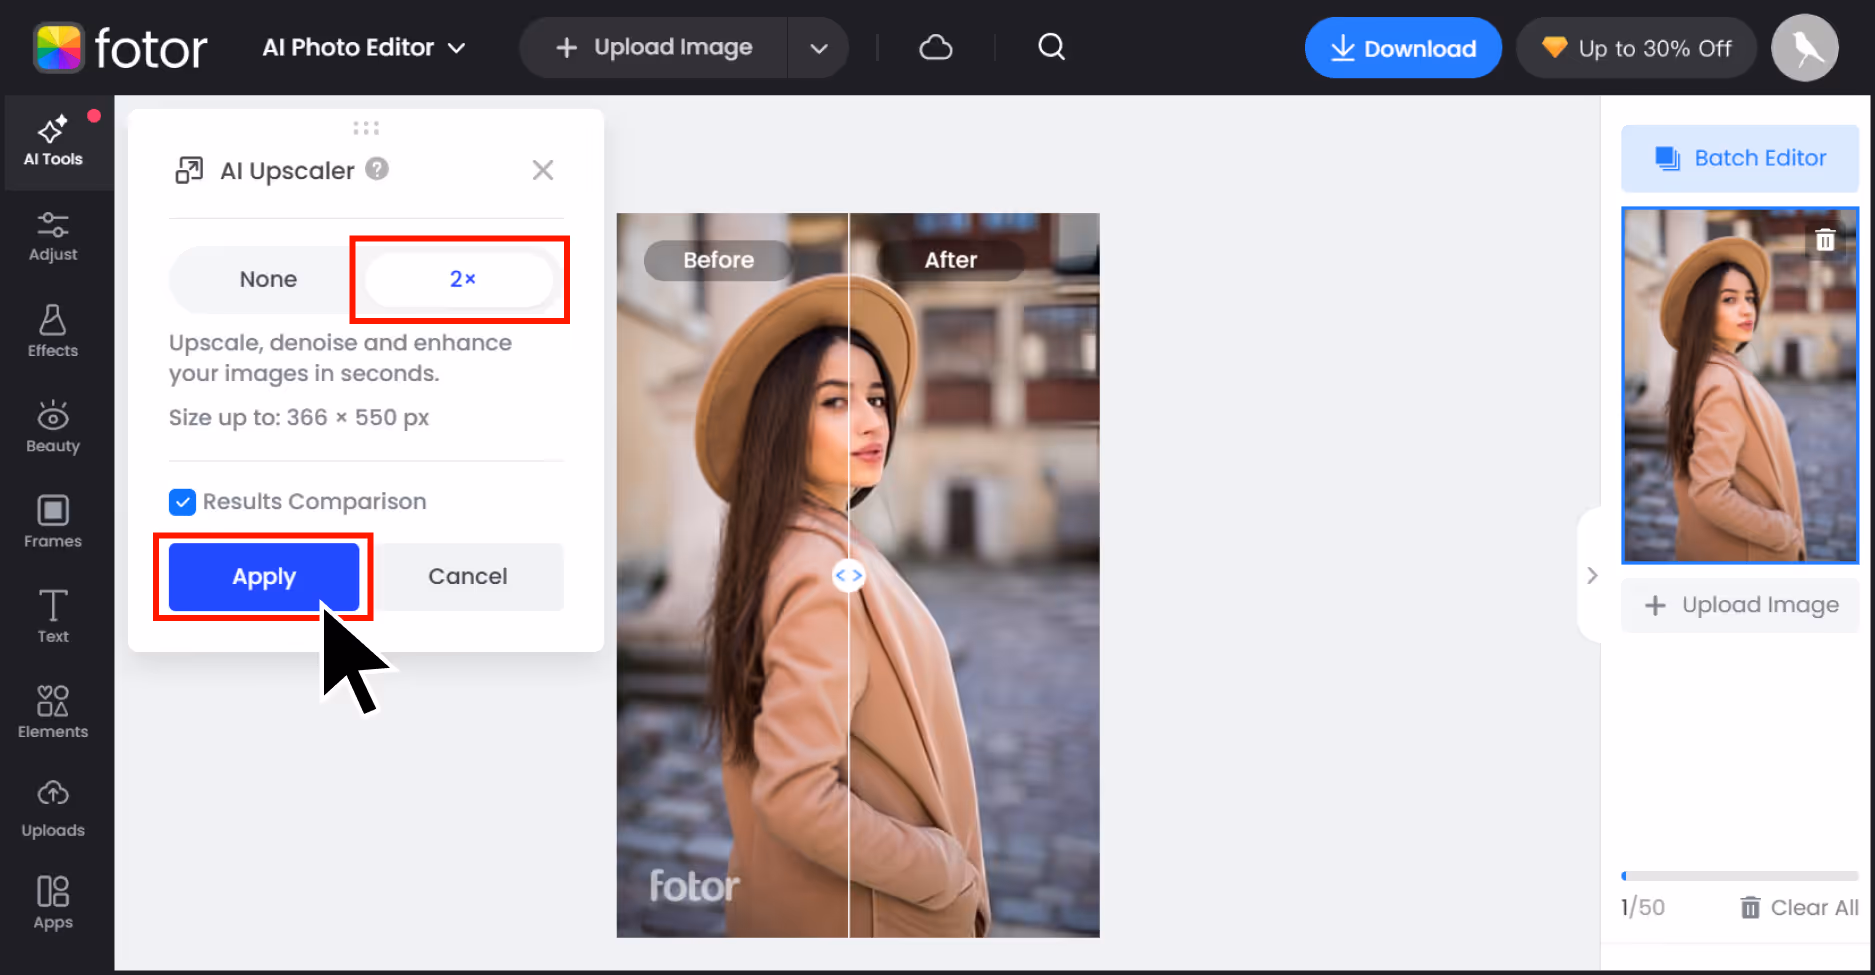
Step 5: Wait for the processing time, once done, preview and download.
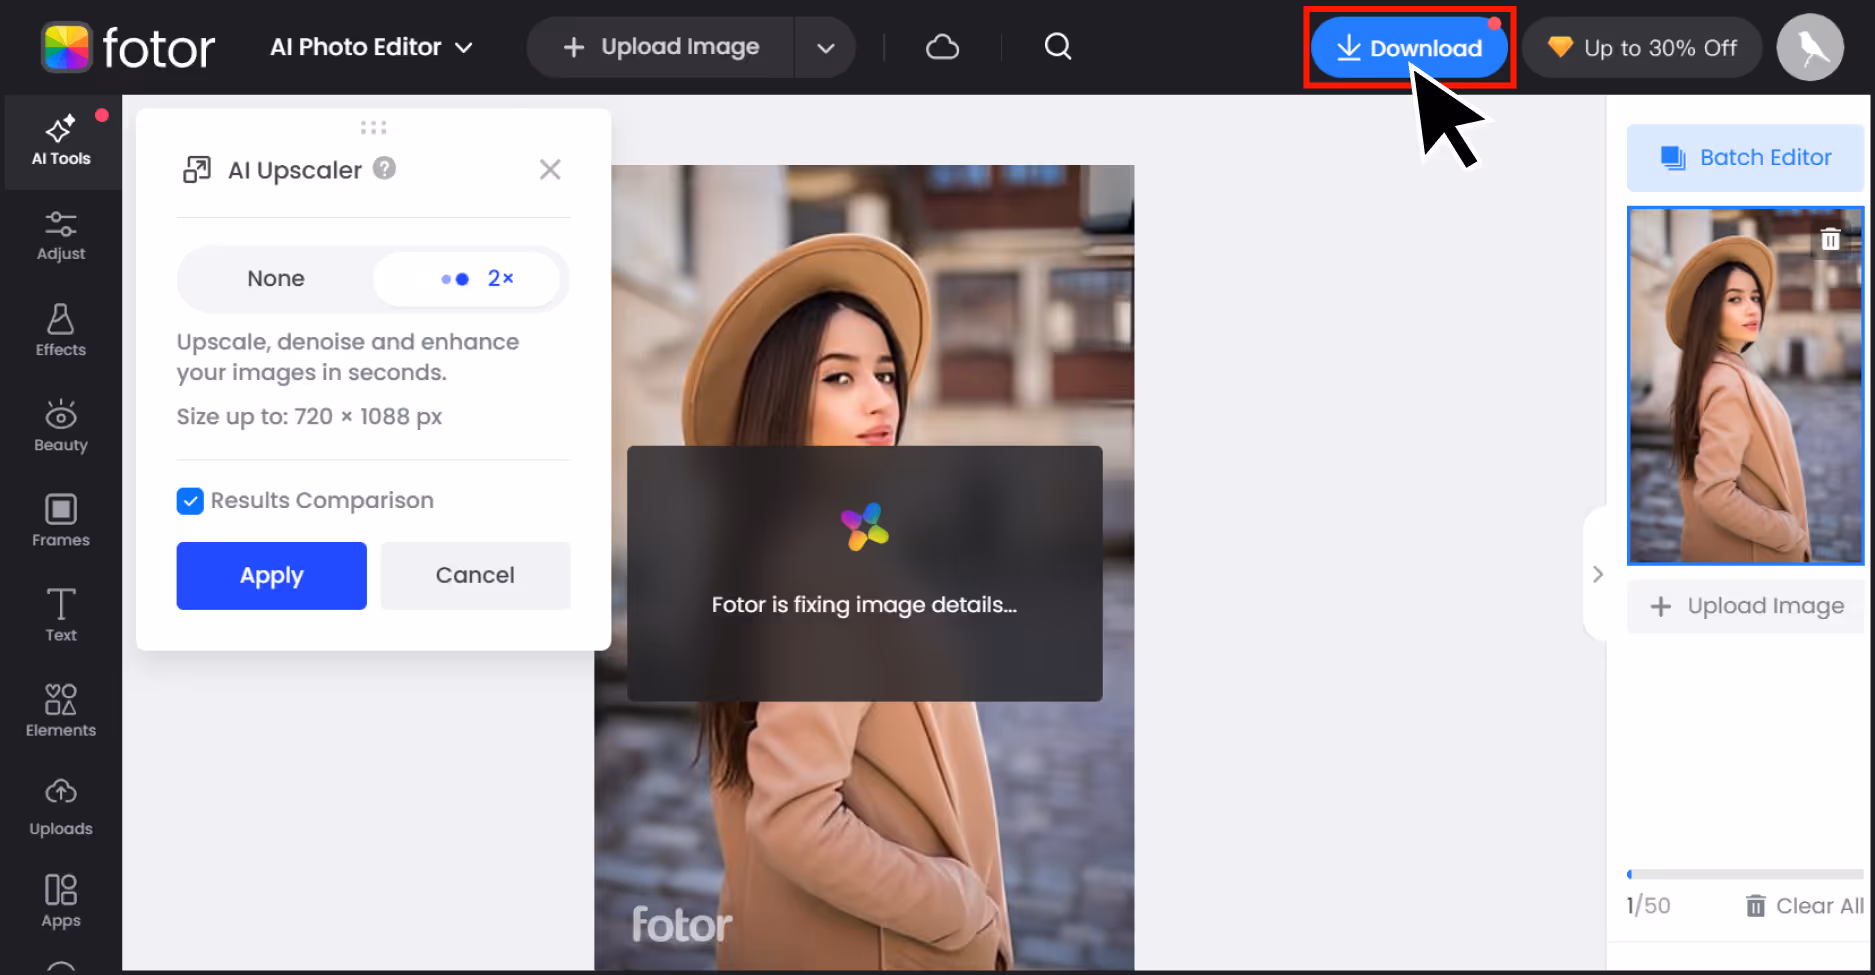
Step 6: You can use the before and after sliders to compare.
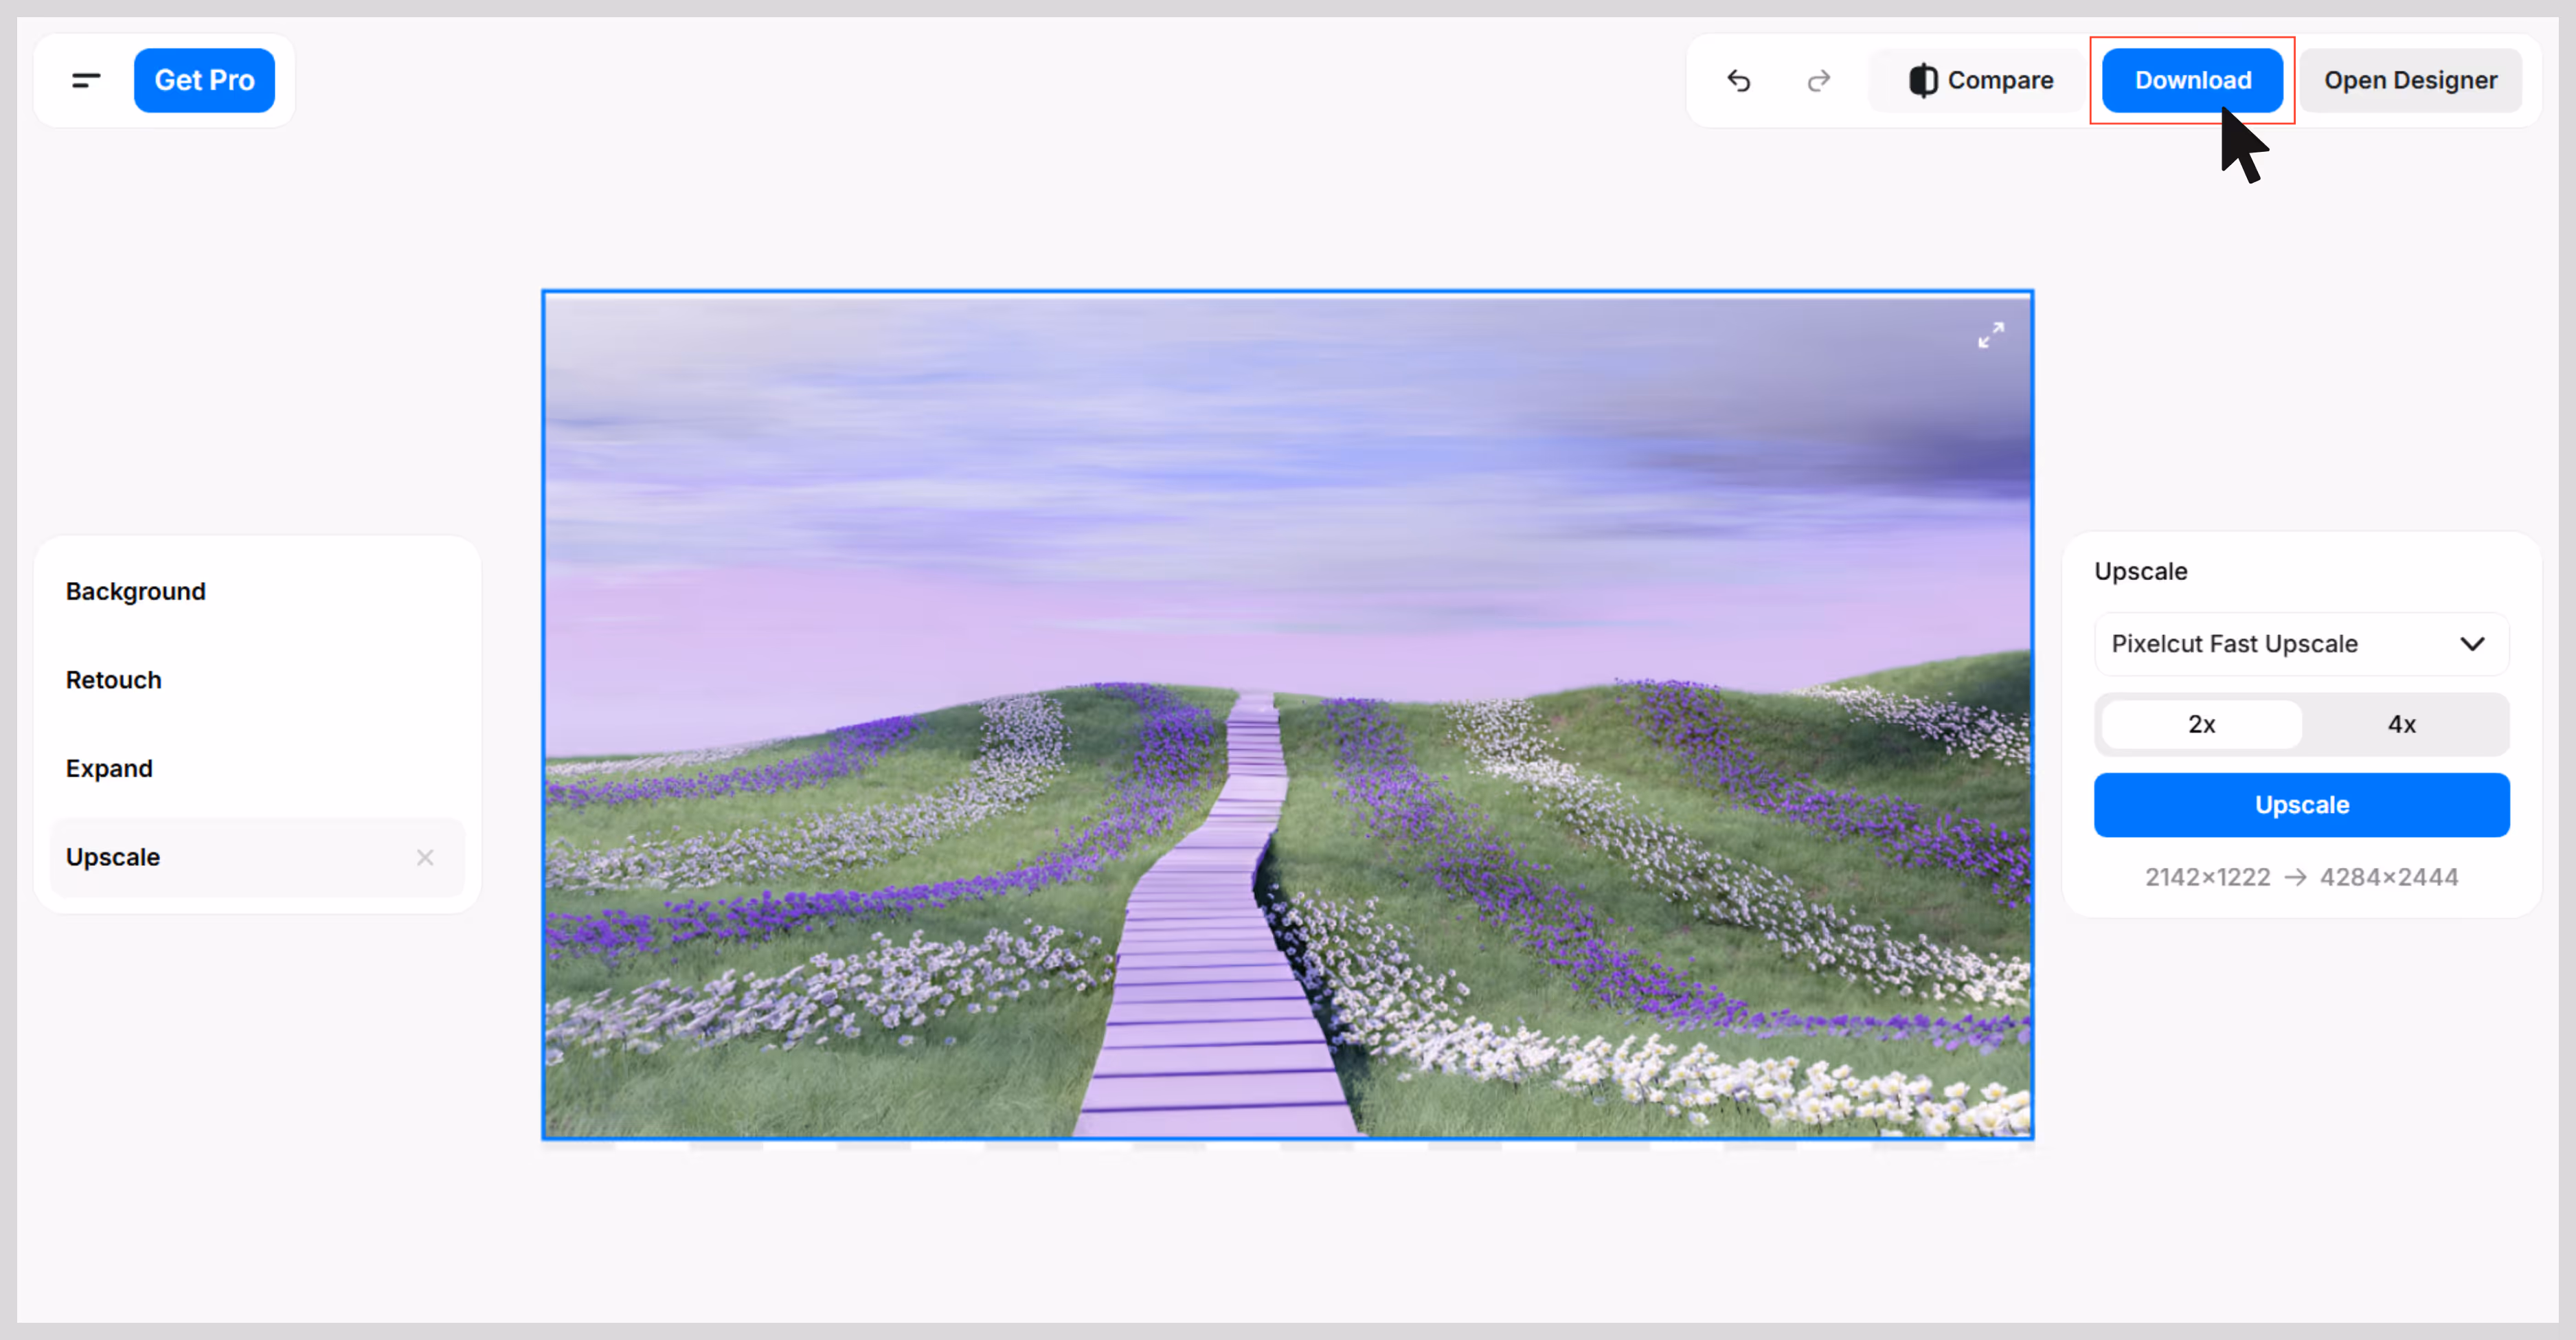
4. Pixelcut

Pixelcut is one of the top tools for fixing the quality of a product image or social media visuals. I tested it on a blurry product image on a white background, and the difference was visible, clarity and sharpness became high.
If you're seriously wondering how to fix low-quality images for your website or portfolio, Pixelcut is the perfect fit. Unlike some tools that try to over-fix missing details of the image, Pixelcut upscales the details by preserving details. It feels like a tool made for beginners where you can just upload, enhance, and download. What I liked:
- No sign-up is needed to try it.
- Works great for product photography, posters, and clean visual assets.
- One-click, easy-to-understand interface.
- Mobile-friendly and fast.
- The output image doesn’t feel overly processed.
Steps to upscale the image in Pixelcut
Step 1: Go to Pixelcut Image Upscaler.
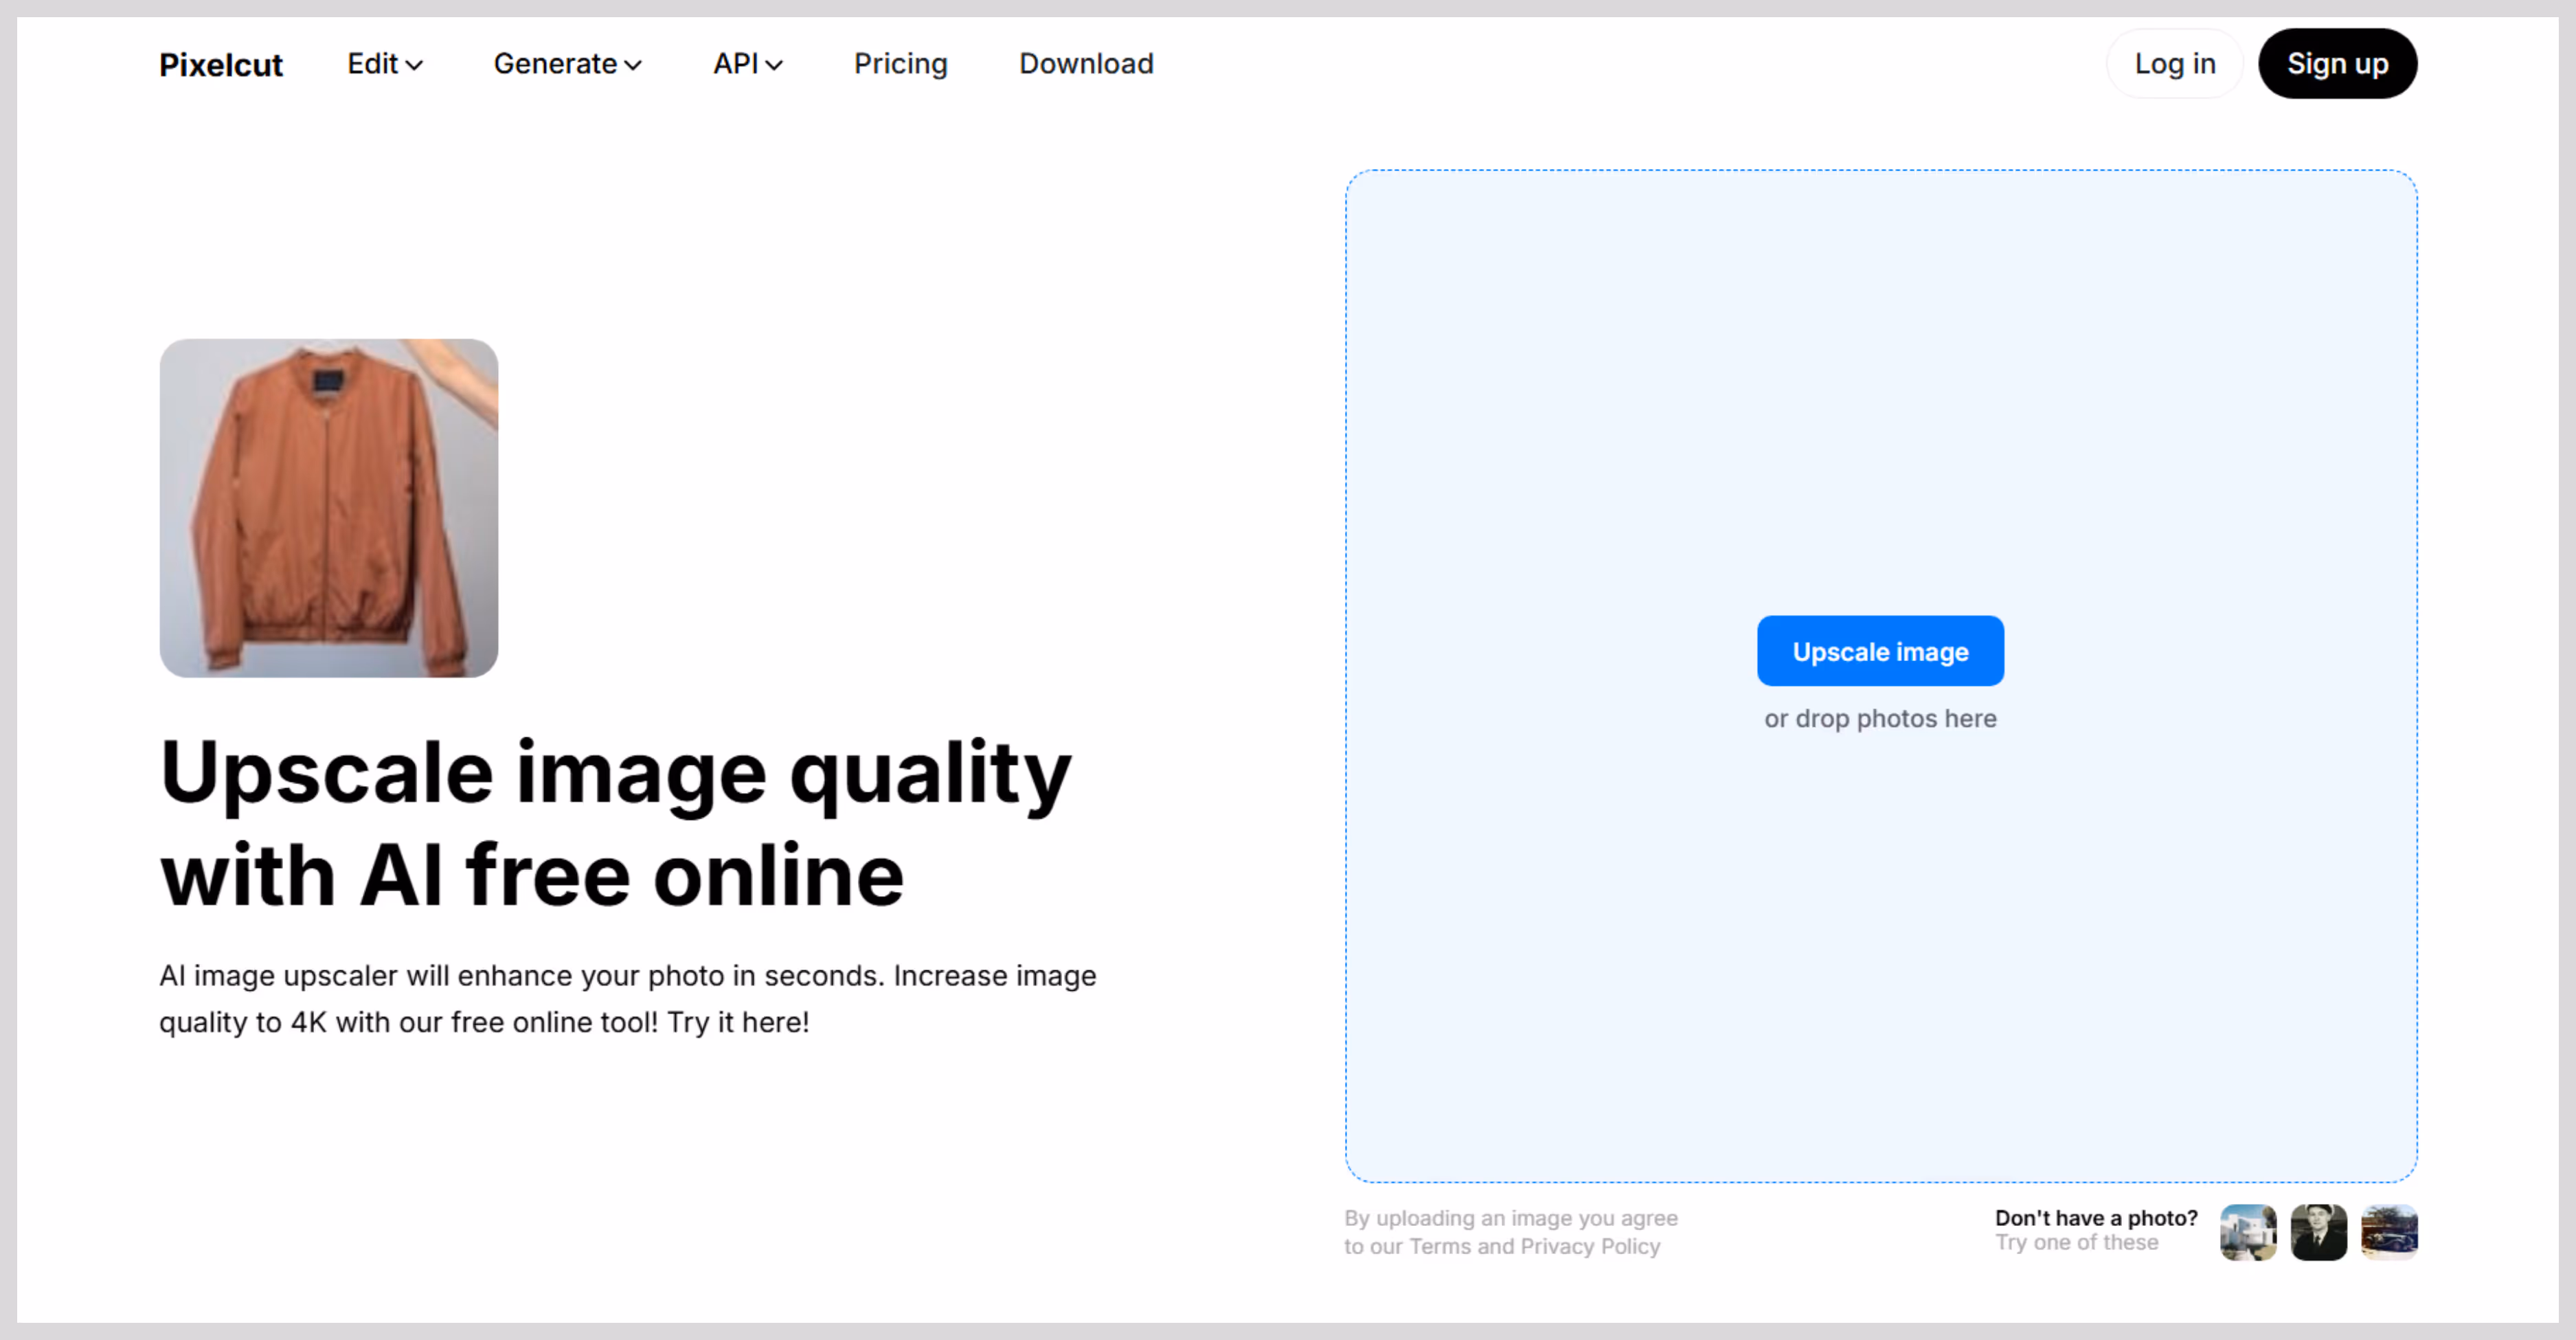
Step 2: Click “Upload Image” or drag and drop your file.
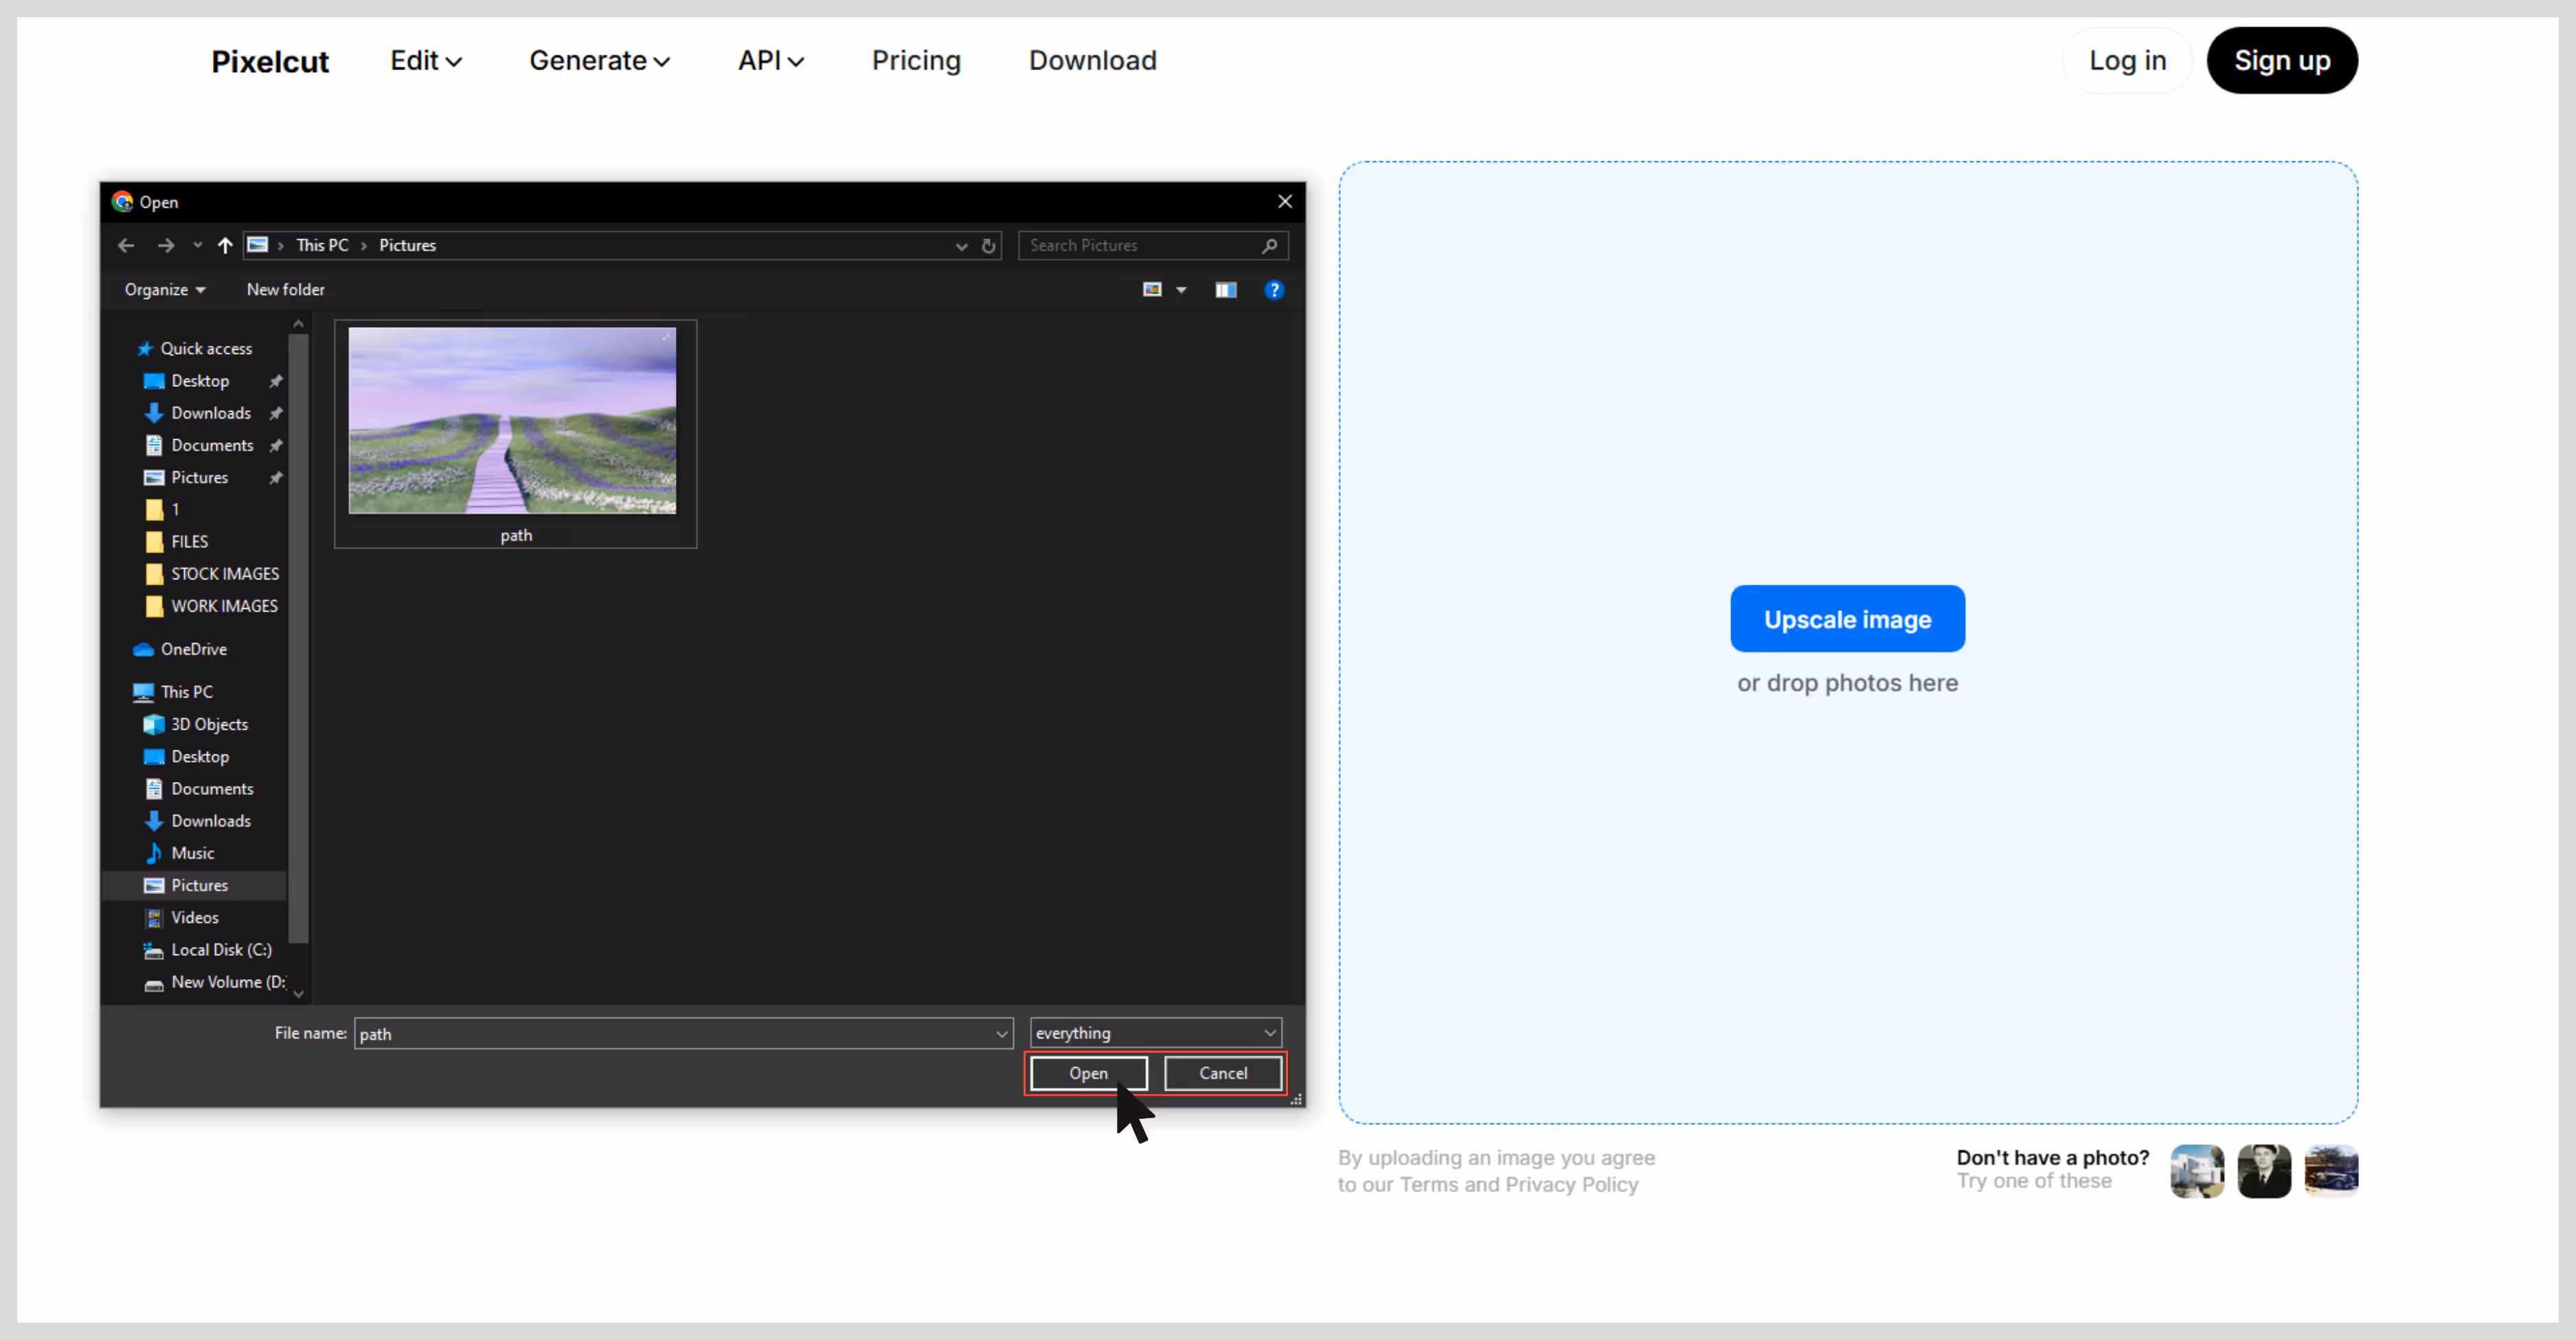
Step 3: Wait a few seconds — it auto-upscales at 4x.
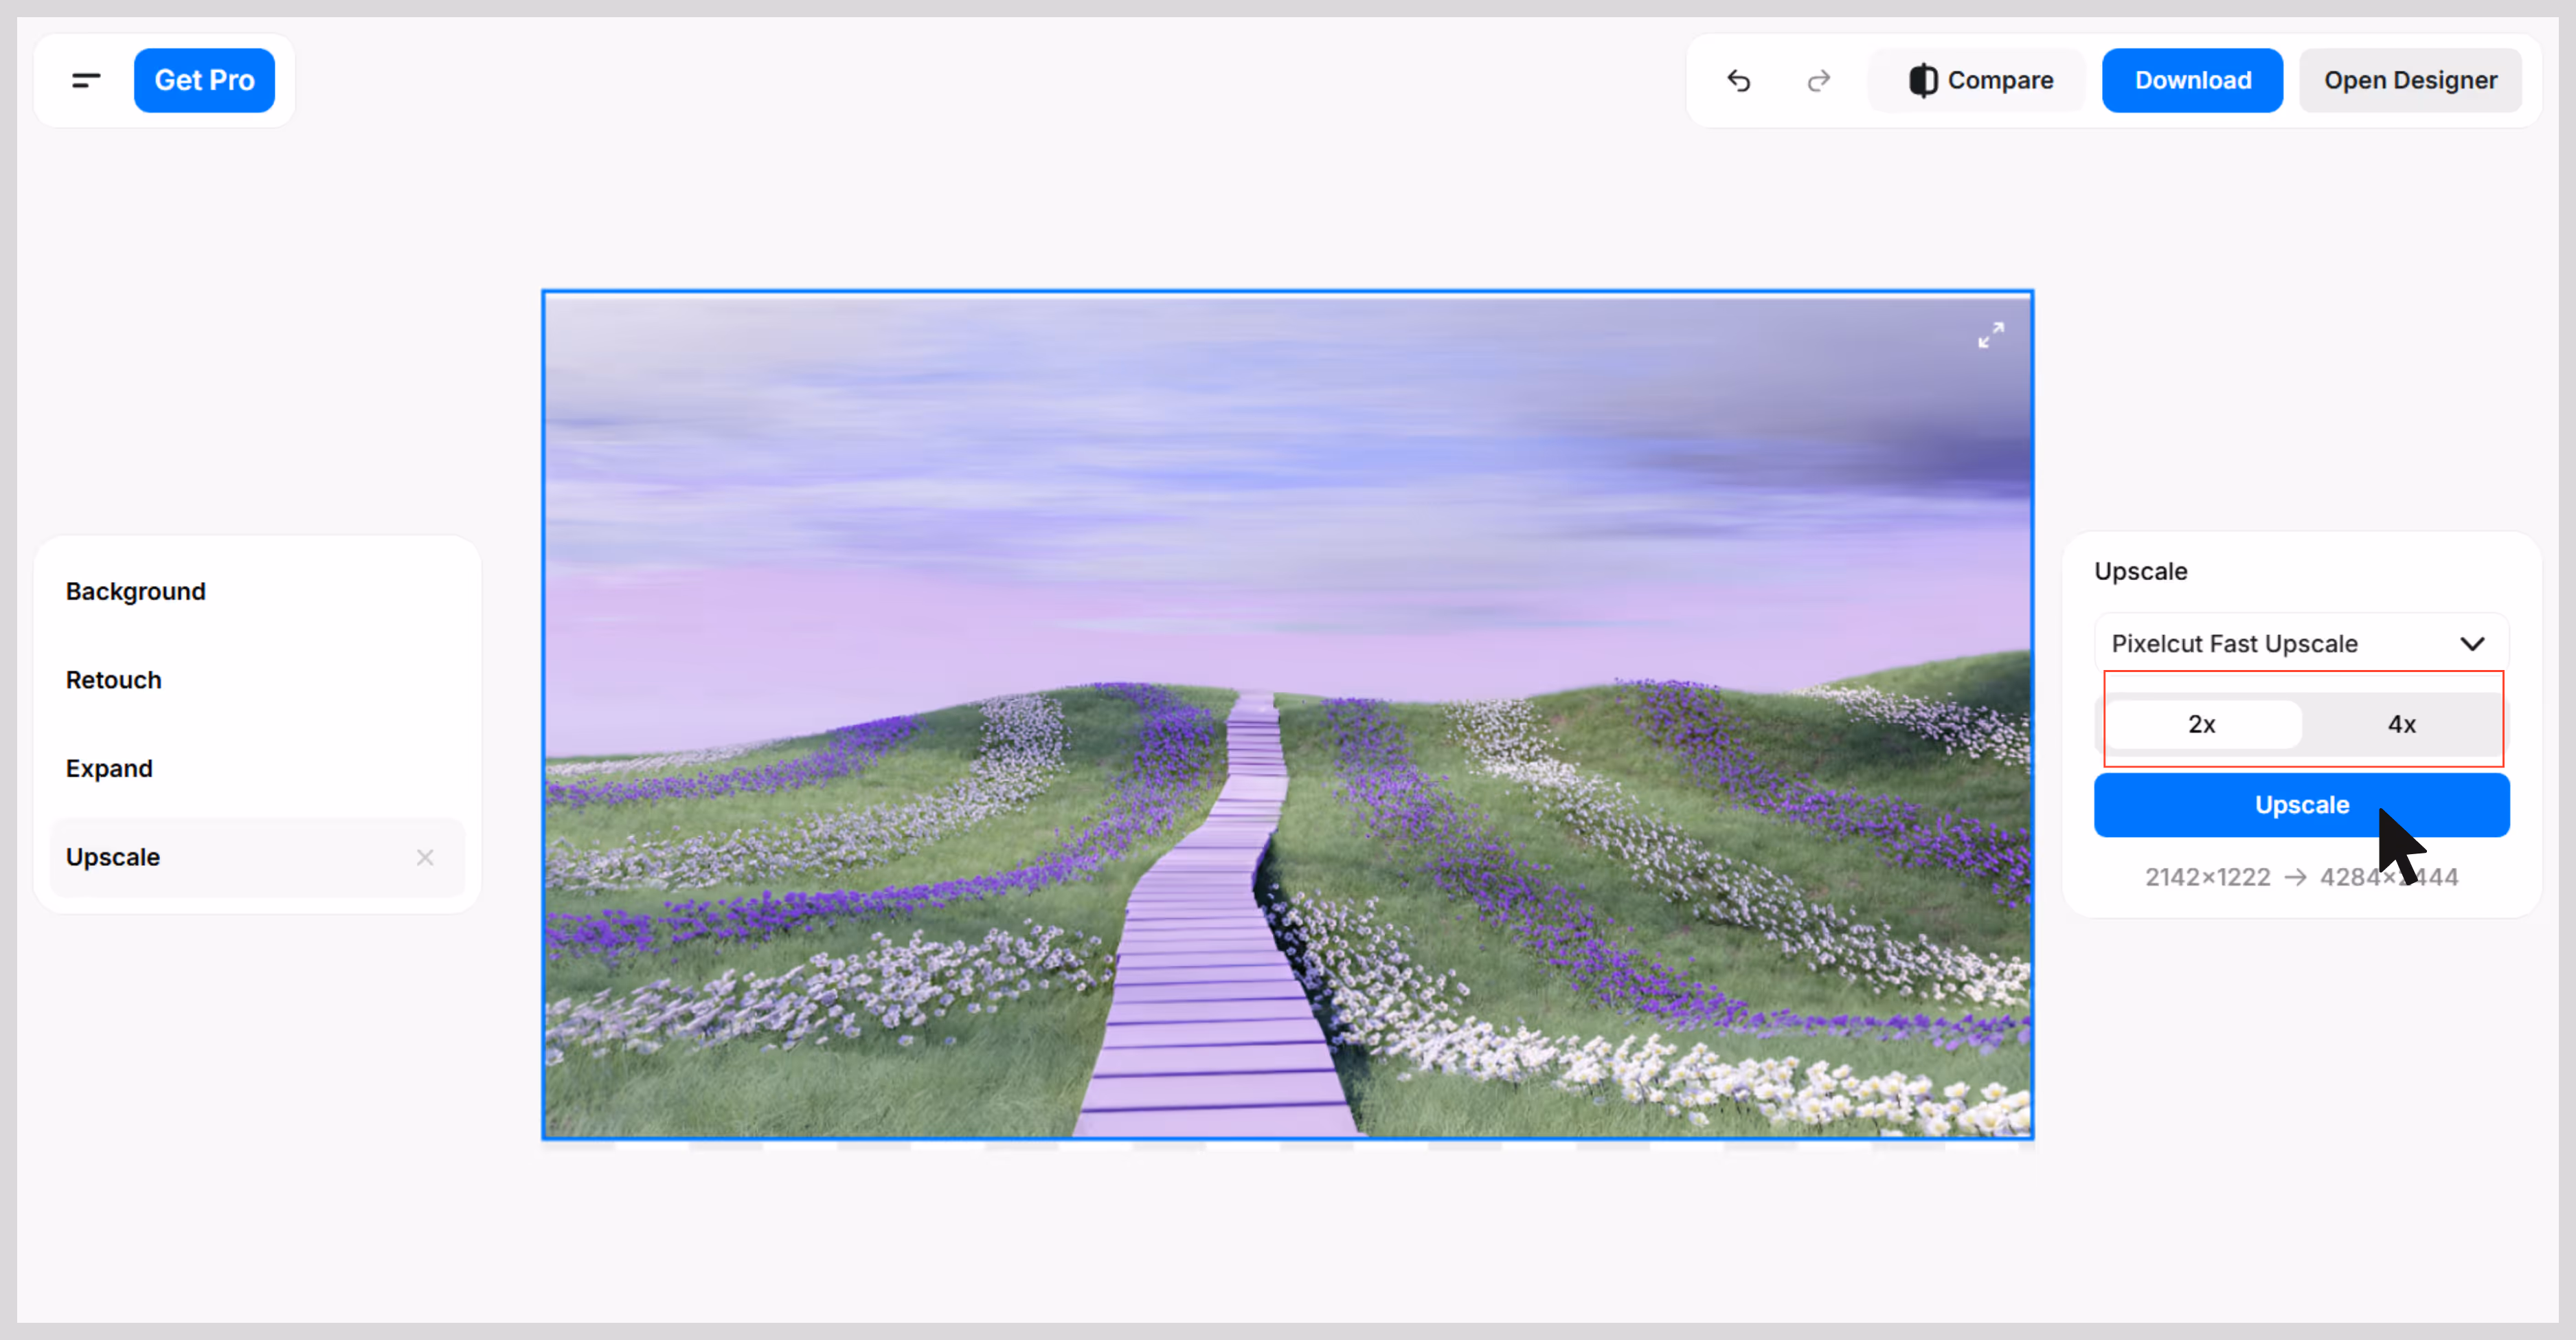
Step 4: Preview the result, then download the upscaled image.
5. Picsart
Picsart is an AI image upscaling tool that’s ideal for enhancing designs or illustrations. I tried Picsart’s Upscaler with a travel image, which looked nice back then, but now, when I view it on my laptop, it looks blurry and grainy.
After upscaling my image through a 4x image scale, the result blew my mind; edges looked cleaner, the texture was sharper, and the colors looked vibrant. This tool can upscale images to look crisp, which is perfect for content creators, marketers, and designers. What I liked:
- Supports JPG and PNG image formats.
- Free use is available.
- Web-based, no software installation needed.
- Free upscaling is available for up to 4x.
- Easy and simple interface.
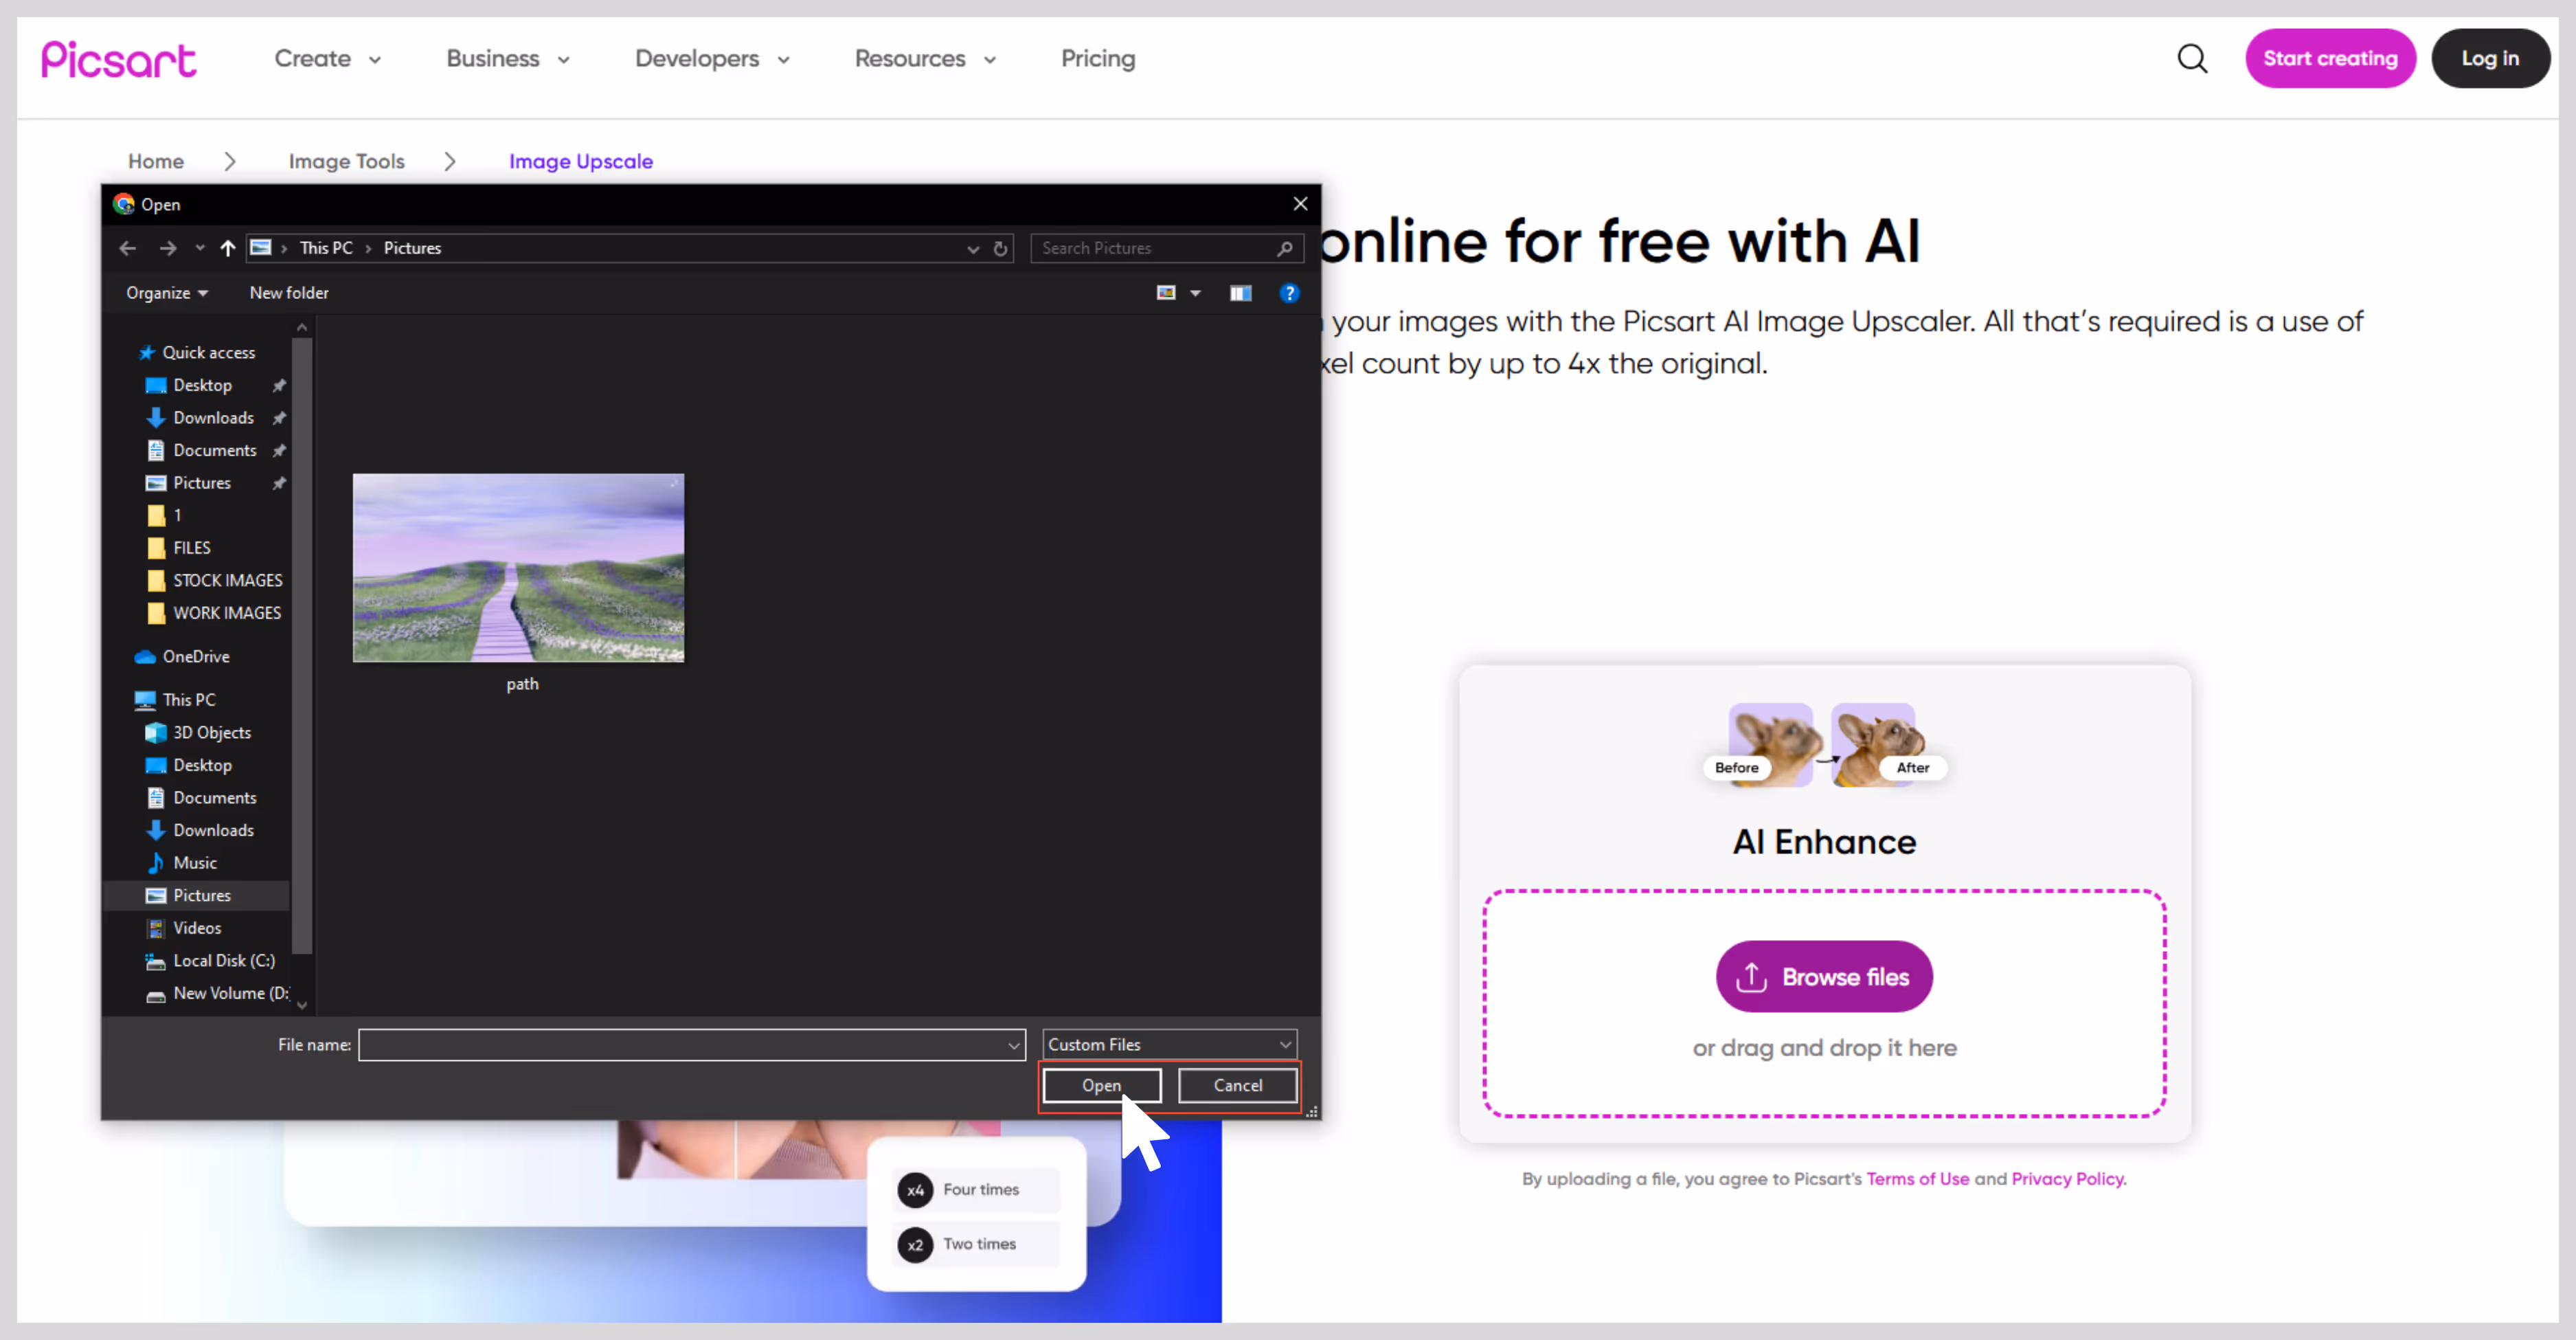
Steps to fix low-quality images in Picsart
Step 1: Go to the Picsart Image Upscaler page.
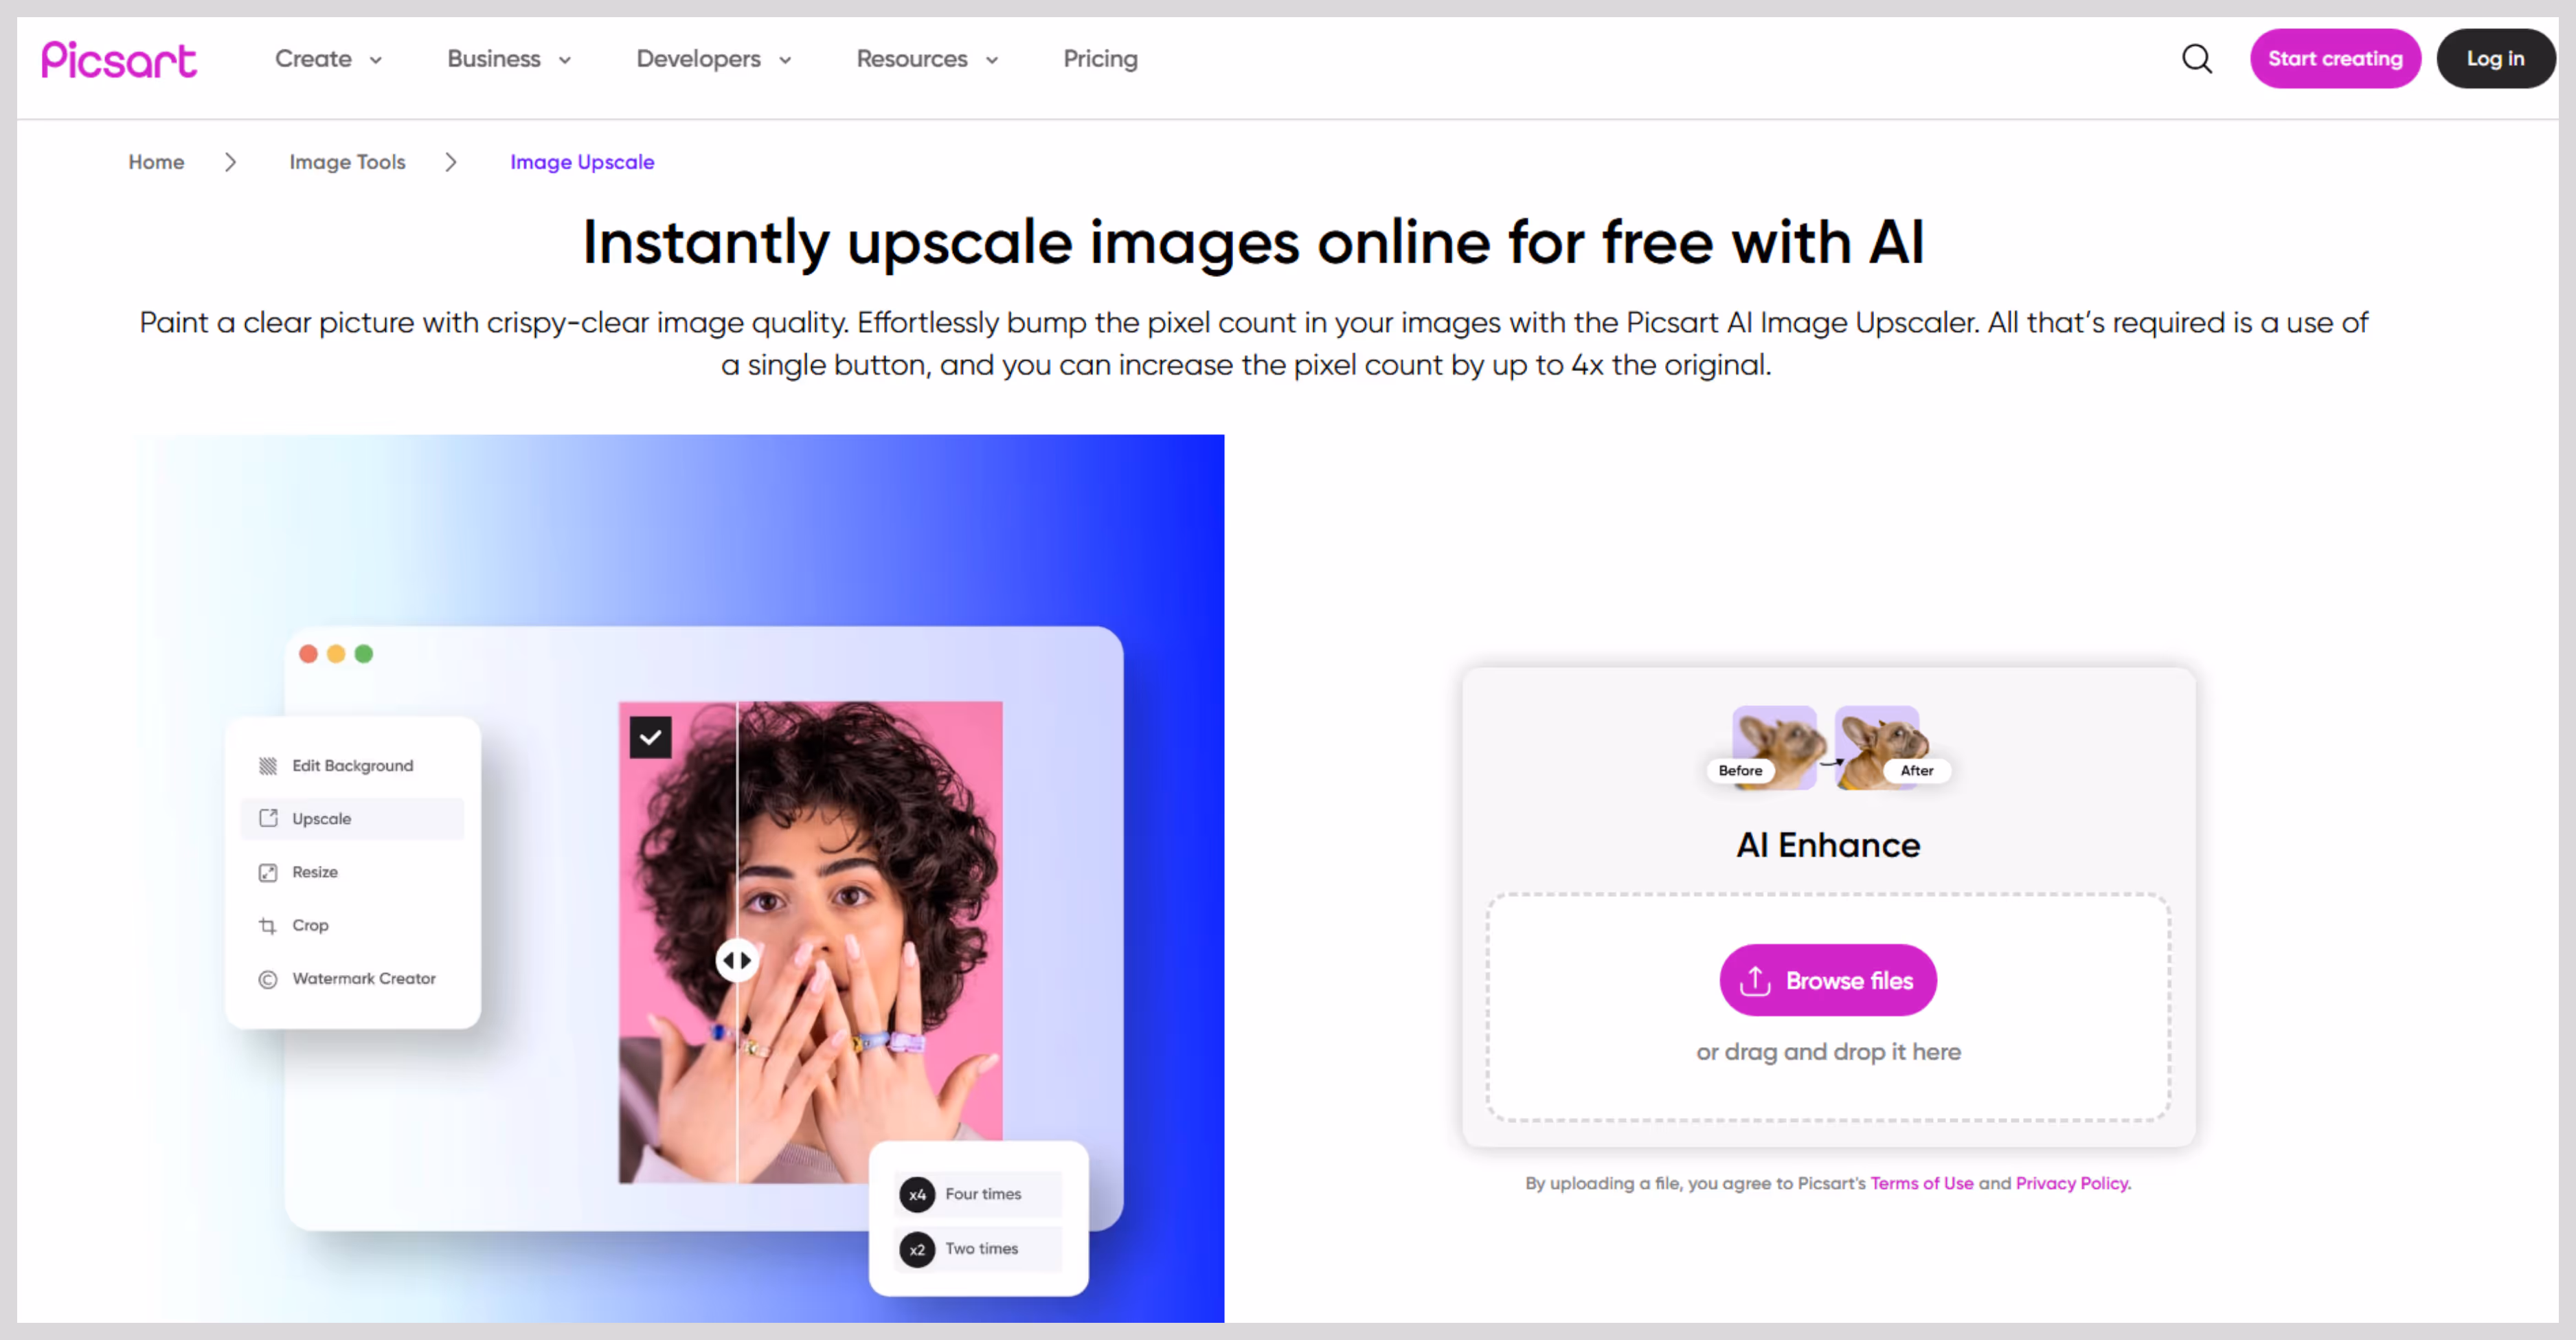
Step 2: Upload your image by clicking on the “Upload an image” button.
Step 3: After uploading, AI starts enhancing automatically and removes blur, sharpens the edges, and adds pixel count.
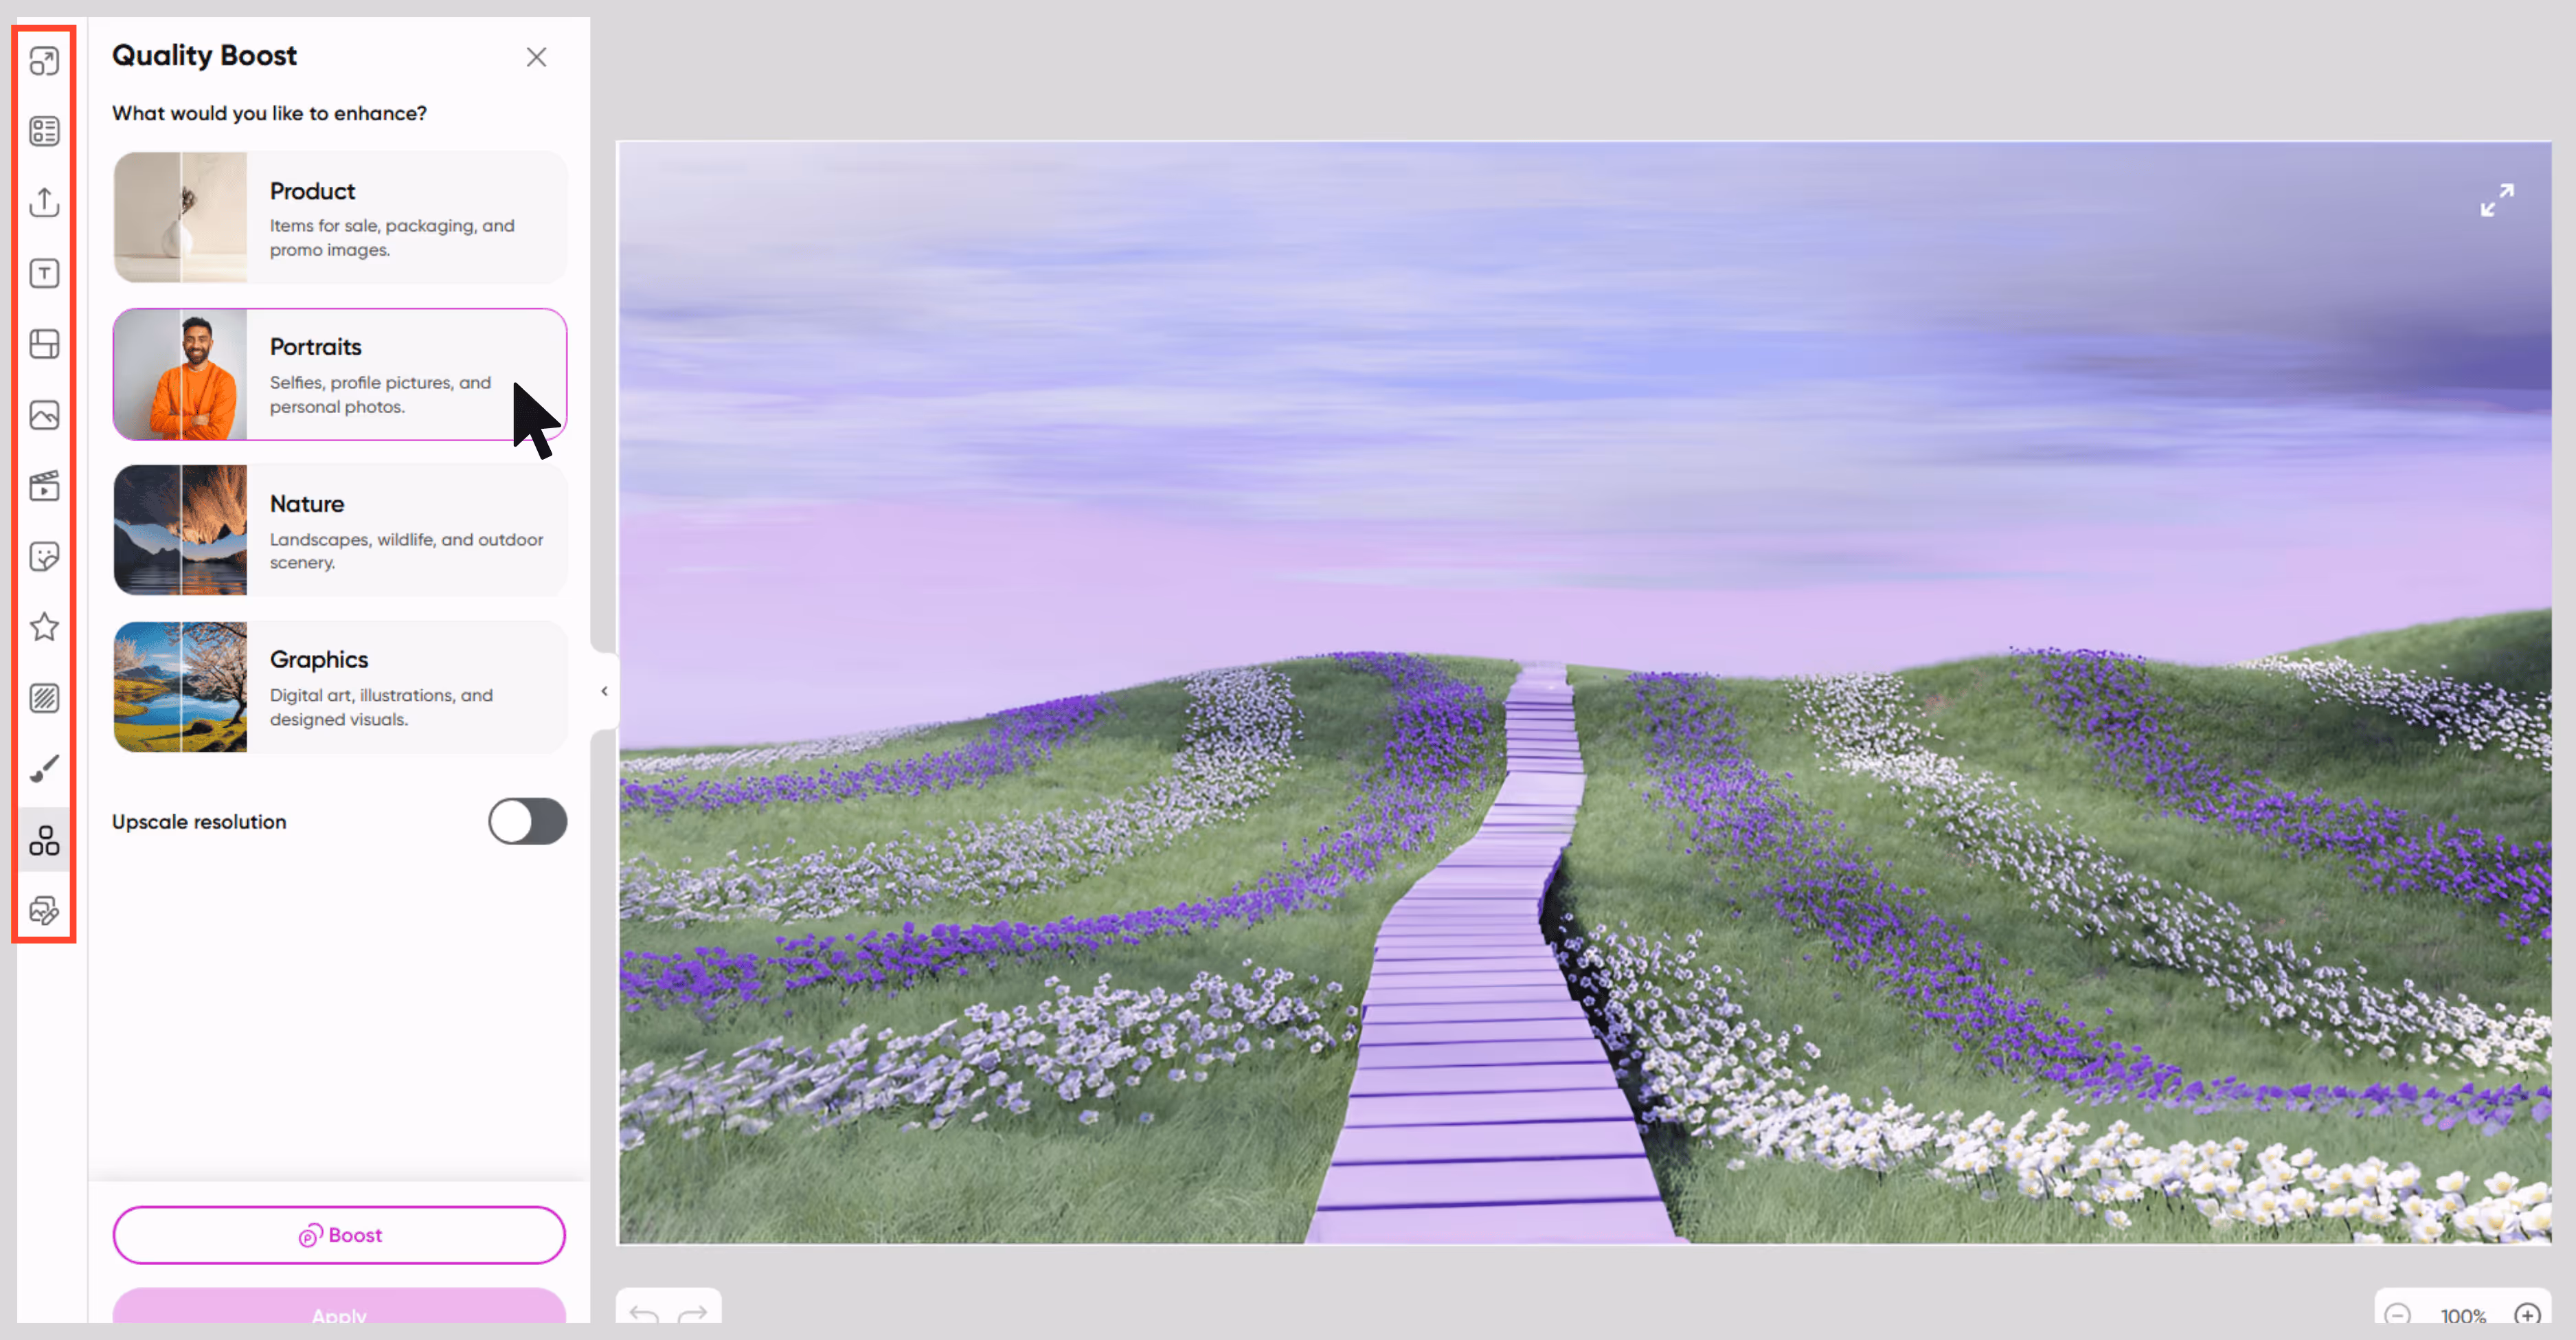
Step 4: Once done, just download it.

6. Cutout.pro
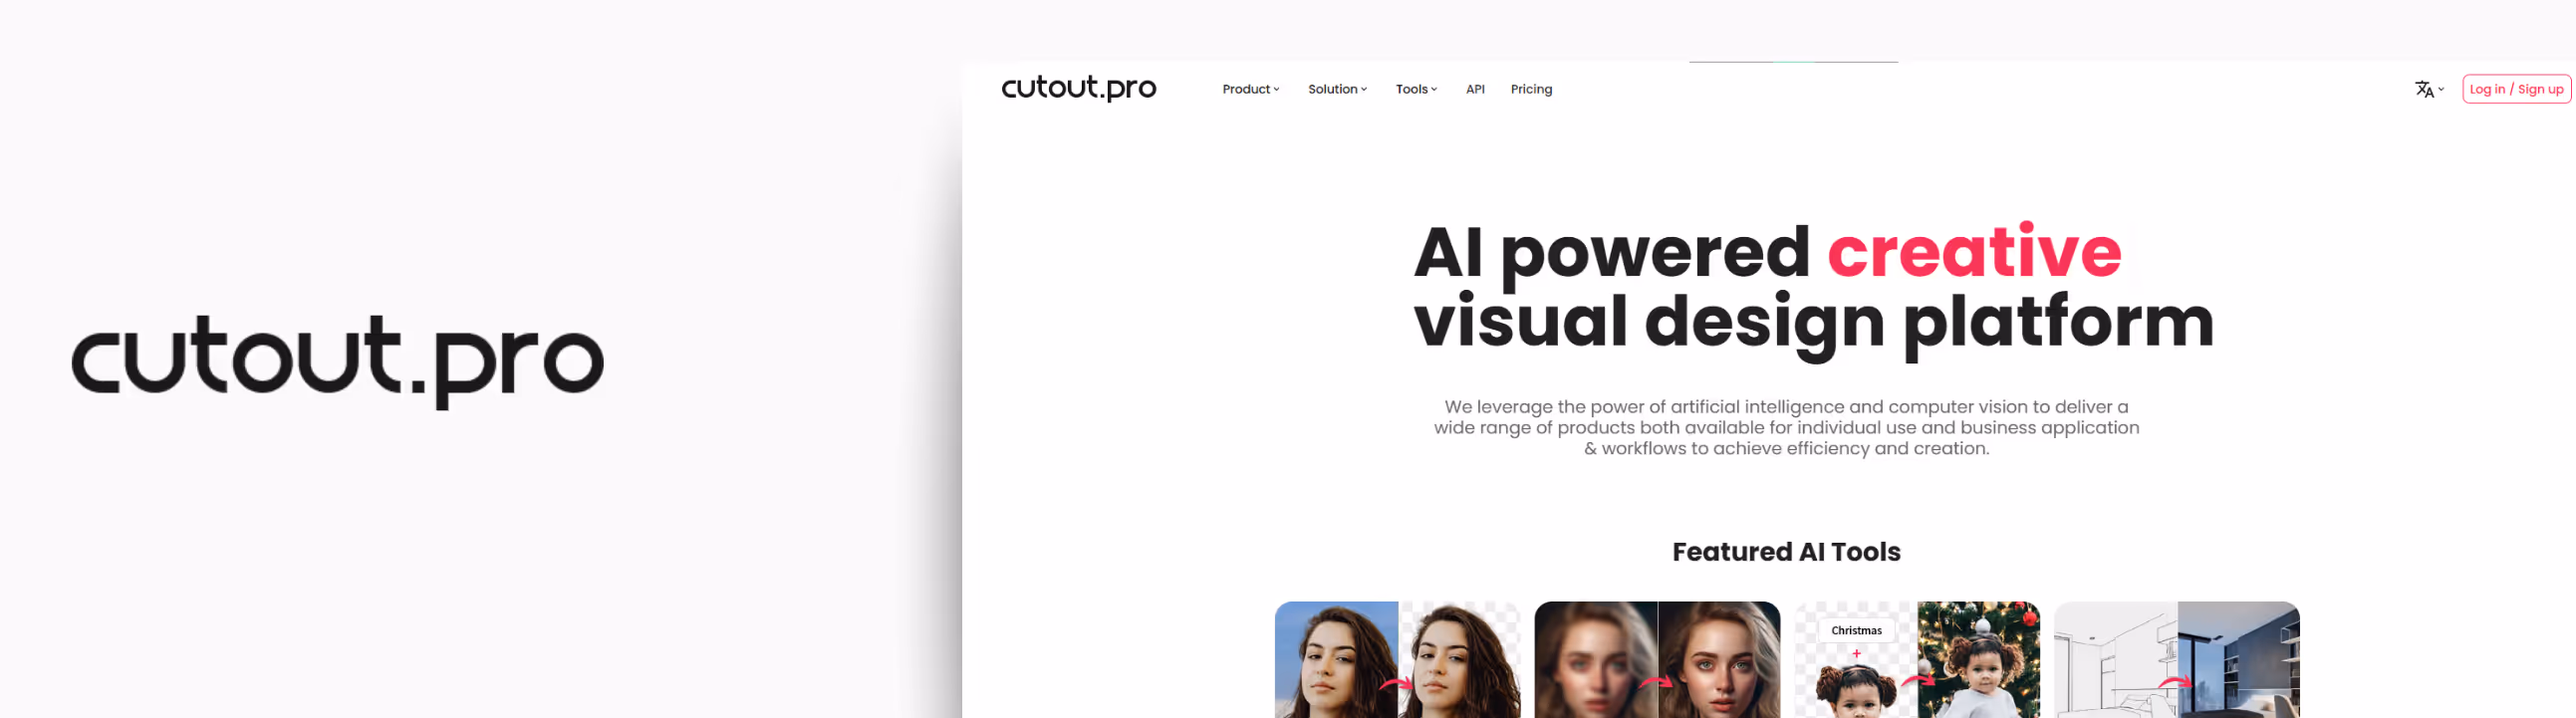
One of the most reliable tools for both face enhancement and upscaling the texture while fixing low-quality images. I used Cutout.pro on an old selfie that was compressed and had blurry spots. After upscaling, facial details were clearer, and it even balanced out the background noise. It’s a great tool if you want to fix low-quality image files with people or faces in them. What I liked:
- Inbuilt free enhancement app is available.
- Good for low-light shots or compressed images.
- Batch processing for multiple files is available for heavy workloads.
- Easy drag and drop of image that you want to upscale.
Steps to fix low-quality image in Cutout.pro
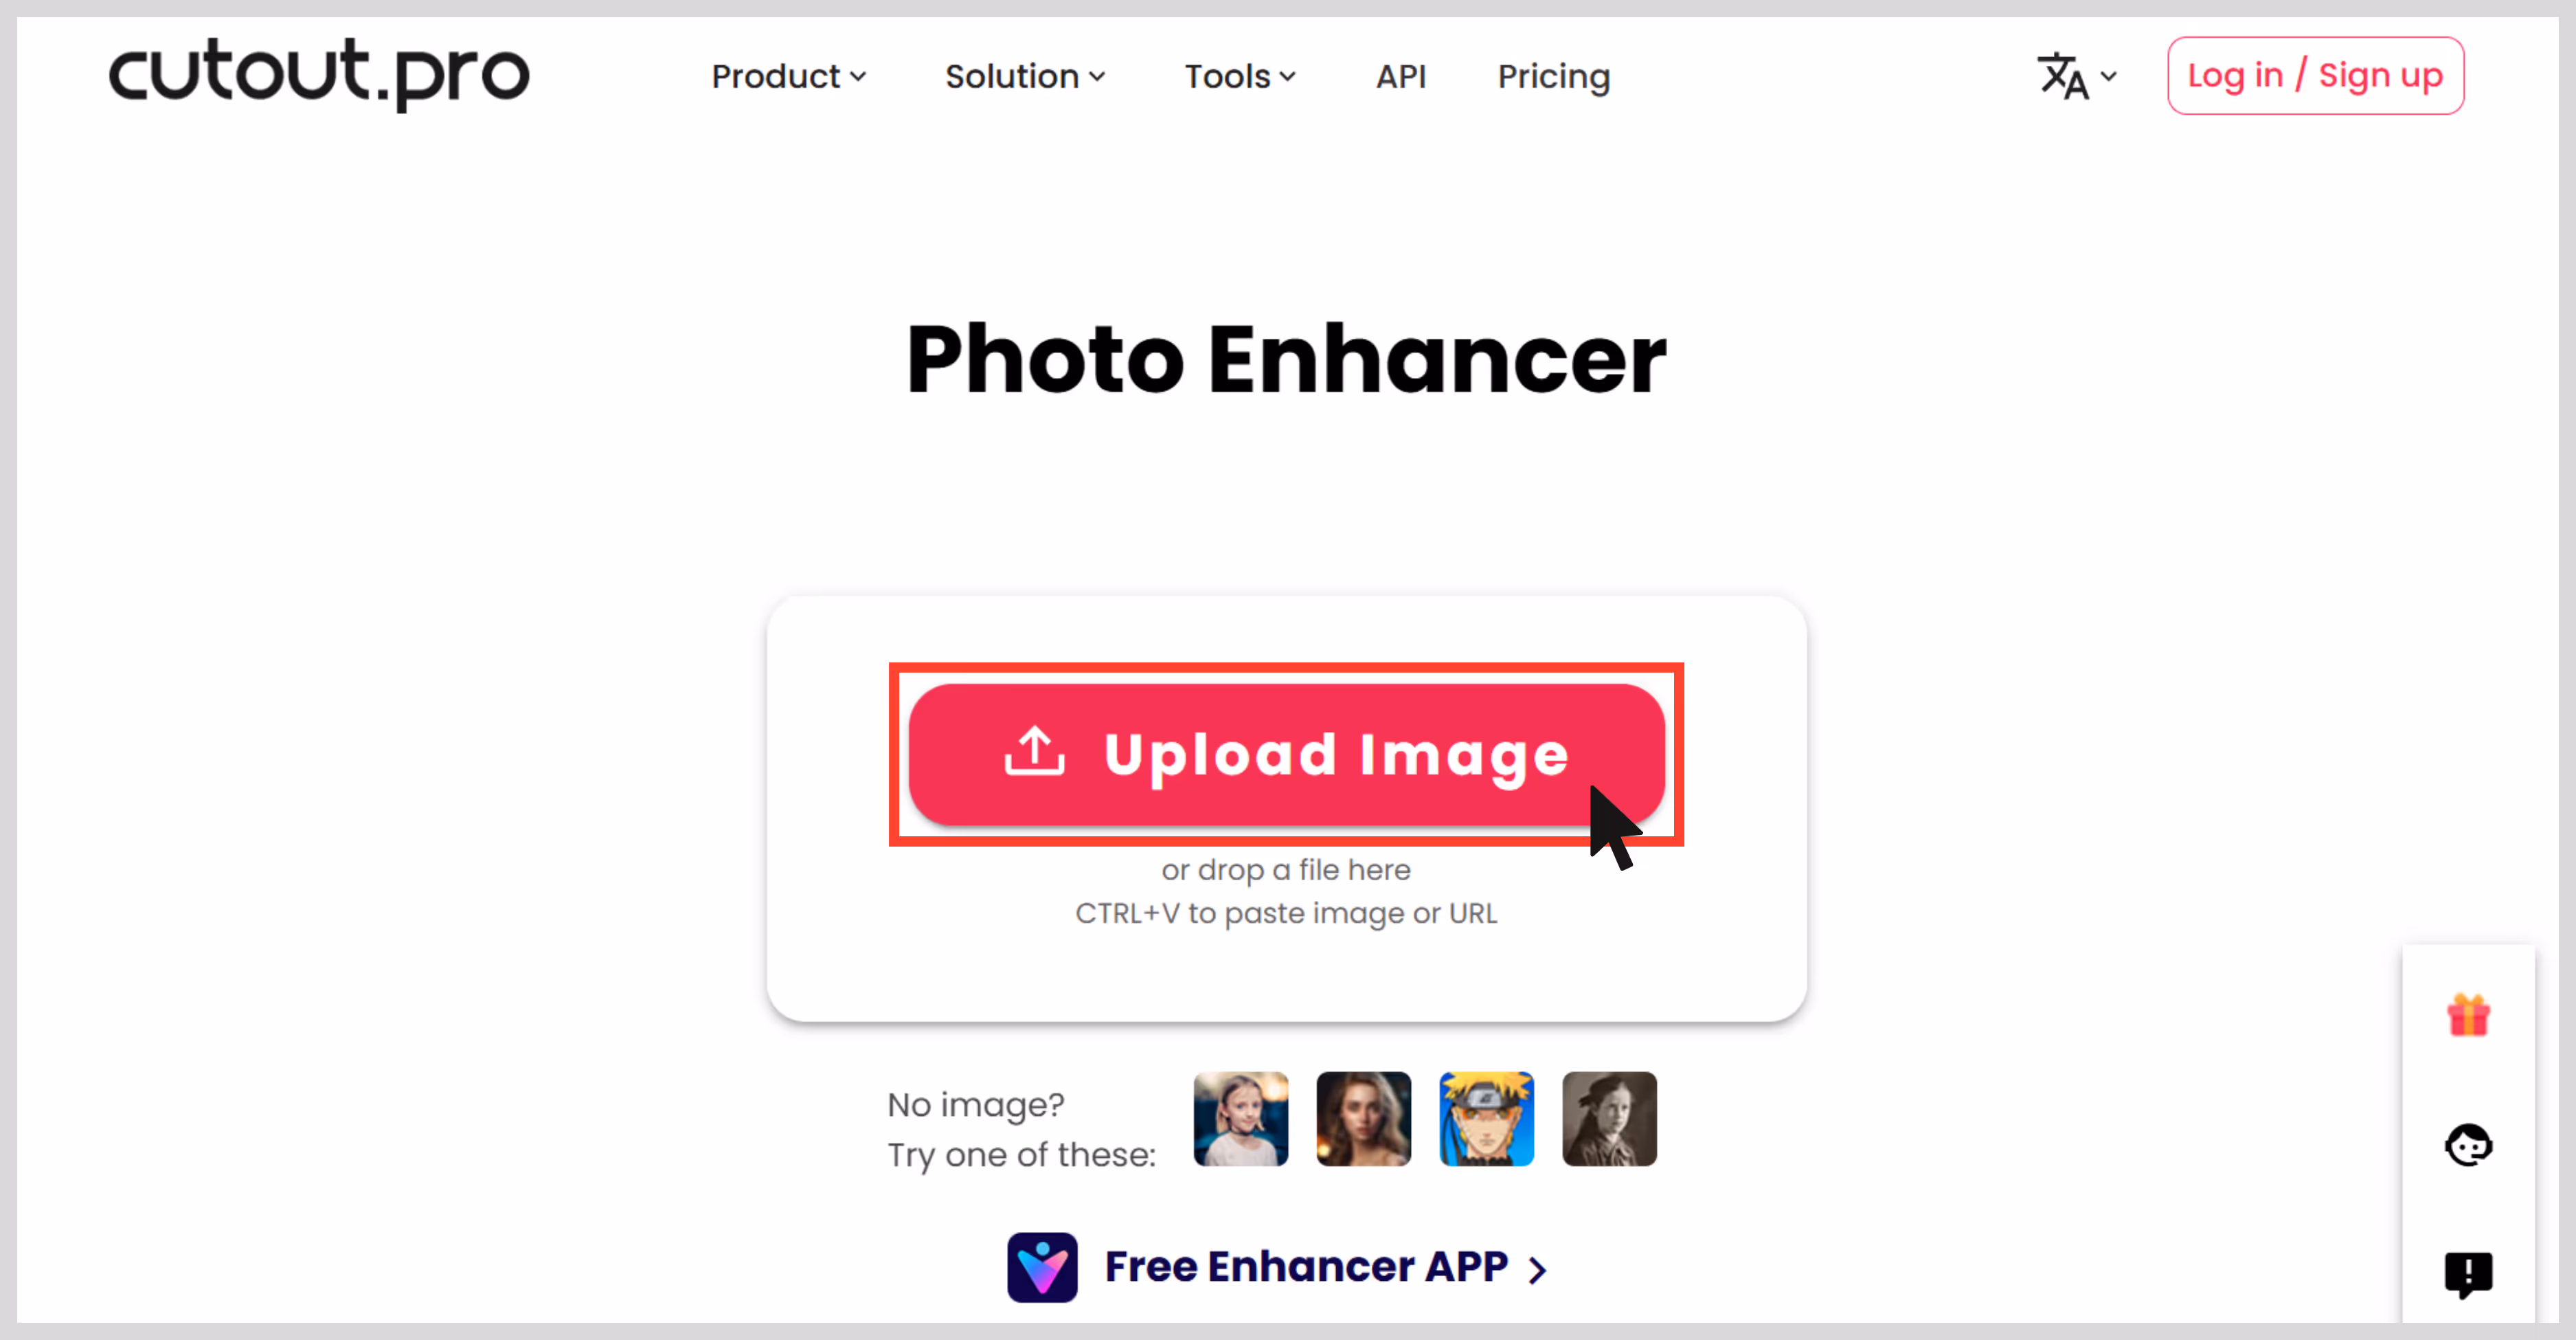
Step 1: Go to Cutout.pro.
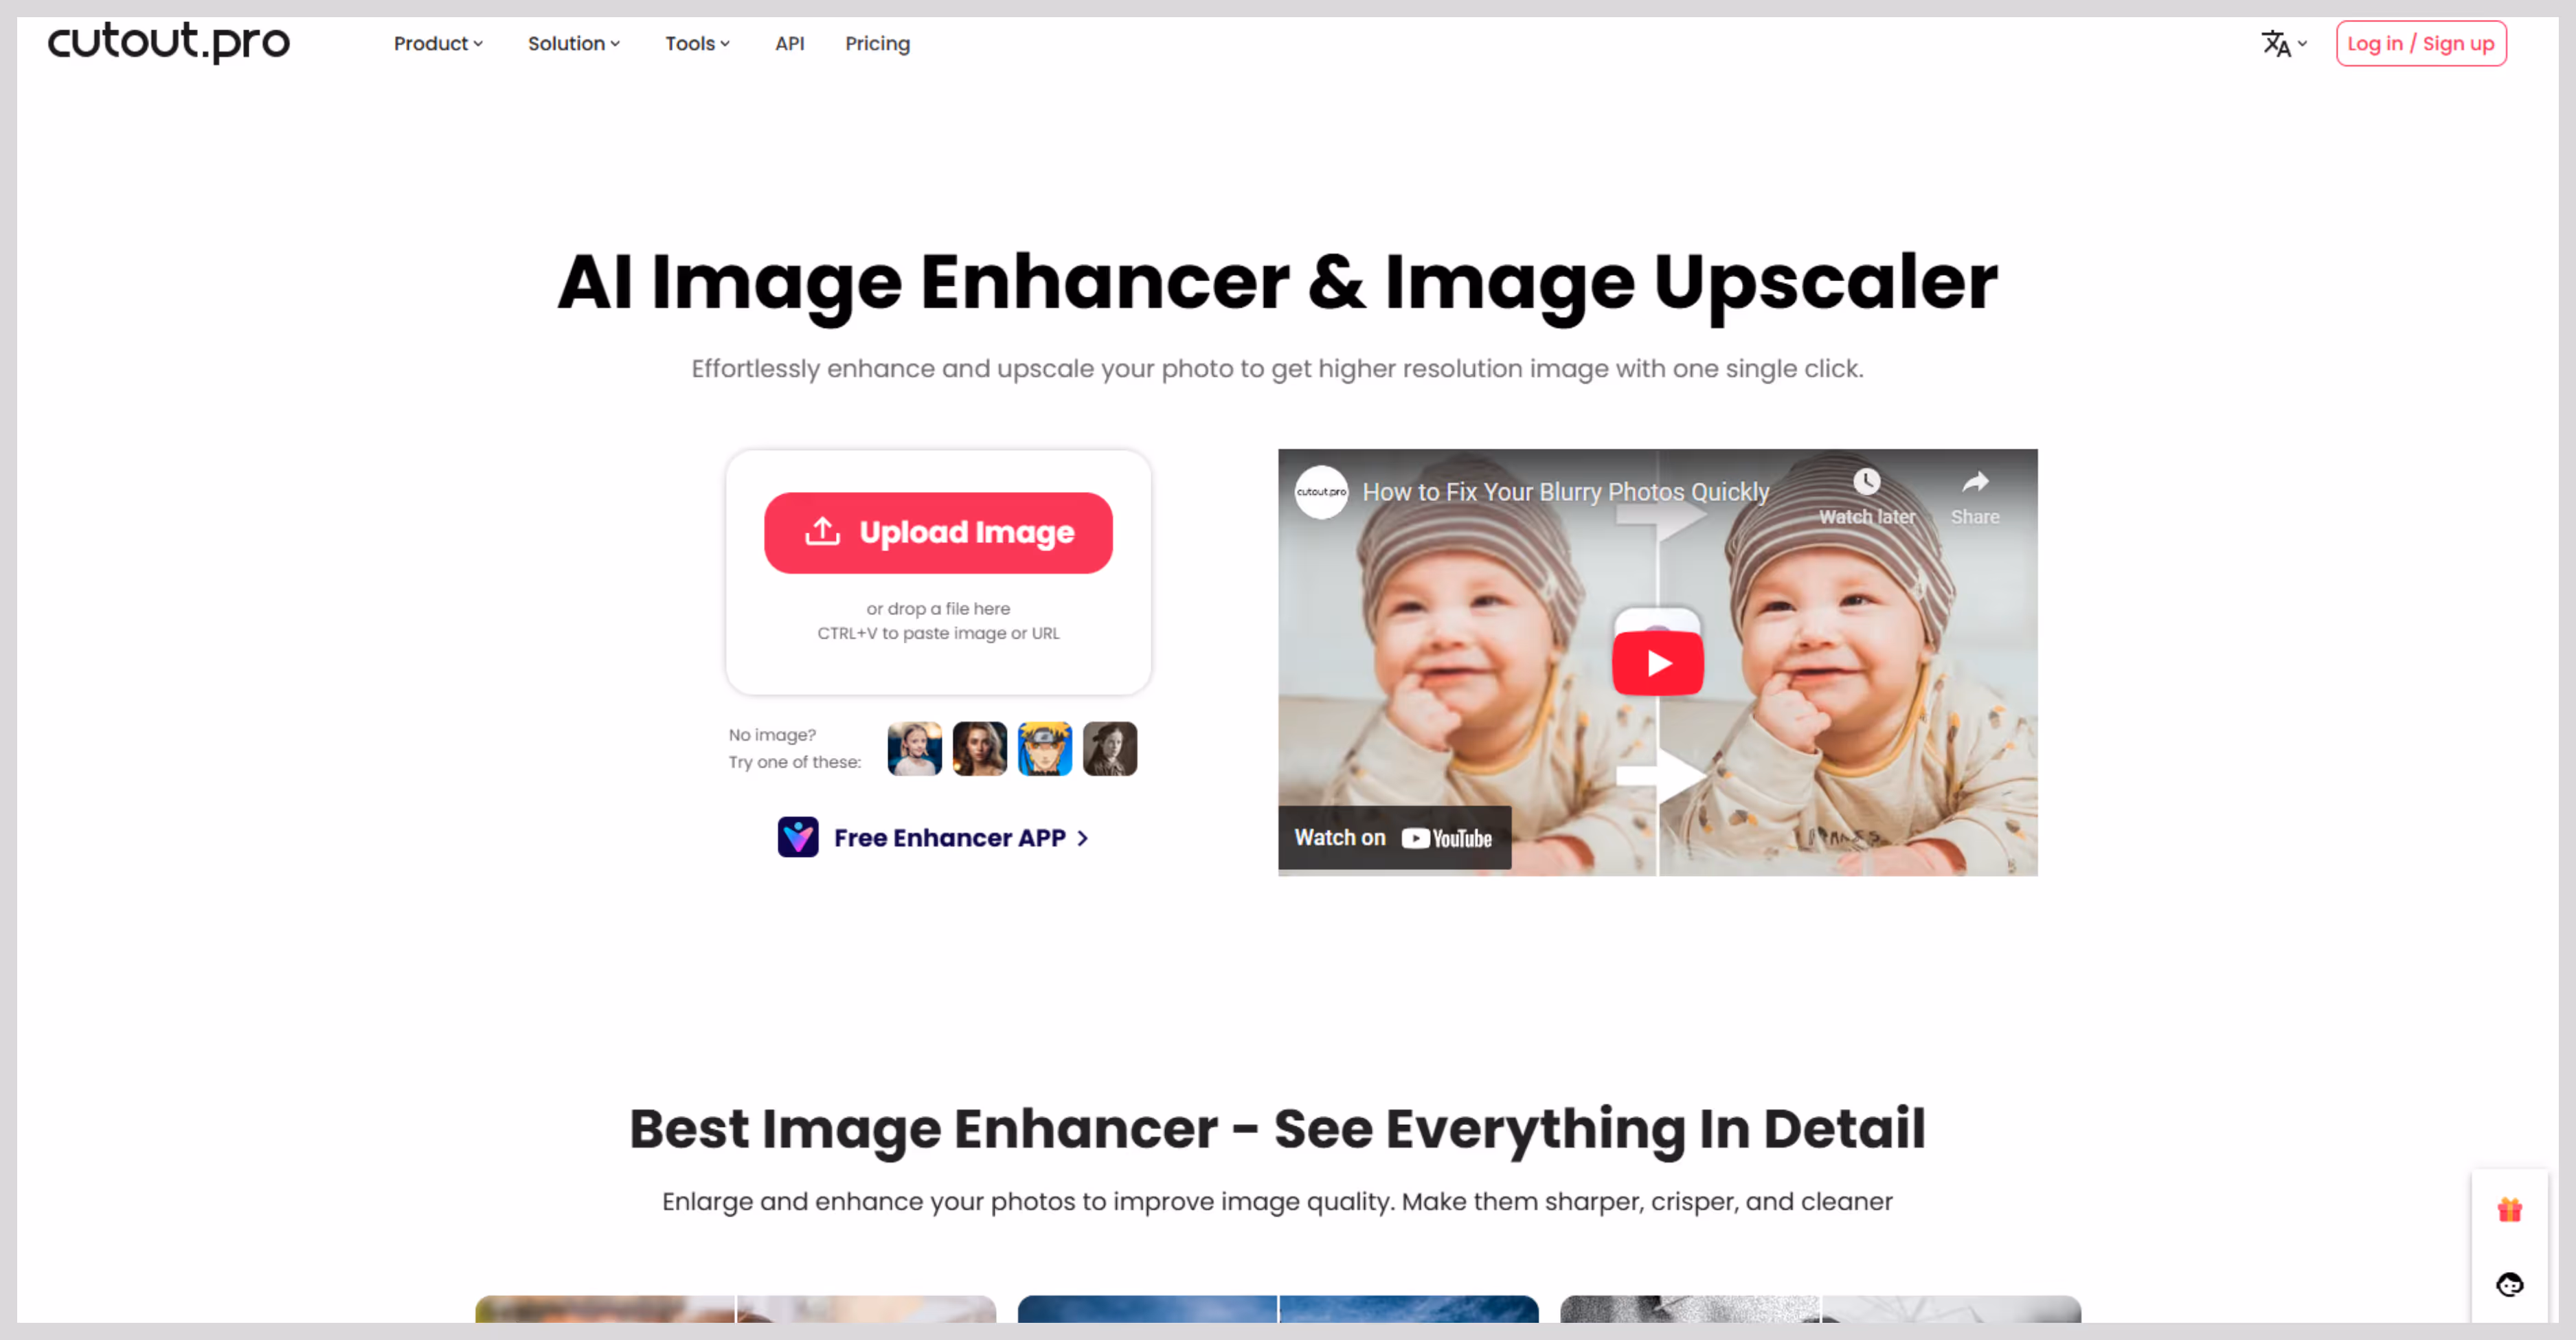
Step 2: Upload your photo (portrait or regular). Upload and just for the processing time.
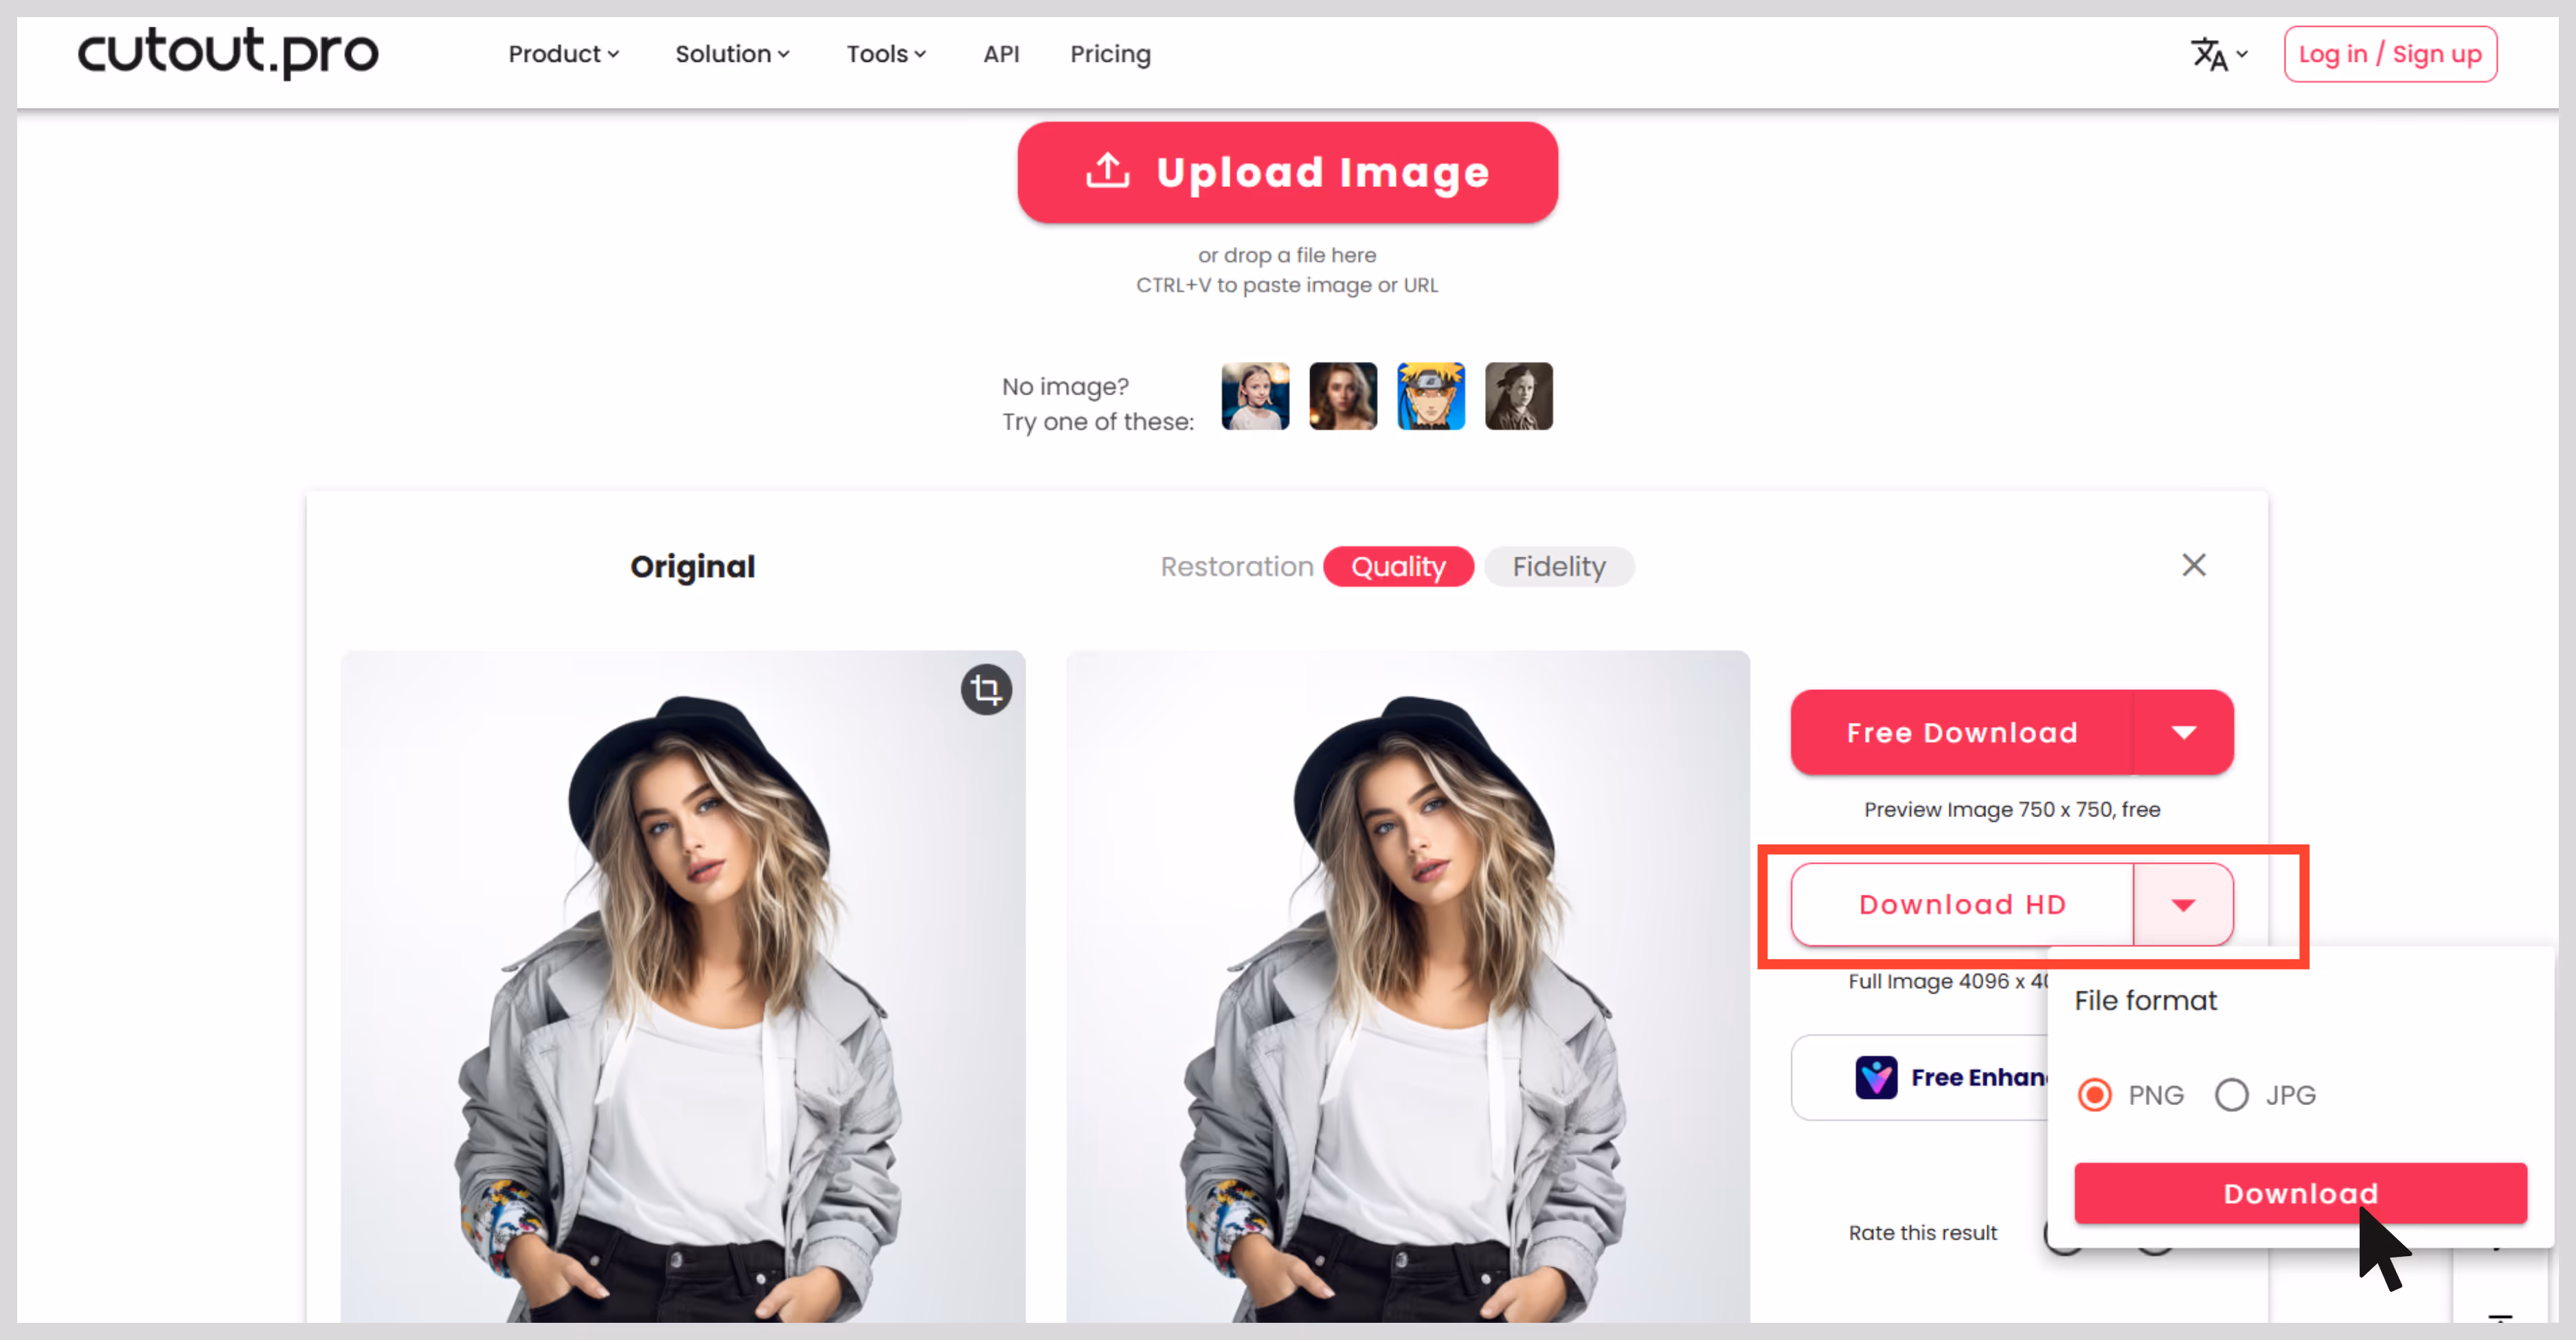
Step 3: Once done just download the output in the preferred format. If you want to enhance the image a bit more then click on the free enhancer app with which you can create your image to cartoon, anime, passport size, denoising old photos and more.
Final thought
If you’re looking for a simple tool that provides high-quality images then Pixelbin is the best tool for image upscaling. However, other tools like Fotor, Pixelcut, Picsart and others offer features like face enhancement, background remover, and more.
To avoid ending up with low-quality images, try to start with the best resolution you can get your hands on. Always save your images in formats like PNG or TIFF, they hold onto more detail. Also, be mindful about editing the same image over and over, especially if you're saving it as a JPEG because it leads to low quality.
FAQs
You can either manually enhance it using tools like Photoshop or use AI-based tools like Pixelbin, Fotor, or Upscale.media to automatically improve sharpness, resolution, and clarity.
PPI (Pixels Per Inch) relates to screen resolution, while DPI (Dots Per Inch) is used for print. Higher values mean higher clarity in respective mediums.
Yes, upscaling adds new pixels. AI-based tools predict and fill in the missing data using deep learning models for better quality.
Yes, most tools like Pixelbin, Upscale.media, and Fotor offer free versions with limited upscales or watermarked downloads.
Yes. Higher resolution and more pixel data result in larger file sizes. You can control this by choosing the right format and compression level.
For best quality, save images in PNG, TIFF, or WebP. These formats preserve detail better than JPEG, especially after edits or enhancements.