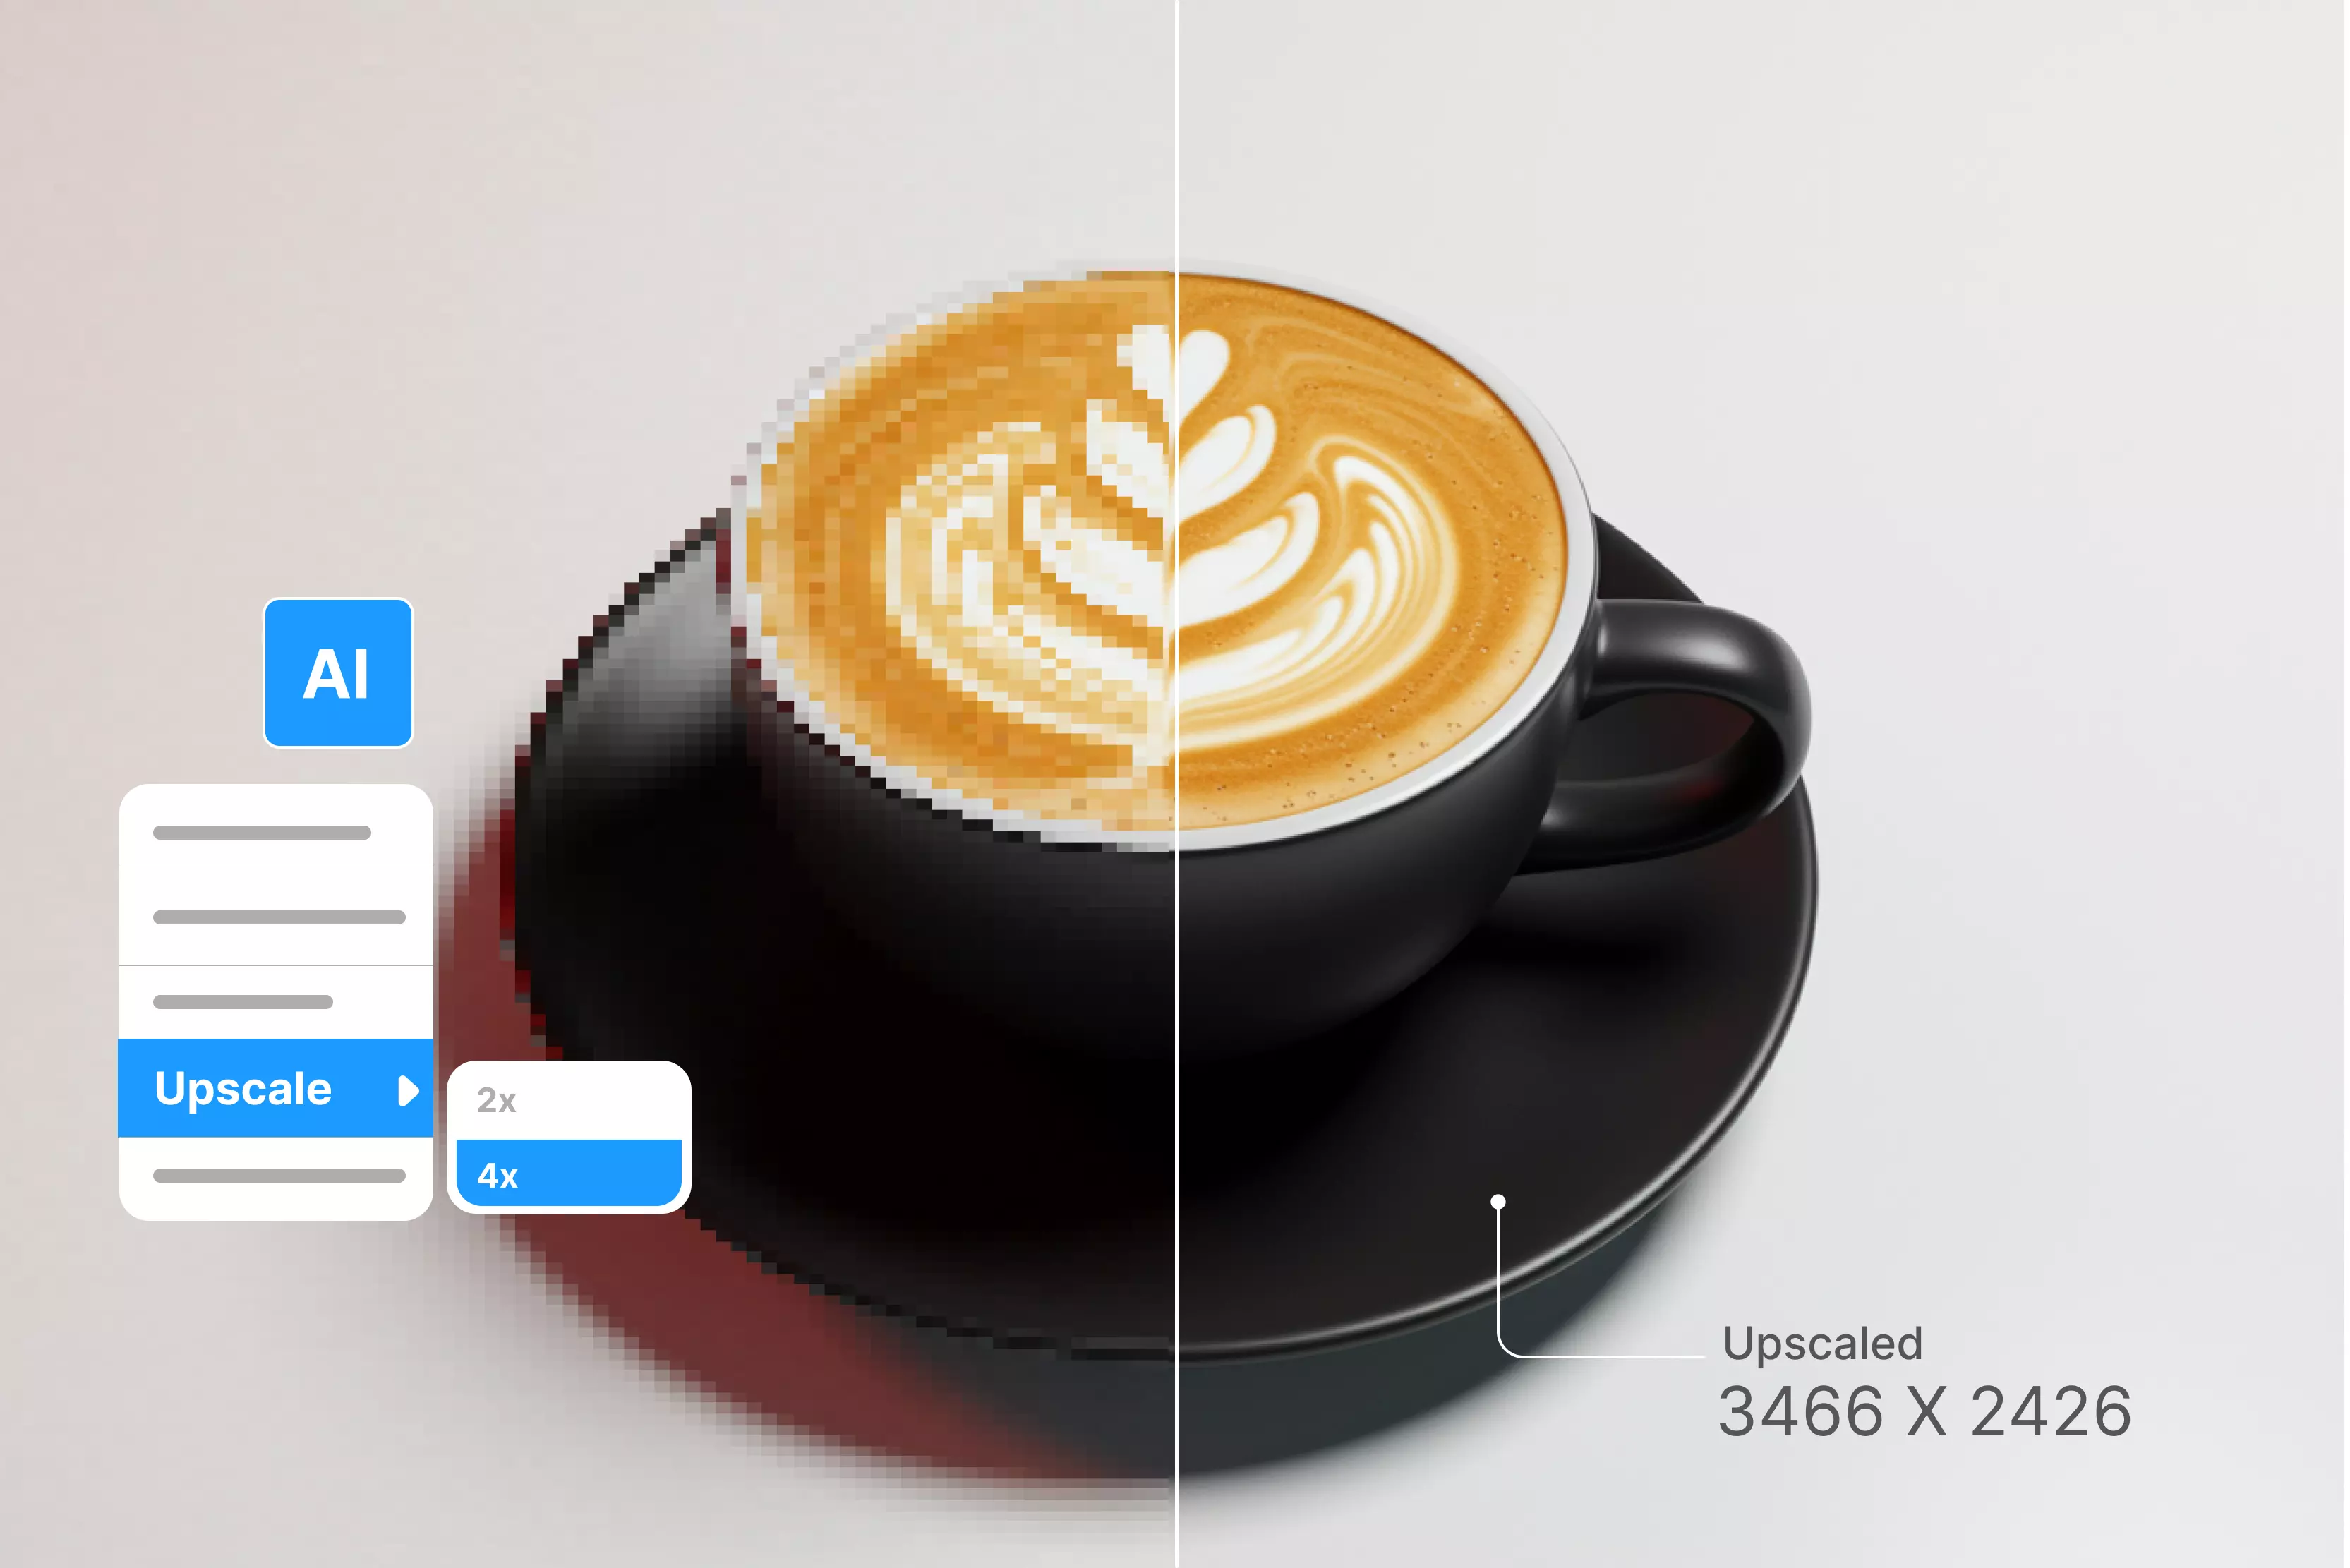


Blurry images drive us crazy, right? We've all been there. Maybe it’s a low-resolution image from your gallery, a product shot that needs extra sharpness, or a family photo you want to print, only to find it's too blurry to use.
Here’s the good news: you don’t need to be a Photoshop pro or have any editing skills to upscale an image. With the help of AI upscale image apps for your iOS device, image upscaling has become super easy; they clean up low-quality images, sharpen details, and make everything look crisp again, all with just a few taps.
In this guide, I’ll walk you through the 6 best AI upscale image apps for iOS, which I tested and found to produce the best results. Whether you're posting on social media, running an online store, or just trying to salvage old photos, these apps have you covered.
Why should I upscale an image on iOS?
Image upscaling is the process of increasing an image’s resolution, essentially enlarging it or interpolating pixels without significant loss of quality. Traditional upscalers enlarge or resize images without adding details, which often results in pixelation.
But AI upscalers work in learned patterns; they predict missing pixels, sharpen edges, and restore textures, thus AI upscalers not only upscale the image, but they rebuild it.
Need to upscale an image
- Social media posts - Posting pixelated photos on Instagram or Facebook can lead to a loss of engagement, but when those images get upscaled from image upscalers, they become post-worthy.
- E-commerce website - Product photos for your website need to be sharp and detailed to boost conversions.
- Design & marketing purpose - Graphic designers and marketers often need image upscalers to increase the resolution of low-quality or old images.
- Casual purpose Image upscalers can be used for upscaling images for normal use or just for fun, say you got an image from your childhood that’s a bit blurry? Or maybe a low-resolution pic from years ago that you’d love to bring back to life? These tools can instantly boost the quality and make those memories look sharper and clearer.
Benefits of upscaling an image on iOS
- You can upscale images anytime and anywhere.
- No laptop required to install AI image upscalers; everything happens on iOS.
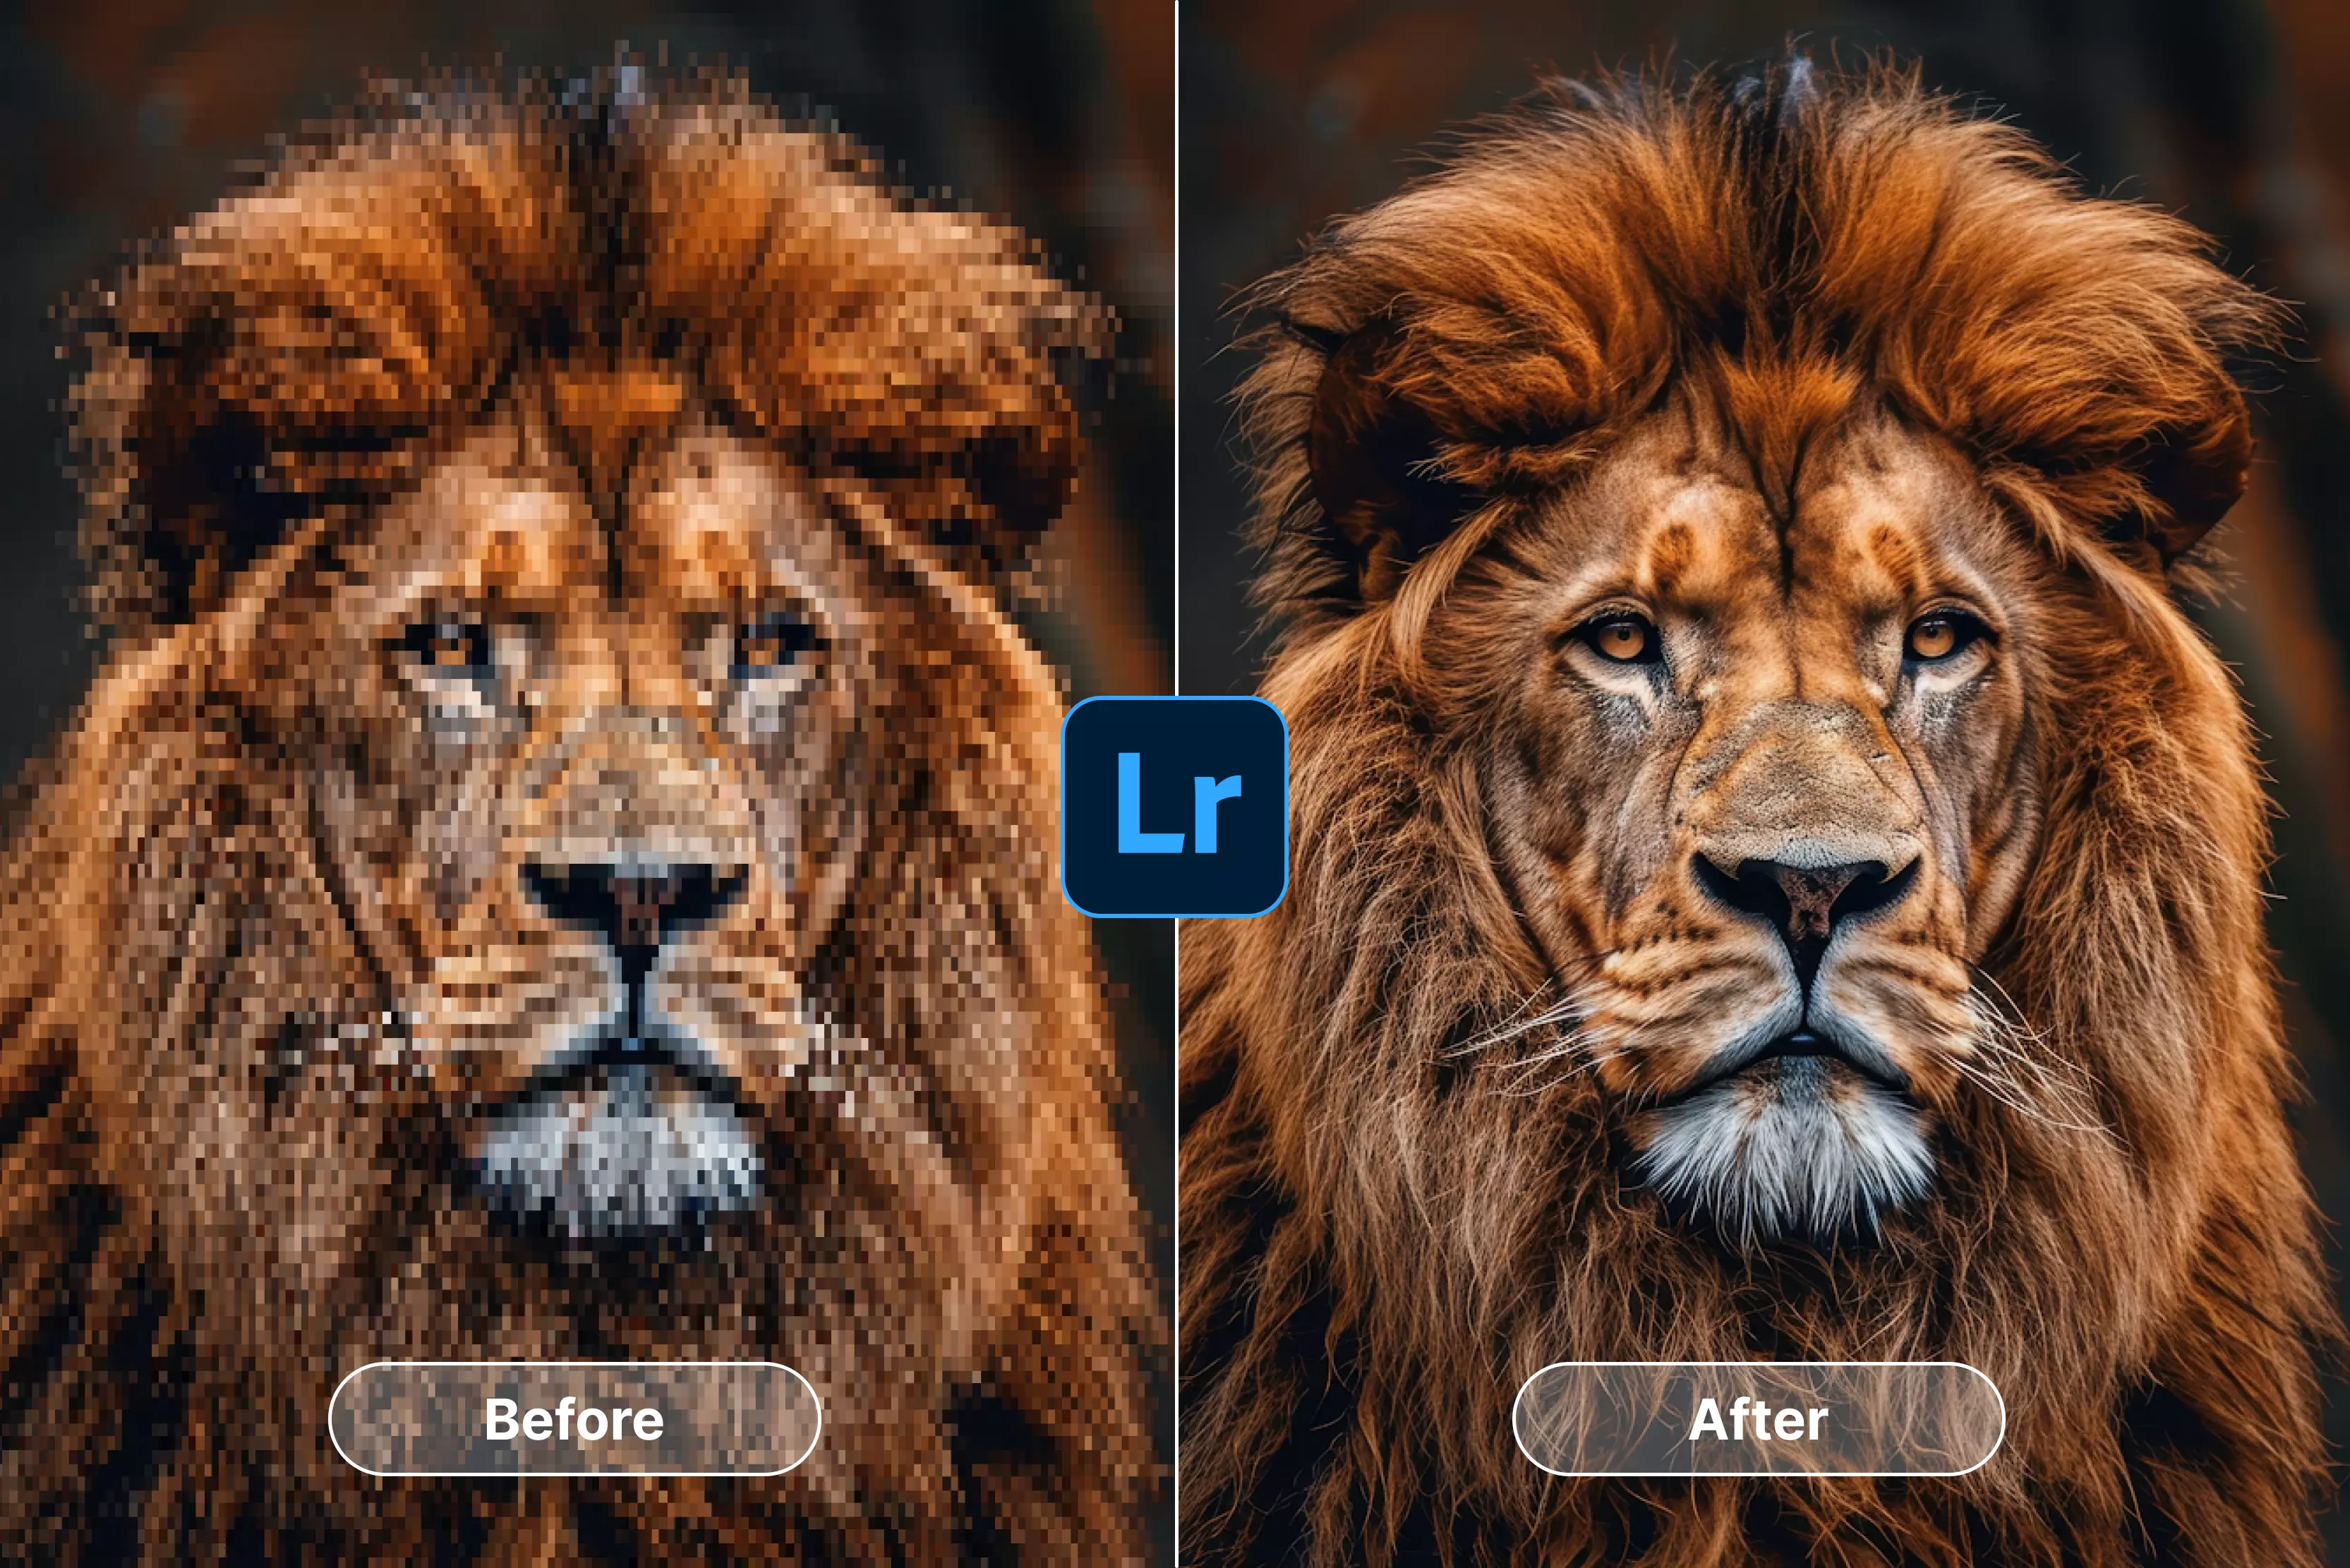
- See the before and after results in real time.
- No technical skills are required to upscale images. Just install the app, upload the image, and the AI will automatically upscale the image.
Top 6 iOS apps to upscale images (Tested & ranked)
Let’s now walk through each of the AI upscale image apps for iOS. I’ve tested a low-resolution portrait shot on the following tools before going through the steps have a look on the glance table;
1. Pixelbin

When I am in need to upscale an image through AI, Pixelbin comes first in my favourite list. I tried it on a dull, low-resolution photo, after upscaling to 4x, edges were sharper, color enhanced, and it didn’t overdo any enhancements.
What I liked about the Pixelbin app is its clean interface and smooth performance on iOS without any confusing instructions. What I liked about the tool;
- Boosts your image resolution to 2x or 4x using free sign-up credits.
- Removes noise and artifacts automatically, delivering cleaner and sharper images by preserving the image details.
- Along with AI image upscaling, you can also use AI background remover, background generator, and AI Image extender.
- Bulk processing is available for upscaling multiple images at once.
How to use Pixelbin to upscale images on iOS?
Step 1: Open App Store or head to Apple.com.
Step 2: Upload your low-quality image by clicking on the plus sign.
Step 3: Tap on the upscale image.
Step 4: Choose your desired upscaling size (2x, 4x).
Step 5: Click 4x to achieve the best result and then click Enhance Image. Then tap on “Generate” to upscale your image.
Step 6: Once you get the best results now click on Save and apply the file format settings for the kind of output you want and then select on Apply settings.
2. Upscale.media
If you want a simple and beginner-friendly app to upscale your images on an iOS device, then Upscale.media is a great option. On the app, I enhanced images with a free upscaling of up to 4x, providing noise reduction by improving detail.
I was impressed by the clean interface with no confusing steps, just upload, and the rest will be done by the app. The upscaling was fast, and it did not overdo any filters. I tried it on a low-resolution picture, and the results were impressive. It removed all the blurry spots and sharpened the edges. What I liked about the tool;
- AI-powered single-click image upscaling- just upload, and AI will do the rest.
- Automatic noise reduction for cleaner results.
- A free tier is available for 2x and 4x upscaling.
How to use Upscale.media to upscale images on iOS?
Step 1: Open the app store search upscale.media or click on Apple.com.
Step 2: Upload the image. Click on the “plus” sign, you can upload up to 25 images at one go.
Step 3: Let the algorithms automatically process the image upscaling. You can then adjust the scale for 2x and 4x for free as sign-up credits and click on “apply.”
Step 4: Tap “Download Image” and save the image in SD or HD resolution.
3. Remini
If you want a fast and smart image upscale tool, Remini is an excellent choice. Remini feels like it is made for selfies and portraits. The app is super easy to use with a polished, social-friendly interface.
I used a blurry, low-resolution image, and Remini completely transformed it. The face looked crisp, eyes had sparkle, and skin looked smooth and natural. The after result honestly felt like the photo was taken with a much better camera. Now let’s talk about what I liked about the tool;
- Automatically removes blurry spots, camera shake, or focus issues.
- Delivers crisp, clear results for both photos and videos.
- Processes multiple images at a go for heavy workload as bulk processing is a premium feature.
- Along with image upscaling, it provides editing filters like modelling photoshoot, spotlight portraits, beach photos, and many more.
How to use Remini to upscale images on iOS?
Step 1: Open the app store, search Remini, or click on Apple.com.
Step 2: Upload a photo from the enhance section.
Step 3: After the processing is done, click on “enhance.”
Step 4: Wait for processing, and you can add vivid colors to upgrade your image or remove the background. Once you are done with the adjustments, compare the before and after results and click on the “down arrow” on the upper right side.
4. Image Upscaler
If you are new to image upscaling and want quick results, this tool is a great find. After installing Image Upscaler, the clean and beginner-friendly interface impressed me.
The AI enhancement worked great on blurry photos by increasing the sharpness without deteriorating the quality. I tested a low-resolution portrait, and the upscaled version looked professional and crisp. What I liked about the tool;
- One tap AI-powered enhancements.
- Batch processing is supported.
- Preserves the fine details of the image.
- No watermark on exports.
- Fast processing under 30 seconds.
- Works offline after download.
How to use Image Upscaler to upscale images on iOS?
Step 1: Open the app store, search for Image Upscaler, or tap on Apple.com.
Step 2: Open the app, and you will find an icon of “select image.” Click on that and select one or multiple (up to 5) images at a go.
Step 3: After adding the image you want to upscale, click on 2x or 4x scale size and then tap on upscale.
Step 4: Once the upscaling process is done, to preview the before and after results, click on “view.” If you are happy with the results, you can download the image in SD or HD format.
5. Pixelup
I came across a low-resolution picture that I wanted to post on my blog, but was unable to due to low quality. This tool helped me a lot. Pixelup is easy to understand and easy to navigate, even for first-time users like me.
Along with upscaling the image, it adds a fun touch with features like colorization, animation, and restoration. Pixelup impressed me with how quickly it brought the old, blurry photos back to life. The face enhancement feature especially stood out—facial details were clear, sharp, and natural-looking. What I liked about the tool;
- AI-powered photo enhancement and upscaling.
- Face restoration and detail sharpening.
- Photo colorization for black & white images.
- Fun AI animation filters for portraits or selfies.
- User-friendly interface.
- High-resolution image quality download.
How to use Pixelup to upscale images on iOS?
Step 1: Open the app store, search for Pixelup, or click on Apple.com.
Step 2: Open the app and click on “get started.”
Step 3: After you upload the image, click on “enhance” to upscale it. You have to watch a 60-second unskippable ad to perform the step.
Step 4: After the enhancement is done, you can also use other options like colorize, animate, and many more. Once done, preview the before and after results and save the image.
6. AI Enlarger
After testing other image upscalers, I came across AI Enlarger in the app store. After installing the imag,e I didn’t have high hopes after seeing its simple landing page. But once I tested a low-resolution imag,e it delivered excellent results, details stayed sharp even after 4x upscaling, and colors popped up.
I tested it on both drawings and real photos—both turned out clean and high-resolution image without pixelation. What I liked the most about the tool;
- AI-powered 2x to 4x image upscaling.
- Special optimization for anime and digital art.
- Simple and easy to understand interface.
- Batch processing support for multiple image upscaling.
- Works for real-life photos as well.
- Quick processing with high-quality output.
How to use AI Enlarger to upscale images on iOS?
Step 1: Download from the App Store by searching AI Enlarger or click on Apple.com.
Step 2: After installing the app,open it and click on upscale and select the “upscale” option. Now, click on the single or bulk option.
Step 3: After you add the image that you want to upscale, select the image scale 2x or 4x according to your need, then click on “upload image”. I selected 4x to upscale my image for UHD screens.
Step 4: Once the upscaling process is done, save the image by selecting “save to album.”
Final thoughts
Therefore, by adding pixels, removing the blurry spots, and preserving the texture, these AI upscale image apps for iOS make your old photographs post-worthy, regardless of whether you are a designer, marketer, or just someone who works with visuals.
For beginners as well as professionals, if you need control, detail, and professional output, Pixelbin is my top recommendation. For everyday use, Upscale.media, Remini, and others are brilliant. For a reliable choice, Pixelbin is the tool to make your images stand out.
FAQs
Pixelbin and Upscale.media offers free, high-quality AI upscaling. Other aforementioned apps also have free versions with limited daily credits.
Yes. AI tools like Pixelbin, Upscale.media, AI Enlarger upscale without losing quality by predicting pixel patterns and restoring fine detail.
Apps like Remini and Pixelbin help fix blur. Remini uses AI enhancement, while Pixelbin allows manual sharpening and structure adjustments.
Pixelbin is the best for restoring and enhancing old, low-res images. It focuses on face clarity, vintage textures, and photo repair.
AI tools support the JPEG image format. Upload the image, upscale and refine it, and download the image, and you will get an enhanced JPEG image in intact quality.
Currently, iOS doesn’t have a built-in AI upscaler. However, iOS 18 is introducing new AI photo tools. For now, use third-party apps.