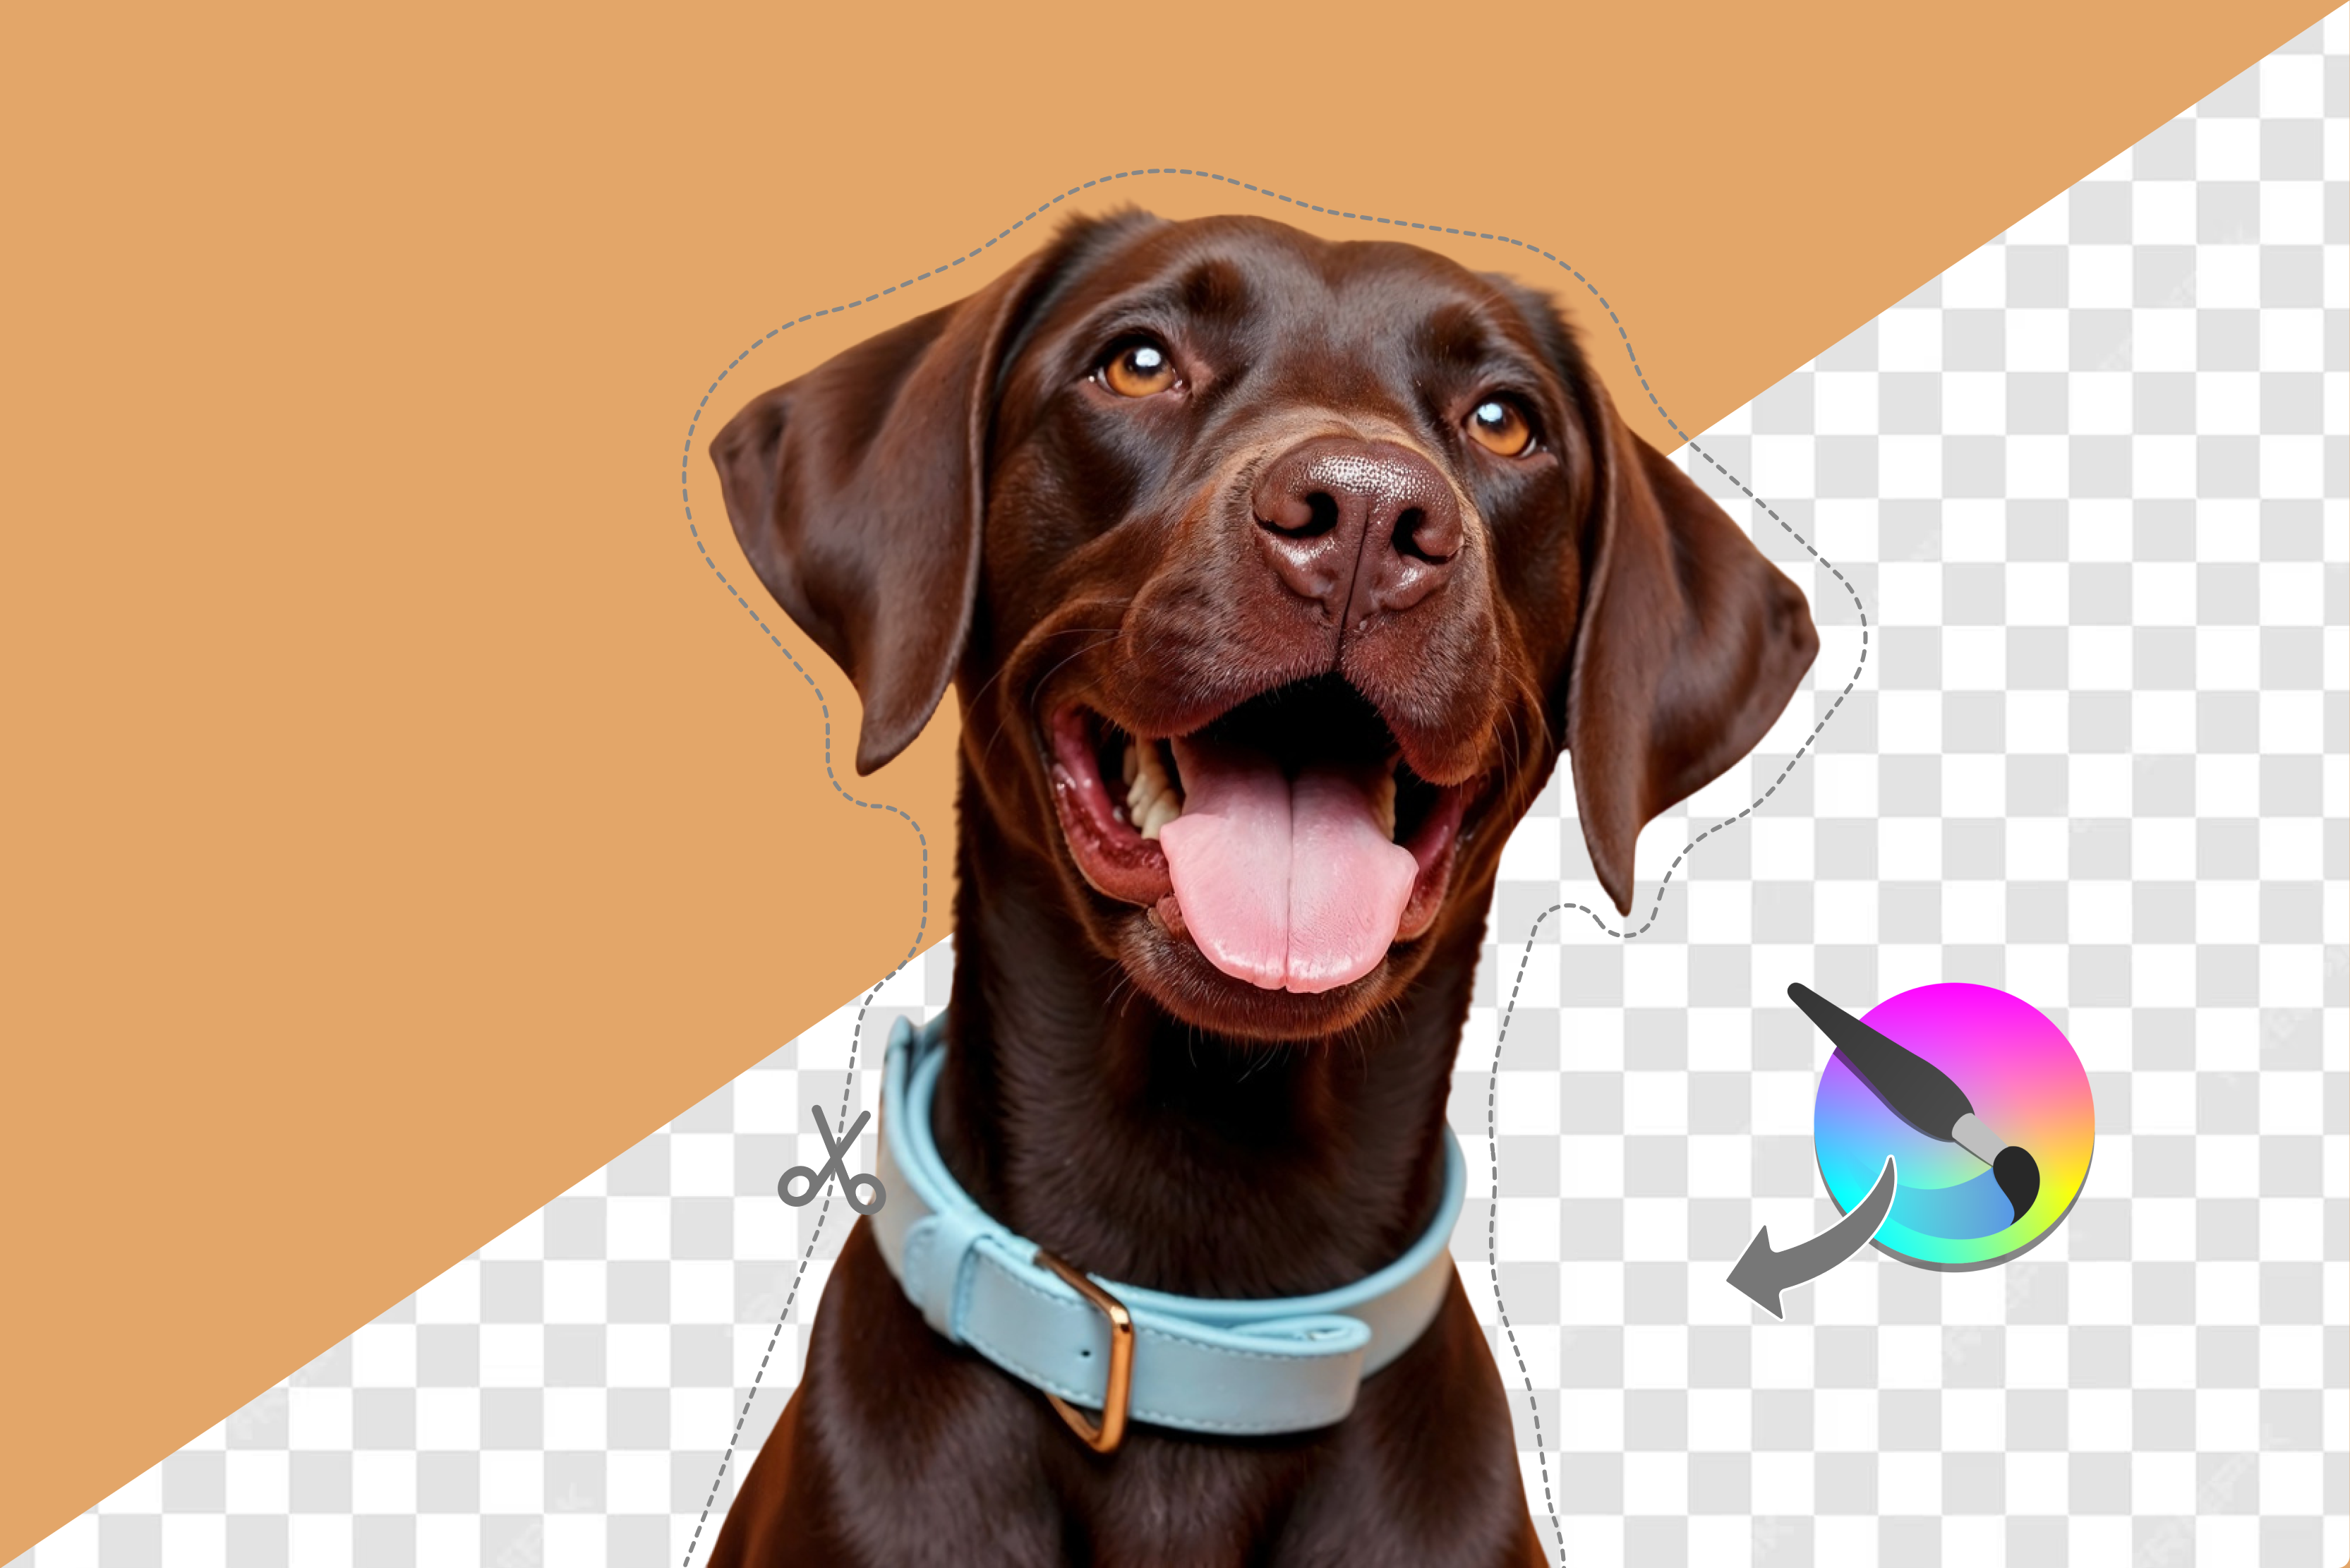

Have you ever downloaded a logo, product photo, or graphic and noticed an annoying background behind it? It can instantly make your work look less professional. Whether you’re designing a presentation or creating brand visuals, having a transparent background makes everything look cleaner and more polished. That’s why learning how to remove backgrounds is essential nowadays.
Many people believe that Photoshop is the ideal tool for this. But Illustrator works differently, and hence is a smarter choice. So, if you’re wondering how to remove background from photos, Illustrator is a good choice.
In this guide, I’ll walk you through five tested methods to remove backgrounds in Illustrator. I’ll also cover AI tools that can instantly remove backgrounds—perfect for when you need fast results.
Why use Adobe Illustrator to remove the background?
Illustrator works fundamentally differently from Photoshop. Photoshop edits pixels; Illustrator creates and edits vectors. When you remove a background in Illustrator, you can preserve crisp lines, group shapes, and scalability.
Instead of erasing pixels, you’re isolating paths and strokes. The result? Sharp, reusable, infinitely scalable graphics that retain fidelity in prints, storefronts, or responsive web layouts.
Benefits of using Illustrator over Photoshop
- Fully scalable output: You won’t get pixelation when resizing—especially vital for logos and print graphics.
- Clean vector paths: Illustrator gives you control over anchor points—perfect for refined editing.
- Reusable shapes and libraries: Once isolated, objects can be repurposed in symbol libraries or shared across files seamlessly.
- Smaller file sizes for vectors: Vector-only workflows can be more efficient than bulky high-res raster files.
- Integration with design systems: Many brand kits and templates live in Illustrator. Removing backgrounds right there avoids workflow breaks.
Common use cases for background removal in Illustrator
- Isolating logos for packaging, business cards, and ads.
- Preparing brand assets (icons, badges) for overlay on varied media.
- Cleaning up scanned vector illustrations or converted PDFs that include unwanted backgrounds.
- Creating product mockups where you need the product floating over colored or custom backgrounds.
- Extracting line art from vector sacks or technical diagrams.
How do you remove the background in Illustrator?
Now, let’s break down five tried-and-tested ways to remove backgrounds inside Illustrator itself:
1. Remove background using the image trace tool
Illustrator’s image trace is a game-changer for converting raster files (JPEGs, PNGs, scans) into editable vectors. One of its settings can automatically isolate foreground objects from backgrounds.
Step-by-Step guide
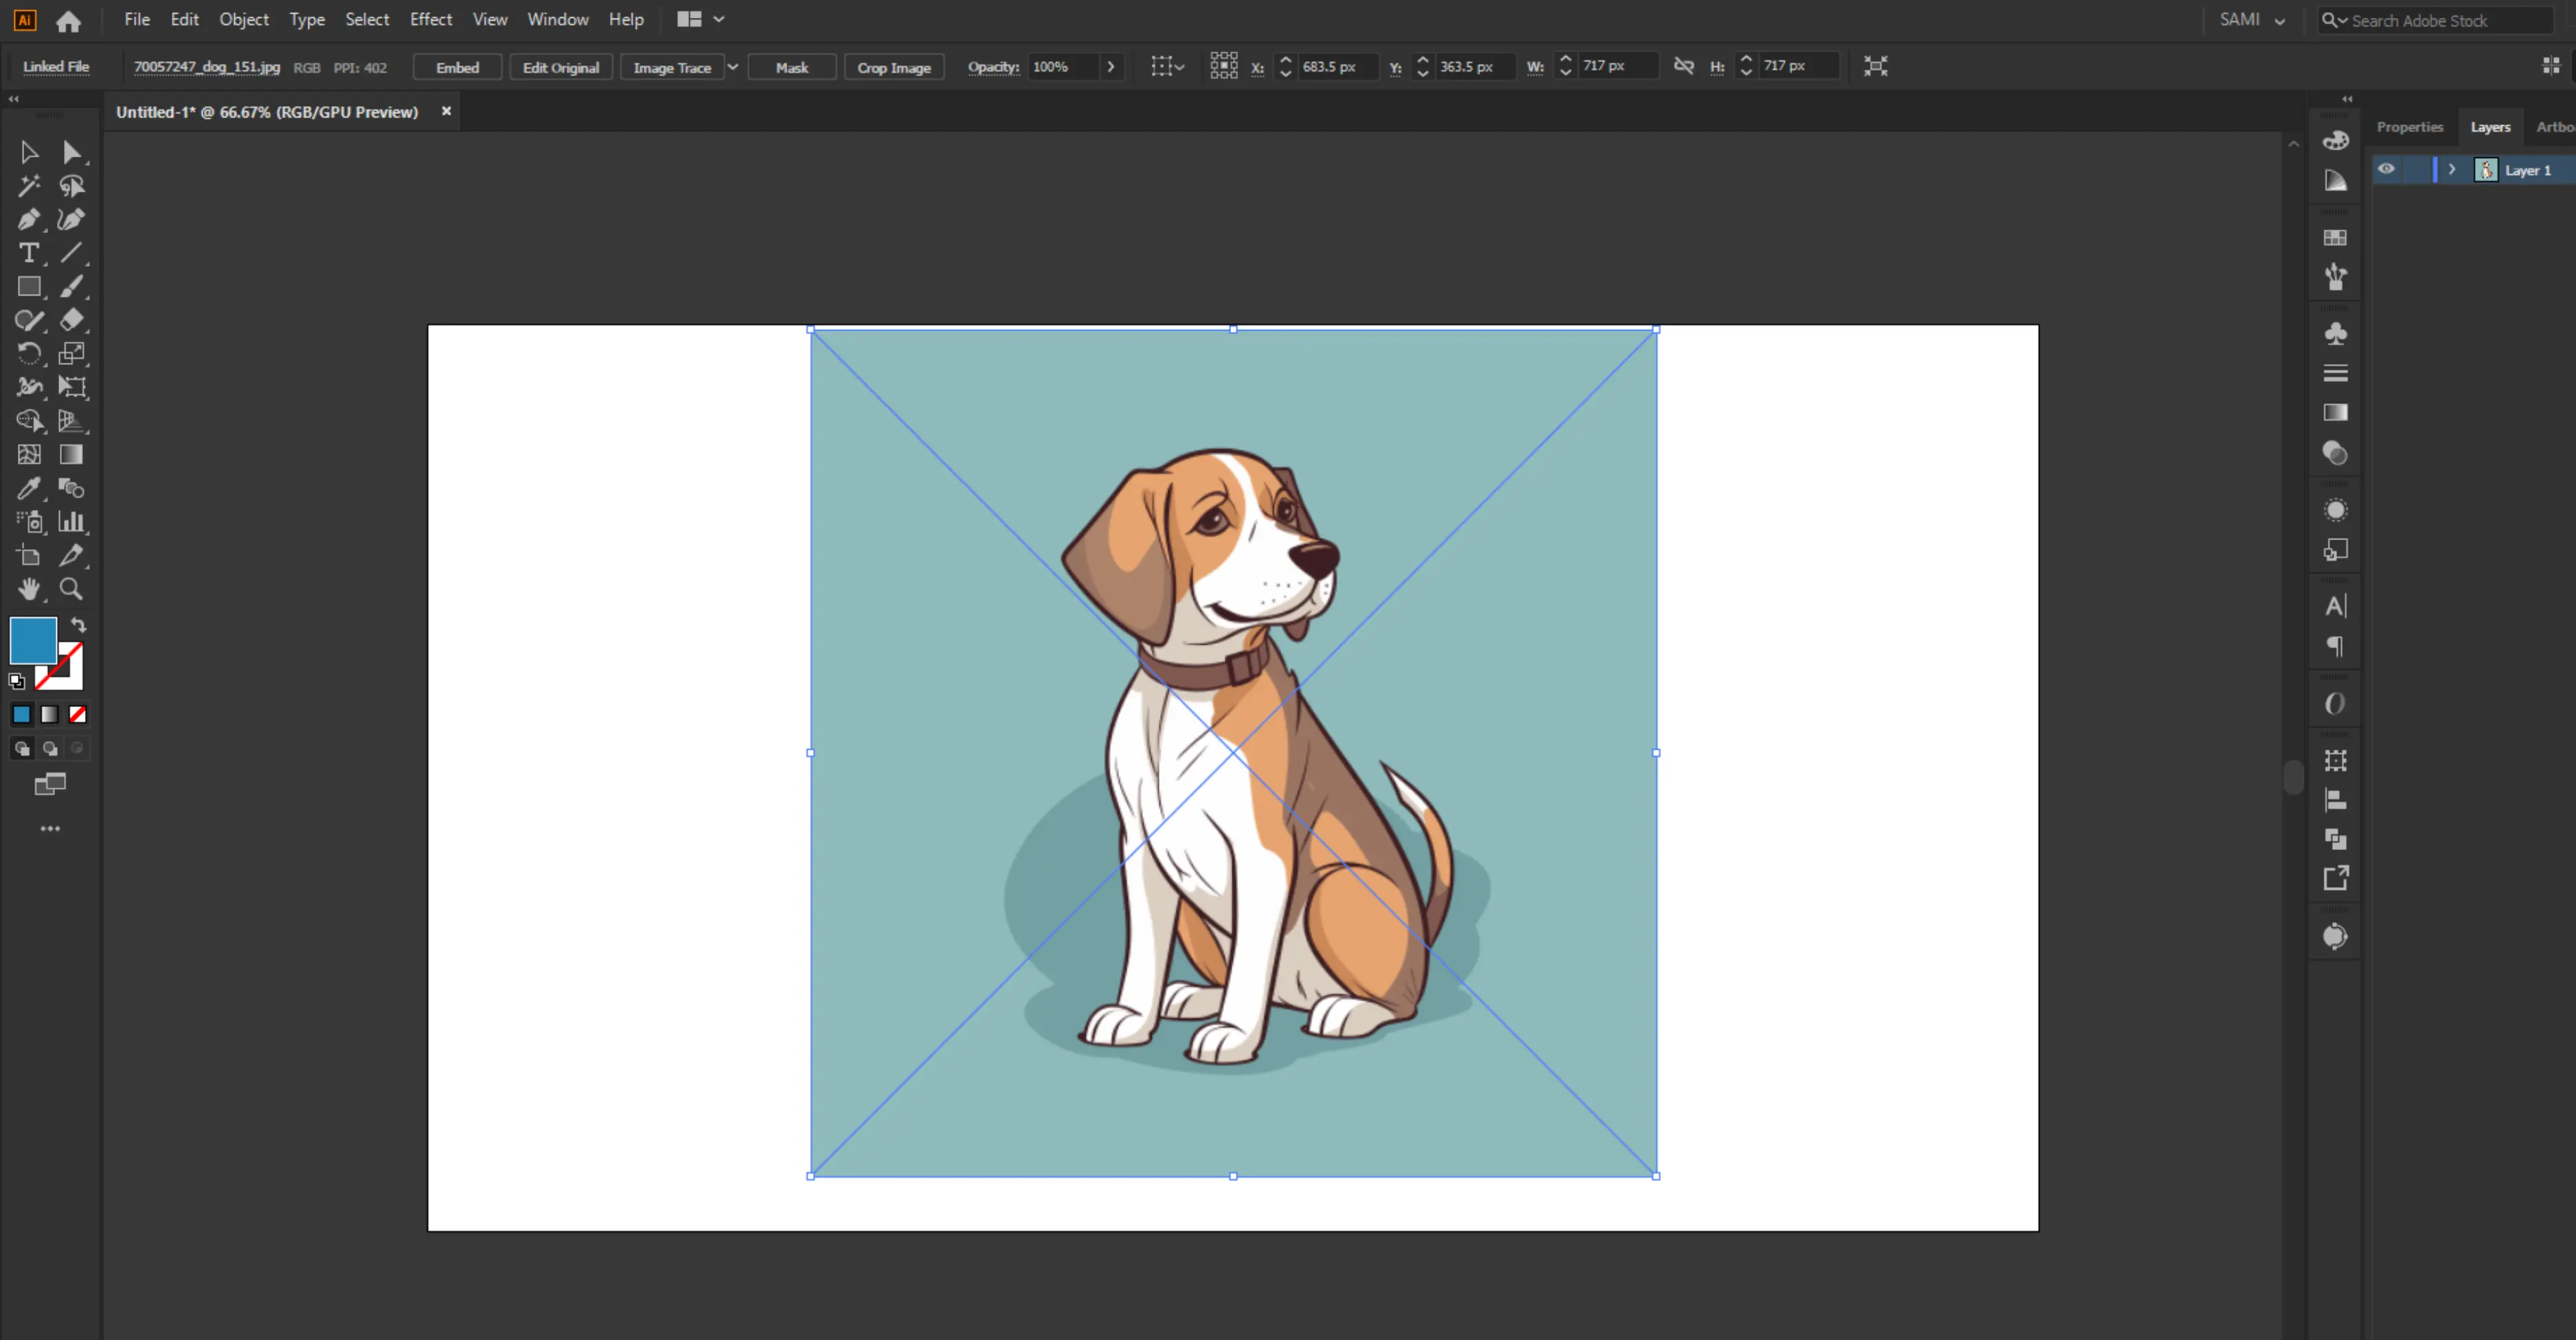
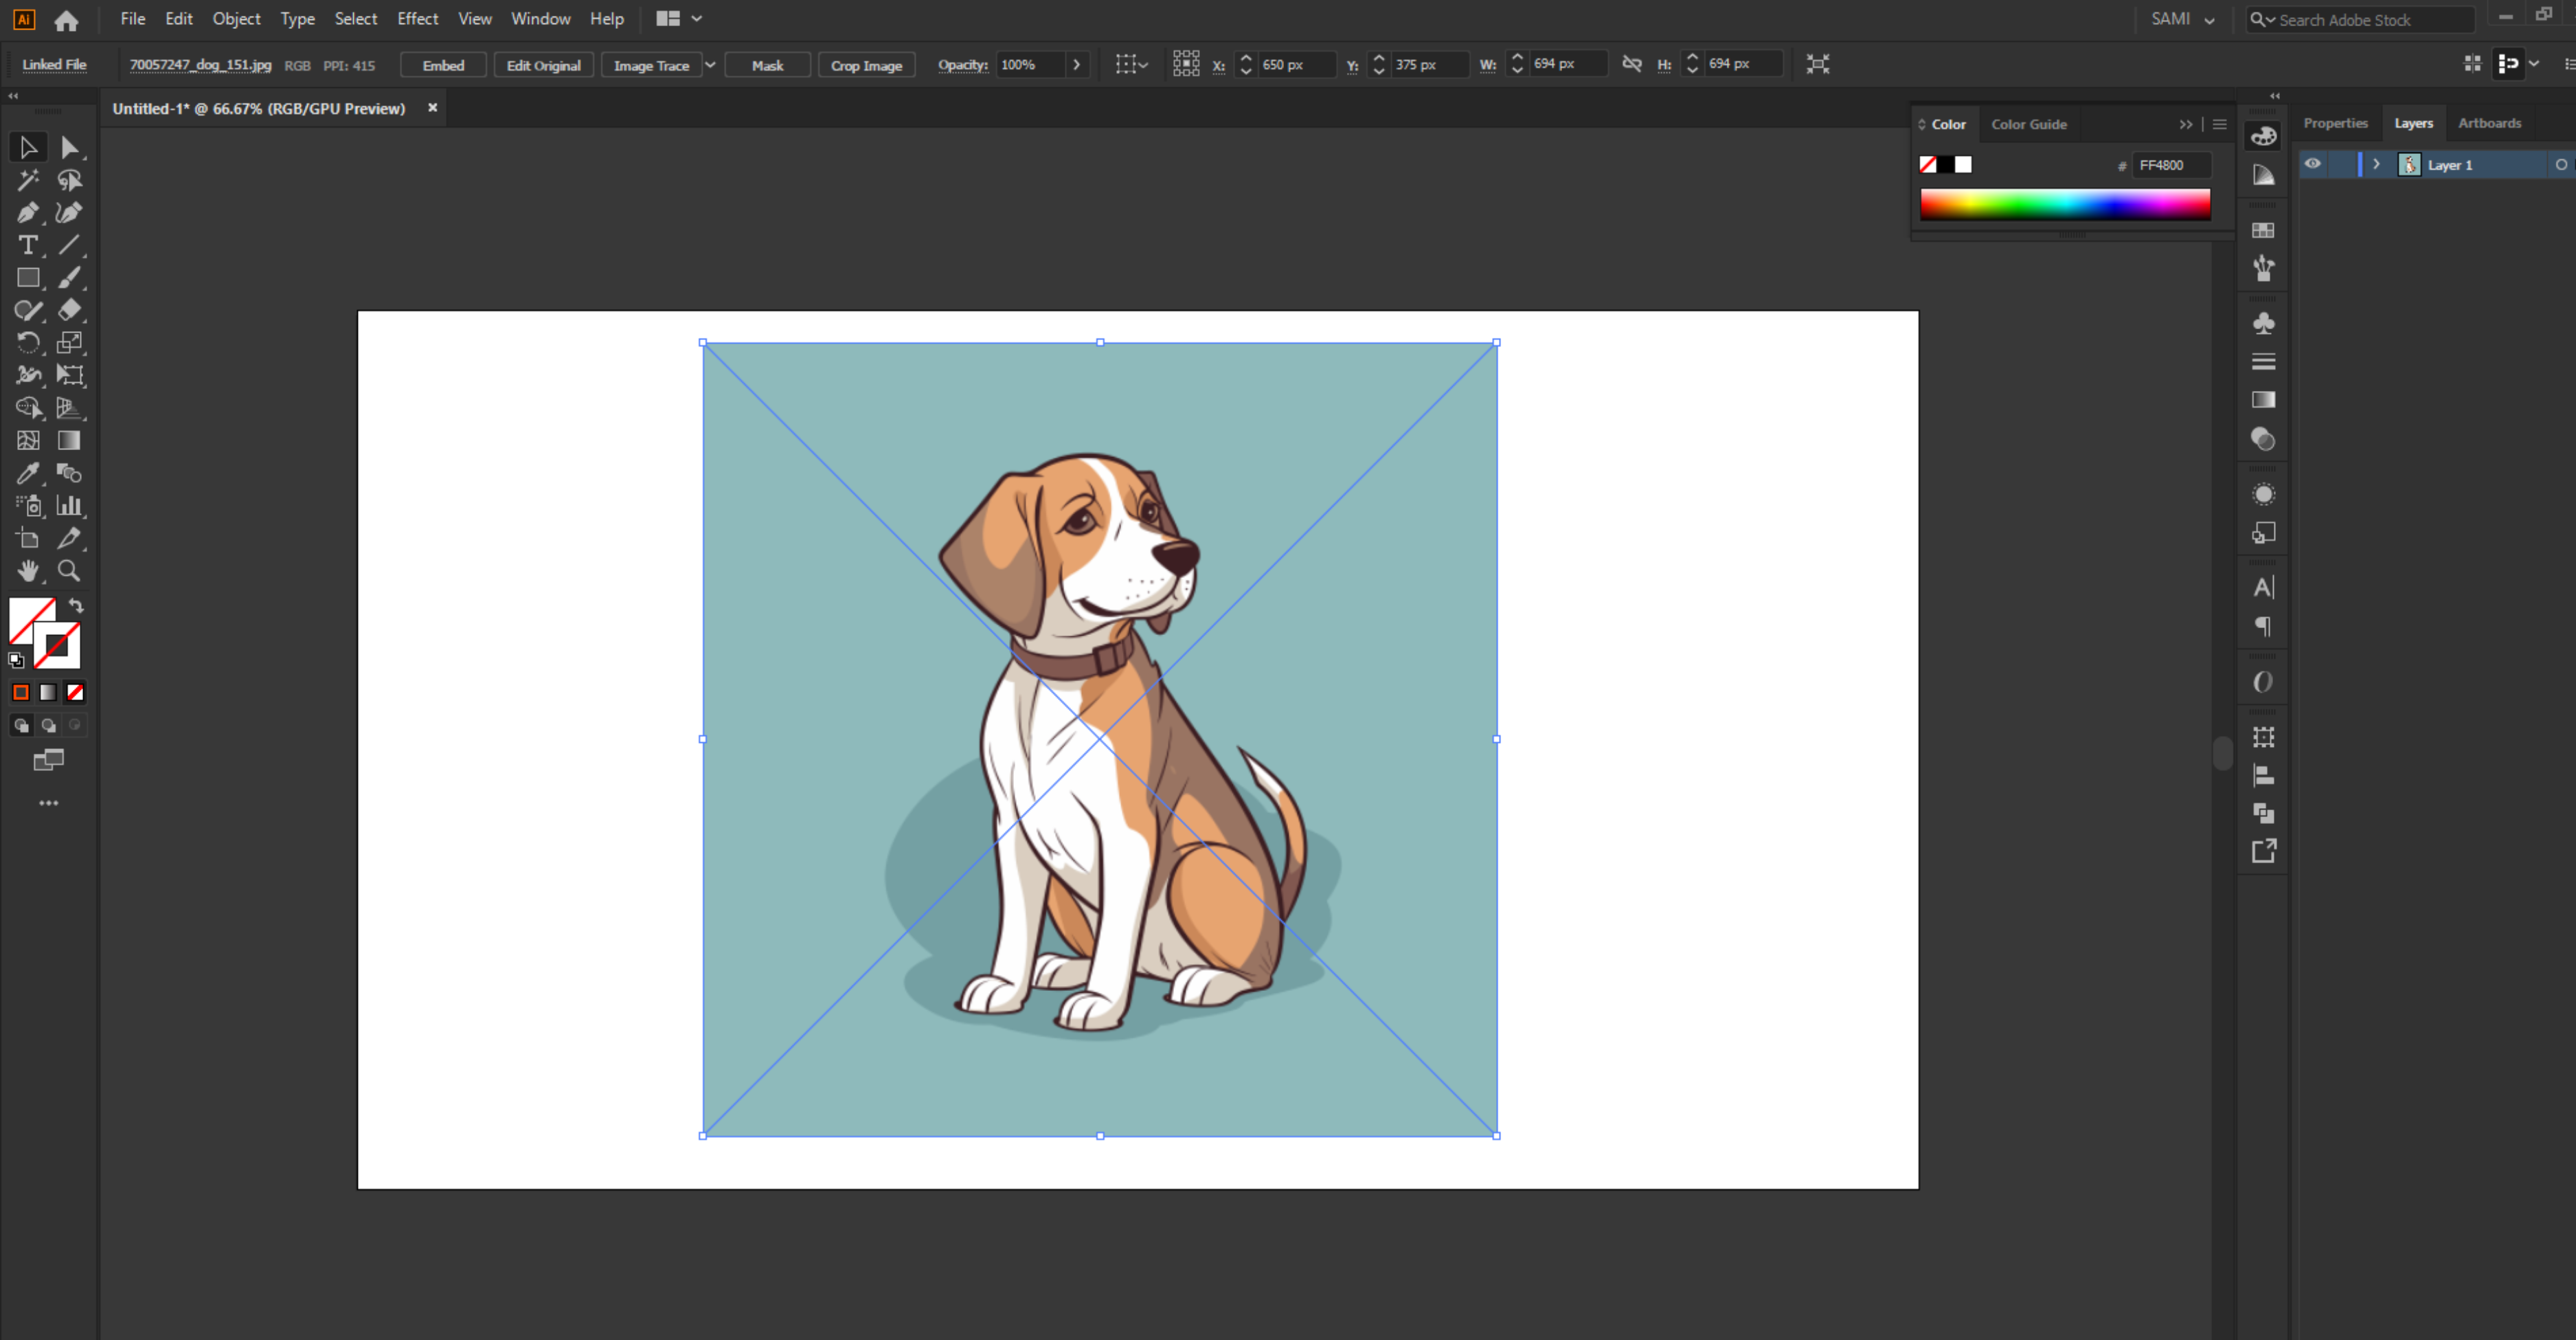
1. Open your image in Illustrator.
.webp)
- Go to File > Place and insert the image you want to work with.
- Click anywhere on the artboard to place it.
2. Select the image.
- Use the selection tool (V) and click on the image.
- Make sure the bounding box is visible (this means the image is selected).
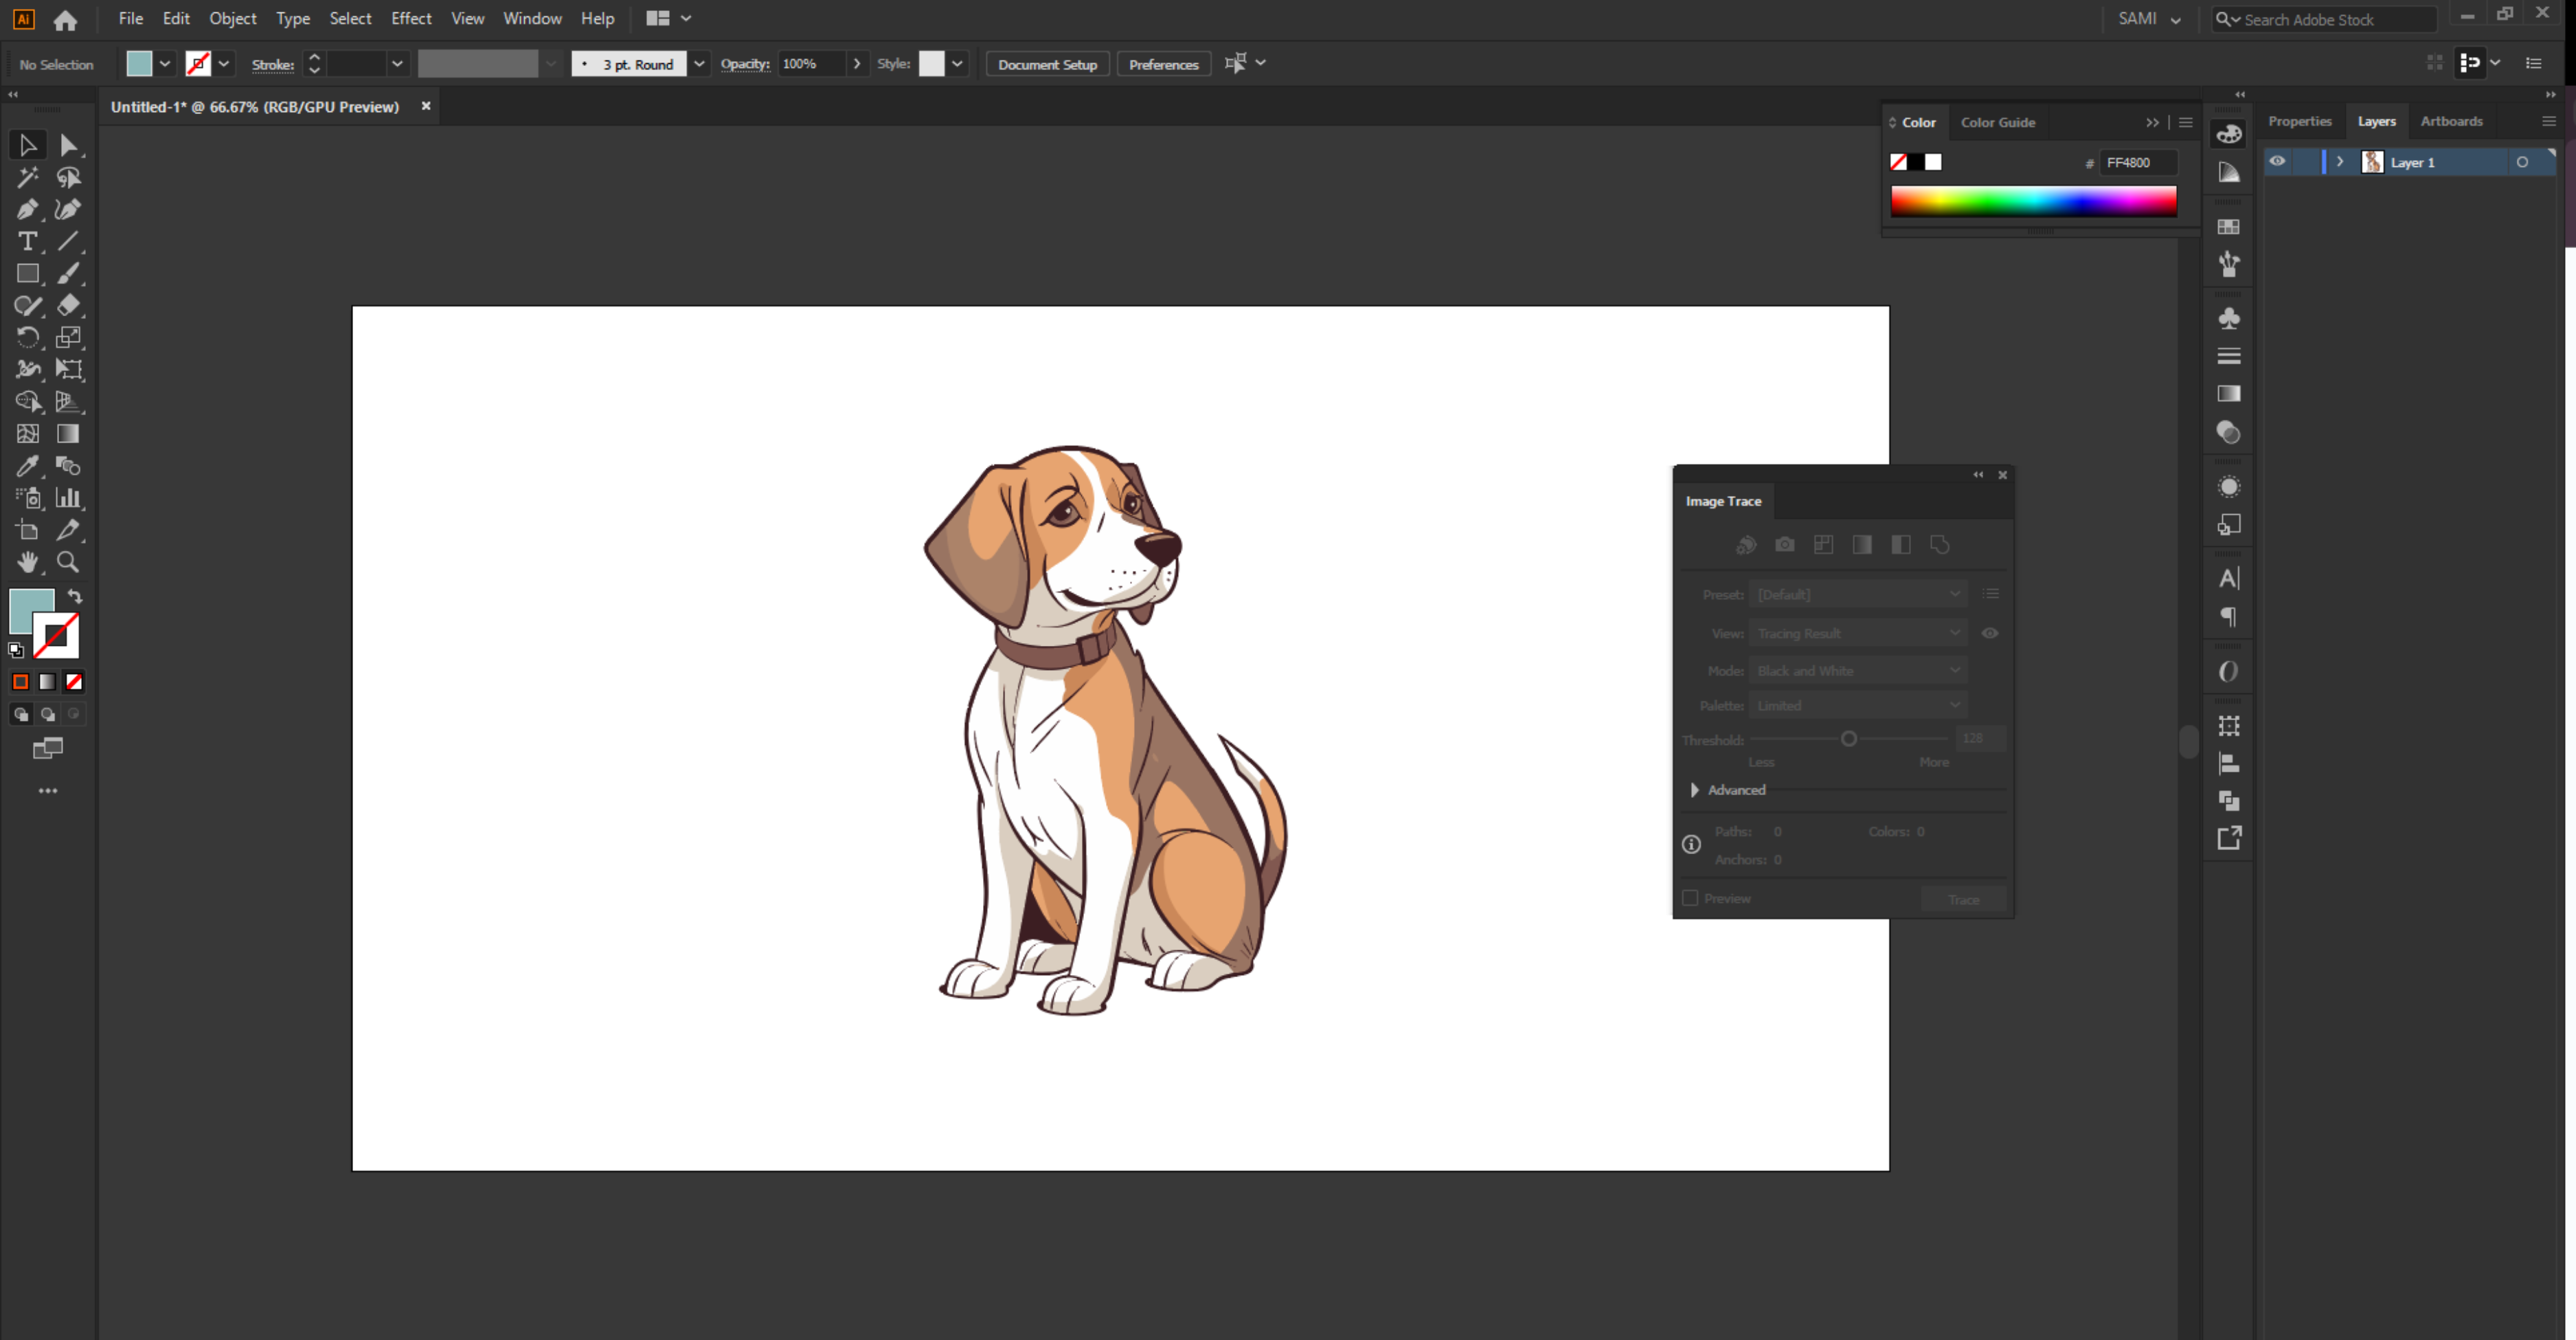
3. Open the image trace panel.

- Go to the top menu: Window > Image Trace.
- This will open the image trace options panel on the right.
4. Choose a preset.
In the preset dropdown, choose one based on your image type:bHigh Fidelity Photo (for detailed images).

- High fidelity photo (for detailed images).
- 6 Colors / 16 Colors (for simplified illustrations).
- Black and White logo (for logos or sketches).
5. Enable “Preview”.
- Tick the preview box to see how Illustrator is tracing the image.
- This may take a few seconds, depending on image complexity.
6. Remove the background automatically.
- In the image trace panel, expand the advanced options.
- Check the box ignore white.
- This tells Illustrator to drop all white areas (common in logos, scans, or product photos with white backgrounds).
7. Expand the traced image.
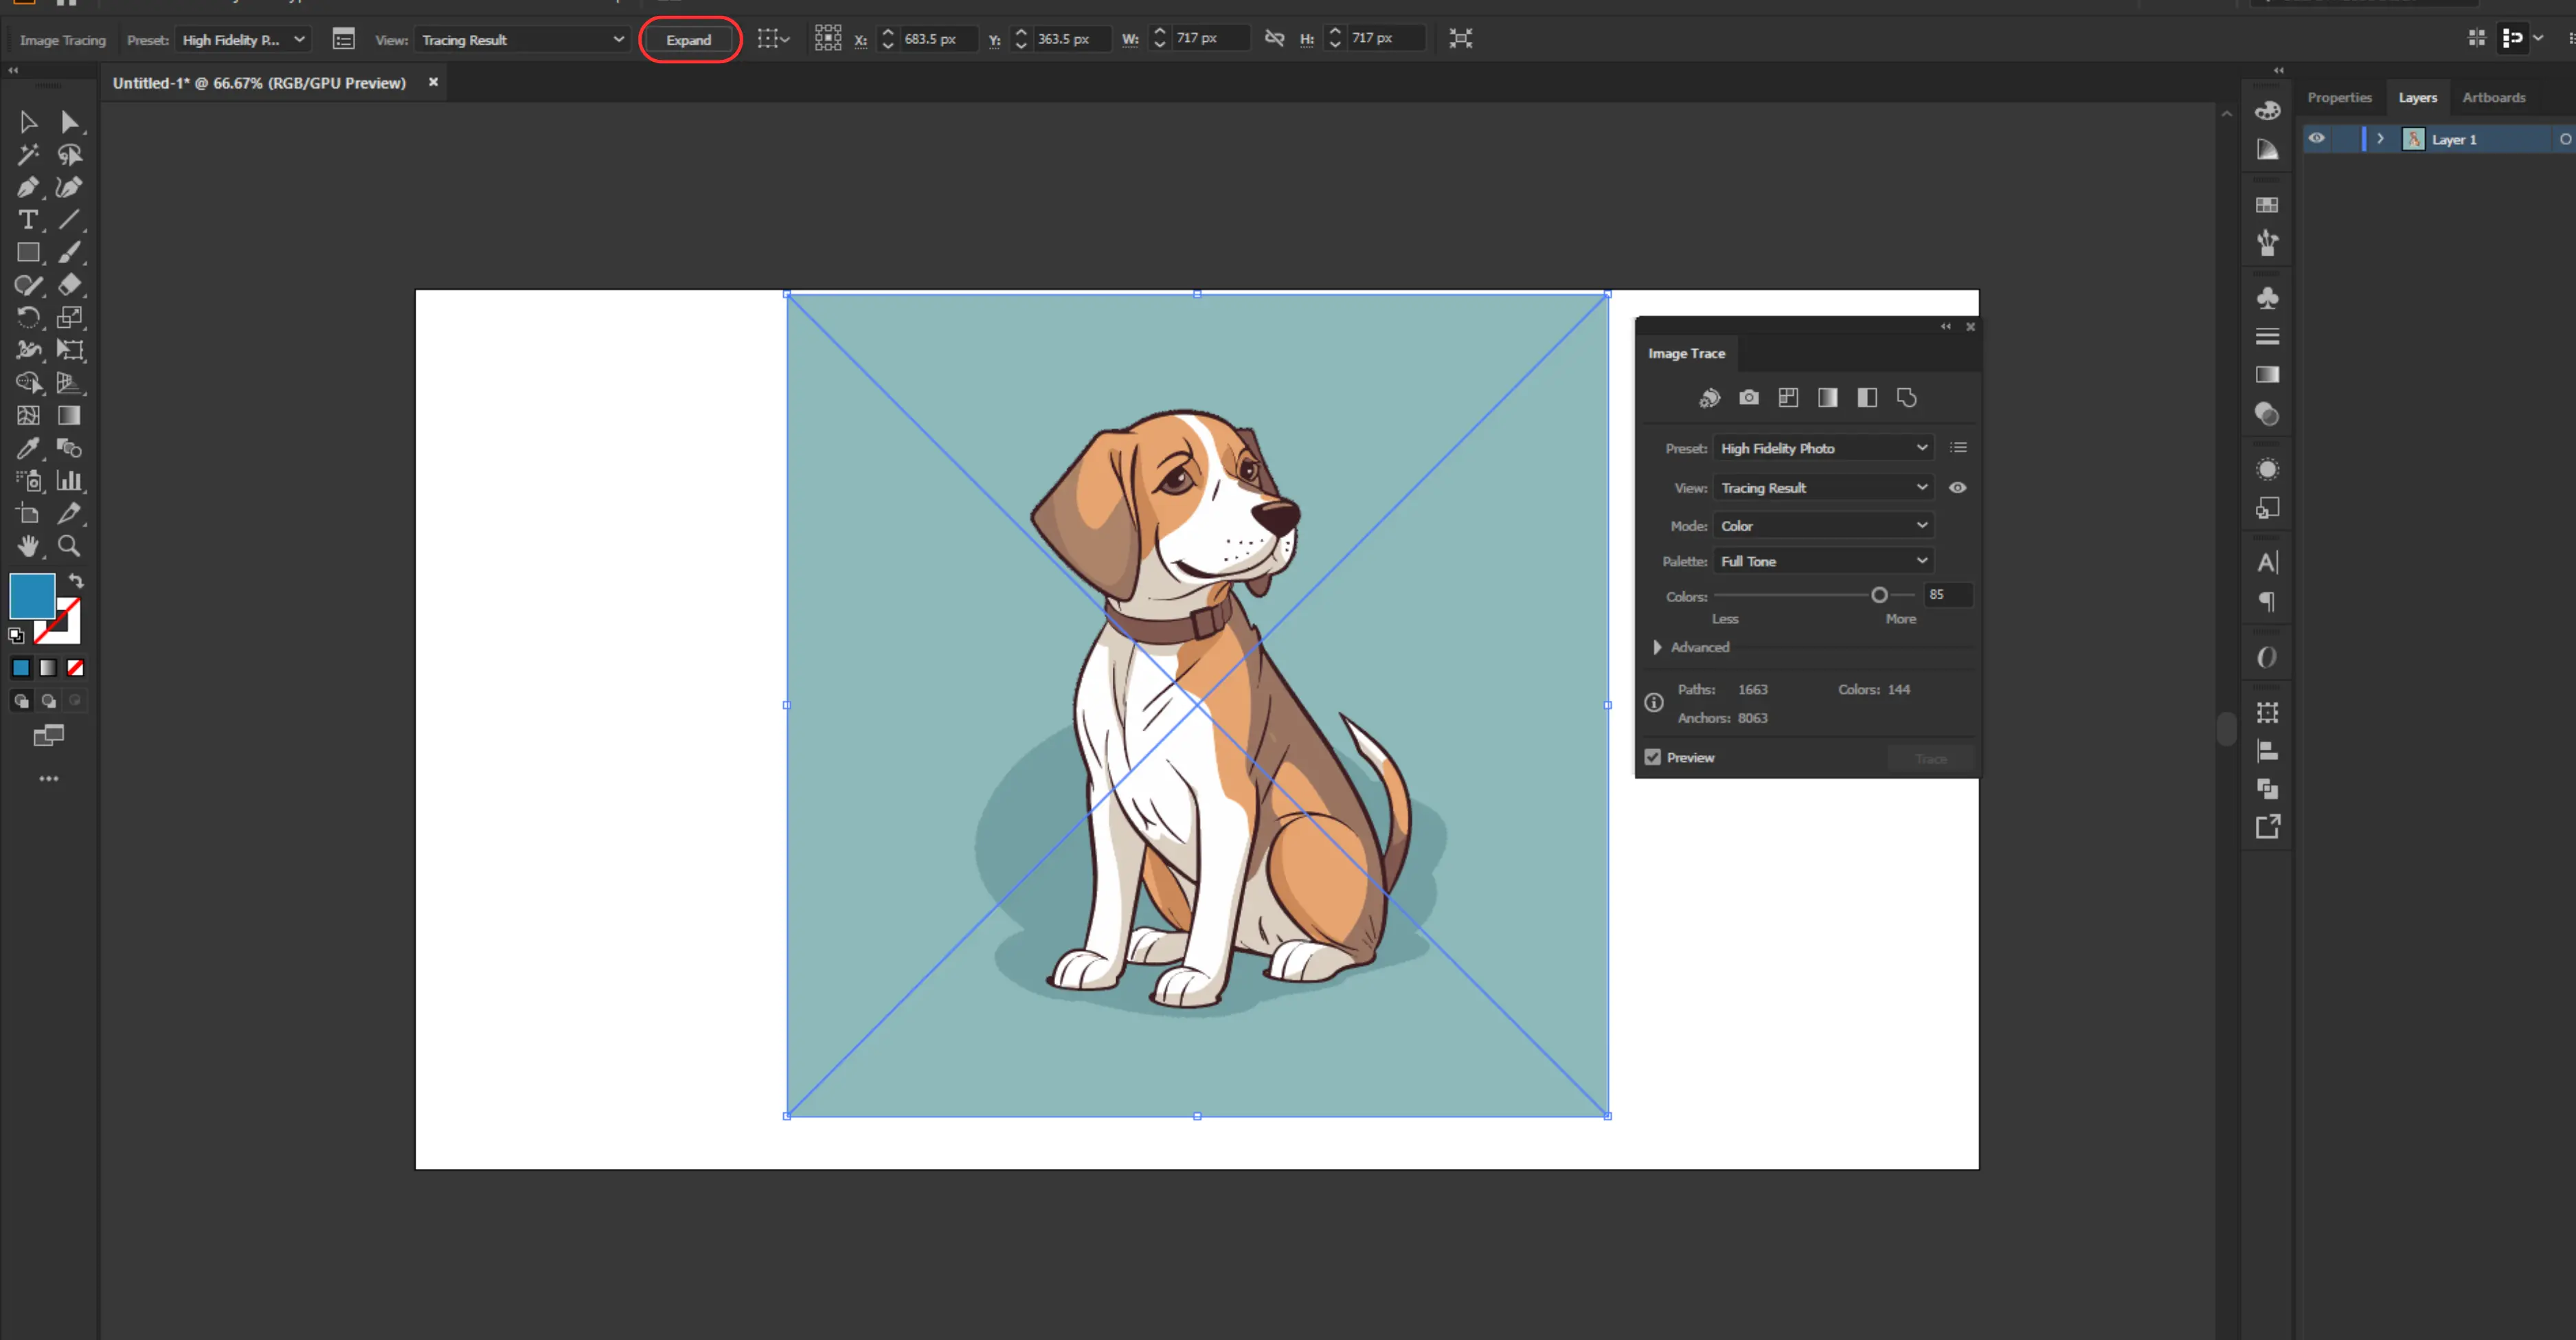
- Once you’re satisfied with the preview, click the Expand button on the top control bar.
- This converts the traced result into actual vector paths.
8. Ungroup and clean up.

- Go to Object > Ungroup (Shift + Ctrl/Cmd + G).
- This separates all vector elements so you can delete any stray pieces or background fragments.
- Use the Direct Selection Tool (A) to click and remove extra shapes.
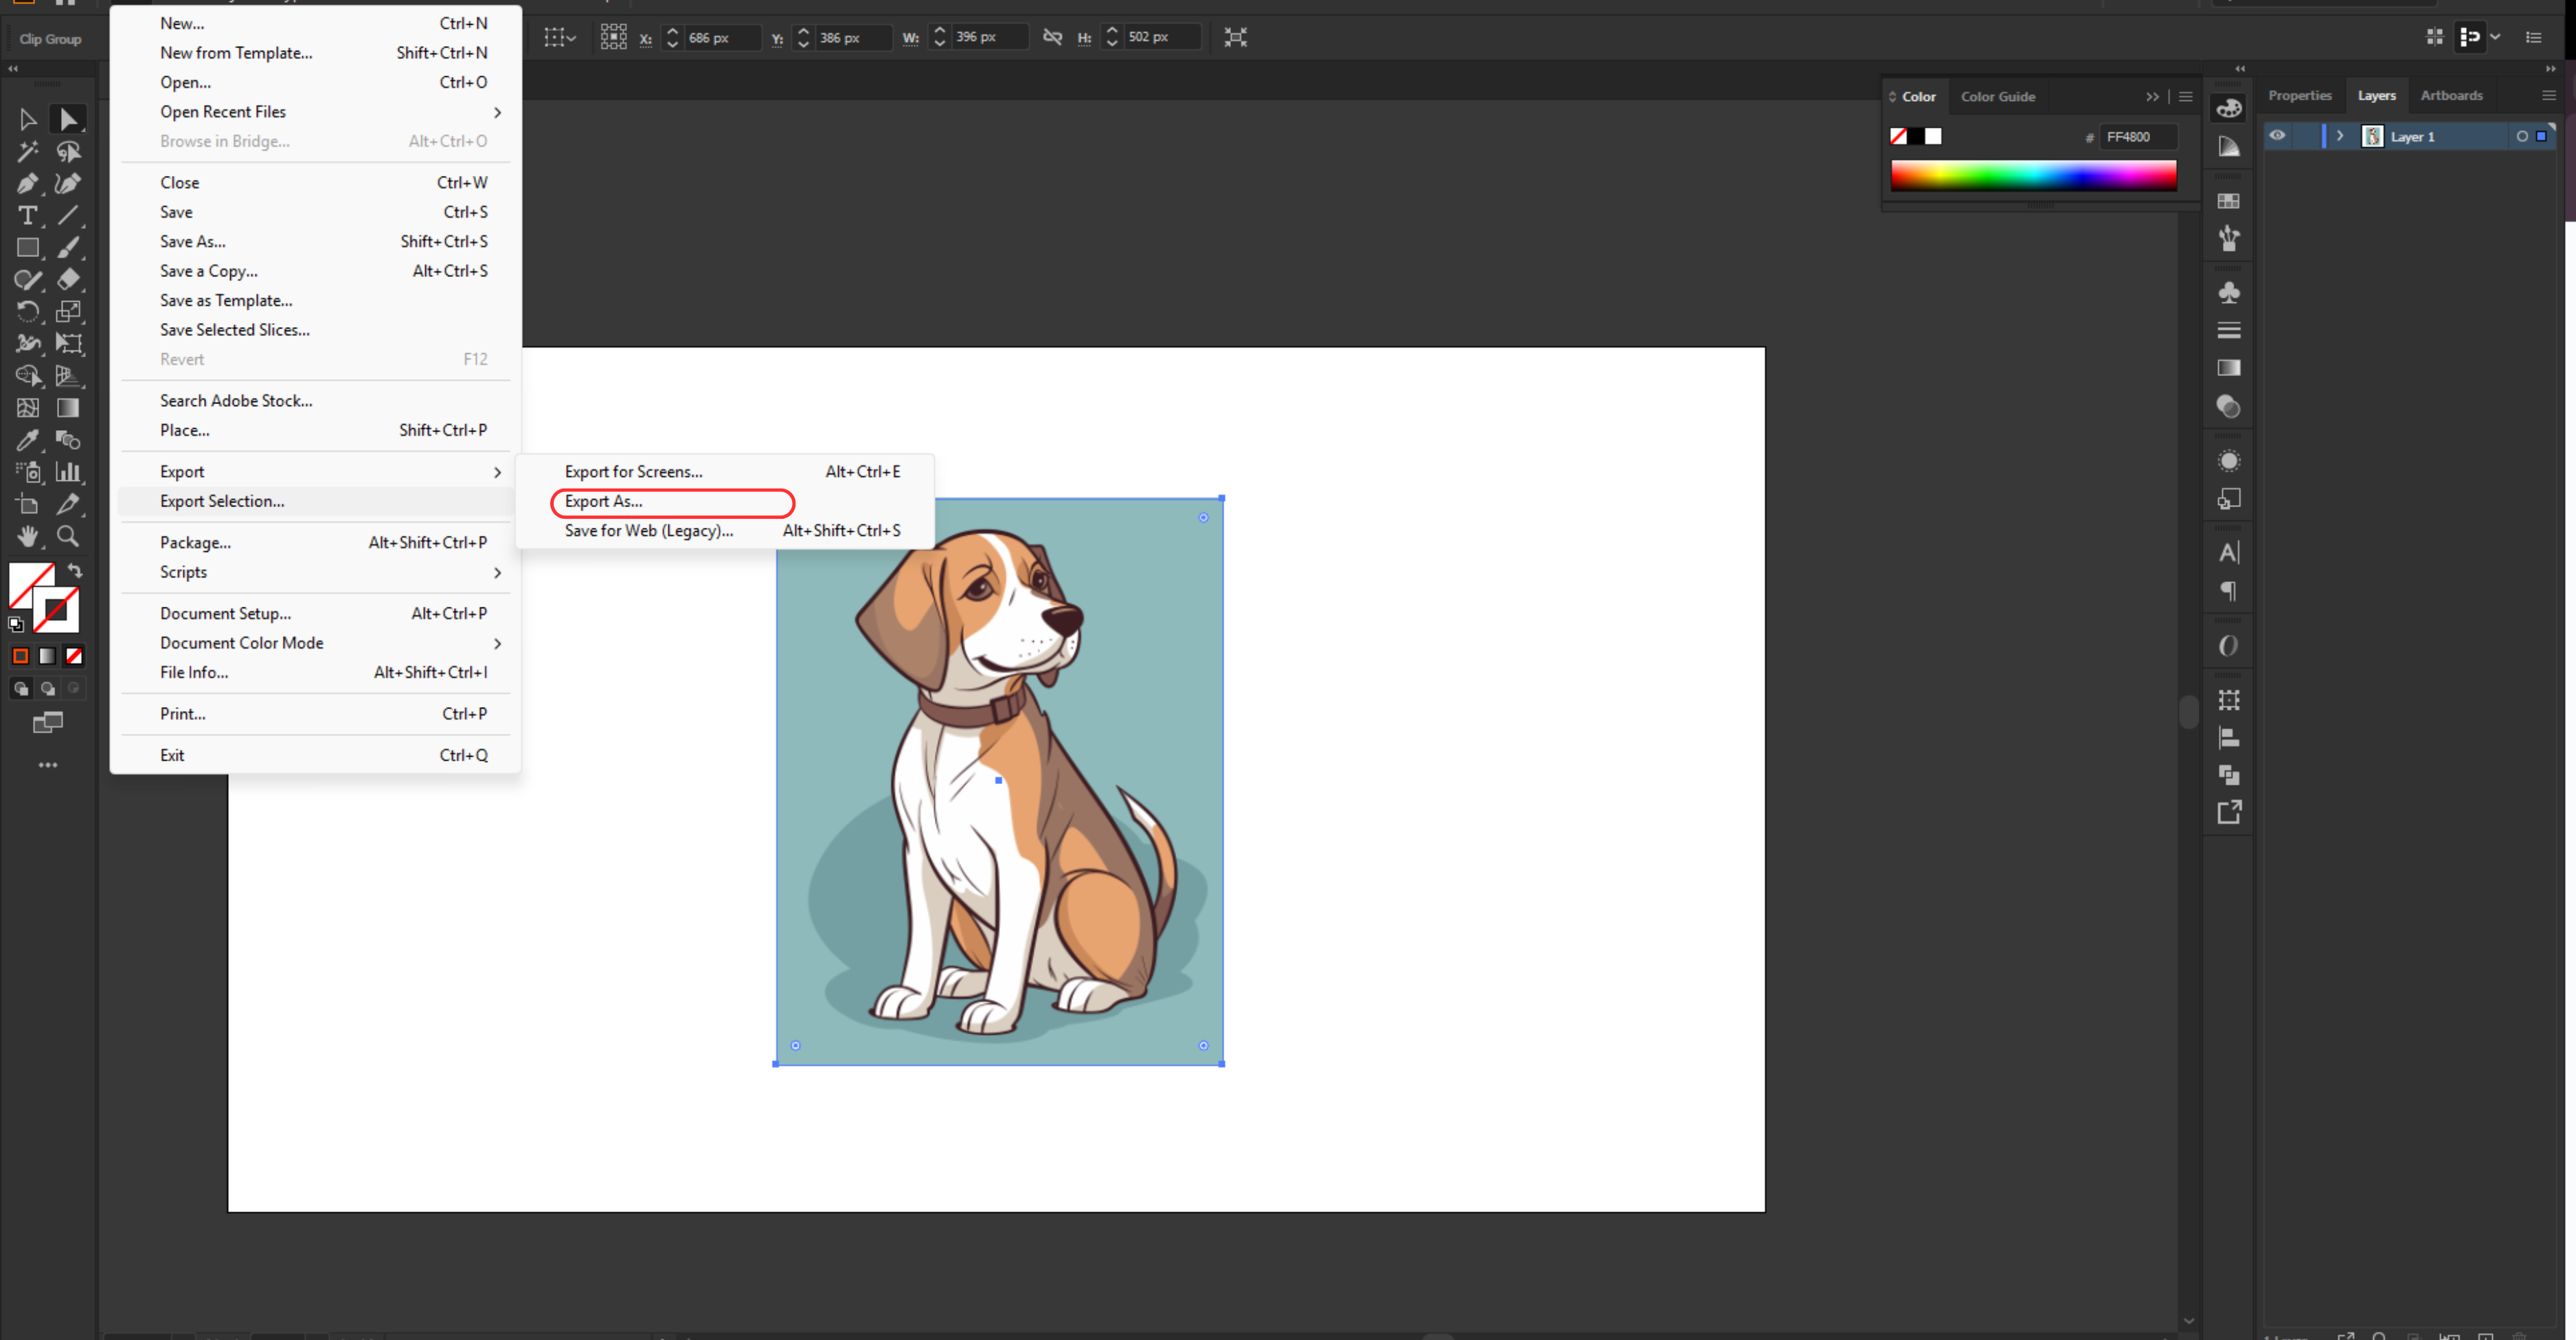
9. Save or export the transparent artwork.
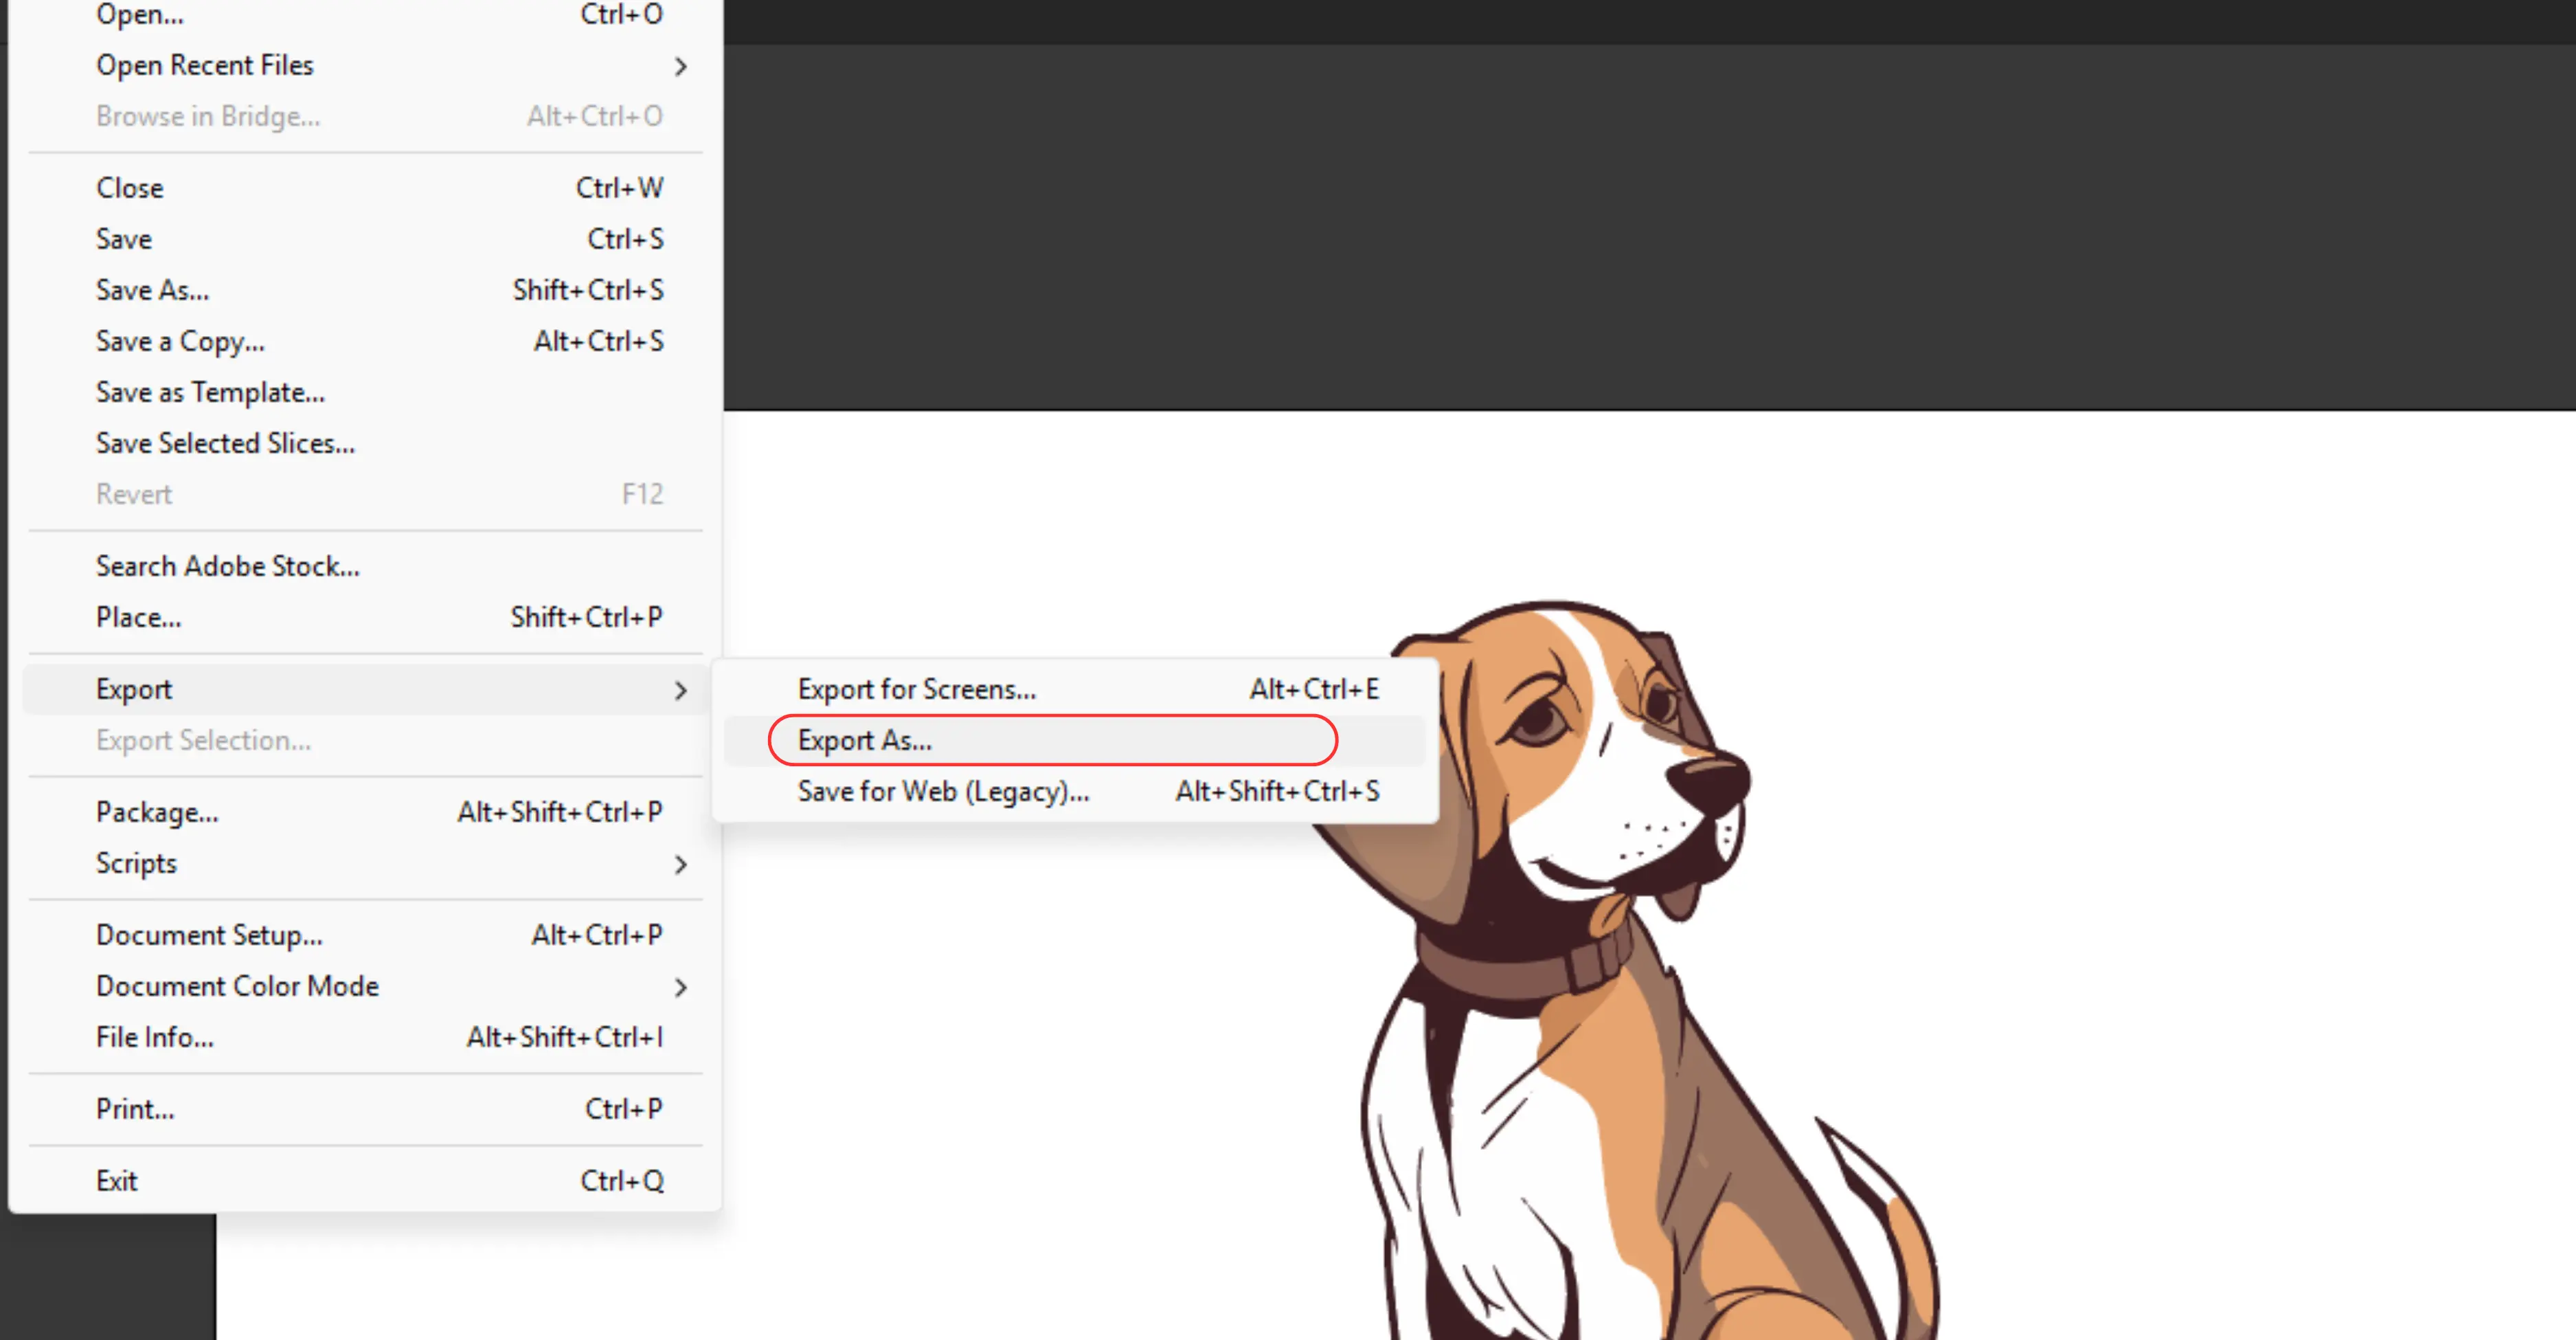
1. Once cleaned, your subject is isolated without the background.
2. Export as PNG, SVG, or PDF if you need transparency.
- File > Export > Export As.
- Choose PNG and check the Transparent background option.
2. Remove background with the Magic Wand Tool
The Magic Wand Tool in Illustrator is great when your background is a solid color (like white or black) or has very few variations. It lets you select all objects that share the same fill color or stroke and then delete them in one go.
Step-by-step guide
1. Place or open your image.

Go to File > Place and insert your image on the artboard.
If your image is raster (JPEG/PNG), you’ll first need to convert it to vector:
- Select the image → Object > Image Trace > Make → then click Expand.
2. Select the Magic Wand Tool.

- Press the shortcut key Y, or click the magic wand icon in the left toolbar.
3. Adjust magic wand settings.

Double-click the Magic Wand Tool in the toolbar to open its options.
Under tolerance, set how closely colors must match.
- For backgrounds with a solid color, keep it low (around 10–20).
- For slightly varied shades, increase tolerance (30–50).
4. Click the background area.
- use the magic wand, and click once on the background.
- Illustrator will automatically select all areas with the same color.
5. Delete the background.

- Once the background is selected, Press delete on your keyboard.
- If nothing happens, make sure the objects are ungrouped: go to Object > Ungroup and try again.
6. Clean up remaining shapes.
- Use the Direct Selection Tool (A) or Magic Wand again to select and remove any leftover spots or patches.
7. Save or export the result.

When finished, save your artwork or export it with a transparent background:
- Go to File > Export > Export As…
- Choose PNG and check transparency.
3. Remove background using the pen tool
The Pen tool offers the most precision, allowing you to manually trace and isolate the subject by drawing custom vector paths.
Step-by-step guide
1. Place or open your image.

- Go to File > Place and insert the image into your Illustrator document.
- Select the image with the Selection Tool (V) and position it where you want.
- If you’re working with a raster image (JPEG/PNG), you don’t need to trace it into vectors yet—you’ll be drawing a vector path over it.
2. Lock the image layer.

- In the Layers panel, select your image layer and click the lock icon.
- This prevents you from accidentally moving the image while you draw.
3. Create a new layer for your path.

- Click new layer in the layers panel.
- This is where you’ll draw your Pen Tool path that will become the cutout mask.
4. Select the pen tool.

- Press P on your keyboard or choose the Pen Tool from the left toolbar.
- Zoom in (Ctrl/Cmd + Plus) to get closer to the edges for accuracy.
5. Trace around the subject.
Start clicking around the object you want to keep:
- Click for straight lines.
- Click + Drag for smooth curves.
- Keep placing anchor points along the edges of your subject until you’ve outlined the entire shape.
- Make sure to close the path by clicking back on your starting point.
6. Convert the path into a clipping mask.
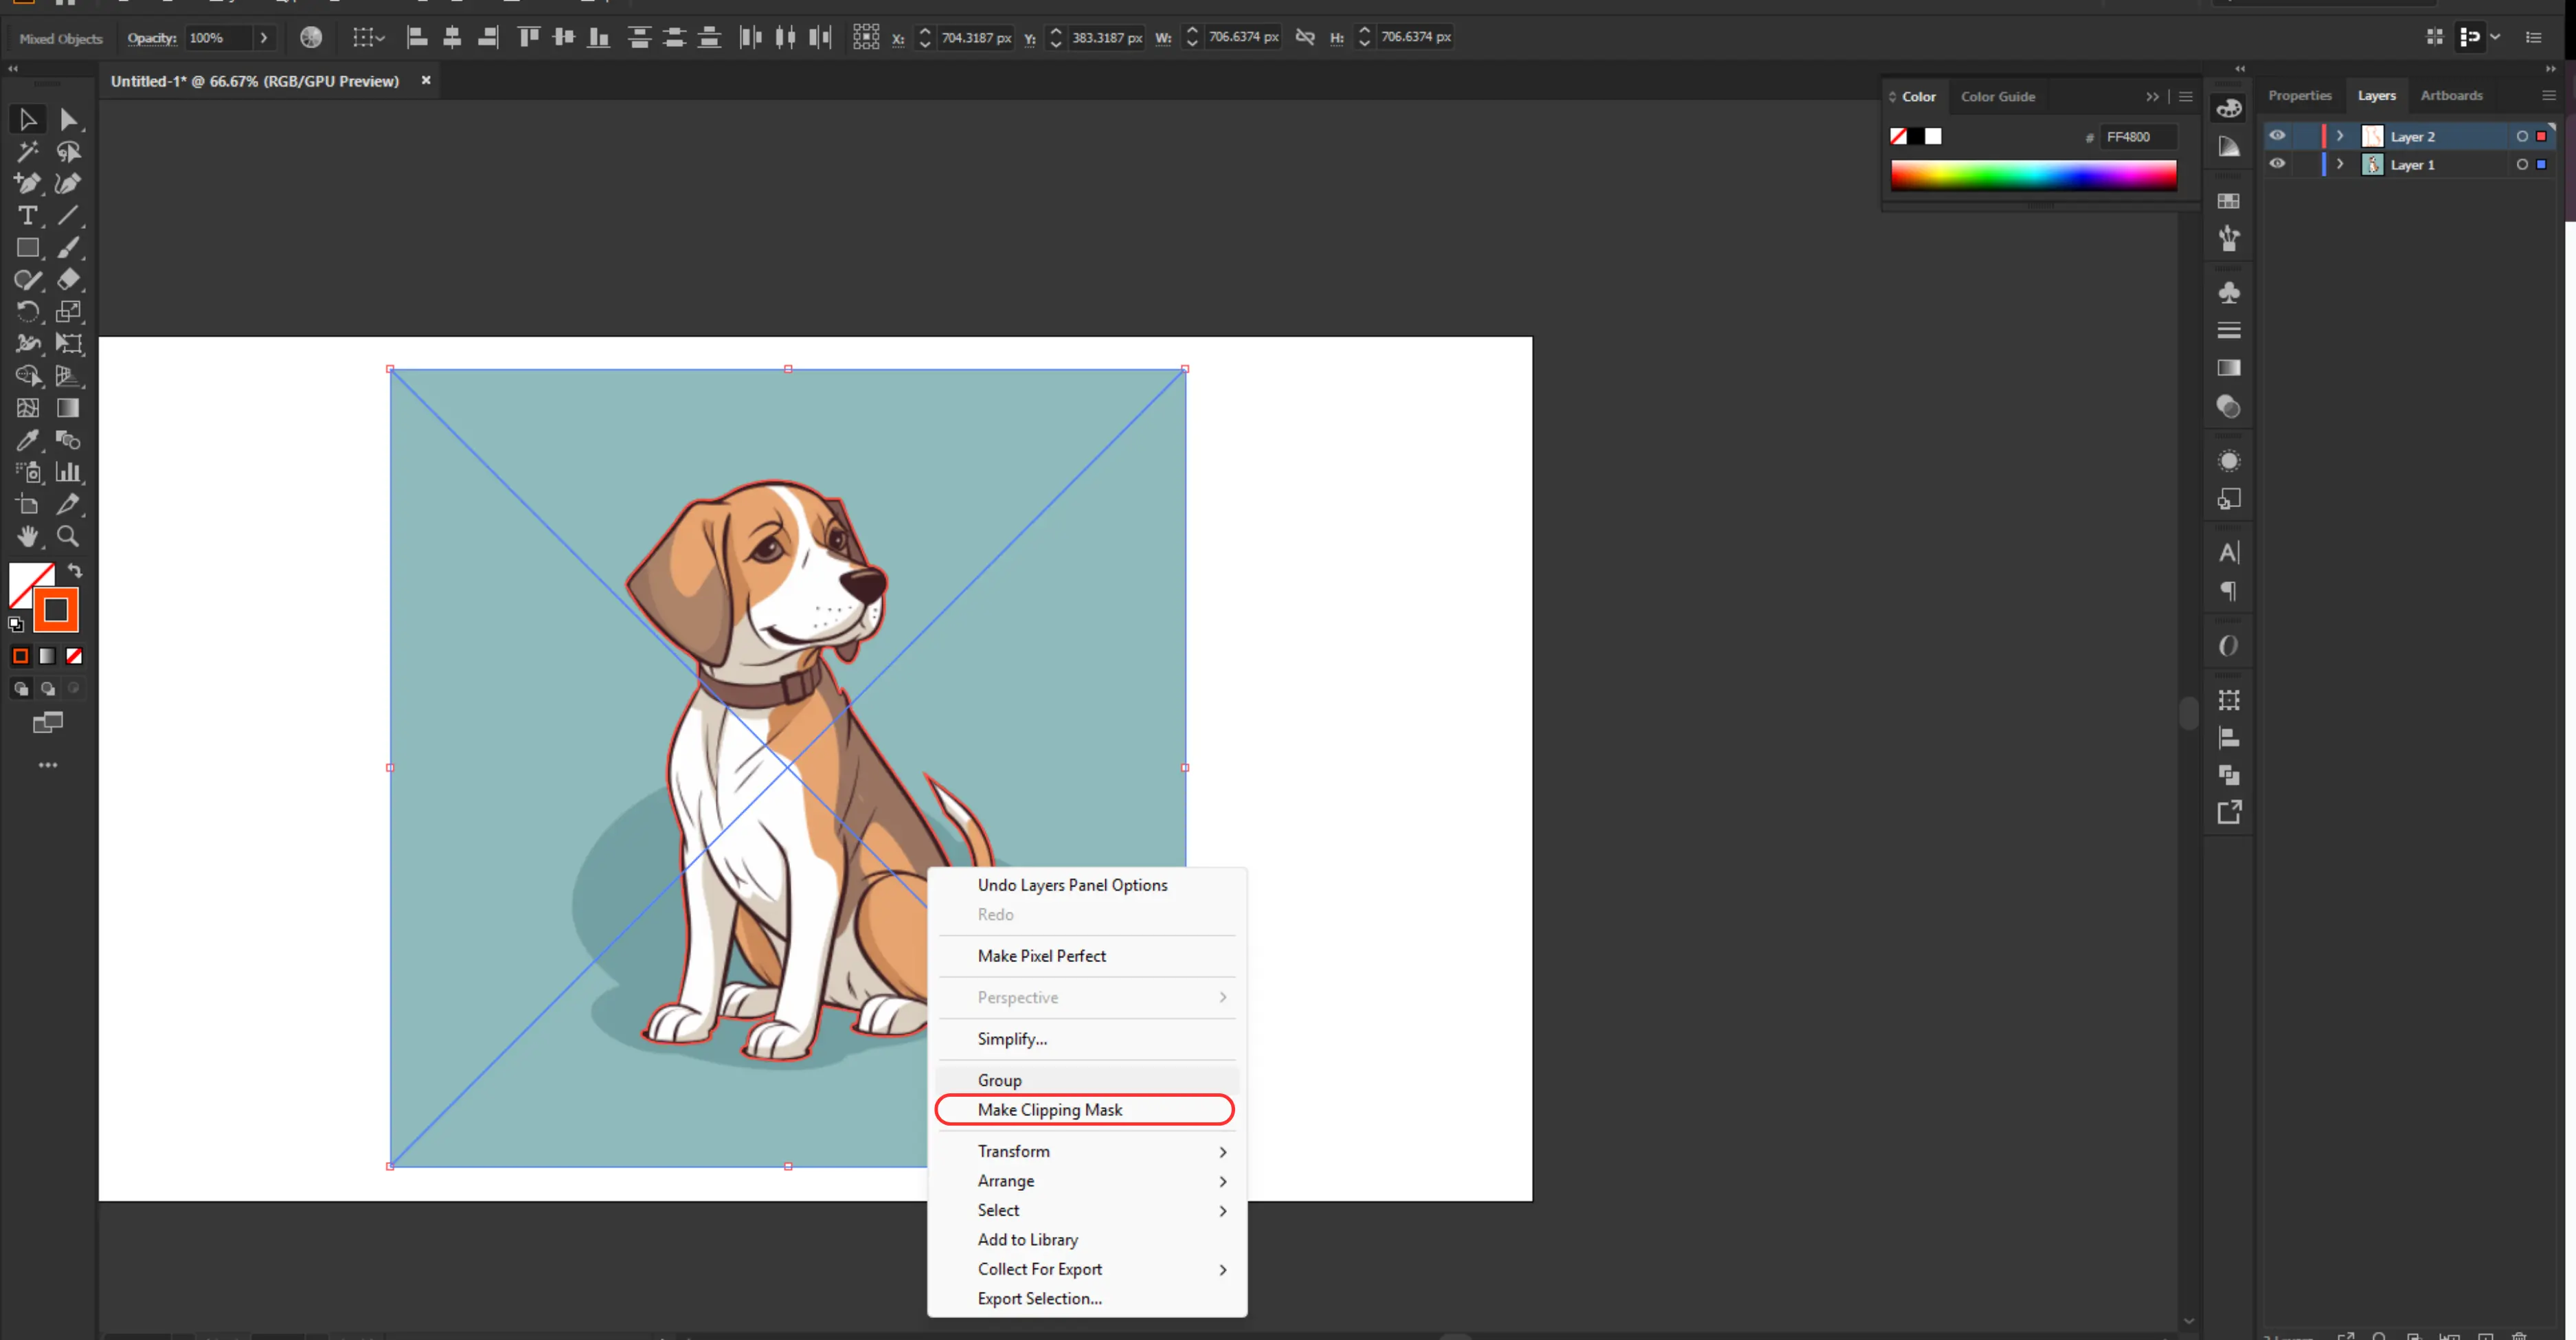
- Unlock the image layer (if locked).
- Select both the Pen Tool path and the image.
- Right-click and choose Make Clipping Mask, or go to Object > Clipping Mask > Make.
- This hides everything outside your Pen Tool path, effectively removing the background.
7. Refine the edges (optional).

- Use the Direct Selection Tool (A) to move or adjust anchor points for smoother edges.
- You can also add or remove anchor points using the Pen Tool add/delete options.
8. Save or export the result.
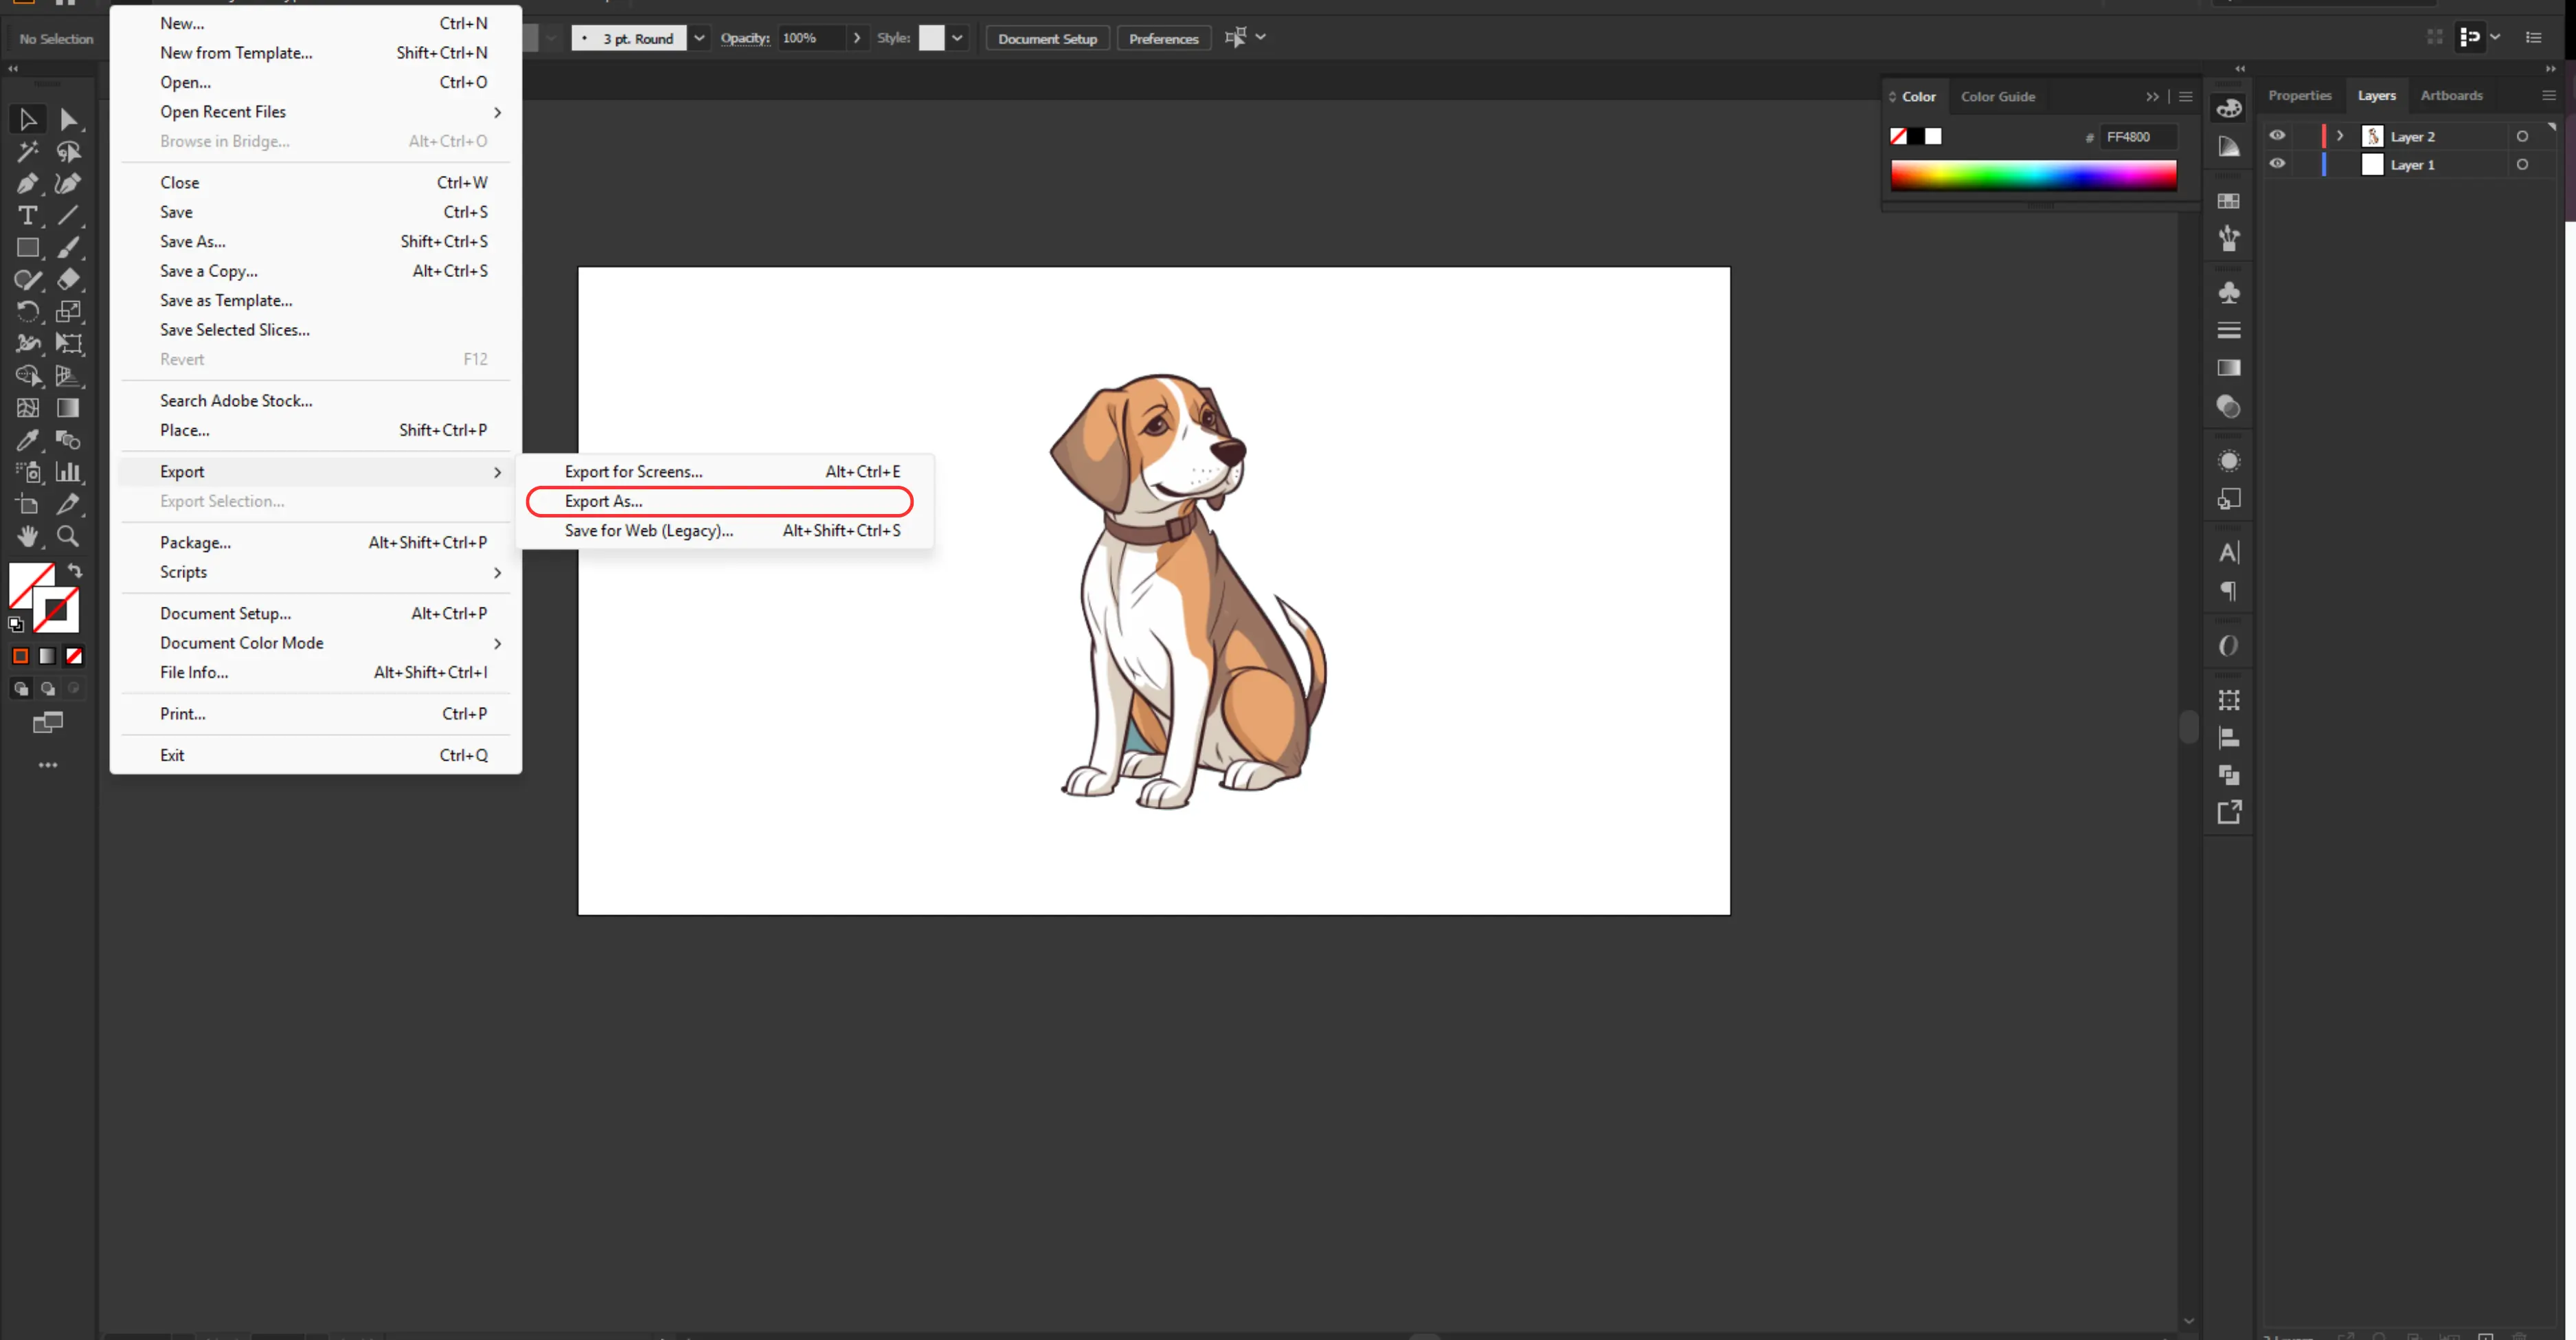
- To keep transparency, go to File > Export > Export As...
- Choose PNG and check the Transparent background option.
4. Remove background via clipping mask
A Clipping Mask in Illustrator hides everything outside of a shape (the mask). It doesn’t delete the background—it just makes it invisible. This is a non-destructive method, which means you can always edit or adjust the mask later. It’s one of the easiest and fastest ways to remove backgrounds when you already know the shape or area you want to keep.
Step-by-step guide
1. Place or open your image.

- Go to File > Place and insert your image on the artboard.
- Select and position it with the Selection Tool (V).
2. Draw the shape for the mask.
- Use a shape tool (Rectangle, Ellipse, Polygon) or the Pen Tool (P) to draw a shape that covers only the part of the image you want to keep.
3. Arrange the shape above the image.

- In the Layers panel, make sure your shape is on top of the image.
- If it’s not, right-click → Arrange > Bring to Front.
4. Select both the shape and the image.
- Hold Shift and click both the mask shape and the image so they are selected together.
5. Make the clipping mask.
- Right-click and choose Make Clipping Mask, OR.
- Go to the top menu: Object > Clipping Mask > Make.
6. Refine if needed.
- To adjust the visible area, use the Direct Selection Tool (A) to move or resize the mask shape.
- Remember: The background is still there, just hidden.
7. Save or export with transparency.
When satisfied, export your artwork:
- File > Export > Export As…
- Choose PNG and check the transparent background option.
5. Remove white background from a PNG or JPEG in Illustrator
When you import raster images (like JPEGs or PNGs) into Illustrator, they often have a solid white background. Illustrator doesn’t treat white as transparent by default, but you can remove it quickly using Image Trace with the Ignore White option. This is one of the most common background-removal cases.
Step-by-step guide
1. Place your image.

- Go to File > Place, then select and insert your PNG or JPEG file onto the artboard.
2. Select the image.
- Click on the image with the Selection Tool (V) to make sure it’s active.
3. Open the image trace panel.

- Go to Window > Image Trace to open the Image Trace options.
- Alternatively, you can use the Image Trace button from the top control bar.
4. Choose a suitable preset.

In the Preset dropdown, select an option that matches your image type:
- Black and White logo → for simple logos or sketches.
- High fidelity photo → for detailed photos.
- 6 Ccolors / 16 colors → for illustrations with few colors.
5. Enable preview.
- Tick the Preview checkbox to see the live tracing result.
6. Ignore the white background.
- Expand the advanced options in the image trace panel.
- Check the box labeled ignore white.
- This removes all white shapes from the traced image, effectively deleting the white background.
7. Expand the image.
- Once the preview looks good, click the expand button in the top toolbar.
- This converts the traced image into actual vector paths.
8. Ungroup and clean up.

- Go to Object > Ungroup to separate individual vector elements.
- Delete any stray shapes or artifacts left after tracing.
9. Save or export with transparency.

- Export the cleaned image by going to File > Export > Export As…
- Select PNG as the format and check the box transparent background.
Common mistakes to avoid when removing background in Illustrator
- Skipping “ignore white” in image trace: This often leaves behind white shapes, especially when tracing line art.
- Over-tracing everything: Using “High Fidelity Photo” for simple shapes may create thousands of unnecessary anchor points—slowing Illustrator.
- Not cleaning up after tracing: Always expand and then ungroup to remove stray bits.
- Using a mask instead of a path for export: Clipping masks are for preview—if you need the actual vector shape exported, finalize your path.
- Unlocking layers accidentally: When hand-tracing, accidentally moving background images can misalign your paths.
- Over-selecting with the magic wand: Too high tolerance can grab parts of your subject—tweak carefully or use the Select menu to refine.
- Neglecting anchor-point cleanup: Too many points make editing painful—use the Simplify command (Object > Path > Simplify) to reduce.
- Export format mismatches: If you export as JPEG, transparency is lost—use PNG, SVG, or PDF to preserve backgrounds.
Illustrator vs Photoshop for background removal
1. Best for
- Illustrator: Vector graphics, logos, icons, and clean shapes.
- Photoshop: Complex photo backgrounds, hair, fur, or fine details.
2. Scalability
- Illustrator: Fully scalable vectors; no pixelation at any size.
- Photoshop: Raster-based; can pixelate when resized too much.
3. Editing precision
- Illustrator: Anchor-point and path editing for sharp, clean edges.
- Photoshop: Pixel-level control with brushes, masks, and selections.
4. Workflow integration
- Illustrator: Ideal with other vector assets (logos, icons, brand kits).
- Photoshop: Better for photo-centric workflows and image composites.
5. Speed for simple backgrounds
- Illustrator: Very fast when removing solid color or flat backgrounds.
- Photoshop: Fast with tools like Quick Selection, Channels, or AI Remove BG.
6.Advanced cut work
- Illustrator: Struggles with soft edges like hair, fur, or transparency.
- Photoshop: Excellent at feathering, edge refinement, and blending.
How to remove background from an image using AI tools?
Now, what if you want to go beyond Illustrator? AI tools can automate background removal in seconds. Below, we cover some popular ones, when to use Illustrator vs Photoshop vs AI, and why combining them can be powerful.
1. Pixelbin

Pixelbin is a web-based image editing platform powered by AI, designed for professionals, developers, and businesses who need quick background removal along with other advanced image transformations.
Unlike simple one-click apps, Pixelbin offers an API and dashboard that allow you to automate bulk edits and integrate directly into your workflow. This makes it especially useful for e-commerce stores, media teams, and anyone managing large libraries of product or brand images.
Key features
- Background removal: One-click or API-based removal of image backgrounds.
- Batch processing: Upload and edit multiple files at once.
- Automation: Use their API to process thousands of images automatically.
- Extra tools: Filters, resizing, cropping, and optimization for the web.
- Hosting support: Store and deliver optimized images from the cloud.
Click to remove background with Pixelbin's Background Remover
2. Erase.bg
Erase.bg is a simple AI-powered tool that specializes in removing backgrounds from images with just one click. Unlike complex editing software, it focuses entirely on speed and ease of use, making it ideal for non-designers, small business owners, and e-commerce sellers who need quick results without learning professional tools like Photoshop or Illustrator.
Key features
- One-Click Background Removal: Upload an image, and the tool automatically erases the background in seconds.
- Supports Multiple File Types: Works with JPEG, PNG, and WebP formats.
- High-Resolution Output: Download results in HD (on paid plans).
- Mobile and Web Access: Available on desktop browsers as well as mobile apps for iOS and Android.
- No Design Skills Needed: The UI is extremely user-friendly for beginners
Click to remove background with Erase.bg
3. Pixelcut
Pixelcut is more than just a background remover—it’s a full AI-powered design toolkit built for creators, marketers, and e-commerce sellers. Originally popular as a mobile app, Pixelcut has expanded to the web and offers tools that simplify content creation.
The background remover is its standout feature, but it also includes templates, text-to-image AI, and product mockup tools, making it a versatile option for anyone who wants to design quickly without advanced software knowledge.
Key features
- AI Background Removal: Cleanly isolate subjects from photos in seconds.
- Batch Editing: Process multiple product photos at once.
- Templates & Mockups: Create ads, social media posts, and product displays.
- AI Tools: Text-to-image generation, relighting, resizing, and color correction.
- Mobile-Friendly: Optimized for iOS and Android with an intuitive UI.
Click to remove background with Pixelcut
4. Photoroom
Photoroom is a popular AI-powered background removal and photo editing app widely used by e-commerce sellers, small businesses, and creators who need professional-looking product photos without hiring designers.
Its standout ability is to instantly replace or remove backgrounds, but it also provides a suite of editing tools to help users create polished marketing content.
Key features
- Instant Background Removal: Erase or replace image backgrounds in a single click.
- Smart Templates: Thousands of pre-made templates for product listings, ads, and social media.
- Batch Editing: Process multiple product photos simultaneously for consistency.
- AI Tools: Relighting, object erasing, and adding realistic shadows.
- Cross-Platform: Available on iOS, Android, and as a web app.
Click to remove background with Photoroom
5. Remove.bg
Remove.bg is one of the most widely used AI background removal tools, trusted by designers, marketers, and e-commerce businesses. Known for its speed and accuracy, it allows users to erase backgrounds from photos instantly without needing any manual editing.
Whether you’re editing a single portrait or processing thousands of product shots, Remove.bg provides a smooth and reliable solution.
Key features
- One-Click Removal: Automatically deletes backgrounds in seconds.
- High Accuracy: Handles complex edges like hair, fur, or semi-transparent objects.
- Batch Processing: Upload and edit large sets of images simultaneously.
- Integrations: Works with Photoshop, Figma, Canva, and other design tools.
- API Access: Automate background removal for websites or apps.
Click to remove background with Remove.bg
Final Thoughts
So, we’ve walked through five solid ways to remove a background in Illustrator—whether it’s with Image Trace, Magic Wand, the Pen Tool, Clipping Masks, or just cleaning up a white background. Each one has its strengths, and the “best” really depends on how precise you need to be and what kind of file you’re working with.
On the flip side, AI tools like Pixelbin, Remove.bg, Photoroom, Pixelcut, and Erase.bg make things super quick if you just want results fast. My advice? Experiment! Use AI for speed, Illustrator for control, and keep exploring tutorials to sharpen your skills.
FAQs
Always convert raster images to vectors via Image Trace, expand and fine-tune anchor points. That way, the result is fully scalable and doesn’t degrade like a pixel raster.
For simplicity, Image Trace + Ignore White, or the Magic Wand Tool—quick, intuitive, and beginner-friendly.
Almost—when tracing, check Ignore White and click “Expand.” Deletes many backgrounds, though you may need to clean artefacts manually.
Remove or hide the background layer, ensure nothing covers the artboard background, and export as PNG, SVG, or PDF—formats that support transparency.
No. If you’re referring to Illustrator’s interface watermark or licensing watermark, that’s unrelated to Pixelbin (a background-removal web tool). Always use licensed versions of Illustrator; Pixelbin doesn’t deal with watermarks in the Adobe software.
Use the Magic Wand Tool to select background fills (like white) or manually delete background paths. Alternatively, draw a path around the logo with the Pen tool and use Divide via Pathfinder or a Clipping Mask as needed.